How to Grow Rosemary at Home
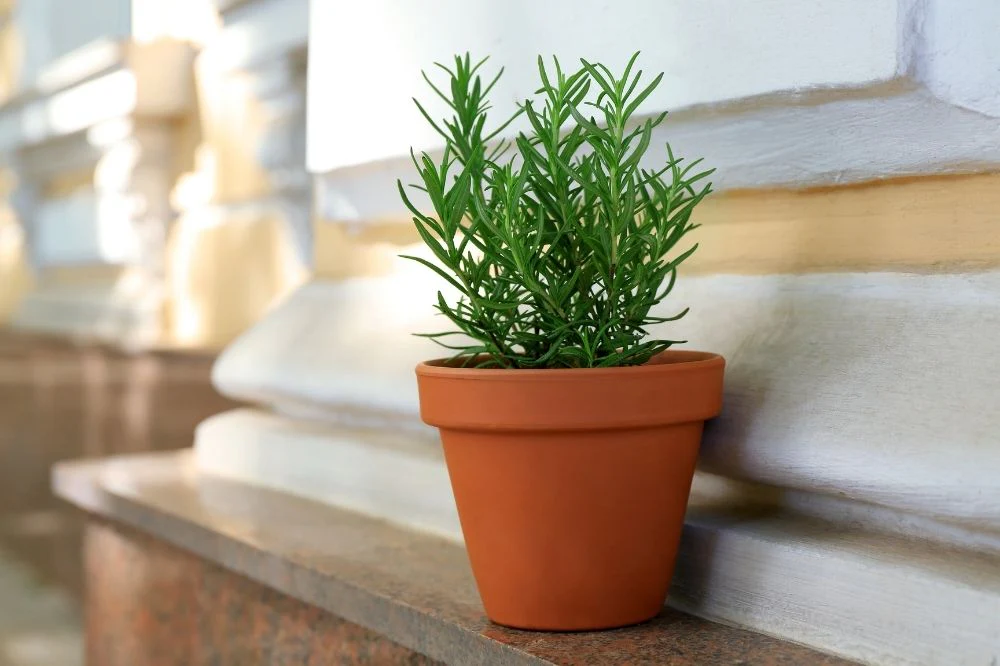
Rosemary is one of those herbs that makes you feel like you have your life together. One little brush of your hand and the whole plant releases that piney, lemony perfume that says roast potatoes are happening tonight. The good news is rosemary is not fussy once you give it what it craves: bright sun, fast drainage, and a little bit of respectful neglect.
Let’s grow you a rosemary plant that stays dense and happy, whether it’s in a patio pot, a garden bed, or a sunny kitchen window.
Rosemary basics at a glance
- Sun: 6+ hours of direct sun daily (8 is even better)
- Soil: well-drained, on the lean side, neutral to slightly alkaline (tolerates slightly acidic if drainage is excellent)
- Water: deep but infrequent, let the top 1 to 2 inches dry between waterings (containers)
- Best start method: transplants or stem cuttings; seeds are slow and unpredictable
- Pruning: light, regular pinching keeps it bushy
- Cold tolerance: varies by variety, many are happiest in USDA zones 7 to 10, with some cultivars hardier
Seed, transplant, or cutting?
Growing rosemary from seed
I’ll be honest like I’m leaning on a nursery cart beside you: rosemary seeds can test your patience. Germination is often spotty, and seedlings grow slowly at first. If you enjoy the long game, go for it. If you want rosemary to cook with this season, pick up a plant or take a cutting.
What to expect from seed:
- Germination: often 2 to 4 weeks, but it can take 6+ weeks
- Success rate: variable, even with fresh seed
- Time to a usable plant: months, not weeks
How to start seeds:
- Start indoors 8 to 12 weeks before your last frost date.
- Use a seed-starting mix (light and sterile), and pre-moisten it.
- Sow seeds on the surface and press gently. Cover very lightly with mix or vermiculite.
- Keep warm (around 70°F / 21°C) and evenly moist, not soggy.
- Provide bright light once they sprout. A sunny window is sometimes enough, but a grow light prevents leggy seedlings.
- Pot up when seedlings have several true leaves, handling by the leaves, not the stems.
Growing rosemary from a transplant
Transplants are the fastest way to success, and they let you choose a variety suited to your climate and goals.
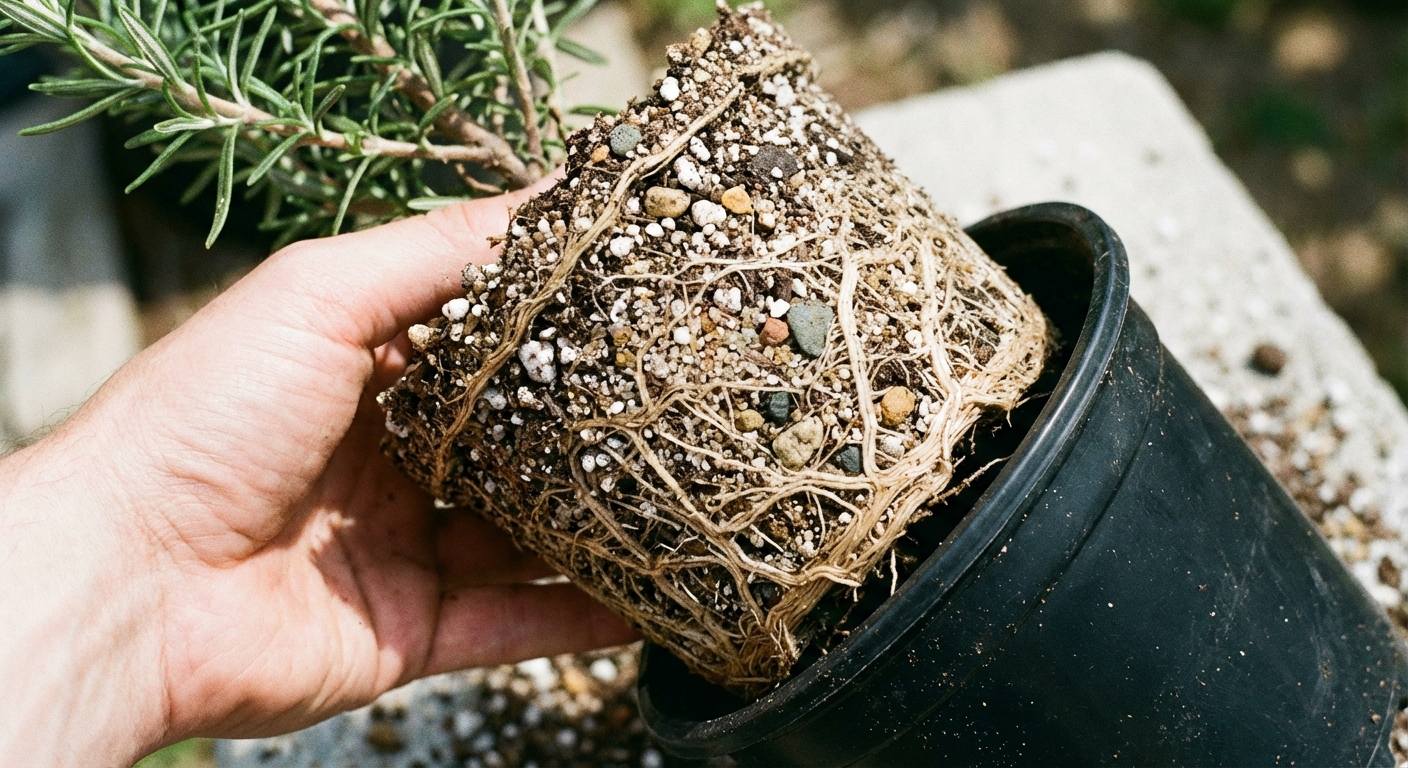
- Look for: deep green foliage, lots of side shoots, no blackened stems, and no mushy, sour-smelling soil.
- Skip plants that are: severely root-bound like a dense knot, bone dry and brittle, or sitting in standing water.
When to plant outside: after danger of frost has passed and nights are consistently mild.
Propagating rosemary from stem cuttings
This is the underrated sweet spot: quicker than seed, cheaper than buying new plants, and surprisingly reliable once you get the hang of it.
How to root cuttings:
- Snip a 4 to 6 inch piece of healthy, non-flowering stem (softwood or semi-hardwood is ideal).
- Strip leaves off the bottom 2 inches.
- Optional but helpful: dip the cut end in rooting hormone.
- Stick it into a small pot of lightly moist, gritty mix (half potting mix, half perlite works well).
- Place in bright, indirect light with gentle airflow. Keep the mix slightly moist, not wet.
- In 2 to 6 weeks, tug gently. Resistance means roots. Once rooted, gradually introduce more sun and pot up.
Soil and drainage
If rosemary has a love language, it is drainage. In nature, it’s from rocky Mediterranean slopes, not soggy, rich compost piles. Too much moisture around the roots is the fastest path to yellow leaves, dieback, and root rot.
What “well-drained” means
Water should move through the pot or bed easily. Roots need oxygen as much as they need water.
- In-ground: Choose the highest, driest spot you have. If your soil stays wet after rain, consider a raised bed or berm.
- In containers: Use a pot with drainage holes and a gritty mix.
Best soil mix for pots
A reliable container blend is:
- 2 parts quality potting mix
- 1 part perlite, pumice, or coarse sand
- Optional: a small handful of fine gravel or grit for extra drainage
Aim for neutral to slightly alkaline soil (roughly pH 6.5 to 7.5), but do not panic if you are a bit below that. Rosemary can tolerate slightly acidic soil if drainage is excellent. If you are planting in-ground and suspect your soil is very acidic, a soil test is the best next step before adding lime.
Sunlight
Rosemary wants at least 6 hours of direct sun daily. Eight hours is even better. Outdoors, pick a south or west-facing location if you can. Indoors, the sunniest window you have is the starting point.
Indoor light tips
- South-facing window is ideal (north-facing is usually too dim for long-term happiness).
- Rotate the pot weekly so the plant grows evenly.
- If the plant gets leggy or pale, add a grow light and keep it on 12 to 14 hours a day.
Clue you need more sun: long, floppy growth with wide spacing between leaves, and a plant that smells less aromatic.
Indoor vs outdoor
Growing rosemary outdoors
Outdoors is rosemary’s happy place as long as your winters are mild enough. It becomes a small shrub over time, and pollinators love the blooms.
- Spacing: 18 to 36 inches depending on the variety and how large you’ll let it get
- Airflow: good airflow reduces mildew and fungal issues
- Mulch: use gravel or small stones rather than thick, wet organic mulch right against the stem
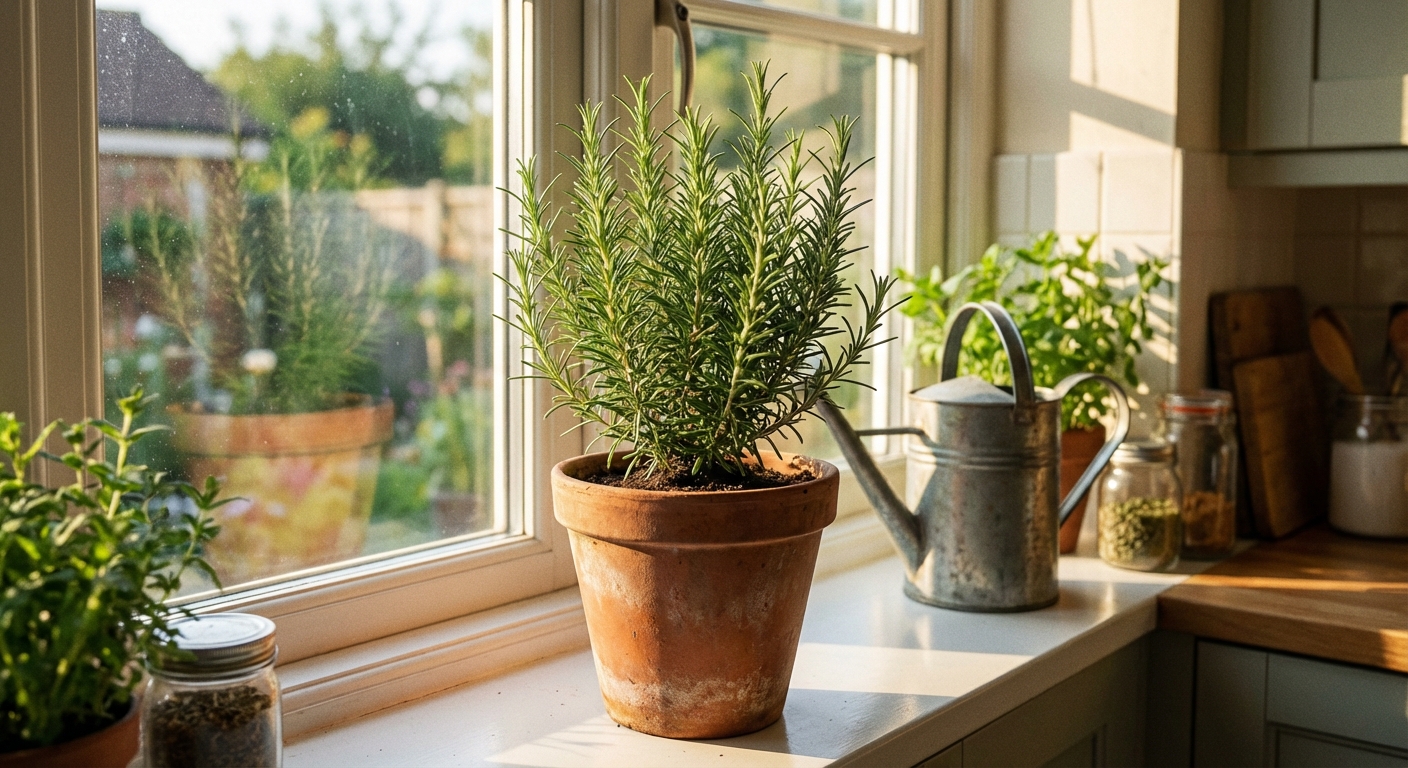
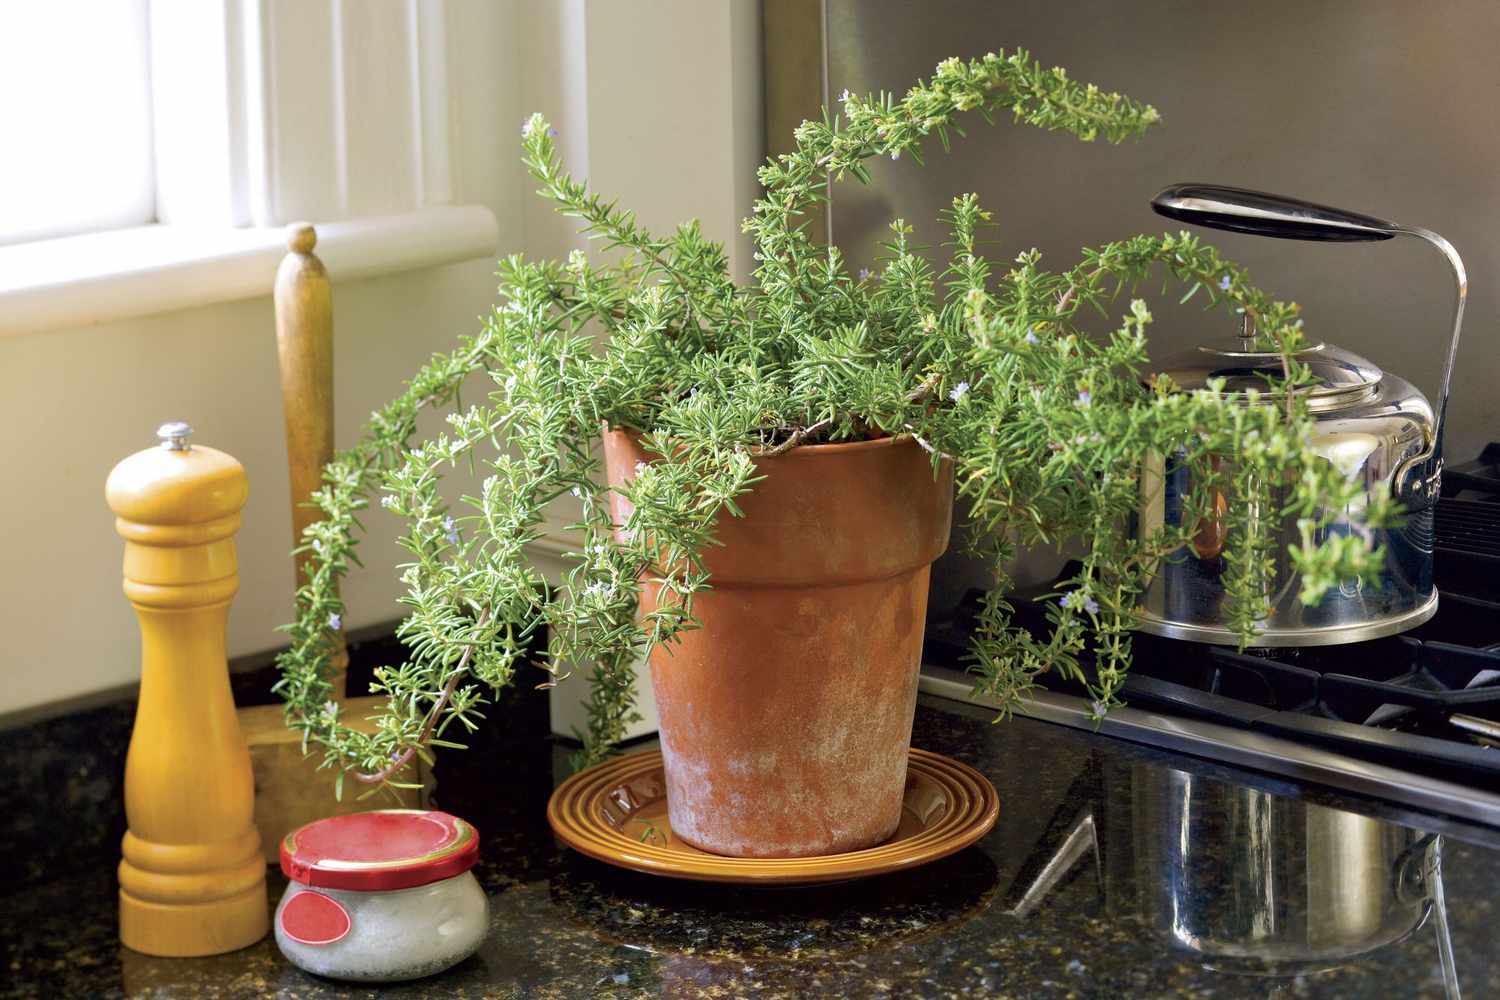
Growing rosemary indoors
Indoors, rosemary can do well, but it asks for two things many homes lack: strong light and steady airflow. A small fan on low nearby can help prevent fungal problems, especially in winter.
- Choose a terra cotta pot if possible. It breathes and helps the soil dry properly.
- Keep it away from heat vents that blast hot, dry air.
- Avoid misting the plant. Rosemary prefers dry leaves. If your home is very dry, focus on airflow and consistent watering rather than humid leaves.
Watering
Rosemary likes a rhythm: soak the soil thoroughly, then let it dry partway before watering again.
When to water
- Containers: stick your finger into the soil. If the top 1 to 2 inches are dry, it is usually time.
- In-ground: water deeply, then wait until the soil has dried noticeably a few inches down. Established plants often need less frequent watering than you think.
- Lift the pot. A light pot means the soil has dried down.
Common mistakes
- Keeping soil lightly damp: frequent small waterings can keep the root zone too wet, which rosemary hates.
- Water sitting in a saucer: dump it out. Standing water is rosemary’s enemy.
- Overwatering in winter: growth slows, so water needs drop too.
Fertilizer
Rosemary does not need heavy feeding. Too much nitrogen can make it grow fast and floppy, with less concentrated flavor.
- In-ground: a little compost worked into the soil at planting is often enough.
- In containers: feed lightly in spring and summer with a diluted organic fertilizer (or top-dress with a small amount of compost). Pause feeding in fall and winter.
Pruning
Pruning is where rosemary goes from “one sad stick” to a lush, kitchen-ready plant. The trick is regular pinching and never cutting deep into old, bare wood.
When to prune
- Spring through early fall is prime time.
- After flowering is a great moment to shape the plant.
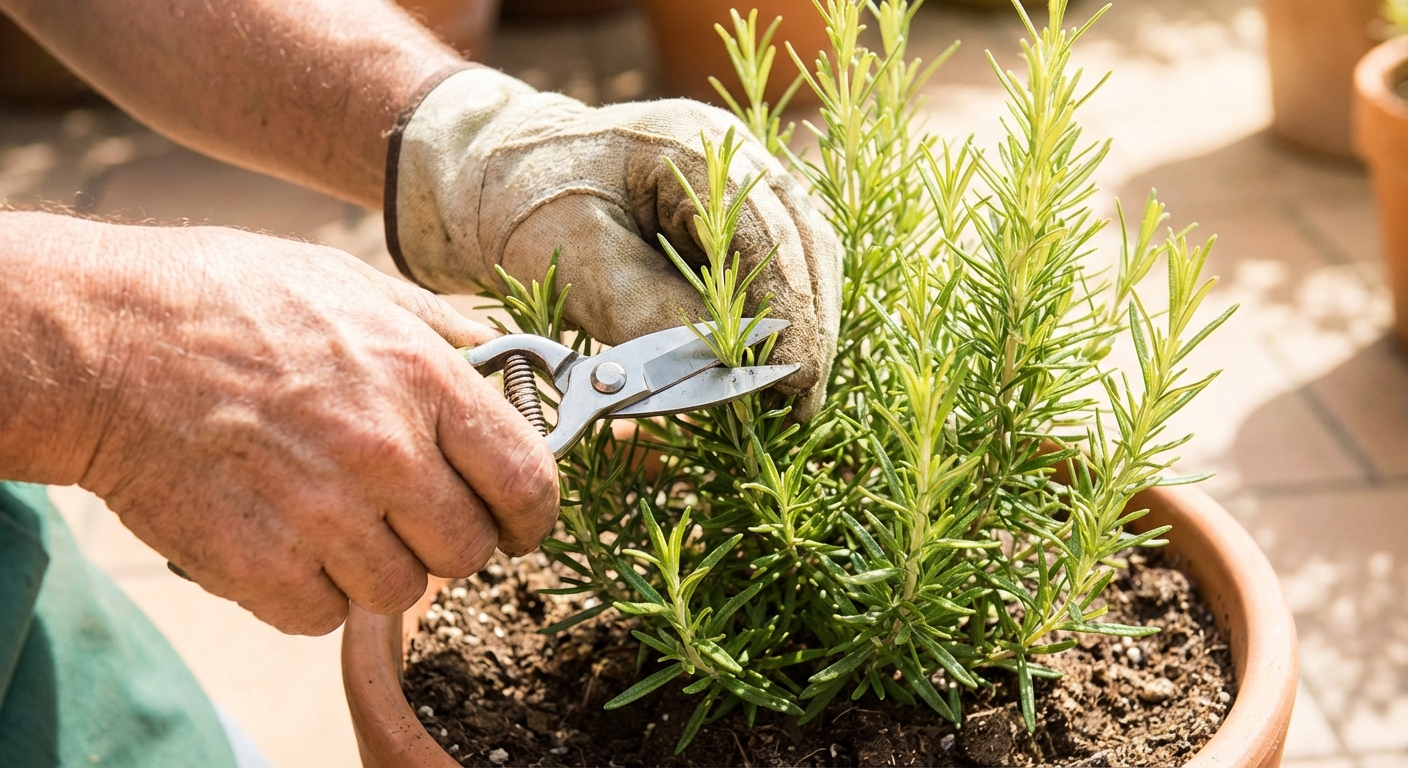
How to prune
- Snip the top 1 to 3 inches of green, leafy growth.
- Cut just above a set of leaves so it branches out.
- Remove any dead, damaged, or crossing stems.
Avoid: cutting into thick, leafless stems. Rosemary often does not resprout well from old wood.
Harvesting
The best part. You can harvest lightly almost anytime once the plant is established, but flavor is usually strongest just before flowering.
Harvesting tips
- Take snips from the outer stems first.
- Harvest in the morning after dew dries for the most aromatic leaves.
- Do not take more than about one-third of the plant at a time.
Fresh vs dried
Rosemary holds its flavor beautifully when dried.
- To dry: bundle small sprigs and hang in a warm, airy spot out of direct sun.
- To store: strip leaves into an airtight jar once fully dry.
Overwintering
Rosemary is a perennial in mild regions, but in colder climates it often needs help. Many common varieties are happiest in USDA zones 7 to 10 (sometimes 8 to 10 depending on cultivar), and they struggle once temperatures dip below freezing for extended periods, especially in wet soil.
Cold-hardy varieties to try
If you want to push the limits, look for cultivars known for better cold tolerance like 'Arp' and 'Madeline Hill'. Even hardy types still want great drainage and protection from winter wet.
Option 1: Pot and bring it in
This is my favorite solution for truly cold winters.
- Before the first hard freeze, inspect for pests and rinse the plant gently if needed.
- Bring it indoors to the brightest spot you have.
- Water less frequently. The plant will use less in lower light.
- Provide airflow and avoid humid corners.
Acclimation tip: if possible, bring it in gradually for a week or two, or at least avoid moving it on the coldest, darkest day of the year.
Option 2: Protect it outdoors
If you are in a region where winters are cool but not brutally cold, you can sometimes overwinter rosemary in the ground.
- Plant in the best-drained spot you have.
- Before deep cold arrives, add a loose layer of straw or leaves around the plant, keeping the crown and stem base from staying wet.
- Use a frost cloth on the coldest nights.
Option 3: Treat it as an annual
No shame here. If overwintering feels like a chore, grow a new plant each spring and enjoy it with zero guilt.
Troubleshooting
Yellow leaves
- Most common cause: overwatering or poor drainage
- Fix: let soil dry more between waterings, improve drainage, repot into a grittier mix if needed
Brown tips or crispy leaves
- Possible causes: underwatering, hot drying wind, root-bound pot
- Fix: water deeply when dry, pot up if roots are packed, give a bit of shelter from harsh afternoon wind
Leggy, floppy growth
- Cause: not enough sun
- Fix: move to brighter light, add a grow light, pinch tips to encourage branching
Powdery mildew
- Cause: stagnant air and low light
- Fix: increase light and airflow, avoid wetting leaves, remove affected growth
Common pests
- Spider mites (indoors): fine webbing, stippled leaves. Rinse the plant, improve airflow, and use insecticidal soap if needed.
- Aphids and whiteflies: sticky residue, clusters on new growth. Blast off with water outdoors or treat with insecticidal soap.
A simple routine
- Weekly: check soil moisture, rotate indoor pots, pinch tips if you want it bushier
- Monthly (growing season): light feeding for container plants if growth is slow
- Seasonally: shape after flowering, refresh potting mix every 1 to 2 years, plan winter protection early
If you take one thing from this guide, let it be this: rosemary does better with a little neglect than with too much love. Give it sun, give it grit, and then step back and let it be its wonderfully aromatic self.