
How to Grow Nasturtiums from Seed

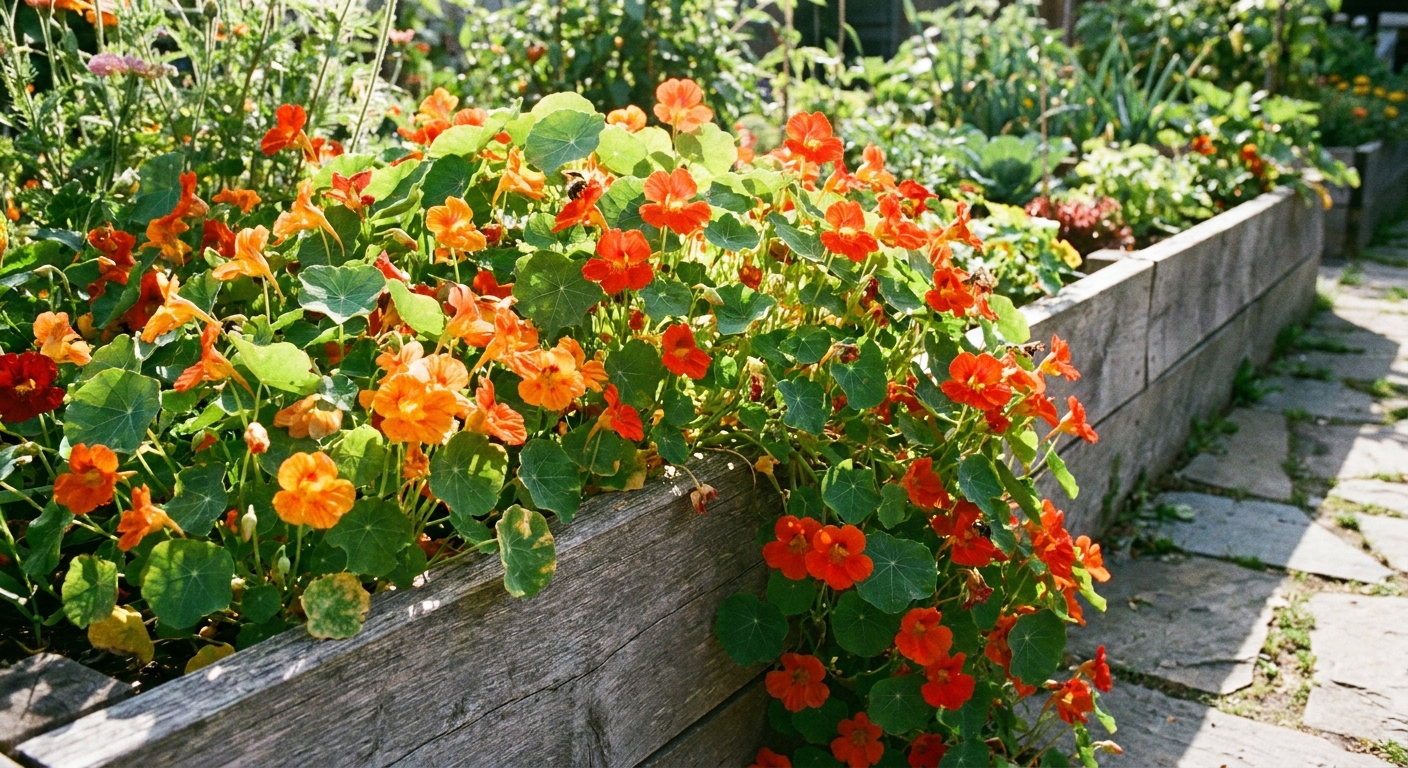
Nasturtiums are the kind of flower that makes gardeners feel like magicians. You tuck a few chunky seeds into the soil, and suddenly you have cheerful blooms, lily pad leaves, and a plant that forgives you for not having “perfect” dirt. They are famously happy in lean soil, they are gorgeous in pots or beds, and yes, you can eat them. Peppery leaves. Bright, zippy petals. Little garden confetti for salads.
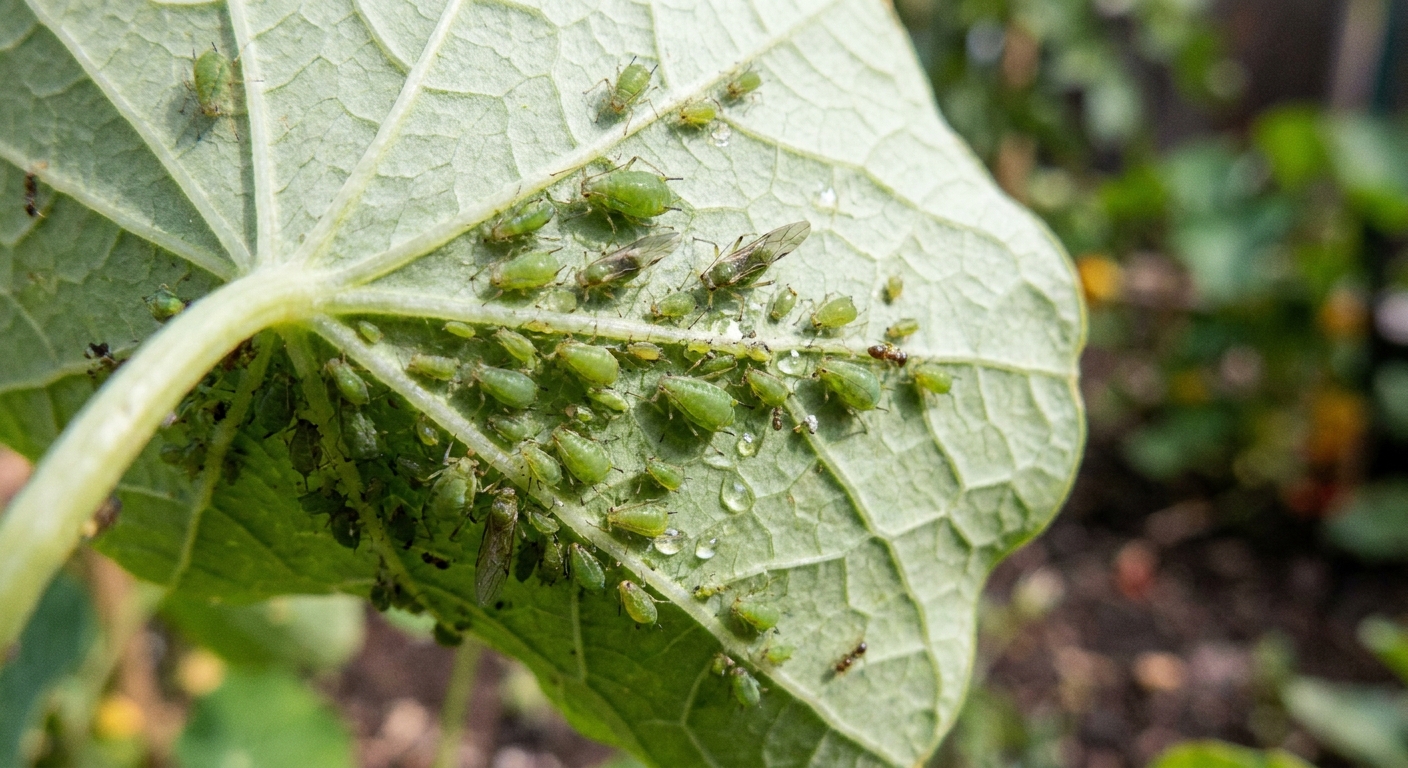
Even better, nasturtiums pull double duty as a companion plant. They can act as a trap crop, luring aphids (and sometimes other nibblers) away from your vegetables so your main crop takes less of the hit. Let’s grow them from seed the easy way.

Meet the types
Nasturtiums (usually Tropaeolum majus) come in a few growth habits. Picking the right type makes everything easier, especially if you are planting in containers or tight spaces.
Mounding types
These stay relatively tidy and round, making them perfect for pots, borders, and small beds. They tend to bloom early and look lush without needing support.
- Good for: containers, window boxes, edging
- Typical height: 10 to 14 inches
- Examples to look for: ‘Alaska’ (variegated foliage), ‘Empress of India’ (deep red blooms), ‘Jewel Mix’, ‘Tom Thumb’
Trailing and climbing types
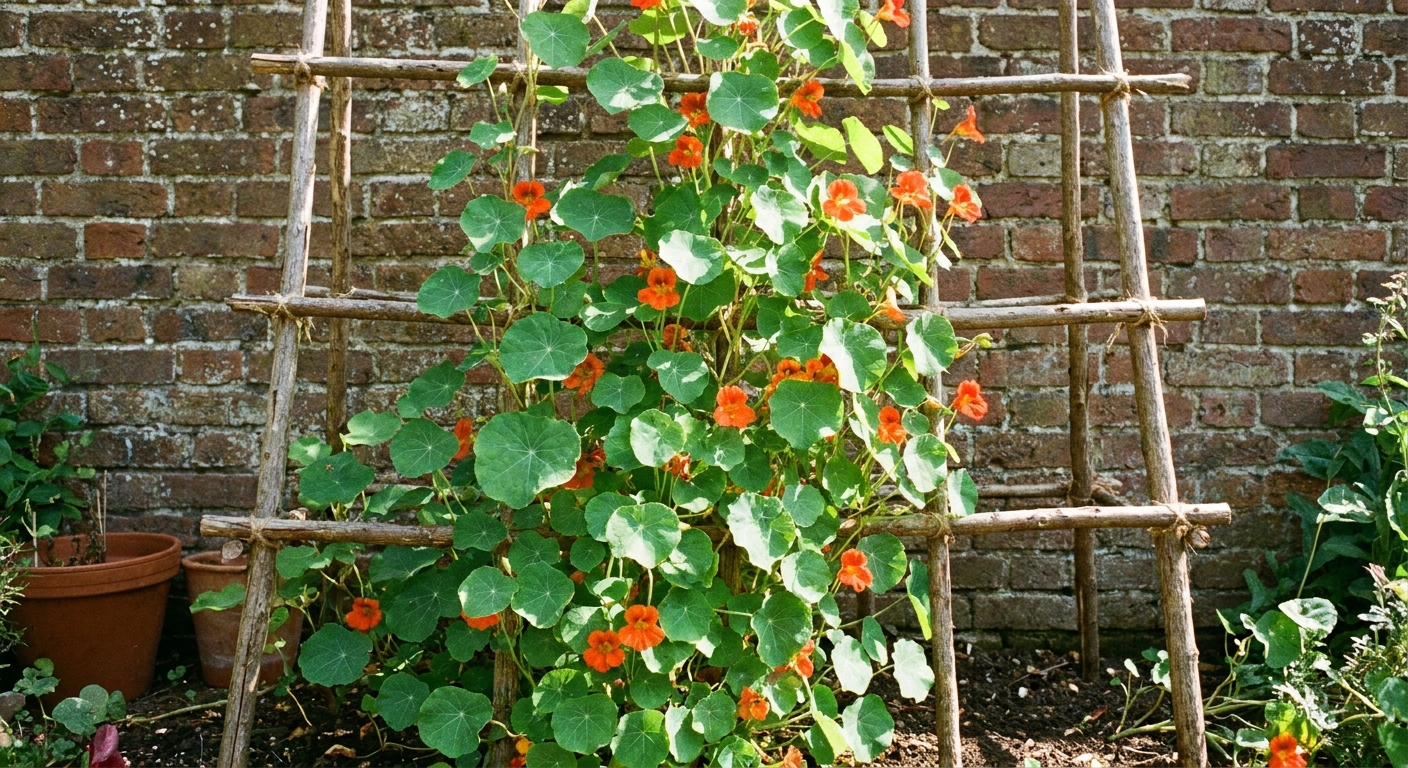
These have longer stems that sprawl or climb. With a trellis they can scramble upward, and without one they will cascade like a leafy waterfall.
- Good for: hanging baskets, slopes, trellises, weaving through taller plants
- Typical length: 4 to 10 feet, depending on variety and conditions
- Examples to look for: ‘Tall Mixed’, ‘Climbing Mix’
- Note on canary creeper: ‘Canary Creeper’ (Tropaeolum peregrinum) is a related species often sold alongside nasturtiums. It is more delicate, more of a true climber, and its care can be a little different (think lighter growth and smaller flowers).
Soil they like
If you take only one thing from this page, let it be this: do not pamper nasturtiums with rich nitrogen-heavy soil. In overly fertile ground, they can grow loads of leaves and fewer flowers.
Nasturtiums perform beautifully in average to lean soil with good drainage. Lean is great. Depleted is not. If your soil is basically dust, mix in a little compost for structure, then stop before it turns into a buffet line.
- Best bloom conditions: leaner soil, full sun, moderate watering
- What causes leafiness and low bloom: too much fertilizer, especially high nitrogen
When to plant
Nasturtiums are frost tender. The easiest approach is direct sowing outdoors after your last frost date, once the soil is no longer cold and soggy.
- Direct sow outdoors: after last frost, when soil has warmed (ideally about 55°F or warmer) and drains well
- Start indoors (optional): 2 to 4 weeks before last frost if you want earlier blooms, but they dislike root disturbance
- Warm-climate tip: in very hot summers, nasturtiums often do best as a cool-season annual (fall to spring) rather than midsummer
How to sow seeds
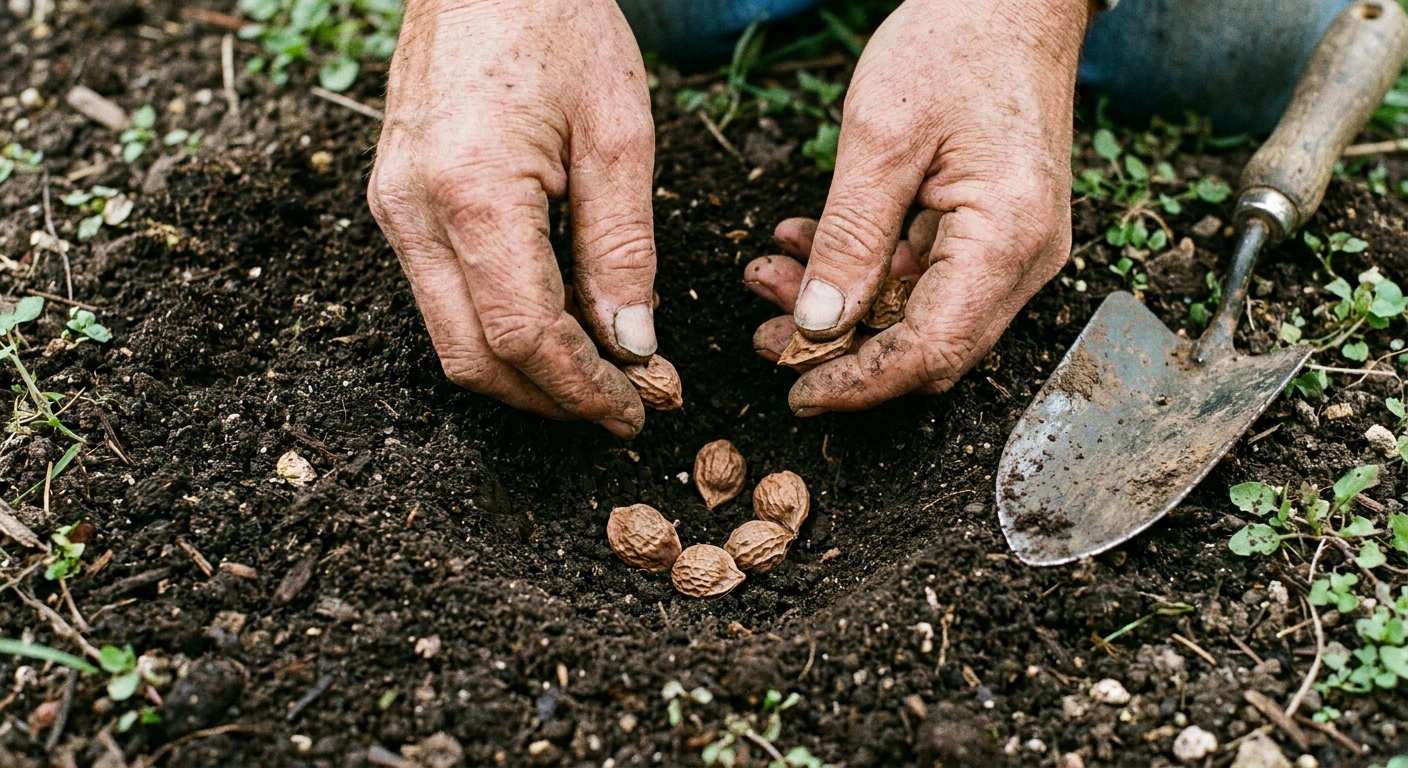
Nasturtium seeds are big, easy to handle, and very satisfying to plant. They look a bit like wrinkly little peas.
Optional soak
If you want to speed things along, you can soak seeds in room-temperature water for 8 to 12 hours before planting. It is optional, not required. Do not soak for days or let them turn to mush.
Direct sow steps
- Choose a sunny spot with decent drainage. Full sun is best for flowers, though a little afternoon shade helps in scorching climates.
- Loosen the top few inches of soil and remove large clumps. You do not need to deeply amend or fertilize.
- Plant seeds 1/2 to 1 inch deep. I aim for about 3/4 inch.
- Space seeds 8 to 12 inches apart for compact types, and 10 to 18 inches apart for trailing or climbing types.
- Water gently and keep the soil evenly moist until sprouts appear.
- Thin if needed. If you get a cluster of seedlings, snip extras at the soil line so the strongest plants end up at the final spacing.
Germination time: usually 7 to 14 days, sometimes a little longer if soil is cool.
Starting indoors
You can start nasturtiums indoors, but treat their roots gently. They prefer not to be transplanted bare-root.
- Use biodegradable pots (paper, coir, or peat alternatives) so you can plant the whole pot.
- Sow 1 seed per pot about 1/2 to 1 inch deep.
- Bright light: a sunny window can work, but a grow light prevents leggy stems.
- Harden off for about a week before planting outside.
- Transplant carefully after frost, disturbing roots as little as possible.
Light, water, and feeding
Sun
Full sun gives the best bloom. In hot regions, morning sun with light afternoon shade can keep plants happier and flowering longer.
Water
Water consistently while seedlings establish. Once established, nasturtiums are fairly drought tolerant, especially in the ground. In containers, they will need more frequent watering.
- In-ground: water when the top couple inches are dry
- Containers: water when the top inch is dry, more often during heat waves
Fertilizer
Skip it in most garden beds. If you must feed container plants, use a gentle, balanced fertilizer at a low rate. Too much nitrogen equals fewer flowers.
Deadheading
If you want more blooms, pinch off spent flowers. If you let lots of flowers go to seed, the plant often shifts into seed-making mode and flowering slows down.
Trailing or trellis
Nasturtiums are flexible. You can let them roam, or you can guide them like a friendly little vine with a mind of its own.
For trailing
- Let stems spill over bed edges, walls, or container rims.
- Give them room. Trailing types can smother smaller neighbors if packed too tightly.
- Mulch lightly to keep soil from splashing on leaves during rain, but keep mulch off the stems in humid climates to reduce rot.
For trellising
- Use a gentle trellis like a small grid, bamboo teepee, or wire panel.
- Start training early when stems are flexible. Loosely tuck stems through the support.
- Do not tie tightly. If you use ties, keep them loose to avoid pinching.
Containers made simple
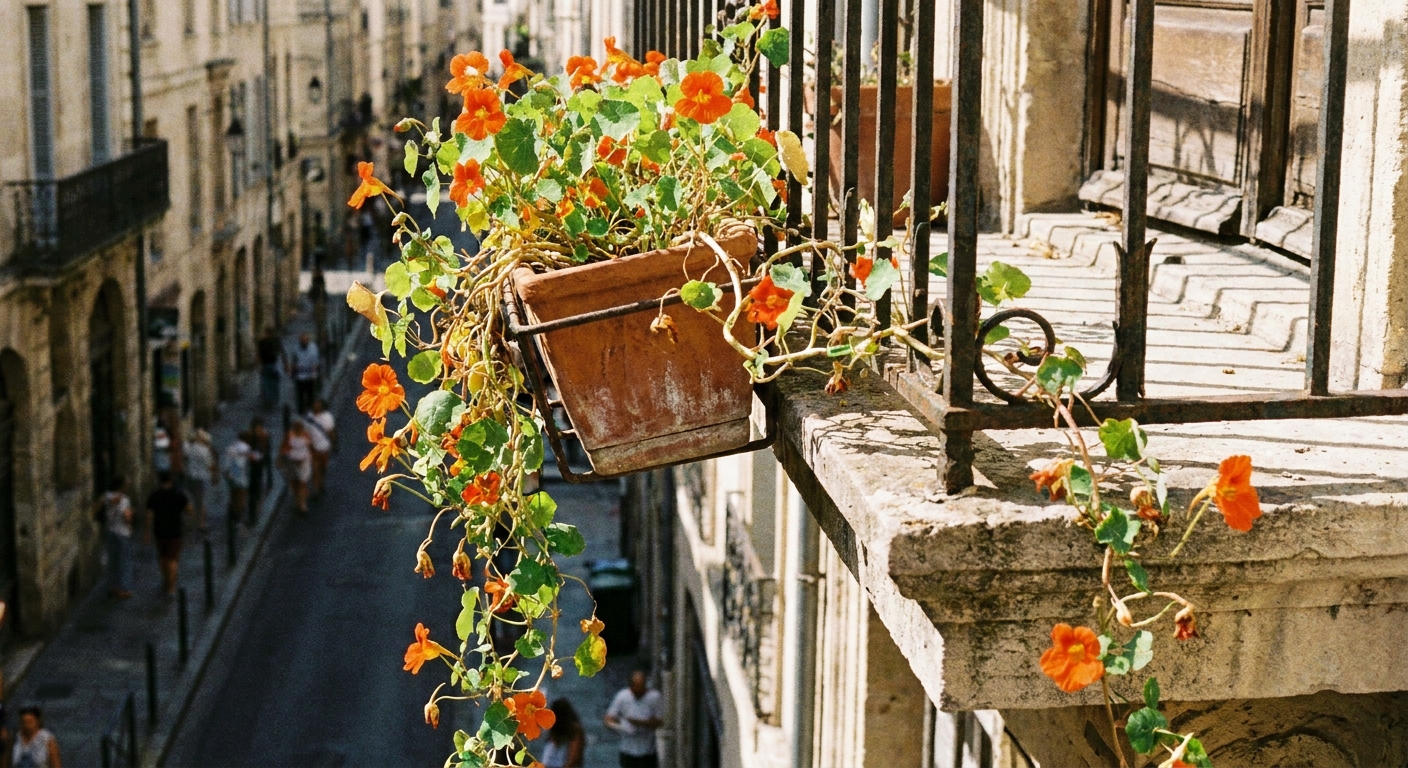
Nasturtiums are excellent in pots, as long as they do not sit in soggy soil.
- Drainage is non-negotiable: use pots with drainage holes.
- Pot size: plan on about a 10 to 12 inch pot for one mounding plant. Go larger (or plant fewer) for trailing types, especially in hanging baskets.
- Soil mix: a standard potting mix is fine, but avoid heavy feeding. If your mix is very rich, cut it with a little extra perlite or plain mix to keep it from going overly lush and leafy.
Edible parts
Nasturtiums are one of my favorite “grow it and eat it” plants because they are both pretty and practical. The flavor is peppery, a bit like arugula with a mustardy kick.
- Leaves: best when young and tender, great in salads or chopped into herb butter
- Flowers: use as salad toppers, on open-faced sandwiches, or floated in summer drinks
- Seed pods: can be pickled as “poor man’s capers” when green and firm
Harvest tip: pick in the morning after dew dries for the crispest texture. Rinse gently and pat dry.
Food safety note: only eat leaves and flowers you have grown without synthetic pesticides, and avoid harvesting from roadside or chemically treated areas. If you have plant allergies or sensitivities, try a small amount first. Also, “nasturtium” here means Tropaeolum species, not unrelated ornamentals that share the common name in some places.
Trap crop tips
Nasturtiums are often used as a trap crop, meaning they can attract certain pests away from the plants you are trying to protect. This is not magic and it is not a force field, but it can be a helpful part of an organic, low-spray approach.
What they can attract
- Aphids: nasturtiums are a known aphid magnet in many gardens
- Some cucurbit pests: they are often planted near cucurbits (squash, zucchini, pumpkins, cucumbers) in hopes of distracting pests such as cucumber beetles and other sap-suckers. Results vary by region and year, and the evidence for specific pests like squash bugs is mixed.
How to place them
- Border strategy: plant nasturtiums around the edges of your cucurbit bed, not directly under the main canopy
- Decoy clumps: plant a few dense clumps a short distance away from the main crop, like a “snack bar” that pests find first
- Staggered timing: sow a small second batch a few weeks later so you still have fresh, lush growth that stays attractive to pests
Reality check
If your nasturtiums become heavily infested, that is them doing their job. At that point, you have options: blast aphids off with water, pinch off the worst growth, encourage beneficial insects, or remove the most infested plants entirely. A trap crop only helps if you are willing to manage the trap.
Common problems
Lots of leaves, few flowers
- Cause: too much nitrogen, overly rich soil, too much fertilizer
- Fix: stop feeding, go easier on compost next time, move container plants to a less rich mix if needed
Yellow leaves
- Cause: overwatering, poor drainage, or heat stress
- Fix: let soil dry a bit between waterings, improve drainage, add afternoon shade in very hot climates
Powdery mildew late in the season
- Cause: crowded plants, humid conditions, low airflow
- Fix: thin for airflow, water at the base, remove the worst leaves, plant in a sunnier spot next year
Chewed leaves
- Cause: caterpillars, beetles, slugs depending on region
- Fix: hand-pick, use iron phosphate for slugs, and remember that a few holes are usually cosmetic
Save seeds
Nasturtiums make seed saving wonderfully beginner-friendly. Let some flowers fade and watch for the seed pods to swell and mature.
- Let seed pods dry on the plant until they turn beige and start to drop easily.
- Collect and dry in a single layer indoors for about a week.
- Store in a labeled paper envelope or jar in a cool, dry place.
When you plant them next year, it will feel like your garden is remembering itself.
Quick cheat sheet
- Best method: direct sow after last frost
- Planting depth: 1/2 to 1 inch
- Spacing: 8 to 12 inches (mounding), 10 to 18 inches (trailing), thin seedlings to final spacing
- Sun: full sun, or afternoon shade in extreme heat
- Soil: average to lean, well-drained, avoid high nitrogen (lean, not depleted)
- Supports: trellis for climbers, let trailers spill naturally
- Keep blooms coming: deadhead, do not let too many flowers go to seed
- Bonus: edible leaves and flowers, useful as a trap crop for aphids and sometimes other pests (results vary)