How to Grow Microgreens Indoors
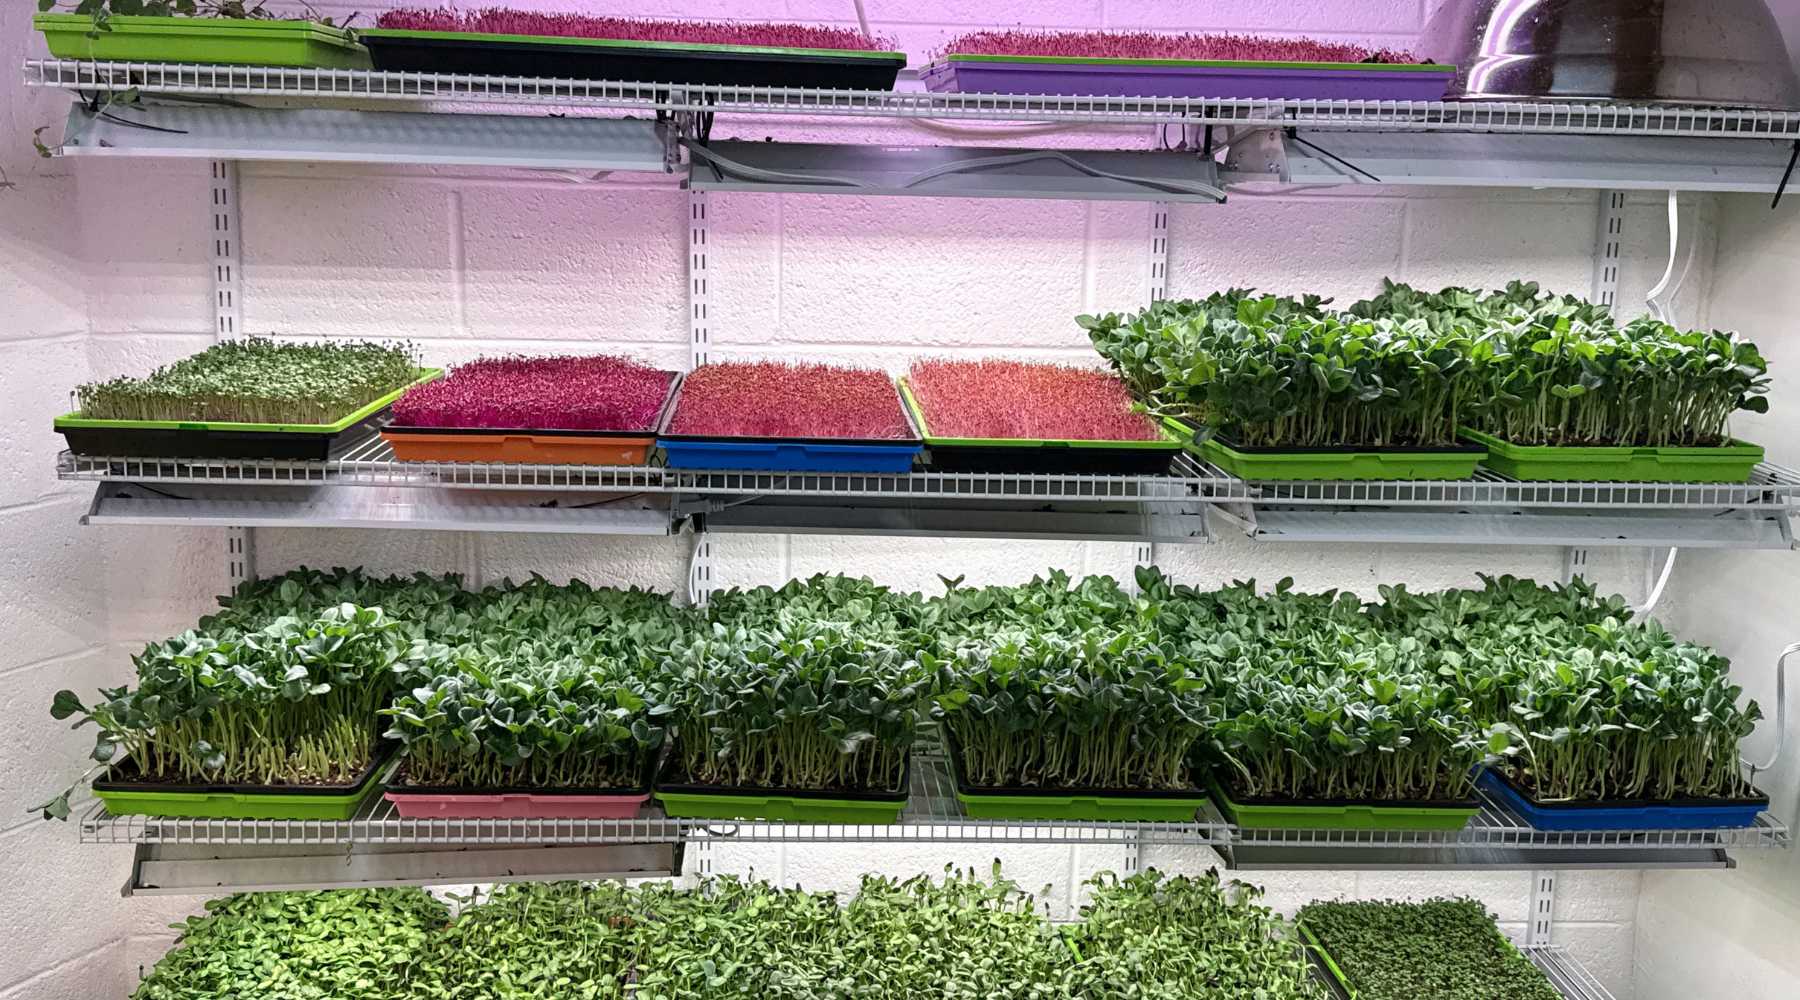
Microgreens are the quickest way I know to turn “I can’t keep anything alive” into “I grew dinner.” They are baby greens harvested around the time the first true leaves start to appear, or right at the cotyledon stage for crops that taste best young. That means big flavor, bright color, and a harvest window that moves fast enough to keep you excited. You do not need a greenhouse, a fancy setup, or a mystical green thumb. You need a shallow tray, decent seed, and a little consistency.
I talk to my ferns, yes. But microgreens do not require pep talks. They mostly want even moisture, fresh air, and light at the right time.

What you can grow (and what to skip at first)
Most microgreens are harvested 7 to 21 days after sowing, depending on the crop and your indoor conditions. If you are brand new, start with fast, forgiving growers.
Great beginner microgreens
- Radish (spicy, very fast)
- Broccoli (mild, reliable)
- Mustard (peppery, quick)
- Kale (sweet-green, steady)
- Peas (crunchy shoots, slightly longer, very rewarding)
- Sunflower (nutty, sturdy stems, hull-free seed helps reduce “helmet heads” and makes cleanup easier, but hulled black oil sunflower can work too)
Save these for later
- Basil (slow, fussier germination)
- Cilantro (slow and uneven without pre-soaking)
- Beets and chard (slower, can be spotty)
Food safety note: Buy edible seed from a reputable supplier (often labeled for microgreens, sprouts, or edible garden use). Neither sprouts nor microgreens are sterile, so clean equipment and good airflow matter as much as the label.
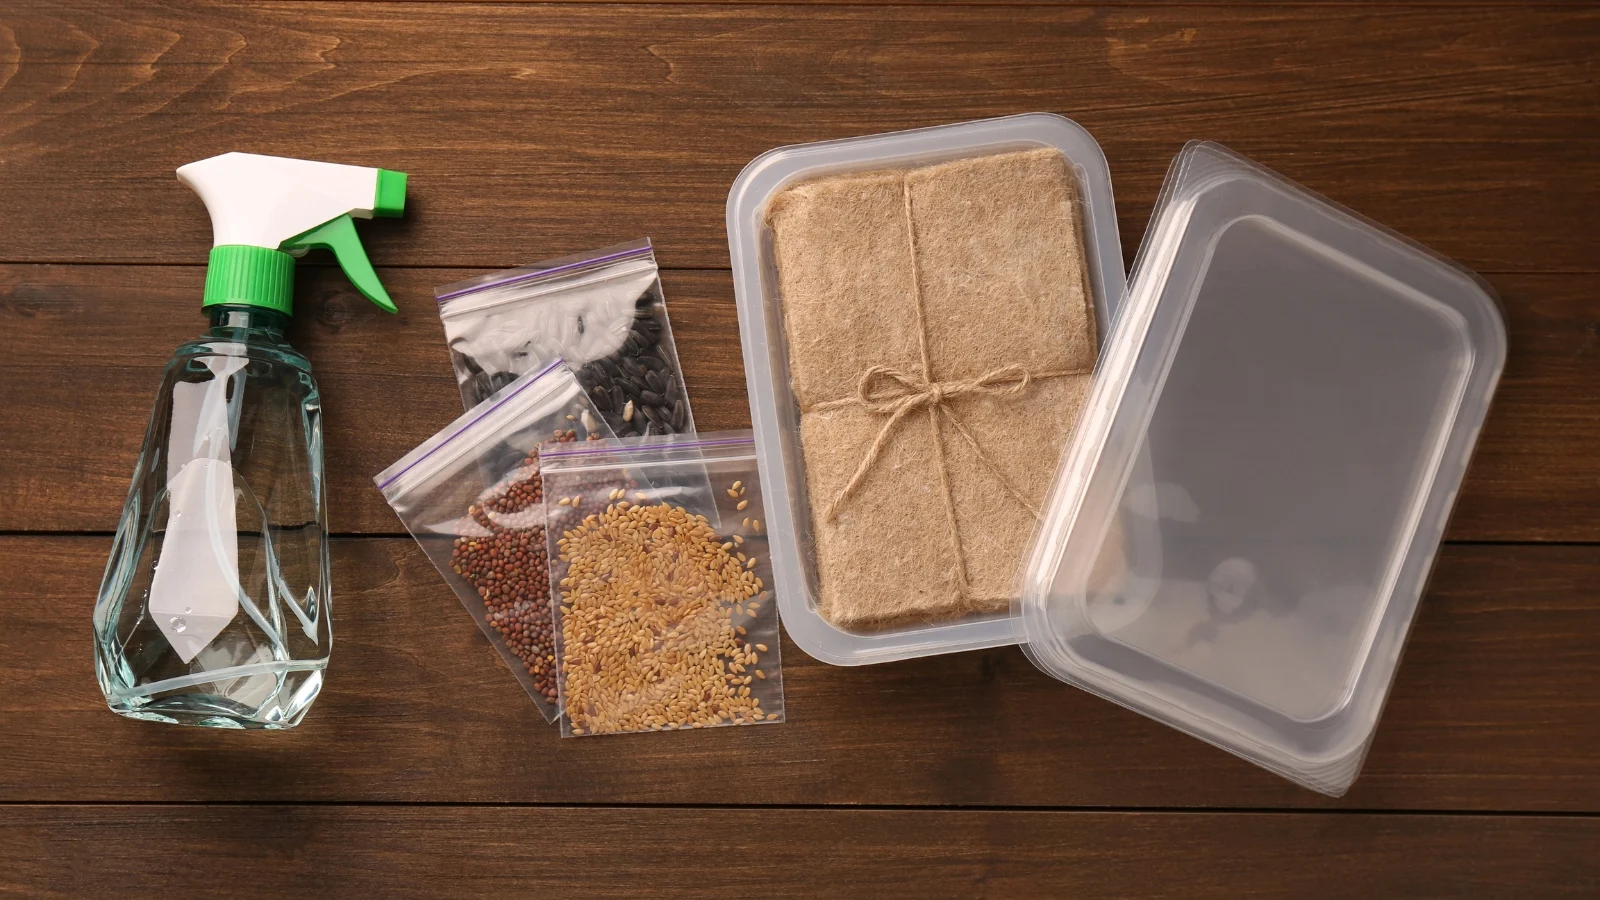
Supplies: a simple indoor setup that works
You can grow microgreens with a few basics. The goal is a shallow, clean growing surface with drainage, plus a light source that prevents leggy, floppy greens.
What you need
- Trays: One tray with holes (drainage) nested inside one tray without holes (to catch water). Common size is 10 x 20 inches, but any shallow tray works.
- Growing media: Seed-starting mix, coco coir, or a hemp or jute grow mat.
- Light: A bright window can work in summer, but a small LED grow light is more consistent year-round.
- Sprayer or watering can: For gentle watering. A spray bottle is perfect for the first few days.
- Small fan (optional but helpful): Prevents mold by improving airflow.
- Kitchen shears or a sharp knife: For clean harvesting.
Choosing a growing medium
The medium is simply a clean, moisture-holding place for roots. You are not trying to feed the plants long-term, since microgreens are harvested young.
Seed-starting mix
- Pros: Easy, forgiving, good moisture balance.
- Cons: Messier at harvest, can harbor mold if kept too wet.
Coco coir
- Pros: Clean, consistent, less gnats than some potting soils.
- Cons: Can dry out on the surface, so misting matters early on.
Grow mats (hemp/jute)
- Pros: Very clean harvest, great for small seeds.
- Cons: Watering is less intuitive at first, and mats must be high-quality and clean.
If you are overwhelmed, start with seed-starting mix. It is the most forgiving while you learn the rhythm of moisture and airflow.
Reusing media: For food crops, I recommend starting fresh each cycle. Reusing medium is where mystery mold and sad surprises like to move in.
Step-by-step: how to grow microgreens indoors
1) Prep and sanitize (do not skip this)
Mold loves warm, damp environments. Microgreens are warm and damp by design, so cleanliness is half the battle.
- Wash trays with hot soapy water.
- Rinse well.
- Optional but useful: wipe with a mild vinegar solution, then rinse and dry.
- Start with clean hands, clean scissors, and a clean counter.
2) Fill the tray
Add 1 to 1.5 inches of moistened medium. It should feel like a wrung-out sponge: damp, not dripping. Level it gently so seeds sit evenly.
3) Soak large seeds (optional, but worth it)
Big seeds are the “slow to wake up before coffee” crowd. A short soak helps them germinate more evenly.
- Peas: Soak 8 to 12 hours, then drain well.
- Sunflower: Soak 8 to 12 hours, then drain well.
Do not soak tiny seeds like broccoli, kale, mustard, or radish.
4) Sow seeds densely, but not carelessly
Microgreens are meant to be close together, but air still needs to move between seedlings. Sprinkle seed as evenly as you can. If you see big piles or bare patches, use your fingertips to spread them out.
Rule of thumb: Seeds should mostly form a single layer. A little overlap is fine, thick clumps are where mold starts.
Beginner baseline for a 10 x 20 tray: seed size and variety matter, so follow your supplier if they provide rates. If you need a starting point:
- Small seeds (broccoli, kale, mustard): about 1 to 2 tablespoons
- Radish: about 2 to 3 tablespoons
- Peas: about 1 to 2 cups (spread in a snug single layer)
- Sunflower: about 1 to 1.5 cups
5) Press seeds in, then mist
Press seeds into the surface with a clean tray, a flat board, or your palm. This improves contact with moisture. Mist thoroughly.
Large seed tip: Peas and sunflowers often do better with a very light cover of medium or coir. Think “dusting,” not burial.
6) Blackout phase (germination)
Cover the tray for about 2 to 5 days depending on the crop, or simply until most seeds have germinated and are pushing up against the cover. You can:
- Place an empty tray on top.
- Use a dome lid (watch for extra humidity).
- Use a clean towel or cardboard that does not touch wet media.
Cardboard note: Use clean, plain cardboard. Skip anything painted, glossy, or printed heavily.
Some growers add a little weight on top for strong root anchoring, especially for radish and broccoli. A light weight is enough. Think “firm handshake,” not “gym workout.”
7) Uncover and move under light
Once most seedlings are up and pushing against the cover, remove it and put the tray under your light.
- LED distance: Often 6 to 12 inches above the canopy, but adjust based on your fixture and how the plants respond.
- Light schedule: 12 to 16 hours per day.
If seedlings stretch tall and pale, they need stronger light or closer placement.
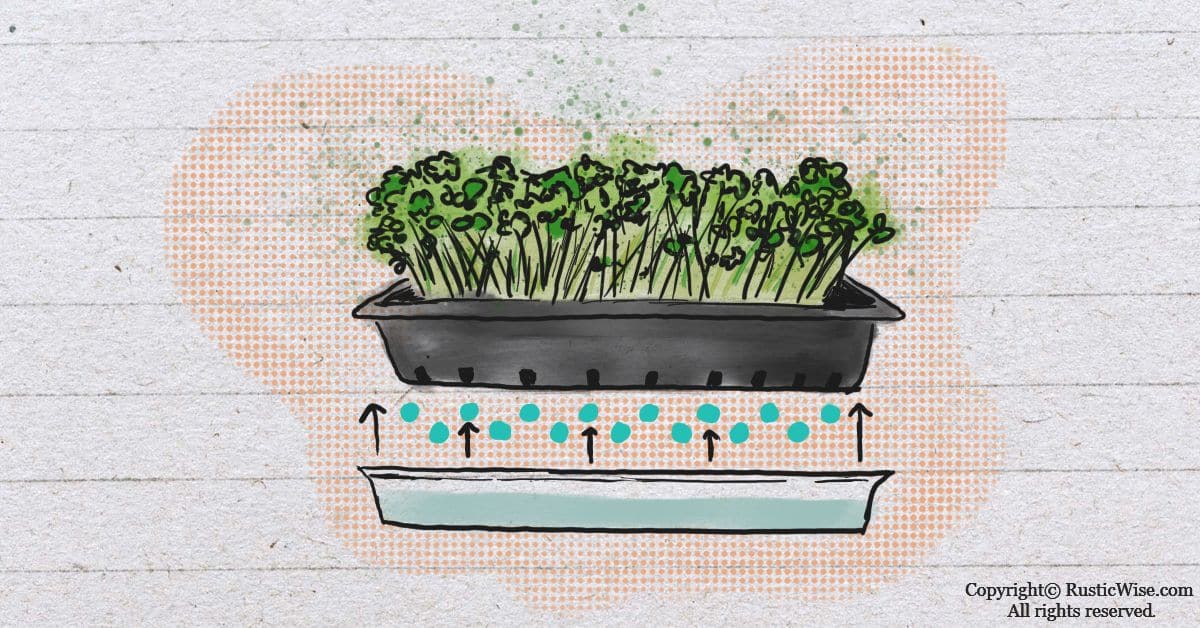
8) Water from the bottom when possible
After germination, bottom watering keeps stems and leaves drier, which reduces mold risk.
- Pour water into the bottom (no-hole) tray.
- Let the growing tray wick water up for 10 to 20 minutes.
- Pour off any extra so roots are not sitting in stagnant water.
Lighting options that actually work indoors
Light is what turns tiny sprouts into sturdy, flavorful microgreens. Without enough light, you get long, floppy, pale stems.
Sunny window
- Best for: Summer, south-facing windows, small trays.
- Watch for: Leaning toward the light and uneven growth.
LED grow light
- Best for: Most homes, most seasons, consistent results.
- Watch for: Light too far away leading to leggy greens. Adjust height based on plant response.
Shop light with LED bulbs
- Best for: Budget setups and shelves.
- Watch for: Using bulbs that are too weak. Brightness matters more than “fancy” labeling.
Whatever you use, aim for compact growth and rich color. Your microgreens should look like sturdy little plants, not pale noodles.
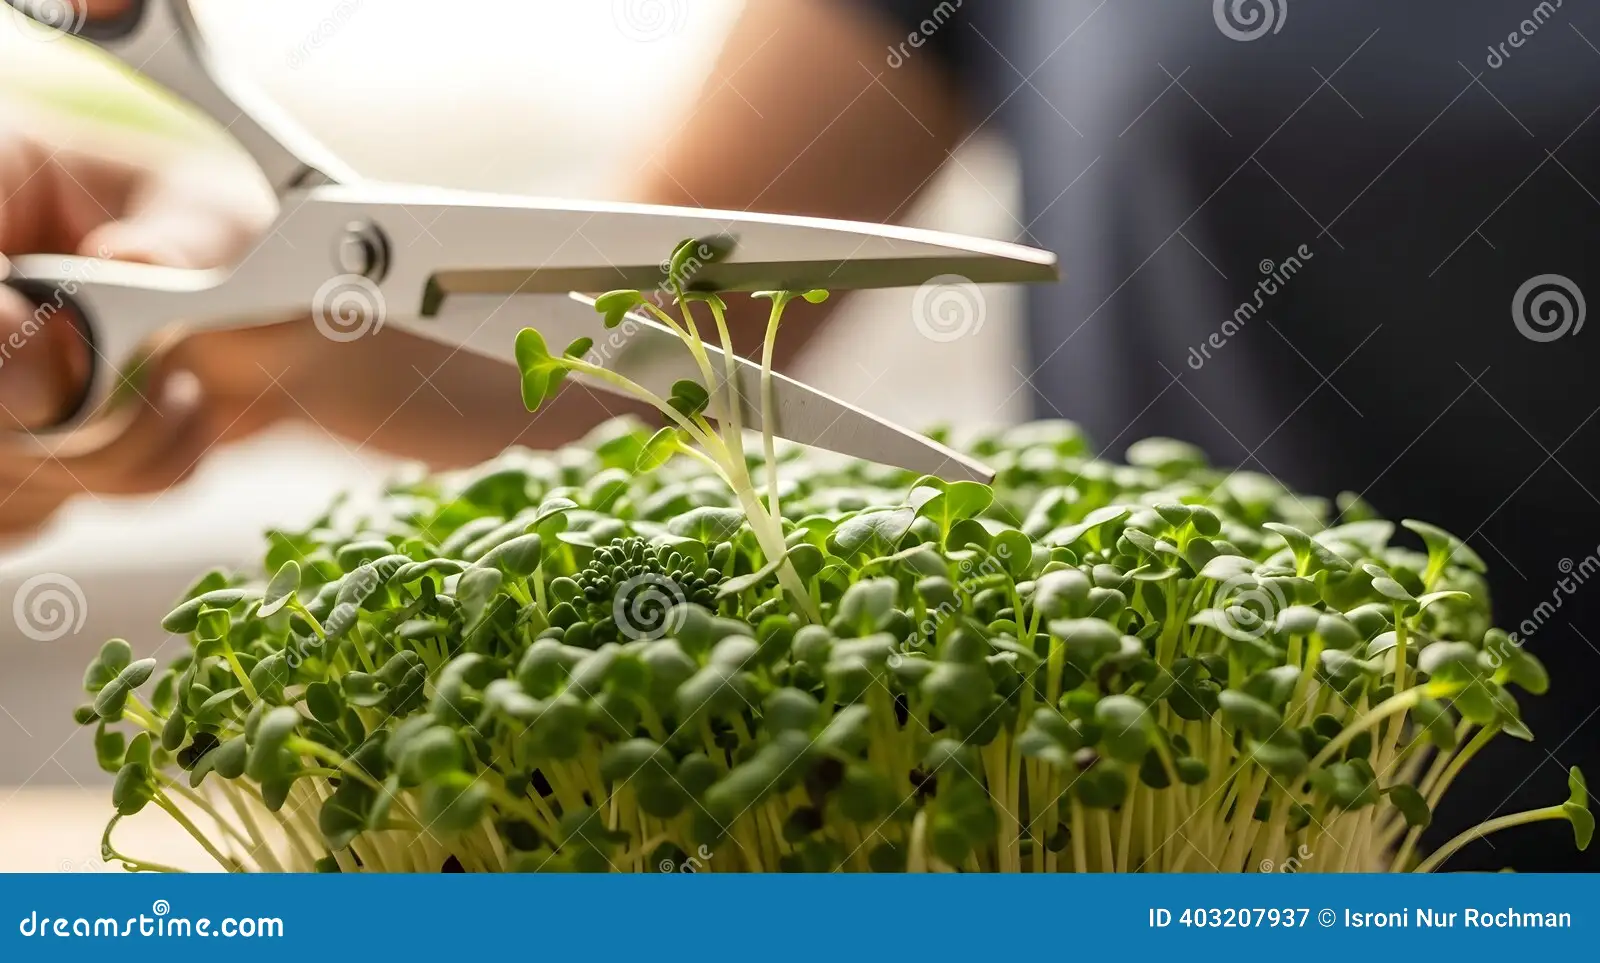
Harvest windows: when to cut for best flavor
Most microgreens are ready at the cotyledon stage, or when the first true leaves are just beginning to show. Harvest timing is part taste, part texture.
- Radish: 7 to 12 days, often best at cotyledons or just as true leaves start.
- Broccoli and kale: 8 to 14 days, harvest as the canopy thickens and greens deepen.
- Mustard: 7 to 14 days, harvest earlier for less bite.
- Pea shoots: 10 to 21 days, harvest at 3 to 6 inches tall.
- Sunflower: 8 to 14 days, harvest when the first leaves open fully, before they get tough.
Use clean scissors and cut just above the soil line. If you are using a grow mat, cut right above the mat surface.
Food-safety basics for homegrown microgreens
Microgreens are grown warm and moist, which is also what many microbes prefer. The good news is that at-home safety is mostly about clean habits and smart storage.
- Start clean: Wash trays, tools, and hands every cycle.
- Use potable water: If your tap water is safe to drink, it is safe to grow with.
- Reduce splash: Bottom water after germination to keep leaves drier.
- Harvest clean: Use a clean knife or shears and a clean cutting board.
- Store dry: Refrigerate in a container lined with a dry paper towel. Close the lid but do not crush them.
- Wash before eating: Rinse gently and spin or pat dry, especially if you are serving to someone immunocompromised.
If anything smells off, feels slimy, or shows fuzzy growth, compost it and reset. Microgreens are fast. Your next batch will be ready soon.
Easy seed mixes to try
Mixes are where microgreens get extra fun. You can buy pre-made blends or make your own. Try to combine seeds with similar growth speed, so one crop does not smother another.
1) Spicy sandwich mix
- Radish
- Mustard
- Arugula
Taste: Peppery and bold. Best use: Egg sandwiches, avocado toast, tacos.
2) Mild salad mix
- Broccoli
- Kale
- Kohlrabi
Taste: Sweet-green and gentle. Best use: Big bowls of salad, smoothies, wraps.
3) Crunchy shoot mix
- Pea shoots
- Sunflower
Taste: Nutty and crisp. Best use: Grain bowls, stir-fries after cooking, hearty salads.
Mixing tip
Combine seeds of similar size and germination speed. Pairing tiny seeds (like broccoli) with large seeds (like peas) often leads to uneven canopies and extra moisture pockets.
How to prevent mold and damping off
If microgreens fail, it is usually one of three things: too wet, not enough airflow, or seeds sown too thickly. Damping off is when seedlings collapse at the soil line from fungal pressure, often after a period of soggy conditions.
My best mold-prevention checklist
- Do not over-soak the tray: Media should be damp, not swampy.
- Bottom water after sprouting: Keeps stems drier.
- Increase airflow: A small fan on low, not blasting, makes a big difference.
- Thin the sowing rate: If you see thick clumps, use fewer seeds next batch.
- Uncover on time: Leaving trays covered too long traps humidity.
- Drain excess water: Do not let trays sit in standing water.
- Aim for normal room conditions: Roughly 65 to 75 F is a happy place for many crops. Very warm, very humid rooms increase mold pressure.
What about “white fuzz” on roots?
Many crops (radish especially) produce fine root hairs that look fuzzy. Root hairs show up evenly along the root zone and often disappear when misted. Mold tends to look webby, spreads irregularly across the soil surface and stems, and often comes with a musty smell.
If you spot mold
- Improve airflow immediately.
- Let the surface dry slightly between waterings.
- Harvest early if the greens are close to ready.
- If it is widespread or smells musty, compost the tray and sanitize before restarting.
Optional rescue tool: Some growers use a very light mist of highly diluted food-grade hydrogen peroxide to slow early surface mold. If you do, keep it dilute, spot test, avoid soaking the canopy, and treat it as a backup plan, not the main plan.
Quick troubleshooting
- Leggy, pale greens: Light is too weak or too far away. Move the light closer or upgrade brightness.
- Patchy germination: Uneven moisture or old seed. Press seeds in and mist more evenly during blackout.
- Seed hulls stuck on leaves: Often from low humidity during germination or using hulled sunflower. Mist lightly, then gently brush hulls off at harvest.
- Yellowing: Normal during blackout. They should green up within a day under light.
- Bad smell: Usually too wet and low airflow. Drain better, bottom water, and add a fan.
A simple weekly routine
If you want microgreens on your plate all the time, stagger your trays.
- Day 1: Sow a tray.
- Day 3 to 5: Uncover and move under light.
- Day 8 to 14: Harvest most brassicas and radish mixes.
- Weekly: Start a new tray so you always have something coming up.
Microgreens are tiny, but they do something big for a home. They make the kitchen feel alive. And once you harvest your first tray, you will start eyeing every sunny corner like it is prime real estate. Welcome to the club.