How to Grow Kale
Kale is one of those plants that makes you feel like a gardening wizard. It shrugs off chilly nights, keeps pushing out fresh leaves for weeks, and tastes better once it has kissed a little frost. If you have ever wanted a reliable, high-reward veggie that does not demand perfection, kale is your leafy best friend.

Below, I will help you choose a good type, decide between spring and fall planting, nail spacing, and keep pests like aphids and cabbage worms under control using gentle, natural methods.
Pick a kale type
Many common garden kales fall into a few everyday categories you will see at garden centers and in seed catalogs. All are nutritious and productive, but they behave a little differently in the kitchen and the garden.
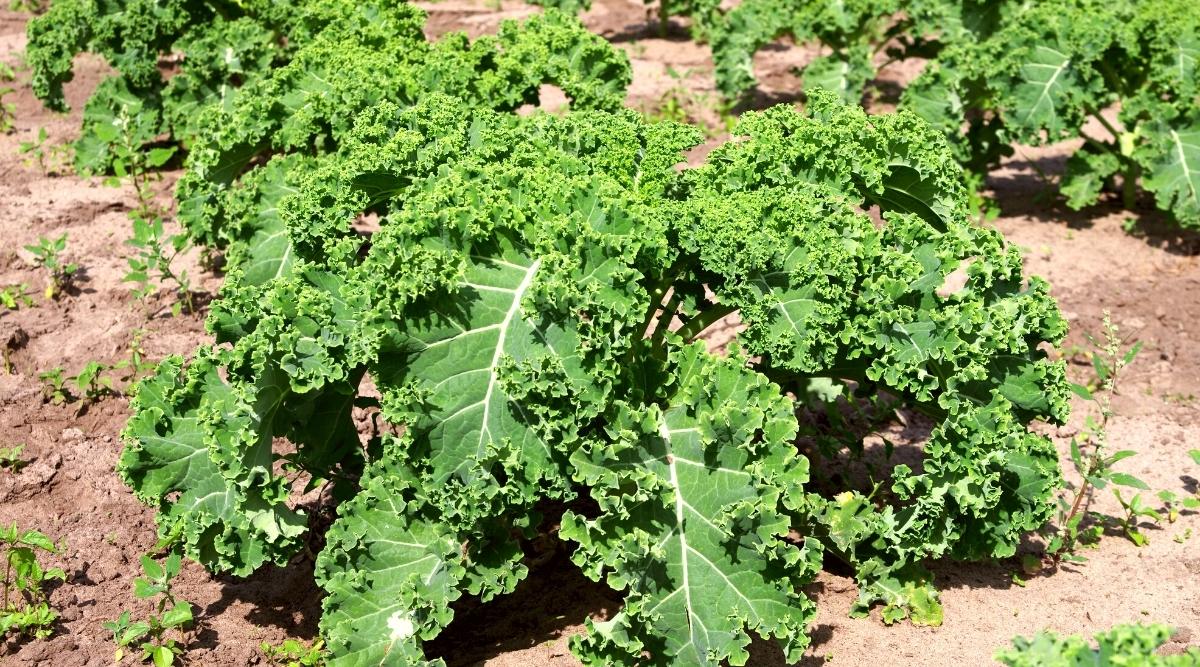
Curly kale
- Look and texture: Ruffled, frilly leaves with a satisfying chew.
- Best for: Soups, sautés, kale chips, and hearty salads (massage it with oil or dressing to soften).
- Garden notes: Usually very cold hardy and forgiving. A classic starter kale.
Lacinato kale (Tuscan, dinosaur kale)
- Look and texture: Long, dark blue-green leaves with a bumpy surface. More tender than curly kale when young.
- Best for: Fresh salads, quick sautés, and anything where you want a silky texture.
- Garden notes: Strong performer in cool weather. Leaves are easy to harvest cleanly.
Russian-style kale (often sold as Siberian or Red Russian)
- Look and texture: Flatter, often lobed leaves, typically very tender. Color can range from light green to blue-green to purple-tinged depending on cultivar.
- Best for: Fresh eating and quick cooking. Great if you want less “bite.”
- Garden notes: Excellent cold tolerance and fast growth. Seed catalogs sometimes use names like “Siberian” or “Russian” for these types, and traits can vary by variety, so check the packet description if you have a specific goal.
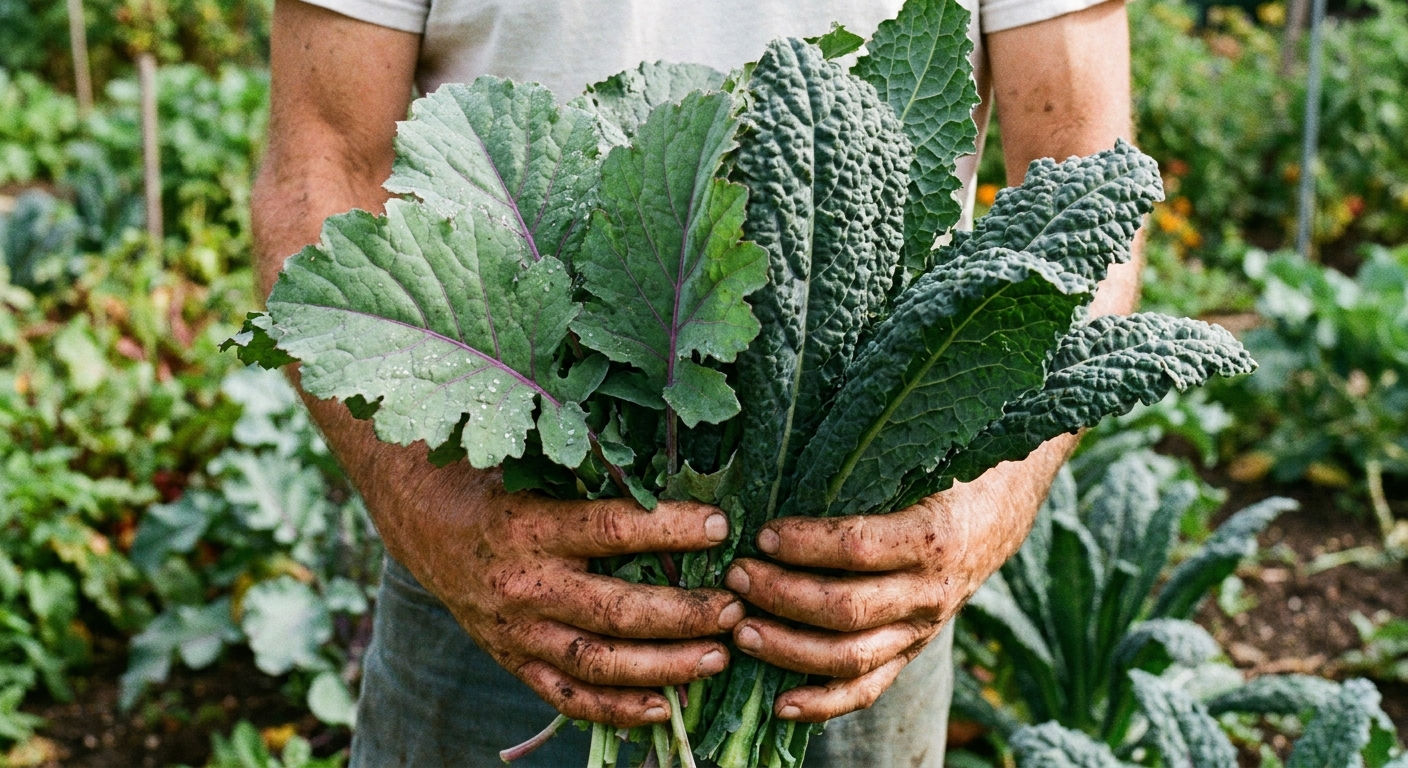
My gentle rule of thumb: If you are unsure, plant two types. Curly for sheer toughness, and Lacinato or a Russian-style type for tenderness. You will learn your preference quickly, and your kitchen will thank you.
Spring vs fall planting
Kale is a cool-season crop. That means it grows best when days are mild and nights are cool.
Spring kale
Spring planting is all about getting kale established before heat ramps up.
- When to plant: Sow seeds outdoors a few weeks before your last frost date, or transplant seedlings once the soil is workable and nights are not brutally cold.
- Pros: Early harvests, great for gardeners itching to plant.
- Watch-outs: Heat can make leaves tougher or more bitter. Older plants under stress (heat, drought, long days) are also more likely to bolt, especially once they are mature.
Fall kale
Fall kale is where this plant truly shines. Cool air slows stress, pests often ease up, and flavor improves.
- When to plant: Start seeds in mid to late summer, or set out transplants in late summer to early fall, so plants have time to size up before hard freezes.
- Pros: Sweeter leaves, steadier growth, and often fewer insect issues.
- Watch-outs: In very short-season areas, start earlier so plants are not tiny when cold arrives.
Cold hardiness basics
Kale can handle frost beautifully, and many varieties keep going through repeated light freezes. In many gardens, the plants keep producing well into winter, especially with a little protection.
- Light frost: Often improves sweetness.
- Hard freezes: Can damage exposed leaves. With hardy varieties and short cold snaps, plants may recover when temperatures rebound, but prolonged deep freezes can kill them.
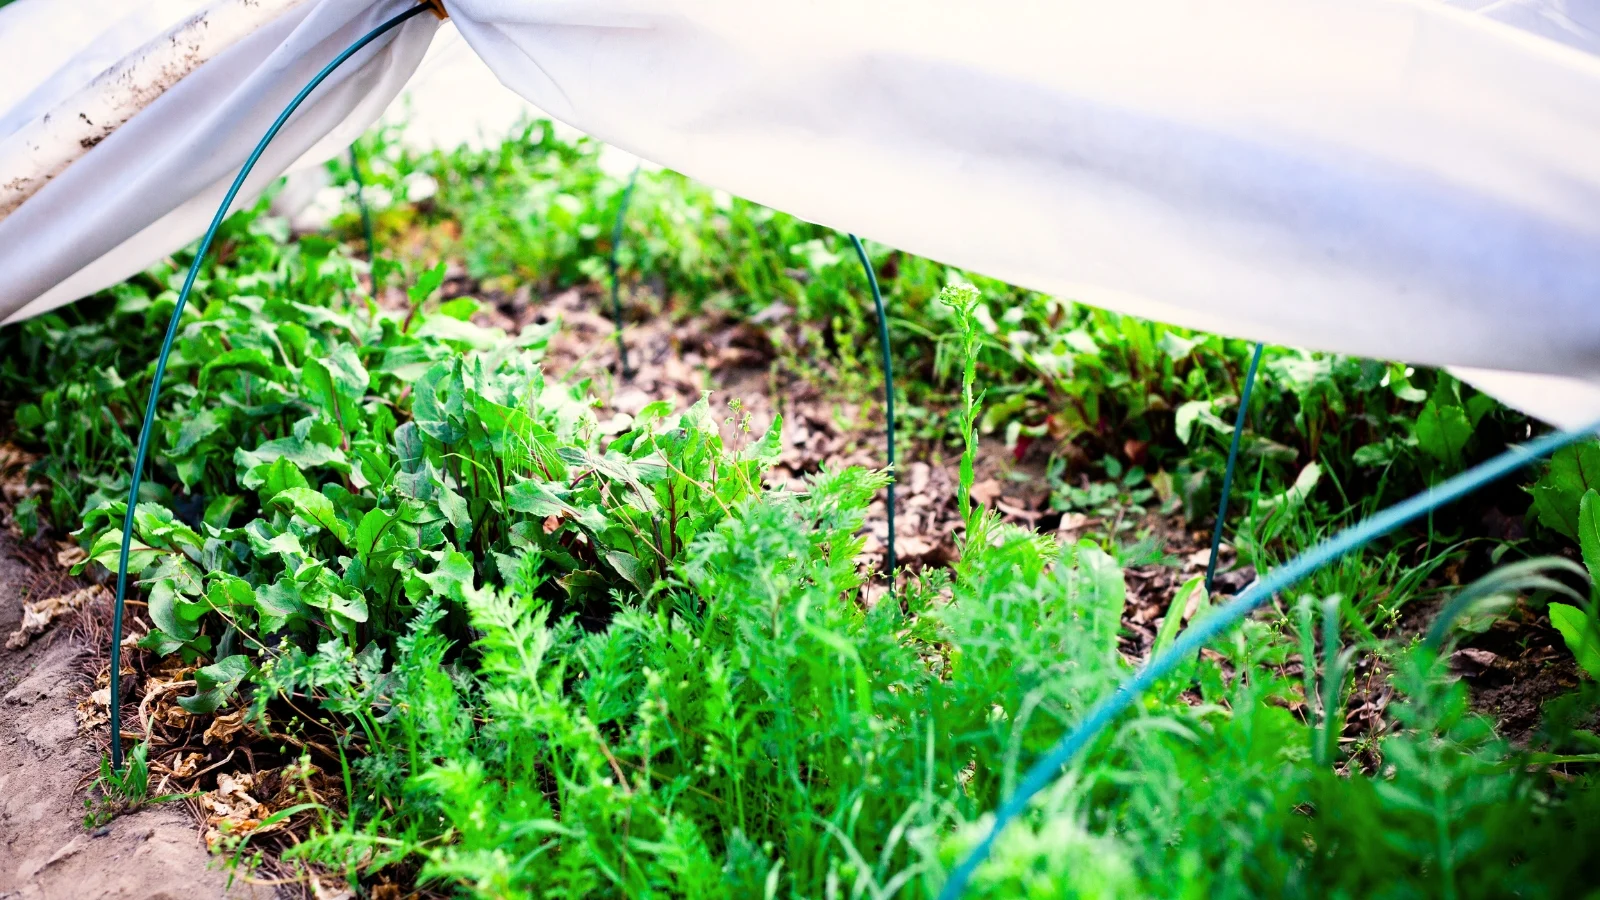
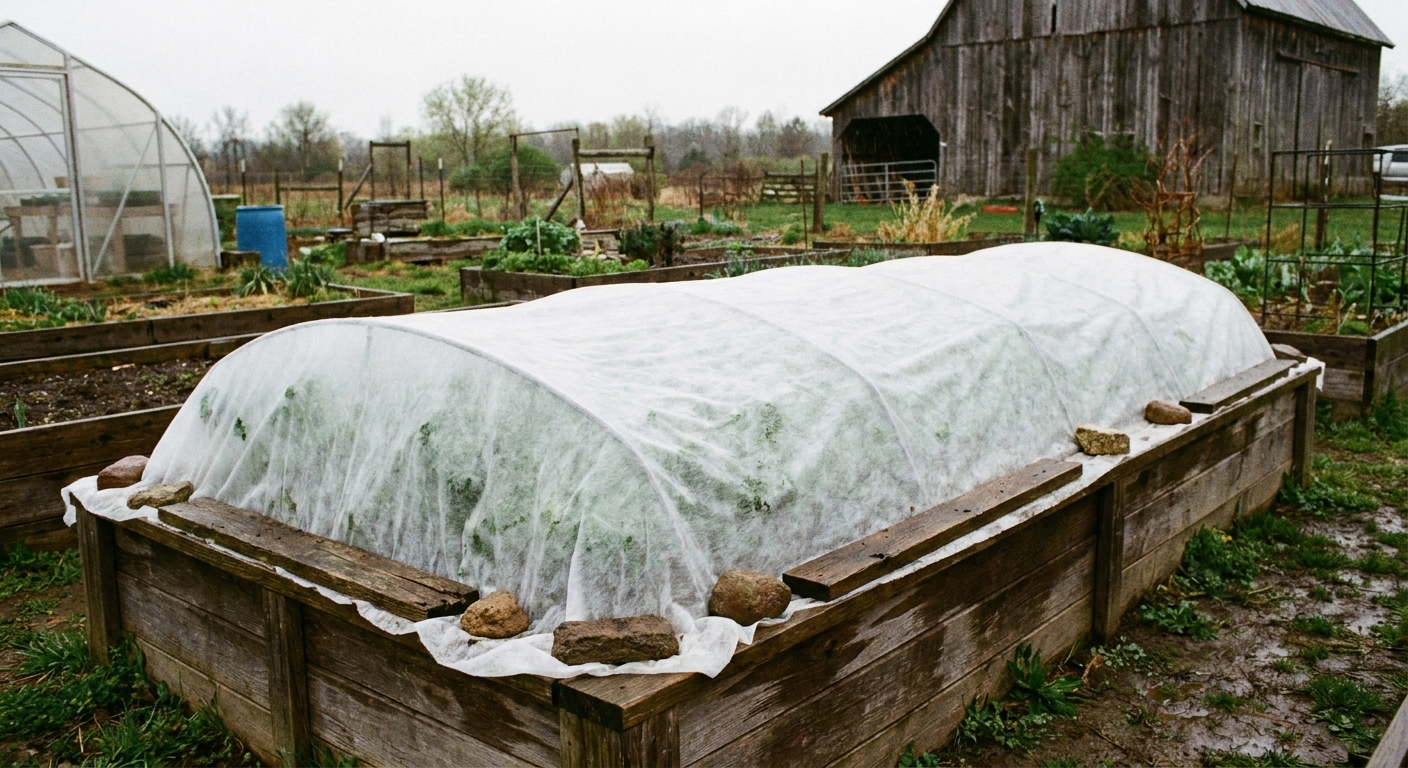
- Easy protection: Use a lightweight row cover or frost cloth on the coldest nights to keep leaves in better shape and extend harvest.
Soil, sun, and pH
If I sound like a broken record about soil, it is because healthy soil solves half of gardening before pests and problems even show up.
- Sun: Full sun is ideal, but kale tolerates partial shade. In warmer climates, a bit of afternoon shade can improve tenderness.
- Soil: Loose, well-draining, and rich in organic matter.
- pH: Kale generally prefers a slightly acidic to neutral range (about 6.0 to 7.5). If your soil is very acidic, a soil test and a little lime can help. Bonus: brassicas are more prone to clubroot in acidic soil, so pH matters.
- Before planting: Mix in finished compost. If your soil is compacted, a broadfork or garden fork loosening makes a big difference.
- Steady moisture: Even watering helps prevent bitterness and stress.
Sustainability note: Compost is not just “plant food.” It is habitat for beneficial microbes that help kale access nutrients and resist stress.
Spacing
Kale’s big leaves need airflow. Tight spacing can invite aphids, mildew, and generally grumpy plants.
In-ground spacing
- Standard spacing: 12 to 18 inches between plants.
- For large types and easy harvesting: 18 to 24 inches is luxurious and makes pest scouting simpler.
- Between rows: About 18 to 24 inches, or more if you like to step in and harvest comfortably.
Container spacing
- One plant per pot is the easiest approach for full-size kale. Aim for a container at least 12 inches wide and deep, roughly 3 to 5 gallons.
- Two plants can work in a very large container if you stay on top of watering and feeding.
My quirky-but-true tip: If your kale leaves touch and overlap when plants are half-grown, they will be a jungle later. Give them room now, and future you will not have to wrestle a leaf monster to harvest dinner.
Planting step by step
Direct sowing
- Prep the bed: Loosen soil and mix in compost.
- Sow: Plant seeds about 1/4 to 1/2 inch deep.
- Keep moist: Water gently and consistently until germination.
- Wait for sprouts: In cool, decent conditions, kale often germinates in about 5 to 8 days (a little longer if the soil is cold).
- Thin: When seedlings are a few inches tall, thin to your final spacing. Snip extras at soil level so you do not disturb roots.
Transplanting seedlings
- Harden off: Gradually introduce seedlings to outdoor conditions over about a week.
- Plant: Set seedlings at the same depth they were growing in the pot.
- Water in: A deep drink helps roots settle and reduces transplant shock.
- Mulch lightly: A thin layer of straw or shredded leaves helps hold moisture and keeps soil from splashing onto leaves.
Optional but helpful: If cabbage worms are common in your garden, cover newly planted kale with floating row cover right away. Prevention is easier than chasing caterpillars later.
How long until harvest
- Baby leaves: Often 25 to 35 days from seed (varies by variety and weather).
- Full-size leaves: Often 50 to 70 days from seed, sometimes longer in cold weather.
Succession planting
If you love baby kale, sow a short row (or a small pot) every 2 to 3 weeks during cool weather. It is one of the simplest ways to keep salads coming without ending up with 14 giant plants all begging for attention at once.
Natural pest prevention
With kale, the two most common nuisances are aphids and cabbage worms. The goal is not a sterile garden. The goal is balance, early detection, and gentle action.
Prevent issues early
- Use row cover early: Floating row cover blocks cabbage moths and butterflies from laying eggs on your leaves.
- Encourage beneficial insects: Plant small-flowered companions nearby like dill, cilantro, sweet alyssum, or yarrow to support lady beetles, lacewings, and parasitic wasps.
- Avoid excess nitrogen: Over-fertilized kale can become a soft, juicy buffet for aphids. Feed steadily, not aggressively.
- Water stress invites trouble: Keep moisture consistent so plants stay resilient.
Managing aphids
Aphids often cluster on tender new growth and the undersides of leaves. They can look alarming, but you can usually get ahead of them without harsh chemicals.
- Blast with water: A firm spray from the hose knocks aphids off. Repeat every few days as needed.
- Wash and harvest: Pick the worst leaves, then rinse the rest. You can still eat kale after a good wash.
- Insecticidal soap (spot use): If aphids keep rebounding, use an insecticidal soap in the evening and spray leaf undersides. Avoid spraying in hot sun.
- Protect beneficials: If you see lady beetle larvae or lacewing eggs, go extra gentle. They are on your team.
Managing cabbage worms
Cabbage worms are the green caterpillars that chew holes and leave little dark pellets behind. If you have ever harvested kale and found surprise “extra protein,” you have met them.
- Hand-pick: Check leaf undersides and the center of the plant. Drop caterpillars into soapy water.
- Use Bt as a last-step organic tool: Bt (Bacillus thuringiensis var. kurstaki) targets caterpillars and is commonly used in organic gardening. Apply at dusk, coat both sides of leaves, and reapply after rain. Avoid spraying open flowers and use only when needed.
- Row cover works wonders: If you block egg-laying, you often avoid the problem entirely.
Quick scouting habit: Once a week, flip a few leaves over while you water. That tiny routine catches aphids and eggs early, when control is easy and low-impact.
Feeding and watering
Kale is a leafy crop, so it appreciates consistent nutrients, especially nitrogen, but it does not need heavy-handed fertilizing.
- Water: Aim for evenly moist soil. Deep watering is better than frequent shallow sprinkles.
- Mulch: Helps keep soil cool and reduces water swings.
- Gentle feeding: Compost at planting, then a light side dress of compost a few weeks later can be plenty. If plants look pale or slow, a diluted fish emulsion or seaweed feed can perk them up.
Flavor tip: Stress makes kale tougher and more bitter. Consistent moisture and soil richness are your best “seasonings.”
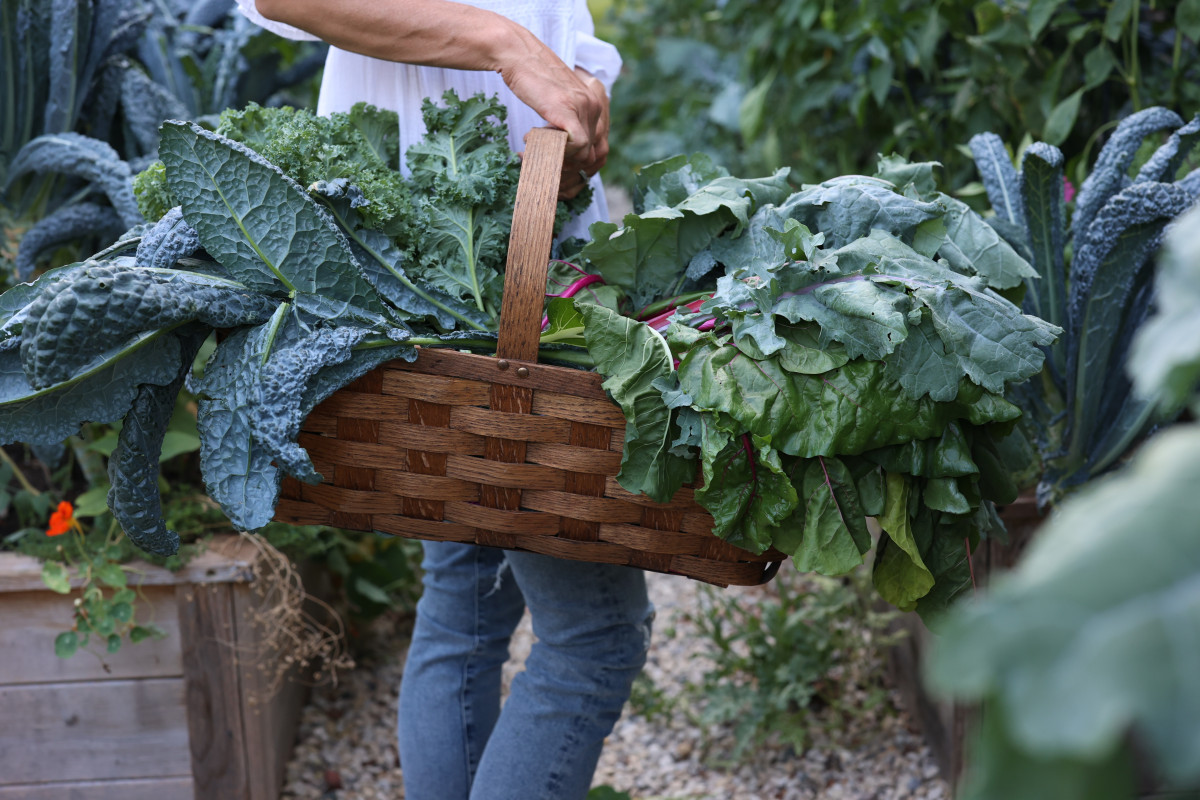
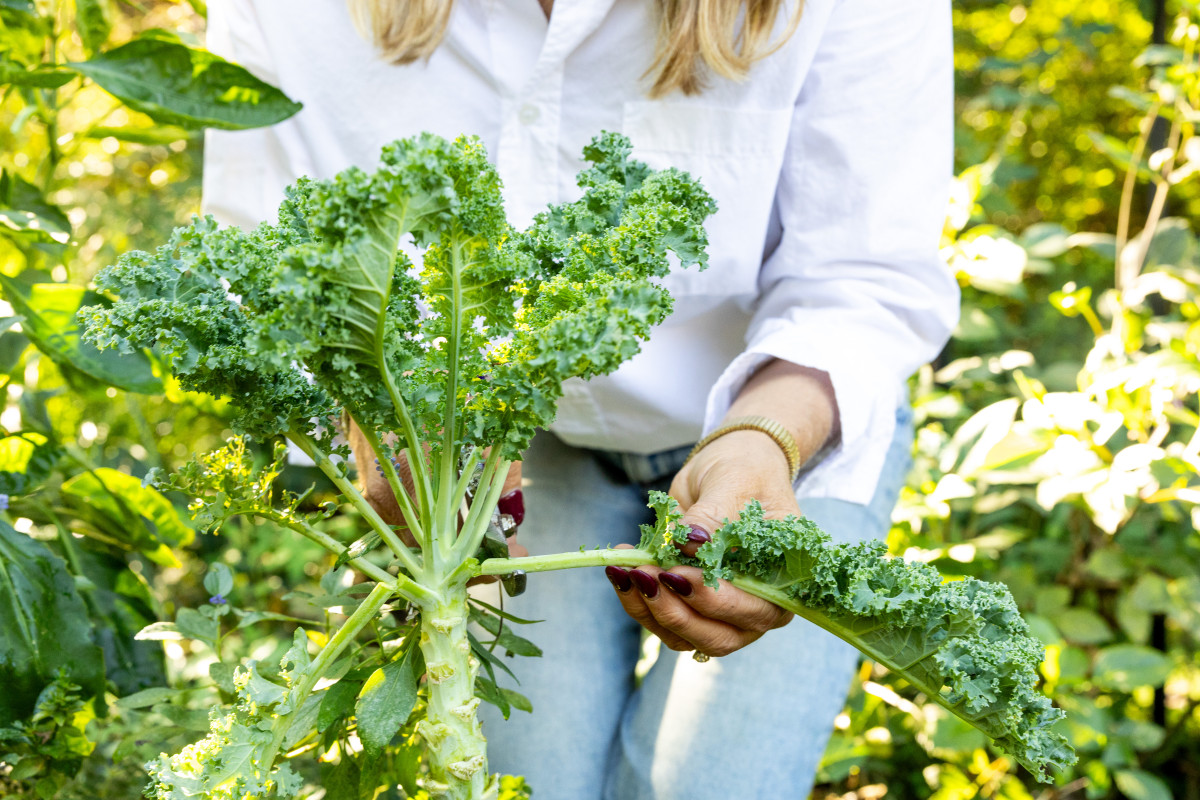
Harvest for weeks
The secret to a long kale season is harvesting like you are giving the plant a haircut, not removing its head.
How to harvest
- Start with the outer leaves: Pick the lowest, largest leaves first.
- Leave the center: The plant grows from the top center. Protect that growing point.
- Harvest often: Regular picking encourages new leaf production.
- Do not strip it bare: Leave enough leaves for the plant to keep photosynthesizing.
When to harvest
- Baby kale: Harvest when leaves are small and tender for salads.
- Mature leaves: Pick when leaves are hand-sized or larger, before they get thick and leathery.
Cold-weather bonus: In fall, let plants experience a light frost before harvesting for a sweeter bite. It is one of my favorite garden miracles.
Overwinter bonus: flower shoots
If your kale survives winter, it often sends up tender flower shoots in early spring. Harvest these young stems and buds like kale rapini. They are sweet, a little nutty, and feel like the garden handing you a surprise encore.
Troubleshooting
- Leaves are bitter: Heat and inconsistent watering are common culprits. Provide afternoon shade in hot climates and keep moisture steady. Harvest younger leaves.
- Holes in leaves: Usually cabbage worms or flea beetles. Inspect undersides, consider row cover, and use Bt for caterpillars if needed.
- Yellowing leaves: Could be natural aging on the lowest leaves, or a sign the plant needs a bit more nitrogen. Check moisture first, then consider compost side dressing.
- Slow growth: Cool weather is fine, but very poor soil or crowding can stall plants. Add compost and ensure proper spacing.
- Leaf diseases show up: Downy mildew and other leaf spots are more likely with crowded plants and frequent overhead watering. Improve airflow, water at the soil line, remove the worst leaves, and rotate brassica crops from bed to bed when you can. If you have had clubroot before, prioritize pH management and rotation.
A simple weekly plan
If you want the easiest path to success, here is a low-stress approach:
- Choose: One curly kale plus one Lacinato or Russian-style type.
- Prepare: Mix compost into a sunny bed or a 3 to 5 gallon container.
- Plant: Space 12 to 18 inches apart.
- Protect: Add floating row cover if cabbage worms are common in your area.
- Maintain: Water consistently and scout weekly.
- Harvest: Outer leaves first, all season long.
Kale rewards consistency more than perfection. Show up, water, peek under a few leaves, and harvest with a gentle hand. Before you know it, you will be the person casually saying, “Oh, I just picked this from the garden,” like it is no big deal.