How to Grow Green Beans at Home (Bush and Pole)
Green beans are one of those vegetables that make you feel like a gardening wizard. You tuck a seed into warm soil, and a few weeks later you are snapping crisp pods into your bowl like you grew groceries out of pure optimism. The best part is that beans are generous. Harvest them often, and they keep producing.
In this guide, we will cover both bush beans and pole beans, so you can choose what fits your space and your summer schedule.

Bush vs pole beans
Both types are green beans. The difference is how they grow and how long they produce.
Bush beans
- Growth habit: Compact plants, usually 12 to 24 inches tall.
- Support: No trellis needed.
- Harvest window: Heavy harvest over a few weeks. Great if you want a big batch for freezing or canning.
- Space: Easier in raised beds, containers, and small gardens.
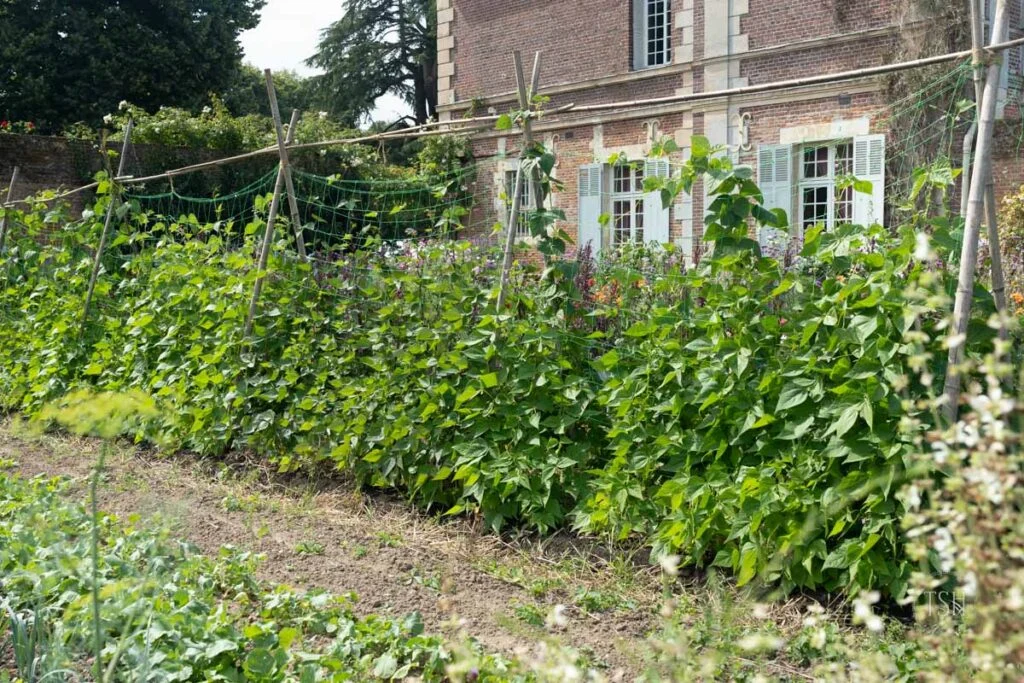
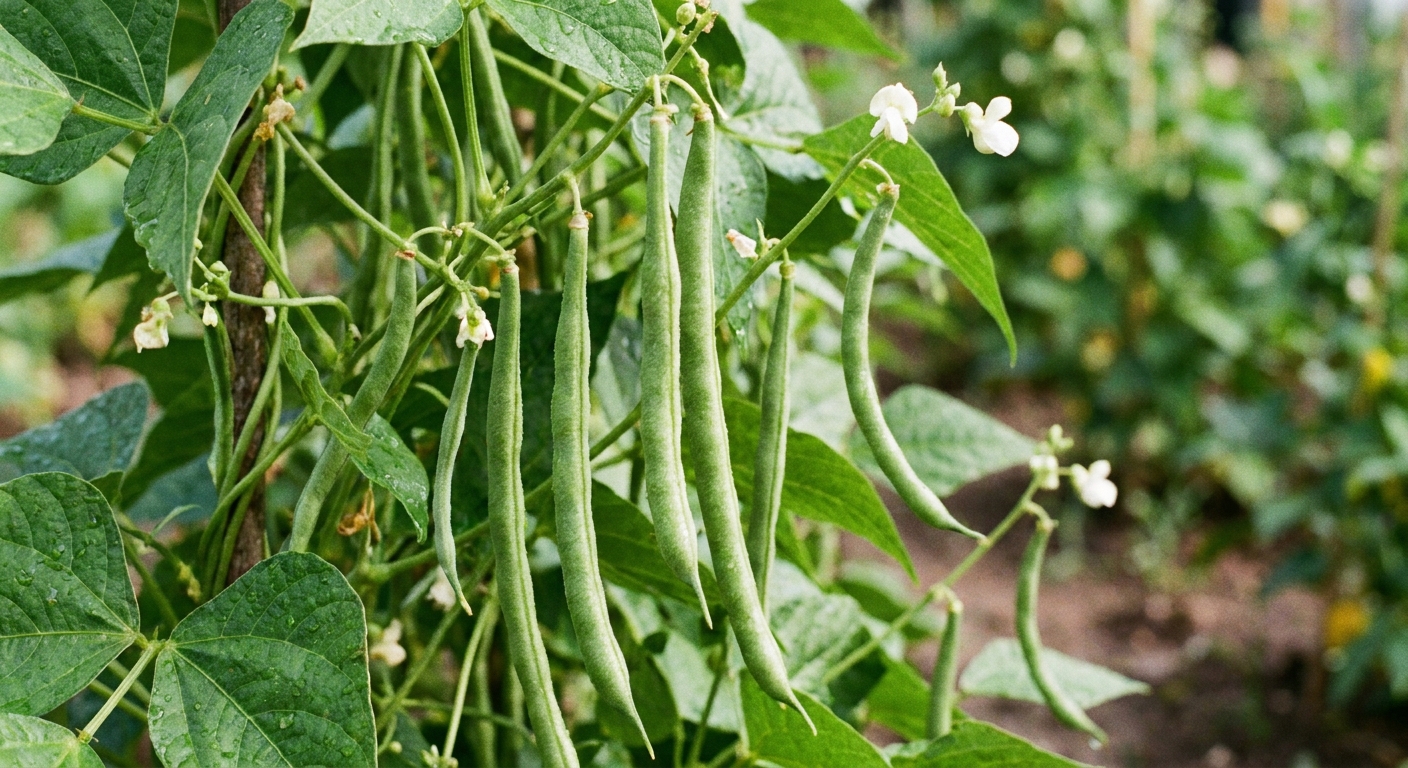
Pole beans
- Growth habit: Vines that can climb 6 to 10 feet, sometimes more.
- Support: Needs a trellis, teepee, fence, or sturdy netting.
- Harvest window: Longer, steady production if you keep picking.
- Space: Excellent for vertical growing . Big yield in a small footprint.
My shortcut rule: If you want low-maintenance and quick, go bush. If you want the longest harvest and do not mind building support, go pole.
Choosing varieties
You do not need a rare heirloom to succeed. Start with a reliable variety that matches your goals.
- For fast, dependable bush beans: look for varieties described as early, productive, and disease-resistant. Popular choices include Provider, Contender, and Blue Lake Bush.
- For long harvest and great flavor: many gardeners love classic pole types, including filet-style beans for extra tenderness. Good picks include Kentucky Wonder, Blue Lake Pole, and Fortex.
- For containers: choose compact bush varieties, or pole beans only if you can provide a tall support and a large pot.
Seed note: Beans are usually direct-sown. They dislike root disturbance, so skipping transplanting saves you heartbreak.
Should you soak bean seeds? Usually, no. Soaking can increase rot risk if your soil is cool or stays wet. Warm soil and even moisture are the real secrets.
When and where to plant
Timing
Beans are warm-season plants. Plant after your last frost date , when soil has warmed to about 60 to 65°F (16 to 18°C) or higher. If you plant into cold, wet soil, seeds can rot before they sprout.
Germination: In warm conditions, beans often sprout in about 7 to 14 days.
If you want a longer season with bush beans, sow a new batch every 2 to 3 weeks. Instead of aiming for a calendar date like mid-summer, use your first fall frost as your finish line. A simple rule is to stop sowing when you have about 8 to 10 weeks left before frost, depending on the variety's days to maturity.
Sun and soil
- Sun: Full sun is best, at least 6 to 8 hours.
- Soil: Loose, well-draining soil with plenty of compost.
- pH: Slightly acidic to neutral is ideal (roughly 6.0 to 7.0).
Beans are legumes, which means they can partner with beneficial soil bacteria (rhizobia) to fix nitrogen. That only happens when nodulation is working and conditions are right, so think of it as a helpful bonus, not a free fertilizer subscription. Either way, beans do not need heavy feeding, and too much nitrogen from fertilizer can make them leafy but stingy with pods.
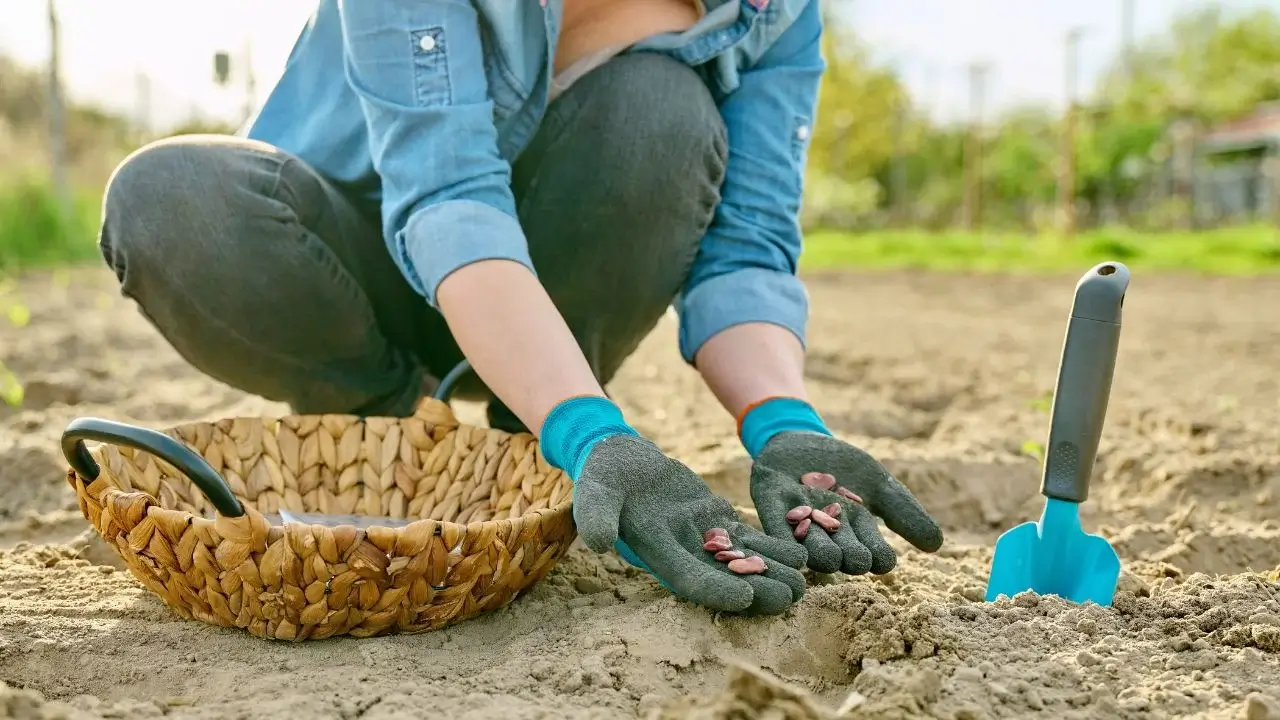
How to plant (depth and spacing)
Planting depth
Sow seeds 1 inch deep in most garden soils. In very sandy soil, you can go a touch deeper, up to about 1 1/2 inches.
Spacing
Spacing depends on type and your garden style. These are solid home-garden targets that balance airflow with yield.
- Bush beans: 3 to 6 inches apart in rows 18 to 24 inches apart. In raised beds, you can plant in a loose grid at about 4 to 6 inches.
- Pole beans: 4 to 6 inches apart along a trellis. If planting around a teepee, sow 4 to 6 seeds around each pole, then thin to the strongest 3 to 4 seedlings.
Thinning tip: If you hate thinning (you are not alone), plant a little wider and treat yourself to near-perfect spacing from the start.
Trellising pole beans
Pole beans climb by twining, so they want something they can wrap around. The sturdier the support, the happier your harvest will be when vines get heavy with pods.
Easy trellis options
- Teepee: Several long bamboo poles tied together at the top. Charming and sturdy.
- A-frame trellis: Great for stability and picking access on both sides.
- Fence or cattle panel: Fast if you already have it in place.
- Trellis netting on strong posts: Works well, but pull it tight so it does not sag mid-season.
Training vines
When seedlings are about 6 to 8 inches tall, gently guide them toward the support. After that, they usually figure it out. If a vine keeps wandering, I lightly wrap it once around the trellis and it takes the hint.
Wind tip: If your garden is breezy, anchor trellis posts deeper than you think you need. A loaded bean trellis catches wind like a sail.
Watering for crisp pods
Beans like consistent moisture, especially during flowering and pod formation. Drought stress can reduce yield and make pods tougher.
- Goal: About 1 inch of water per week from rain or irrigation .
- How: Water at the soil level when possible. Wet foliage plus warm weather is an invitation for fungal problems.
- Mulch: A 1 to 2 inch layer of straw or shredded leaves helps keep soil evenly moist and reduces splashing.
Container note: Potted beans dry out quickly in summer. Check daily in hot spells.
Fertilizing lightly
Beans are not heavy feeders. Too much nitrogen often means lush green leaves and fewer beans, which is the opposite of what we want.
What to do instead
- Before planting: Mix in compost. That is usually enough in decent soil.
- If soil is poor: Use a gentle, balanced organic fertilizer, applied lightly.
- Skip high-nitrogen fertilizers: Anything marketed for lawns or leafy greens is usually too nitrogen-heavy for beans.
Do you need inoculant?
Inoculating bean seeds with the correct rhizobium bacteria can help in brand-new beds or places where legumes have not grown recently. In many established gardens, it is optional. If you want to try it, follow the product directions and keep the inoculant out of direct sun while you work.
Harvesting for maximum yield
The secret to a huge bean harvest is not a fancy fertilizer. It is picking on time.
When to harvest
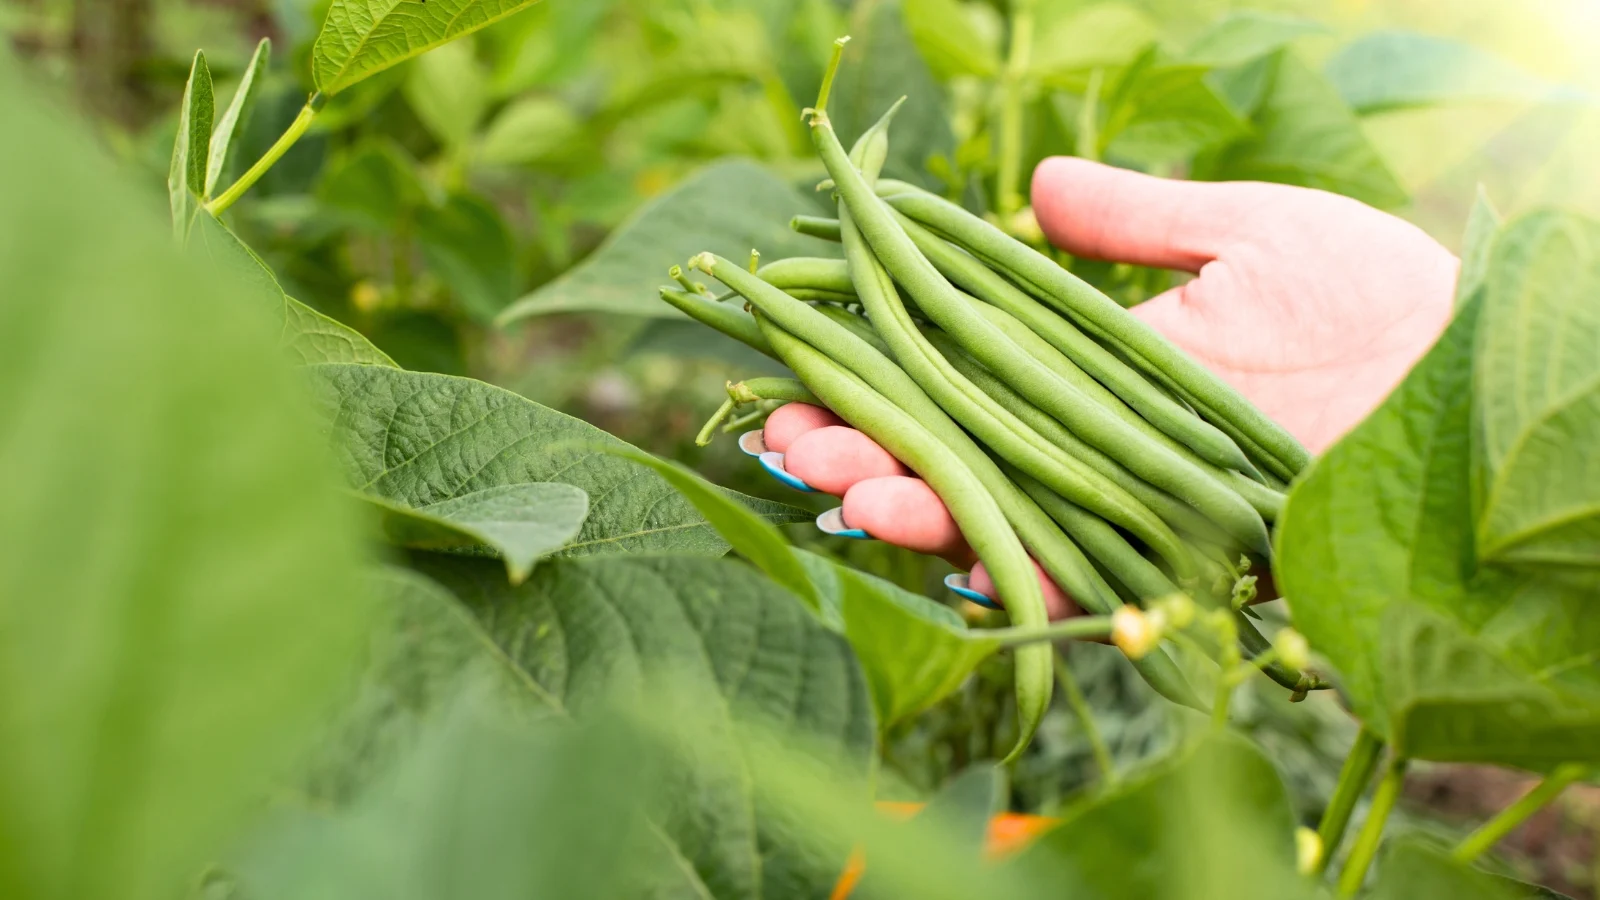
- Pick young and tender: Pods should be firm, smooth, and crisp.
- Check size: Many varieties are best around 4 to 6 inches, but go by the feel of the pod. If it snaps cleanly, you are in the sweet spot.
- Do not wait for bulging seeds: Once you can clearly see the beans swelling inside, the pod is usually getting fibrous, and the plant starts shifting energy toward seed production.
How to harvest
Hold the vine with one hand and pick with the other to avoid yanking stems. With bush beans, a gentle pinch-and-twist works well.
How often to pick
Harvest every 2 to 3 days during peak season. Frequent picking signals the plant to keep flowering and setting pods.
Storing and preserving
Fresh-picked beans keep best in the refrigerator, loosely bagged, for about 5 to 7 days. For longer storage, blanch and freeze for easy winter meals. If you are a canner, follow a tested pressure-canning method for plain beans.
Common problems and quick fixes
Beans are generally easy, but a few issues show up often. Here is the troubleshooting list I keep in my back pocket.
Seeds rot or never sprout
- Likely cause: Soil too cold or too wet.
- Fix: Wait for warmer weather, improve drainage, and avoid overwatering right after sowing.
Lots of leaves, few beans
- Likely cause: Too much nitrogen fertilizer, or plants not getting enough sun.
- Fix: Skip feeding, add compost only if needed, and ensure full sun.
Flowers drop, pods do not form
- Likely cause: Heat stress, drought stress, or inconsistent watering.
- Fix: Water consistently and mulch. Many beans struggle when daytime highs push above 90°F (32°C), especially if nights stay warm. Plants often pause and resume when temperatures ease.
Holes in leaves
- Likely cause: Bean beetles , caterpillars, or slugs (especially on young plants).
- Fix: Hand-pick pests when possible, use row cover early in the season, and keep weeds down. For slugs, remove hiding spots and water in the morning so the soil surface dries by night.
Powdery mildew or leaf spotting
- Likely cause: Humidity plus poor airflow, or watering overhead.
- Fix: Space plants well, water at soil level, and remove the worst affected leaves. Rotate where you plant beans next season, ideally on a 2 to 3 year cycle if disease pressure is high. Clean up fallen plant debris to reduce carryover.
Yellowing leaves
- Likely cause: Overwatering, nutrient imbalance, or natural aging of older leaves.
- Fix: Check moisture first. Beans prefer evenly moist, not soggy. If growth is weak overall, a light compost top-dressing can help.
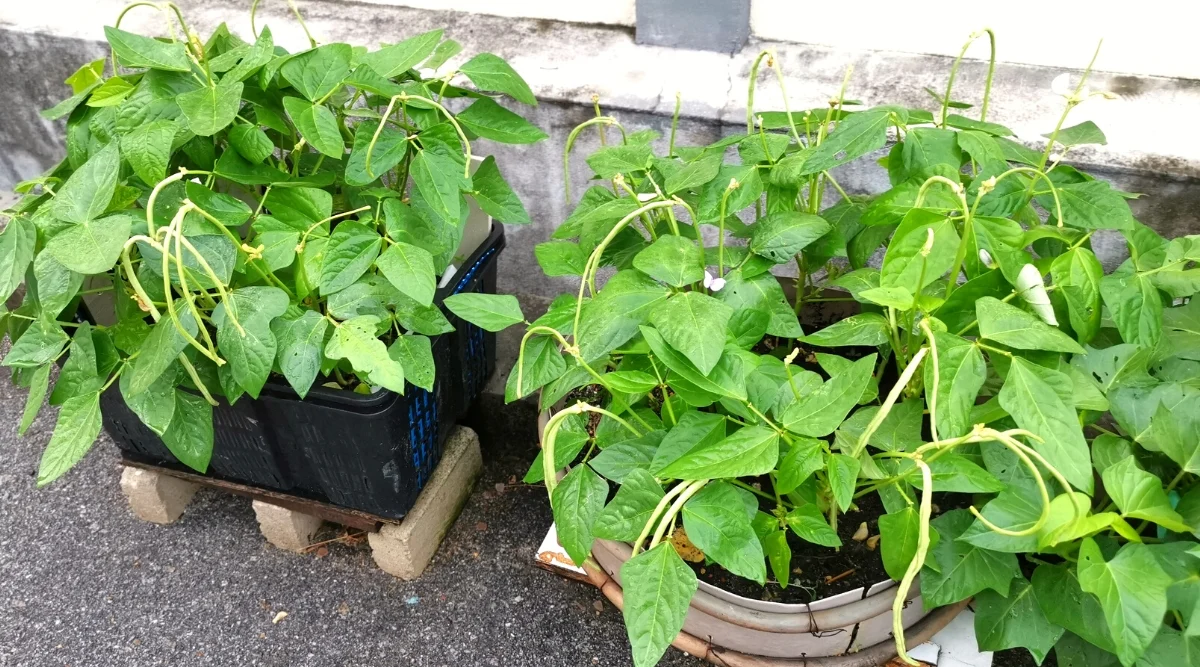
Growing in containers
If you are working with a balcony or patio, beans still love you back.
- Pot size for bush beans: At least 10 to 12 inches deep. Wider is better than tall for multiple plants.
- Pot size for pole beans: A large, stable container. 5 gallons is a minimum, and larger is better (7 to 10 gallons is even happier), plus a strong trellis.
- Soil: Quality potting mix with compost blended in.
- Water: More frequent than in-ground. Check moisture often in summer.
End-of-season care
When your bean plants finish for the season, you can cut them at the base instead of pulling them out. Leaving roots in the soil helps protect soil structure and, depending on nodulation and timing, may leave a modest nitrogen benefit for future crops.
Add compost, rotate your planting spot next year if you can, and take a second to appreciate what those little seeds did. It never stops feeling a bit like magic, even when you have dirt under your nails and you are talking to your ferns like I do.