
How to Grow Carrots at Home

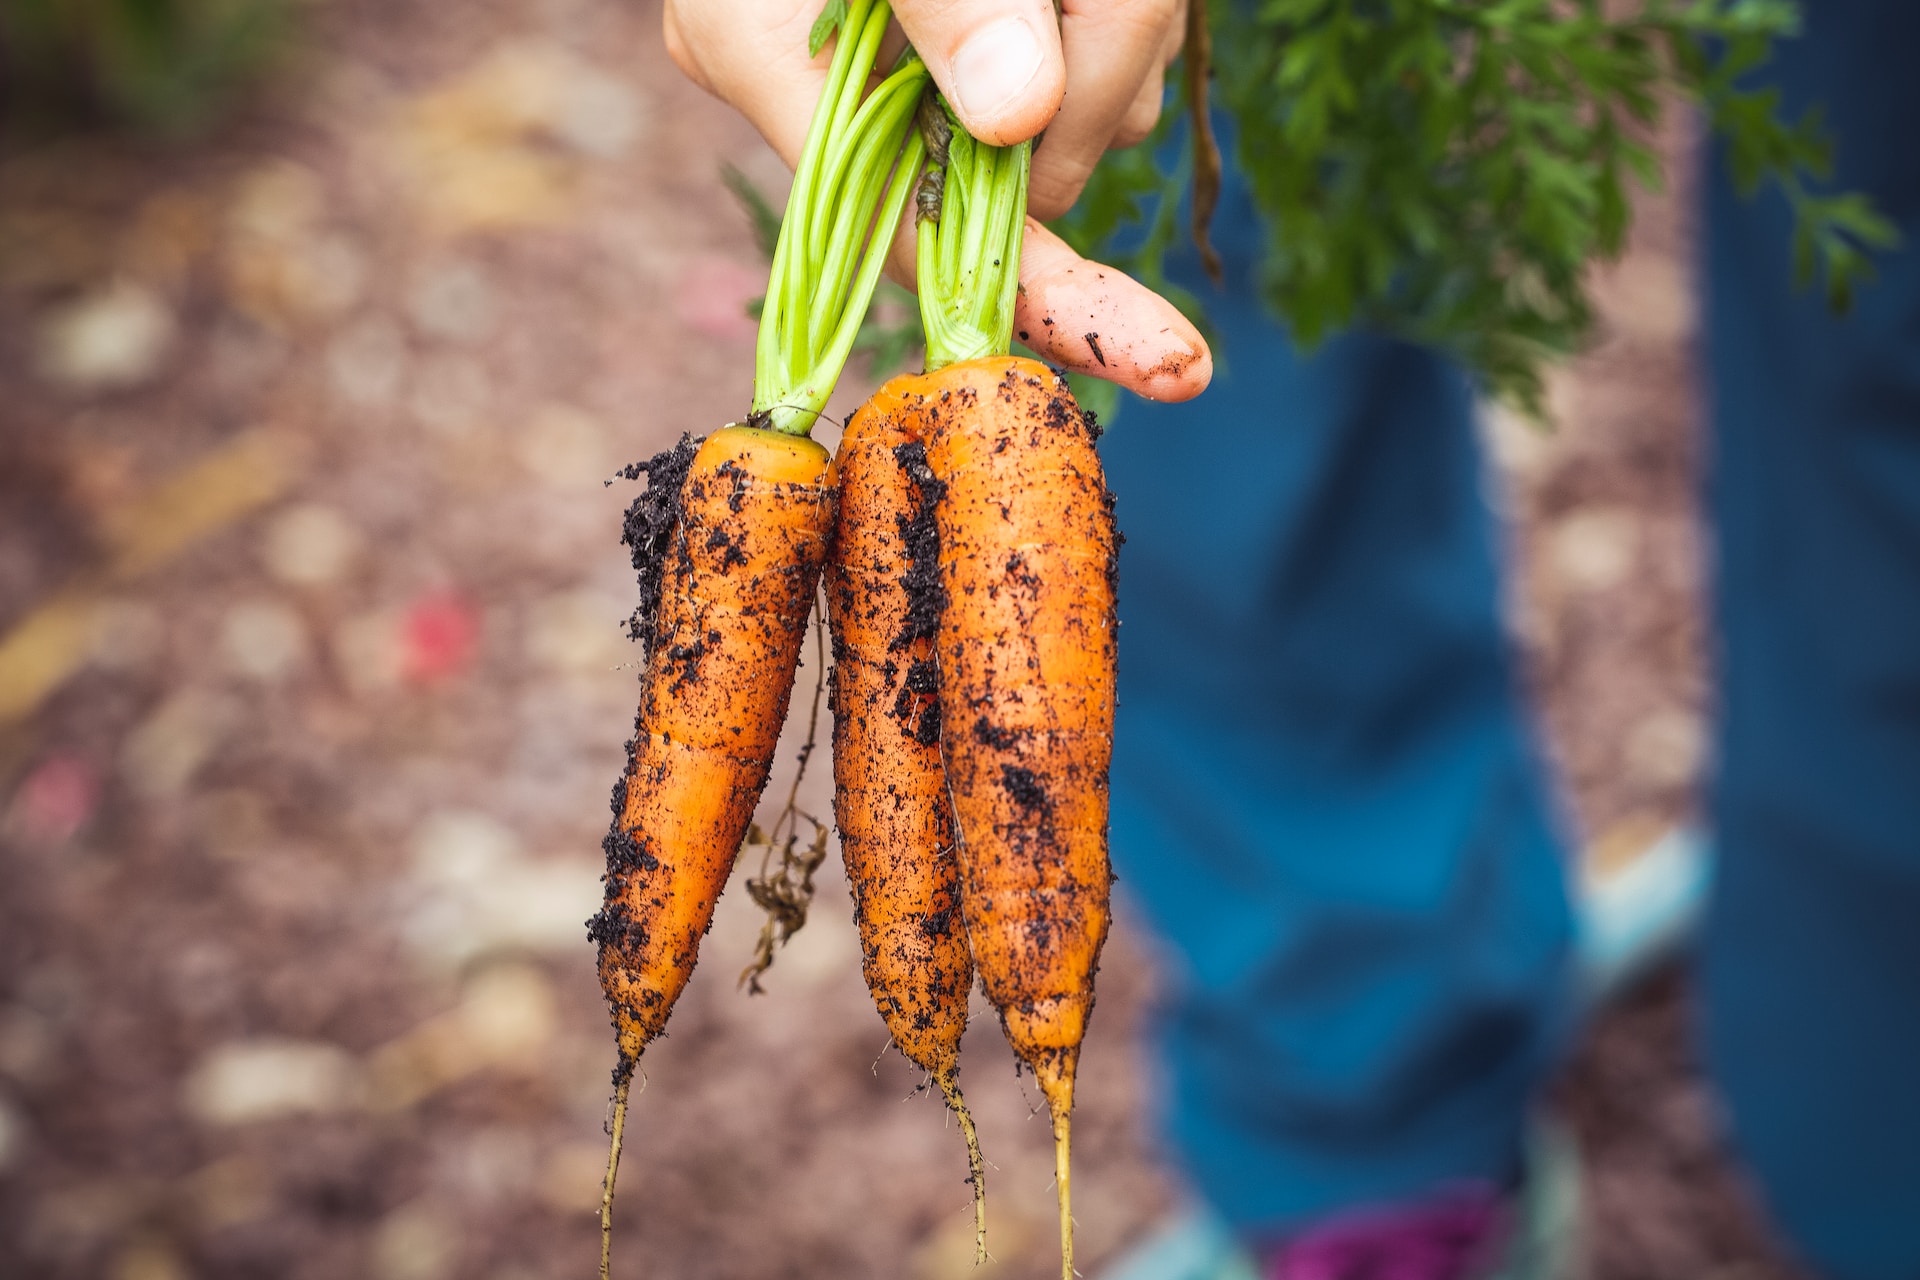
Carrots are one of those vegetables that look simple until you pull up a stubby little root that forked like a tiny wishbone. I have grown plenty of “interesting” carrots in my day, especially back when I gardened in city planters and thought, surely carrots will just figure it out.
The good news is that carrots are wonderfully doable once you understand what they want: loose soil, steady moisture, and patience during germination. Give them those three things, and they will reward you with crisp, sweet roots that taste like sunshine and soil in the best way.

What carrots need
- Sun: 6 to 8 hours is ideal, but they will tolerate light shade.
- Soil: Deep, loose, and stone-free. Carrots hate hitting obstacles.
- Moisture: Even moisture matters most during germination, then shift to deeper, less-frequent watering as roots grow. Big swings can cause splitting and can contribute to tougher, stronger flavor.
- Cool weather: Carrots are happiest in spring and fall temperatures.
- Time: Most varieties take 65 to 80 days, with germination often 10 to 21 days.
Loose soil prep
If I could bottle one carrot secret, it would be this: carrots are not grown “in” soil as much as they are grown “through” soil. The root is a single taproot, and anything it hits can make it split, twist, or stall.
In-ground beds
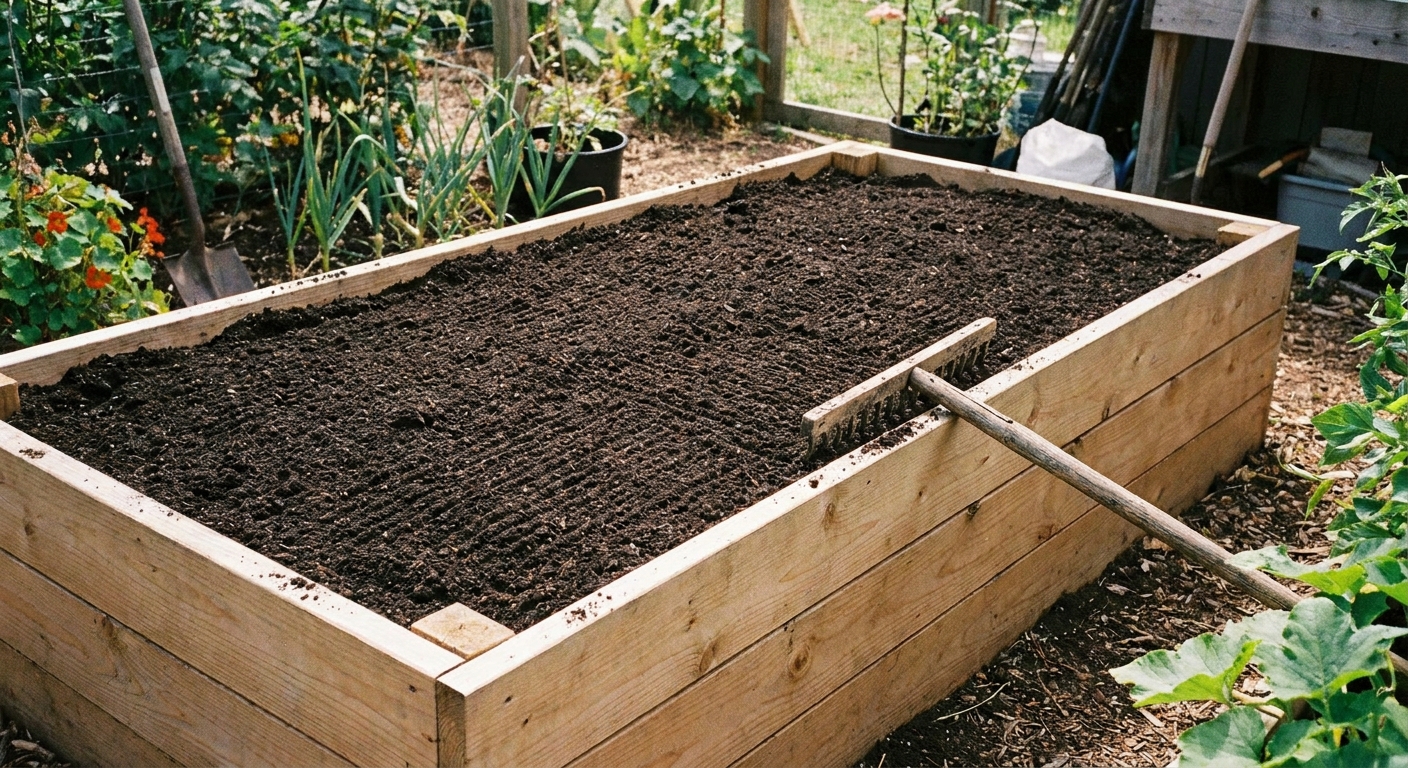
- Loosen deeply: Work the top 10 to 12 inches (or deeper for long varieties). A broadfork is dreamy here, but a spade works too.
- Remove rocks and chunks: Pebbles, sticks, uncomposted clods, and old roots all count as obstacles.
- Skip fresh manure: It encourages hairy, forked roots and can lead to excess nitrogen. If you want manure, apply it in the previous season, well composted.
- Add finished compost: A 1 to 2 inch layer mixed into the top few inches improves structure without making the soil “too rich.”
- Rake smooth: A fine seedbed matters because carrot seed is tiny and needs close contact with soil.
Raised beds
Raised beds are carrot-friendly because you control texture. Aim for a fluffy, crumbly mix. If your raised bed soil has compacted over time, top-dress with compost and gently loosen with a hand cultivator before sowing.
When to direct-sow
Carrots really want to be direct-sown. Transplanting disturbs the taproot, which is basically asking for forks and weird shapes.
Spring sowing
- Start: 2 to 4 weeks before your last expected frost date, once soil is workable.
- Soil temperature: Fastest germination is around 65°F to 75°F (18°C to 24°C). They will sprout cooler, just slower.
- Succession planting: For a steady harvest, sow a small patch every 2 to 3 weeks in spring until heat ramps up.
Fall sowing
- Start: Count back from your variety’s days to maturity, then add 1 to 2 extra weeks because cooling soil slows growth. For many gardens, this lands about 8 to 12 weeks before first fall frost.
- Flavor bonus: Cool nights sweeten carrots. A light frost can make them taste even better.
How to sow seeds
Carrot germination is where many gardeners get discouraged. The seeds are tiny, the sprout is delicate, and the soil surface dries out fast. Your job is to keep the top layer consistently moist without washing seeds away.
Step-by-step sowing
- Make shallow furrows: About 1/4 inch deep.
- Sow thinly: Sprinkle seeds with a light hand. It is okay if it looks too sparse. You can always overseed a second pass.
- Cover lightly: Use fine soil or sifted compost. Press gently to ensure good seed-to-soil contact.
- Water softly: Use a gentle rose on a watering can or a soft shower setting.
- Keep the surface damp: For 10 to 21 days, do not let the top 1/2 inch dry out.
My favorite germination trick
Lay a piece of burlap, a wooden board, or damp cardboard over the seeded row. Check daily. The moment you see sprouts, remove the cover so seedlings get light and airflow. This keeps the seed zone evenly moist without constant watering.
Spacing and thinning
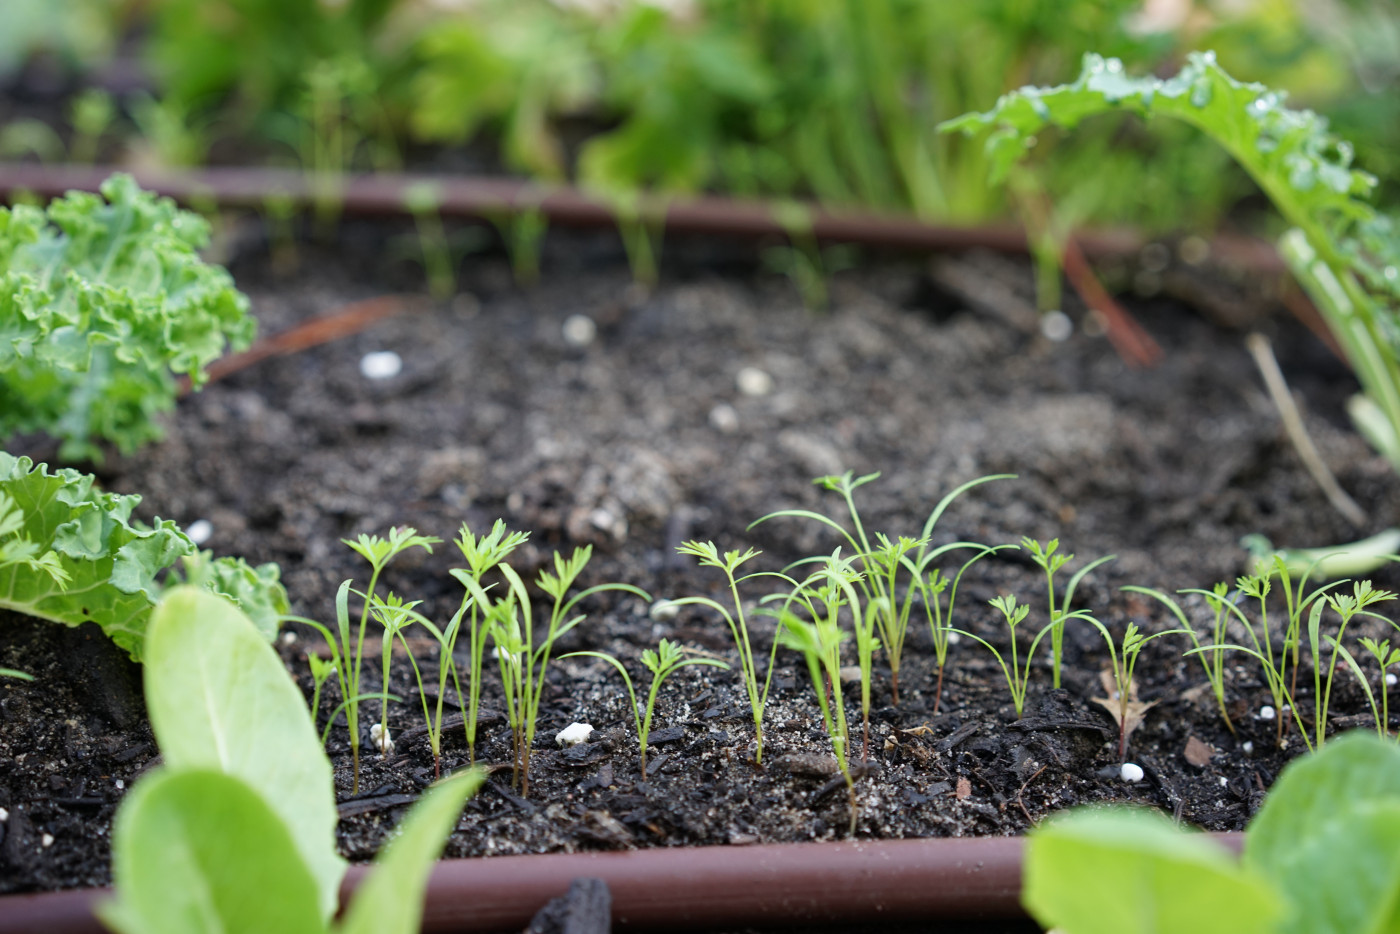
Carrots cannot bulk up if they are shoulder-to-shoulder. Thinning feels cruel, but crowded carrots stay skinny and tangled.
Quick spacing guide
- Row spacing: 10 to 12 inches apart is comfortable for weeding and harvesting. You can go tighter in raised beds if you do not mind a little shoulder bumping.
- Final plant spacing: Typically 2 to 3 inches for most slicers. Check your seed packet for the variety.
When and how to thin
- First thin: When seedlings are about 1 to 2 inches tall. Aim for 1 inch spacing.
- Second thin: When tops are 3 to 4 inches tall. Thin to the final spacing.
- Best technique: Snip seedlings at soil level with scissors instead of pulling. Pulling can disturb nearby roots.
If you do pull, water first and pull gently, then press the soil back down. Think of it like tucking the remaining seedlings in.
Watering for even roots
Carrots taste best and grow most evenly when moisture is steady. Drought stress followed by heavy watering is a classic cause of cracked roots and can lead to tougher texture.
A simple watering rhythm
- During germination: Light, frequent watering to keep the surface moist.
- After seedlings establish: Water more deeply and a bit less often. A common target is about 1 inch of water per week, adjusted for heat, wind, and soil type.
- In sandy soil or containers: You may water more often because it drains faster.
Mulch helps a lot once seedlings are a few inches tall. A thin layer of straw, shredded leaves, or untreated grass clippings keeps moisture even and soil cooler.
Choosing varieties
Variety choice is a sneaky shortcut. If your soil is heavy or shallow, pick carrots bred to be shorter and stouter. If your soil is light and deep, go ahead and grow the long beauties.
For heavy or rocky soil
- Chantenay types: Shorter, broad-shouldered, and more forgiving in less-than-perfect soil. Try: ‘Red Cored Chantenay’.
- Paris Market (round): Great for shallow beds and containers, and they are adorable. Try: ‘Paris Market’.
- Danvers types: A classic workhorse that handles heavier soil better than long Imperator types. Try: ‘Danvers 126’.
For sandy, loose, deep soil
- Nantes types: Sweet, crisp, and typically very uniform. A favorite for home gardeners. Try: ‘Nelson’ or ‘Scarlet Nantes’.
- Imperator types: Long, tapering carrots that really want depth and fluff. Try: ‘Imperator 58’.
For containers, I lean toward Nantes, Danvers, or round types unless you have a truly deep pot.
Growing in containers
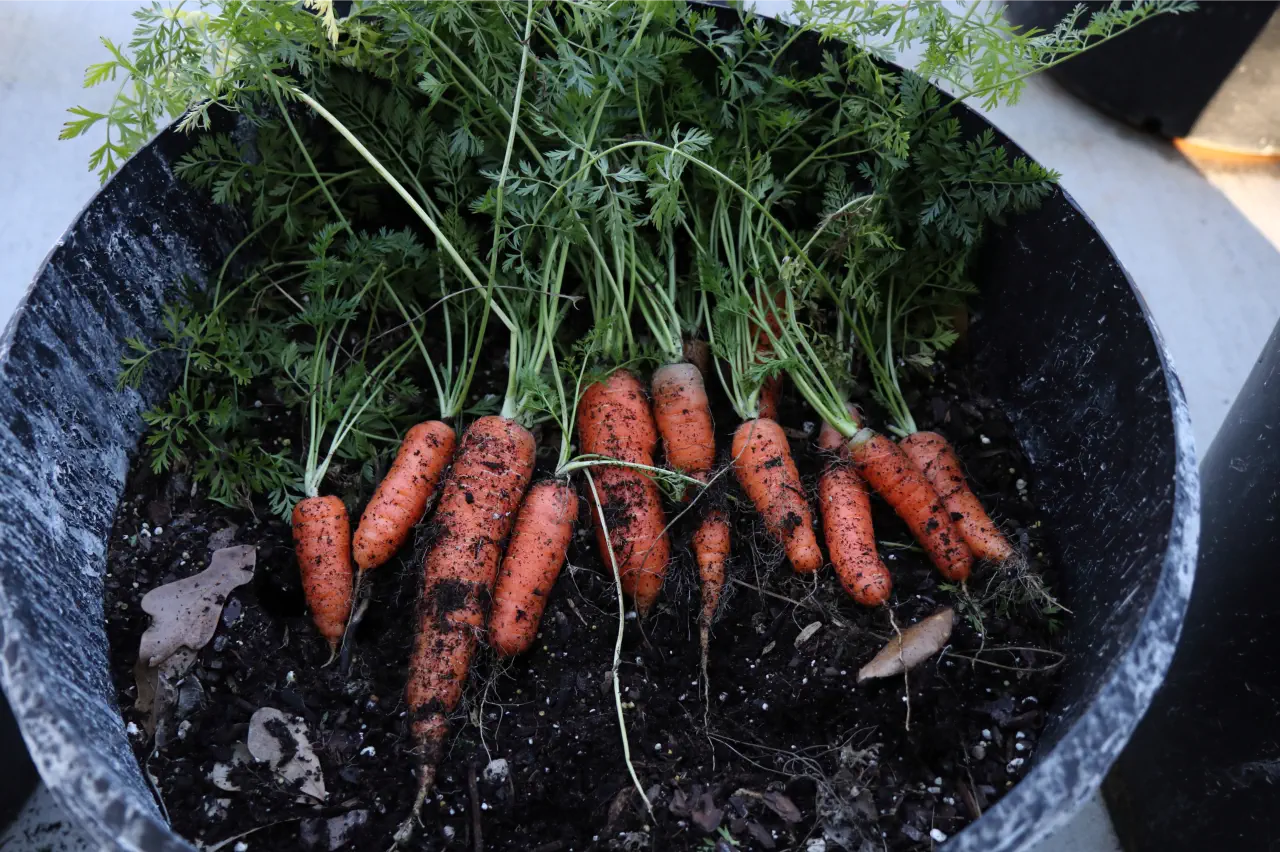
Container carrots are absolutely doable, and they are one of my favorite “small space confidence builders.” The big requirement is depth and a light soil mix.
Container depth guide
- Round or mini carrots: 6 to 8 inches deep minimum.
- Short to medium carrots (Nantes, Danvers): 10 to 12 inches deep minimum.
- Long carrots (Imperator types): 18 inches deep or more is best.
Best container carrot mix
Aim for something that holds moisture but does not compact.
- High-quality potting mix as the base
- 10 to 20% finished compost for biology and gentle nutrition
- Avoid heavy garden soil in pots, which compacts and blocks roots
Container sowing tips
- Sow across the surface in short rows or a grid pattern.
- Thin to the same final spacing as in-ground (usually 2 to 3 inches).
- Water more often than beds, especially in hot weather.
Feeding carrots
Carrots do not need heavy feeding. Too much nitrogen encourages lush tops and skinny roots.
- Before planting: Mix in compost. If your soil is very poor, add a balanced organic fertilizer lightly.
- Mid-season: Usually unnecessary. If growth seems weak, a small side-dress of compost is safer than a high-nitrogen fertilizer.
- Soil pH: Around 6.0 to 7.0 is a comfortable range for carrots.
Pests and protection
Carrots are fairly low-drama, but a couple of pests can turn a beautiful row into a mystery. The simplest, most effective strategy is prevention.
- Carrot rust fly: Larvae tunnel in roots. Use a lightweight row cover from sowing until harvest, or at least during peak fly season in your area. Avoid thinning on windy days if rust fly is a known problem, since scent can attract them.
- Aphids: Usually more annoying than devastating. A strong spray of water, or encouraging ladybugs and lacewings, often keeps them in check.
- Wireworms: They bore holes in roots. Crop rotation and weeding grassy areas nearby can help, and raised beds with fresh, clean mix tend to see fewer issues.
If you ever needed an excuse to use row cover, carrots are it. It also helps keep the seedbed from drying out early on.
When to harvest and store
Harvest timing is flexible. You can pull carrots young for tender “baby” roots or let them size up fully.
How to tell they are ready
- Check the “shoulders” at the soil line. When the top of the root looks the size you want, pull one test carrot.
- If the soil is dry or compacted, water first, then harvest. You will break fewer roots.
- Watch the crowns: If the top of the carrot is pushing up and getting sun, it can turn green and taste more bitter. Hill a little soil or tuck mulch around shoulders to keep them covered.
Storage tips
- Twist or cut tops off right after harvest. Tops left on pull moisture from the root.
- Store carrots in the fridge in a bag or container with a little humidity. Unwashed tends to store longer, but washing and drying well works too if that fits your kitchen routine.
- For longer storage, keep them in clean, slightly damp sand or clean, slightly damp sawdust in a cool place.
Troubleshooting
Forked or twisted carrots
Common causes: Rocky soil, compacted soil, fresh manure, or transplanting.
- Deeply loosen soil and remove stones and clods before sowing.
- Avoid fresh manure and high-nitrogen fertilizer.
- Direct-sow only, and thin by snipping.
Bitter or strong-flavored carrots
Common causes: Heat stress, inconsistent watering, leaving mature roots in hot soil too long, and sometimes variety choice.
- Mulch to cool the soil and even out moisture.
- Water consistently, especially during hot spells.
- In summer heat, choose heat-tolerant varieties or plan carrots for spring and fall.
- Harvest on time. Overmature carrots left sitting in warm soil can get a stronger, less-sweet flavor.
Slow or patchy germination
Common causes: The seedbed dried out, seeds planted too deep, cold soil, or old seed.
- Keep the soil surface consistently moist for up to 3 weeks.
- Sow at about 1/4 inch deep and press gently for contact.
- Use the burlap or board cover trick to hold moisture.
- Try fresh seed each season. Carrot seed loses vigor faster than many crops.
Skinny carrots with big tops
Common causes: Too much nitrogen, overcrowding, shade, or warm weather pushing top growth.
- Thin properly to give roots room.
- Dial back fertilizer, especially nitrogen-heavy options.
- Aim for more sun if possible.
A simple carrot plan
If you want a low-stress approach, here is the routine I use when I am trying to “guarantee” a good harvest:
- Loosen soil deeply and remove rocks.
- Mix in a thin layer of finished compost.
- Direct-sow in cool weather, 1/4 inch deep, with rows about 10 to 12 inches apart.
- Cover the row with damp burlap or a board and check daily.
- Thin twice, snipping seedlings.
- Water lightly and often until germination, then switch to deeper watering as plants establish. Mulch once seedlings are a few inches tall.
- Harvest a few early, then let the rest size up.
And if your first batch comes out a little quirky, welcome to the club. The “ugly” carrots are still sweet, still crunchy, and still proof that you grew food from a tiny seed. That is real garden magic.