
How to Grow Broccoli at Home

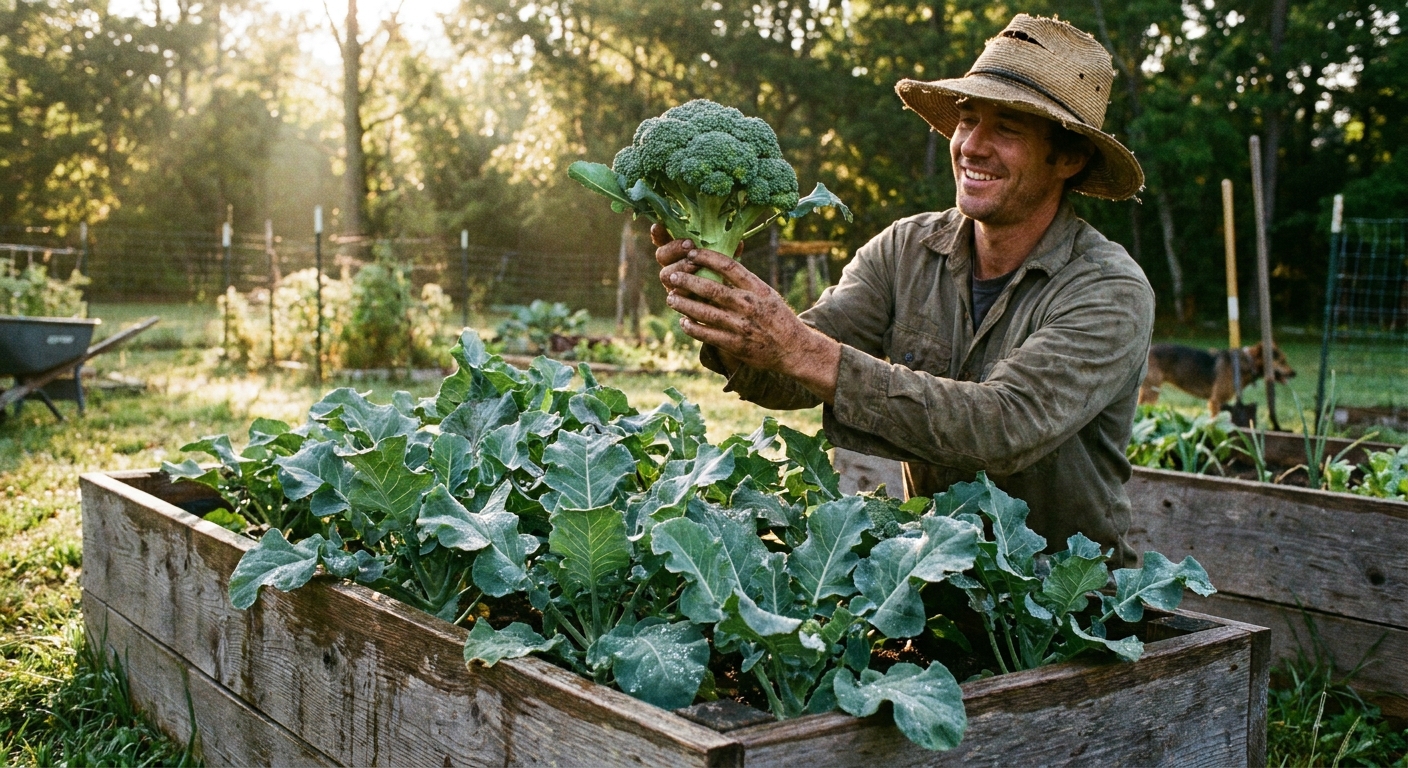
Broccoli is one of those vegetables that makes you feel like a gardening wizard. One day it is just a sturdy little green plant, and the next it is holding a tight, knobby crown that turns into dinner. The secret is not fancy tricks. It is cool weather timing, consistent moisture, and feeding your soil like you mean it.
Good news for nervous growers: even if you miss the “perfect” moment, broccoli is forgiving. Grow it for the main head, then keep the plant going and it will usually reward you with a whole encore of side shoots.

Pick your season: spring vs fall
Broccoli is a cool-season brassica. It grows best when daytime temperatures are mild and nights are cool. If you like numbers, broccoli is happiest around 60 to 70°F (about 15 to 21°C). Heat can cause loose heads, bitter flavor, or plants that “bolt” into flowers. Bolting can also happen after stress, including big temperature swings (and sometimes a cold jolt at the wrong stage).
Spring broccoli
- Goal: get plants growing early so heads form before sustained heat.
- When to start seeds indoors: about 6 to 8 weeks before your last expected frost date.
- When to transplant outside: about 2 to 4 weeks before last frost, once seedlings are sturdy and you can protect them from hard freezes.
- Watch-outs: spring weather swings. Keep row cover handy for surprise cold snaps and to block early cabbage moths.
Fall broccoli (my favorite)
- Goal: time the crop so heads develop in cool, steady autumn weather.
- When to start seeds: about 10 to 12 weeks before your first expected fall frost, adjusting for the variety’s “days to maturity.”
- Timing shortcut: count backward from your target harvest window using days to maturity, then add 1 to 2 extra weeks in fall because growth slows as days shorten.
- When to transplant: typically 6 to 8 weeks before first frost so plants can size up while it is still warm.
- Why it often succeeds: fewer temperature spikes, sweeter flavor after chilly nights, and generally nicer growing conditions.
Quick shortcut: if your summers are hot, prioritize fall broccoli. Spring can still work, but fall tends to produce tighter heads with less stress.
Choose a variety
Not all broccoli behaves the same, and this is the easiest way to stack the deck in your favor.
- Classic heading types: one main crown first, then side shoots. Great all-purpose choice.
- Sprouting types: smaller florets, lots of side shoots, long harvest window. Awesome if you want “broccoli nights” to keep happening.
- For heat-prone areas: look for varieties described as heat-tolerant and prioritize fall planting anyway.
Choose a spot and prep the soil
Broccoli wants full sun (at least 6 hours, ideally 8) and soil that stays evenly moist but not soggy. The real magic is soil fertility and structure.
- Soil texture: loose, well-draining, and rich in organic matter.
- Soil pH: roughly 6.0 to 7.0 is a comfortable range. If clubroot is common in your area, aim closer to neutral.
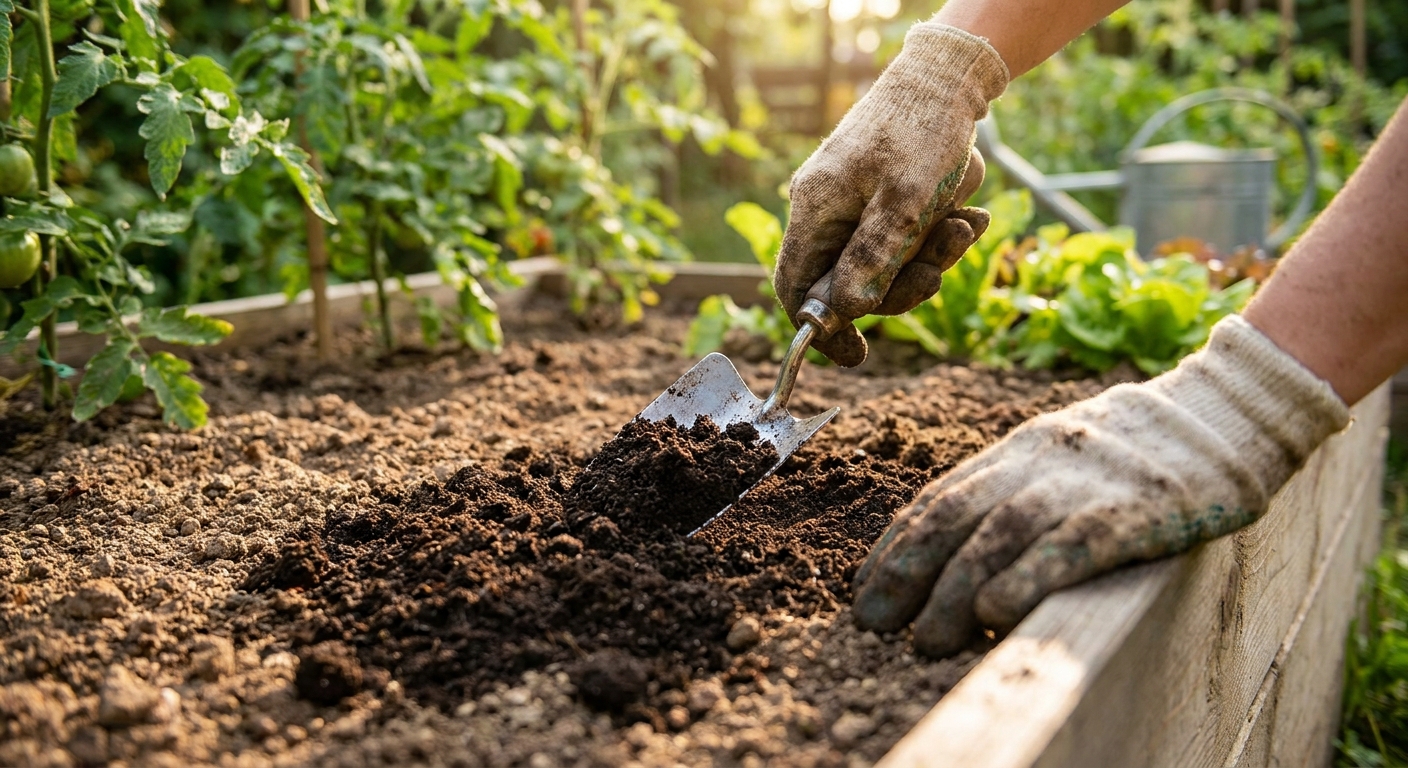
- Pre-plant feeding: work in 1 to 2 inches of finished compost. If your soil is lean, mix in an organic, balanced fertilizer per label directions.
- Crop rotation: try not to plant broccoli (or other brassicas like cabbage, kale, cauliflower, or Brussels sprouts) in the same spot year after year. Rotating to a new bed for at least 3 years helps reduce soil-borne diseases and overwintering pests.
Seed starting and transplanting (without drama)
Starting from seed
Sow broccoli seeds about 1/4 inch deep. Keep the seed-starting mix lightly moist and provide strong light once seedlings emerge. Leggy seedlings make cranky transplants.
When seedlings are ready
Transplant when plants have 3 to 5 true leaves and sturdy stems. If you grew them indoors, harden them off for about a week by gradually increasing outdoor time.
How to transplant
- Transplant on a cloudy day or in late afternoon if possible.
- Plant at the same depth they were growing in the pot, or just slightly deeper, keeping the crown and growing point above the soil.
- Water the planting hole well, set the plant, then water again to settle soil around roots.
- Add a light mulch layer once the soil has warmed a bit in spring, or right away for fall planting.
If you get a surprise freeze: cover plants with row cover in the evening and remove it once temperatures rebound. Broccoli can handle cold, but young transplants appreciate a little kindness.
Spacing: give broccoli room
Broccoli plants look modest at transplant time, then they spread like they own the place.
- In-ground spacing: aim for 18 to 24 inches between plants.
- Row spacing: about 24 to 36 inches between rows for easy harvesting and airflow.
- Square foot style beds: usually 1 plant per square (12 inches) is tight, 18 inches is happier. If you go tight, stay on top of moisture and feeding.
Tighter spacing can mean smaller main heads, but you may still get plenty of side shoots. Wider spacing often produces larger crowns and sturdier plants.
Consistent moisture
If I could choose only one “secret” for broccoli, it would be this: steady water. Irregular watering can lead to tough texture, bitterness, and uneven head formation.
- Target: about 1 to 1.5 inches of water per week total from rain and irrigation.
- Best method: drip irrigation or a soaker hose under mulch. It keeps foliage drier and makes disease less likely.
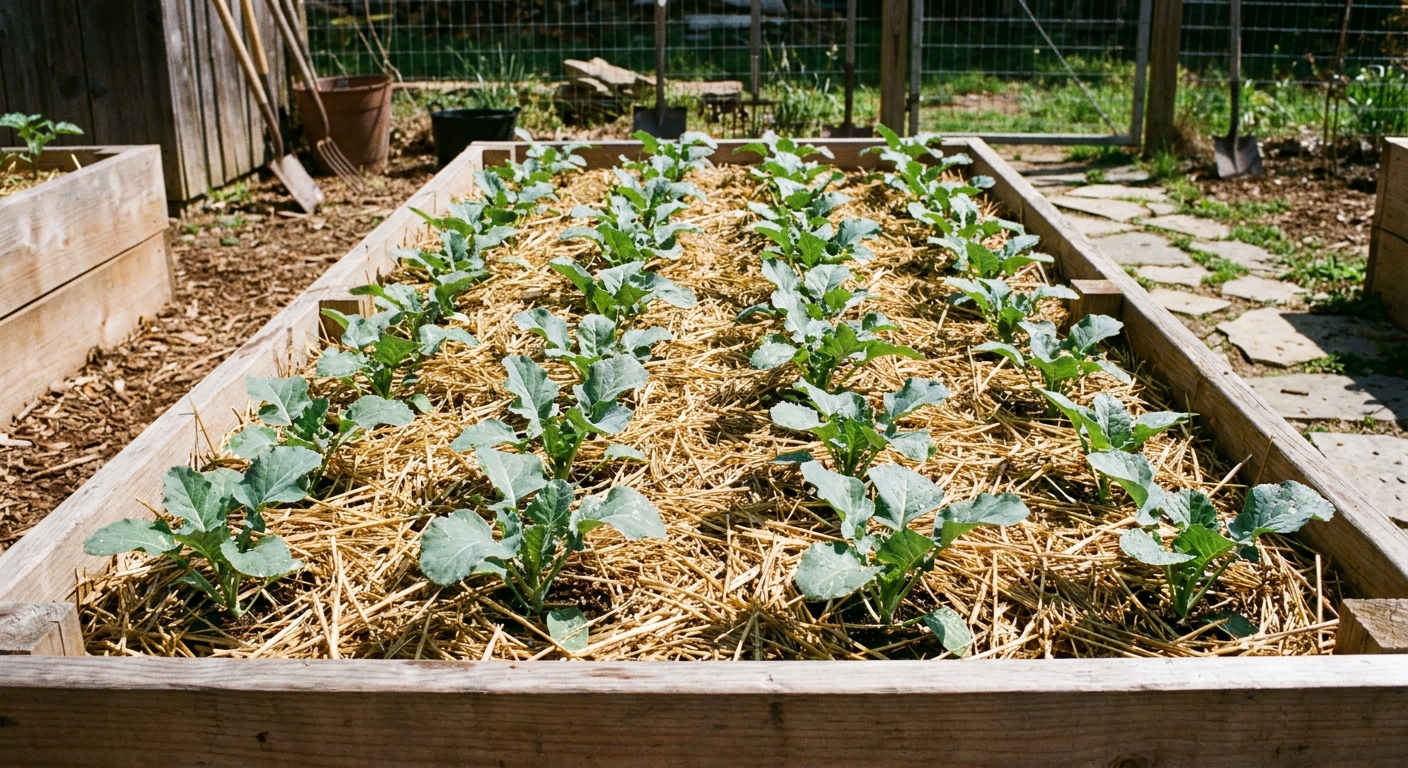
- Mulch: 2 to 3 inches of clean straw, shredded leaves, or untreated grass clippings helps keep soil cool and evenly damp.
Quick check: stick your finger 2 inches into the soil. If it feels dry at that depth, it is time to water. (Yes, this is the very scientific “finger test.” It works.)
Side-dress feeding for bigger heads
Broccoli is a fairly heavy feeder, especially for nitrogen. You can absolutely grow it organically, but it appreciates a schedule.
What side-dressing means
Side-dressing is simply adding nutrients along the side of the plant, then watering them in so roots can access the goodness.
When to side-dress
- First side-dress: about 2 to 3 weeks after transplanting, once plants are actively growing.
- Second side-dress: when the plant is big and leafy and you can just begin to see a tiny head forming in the center.
Organic side-dress options
- Compost: a generous ring around the plant (keep it off the stem).
- Worm castings: a light sprinkle for a gentle boost.
- Organic nitrogen meals: alfalfa meal, feather meal, or blood meal used sparingly and per label instructions.
- Liquid feed: fish emulsion or a seaweed blend diluted and watered in for quick support, especially in containers.
Tip: if leaves are pale and growth is sluggish, broccoli is telling you it is hungry. Feed the soil, water it in, and watch the color deepen over the next week.
Container broccoli basics
Yes, you can grow broccoli in a pot. It just needs more consistent attention, like a houseplant that wants to be dinner.
- Container size: aim for at least 5 gallons per plant (bigger is easier).
- Soil: quality potting mix with compost mixed in for staying power.
- Water and feeding: containers dry out faster, so check moisture often and use a gentle liquid feed during active growth.
- Placement: full sun, with afternoon shade if your fall planting is still dealing with hot days.
Organic cabbage worm prevention
If you grow broccoli, you will eventually meet the cabbage white butterfly and its hungry little green caterpillars. The goal is not panic. It is prevention and good timing.
Row covers: your easiest win
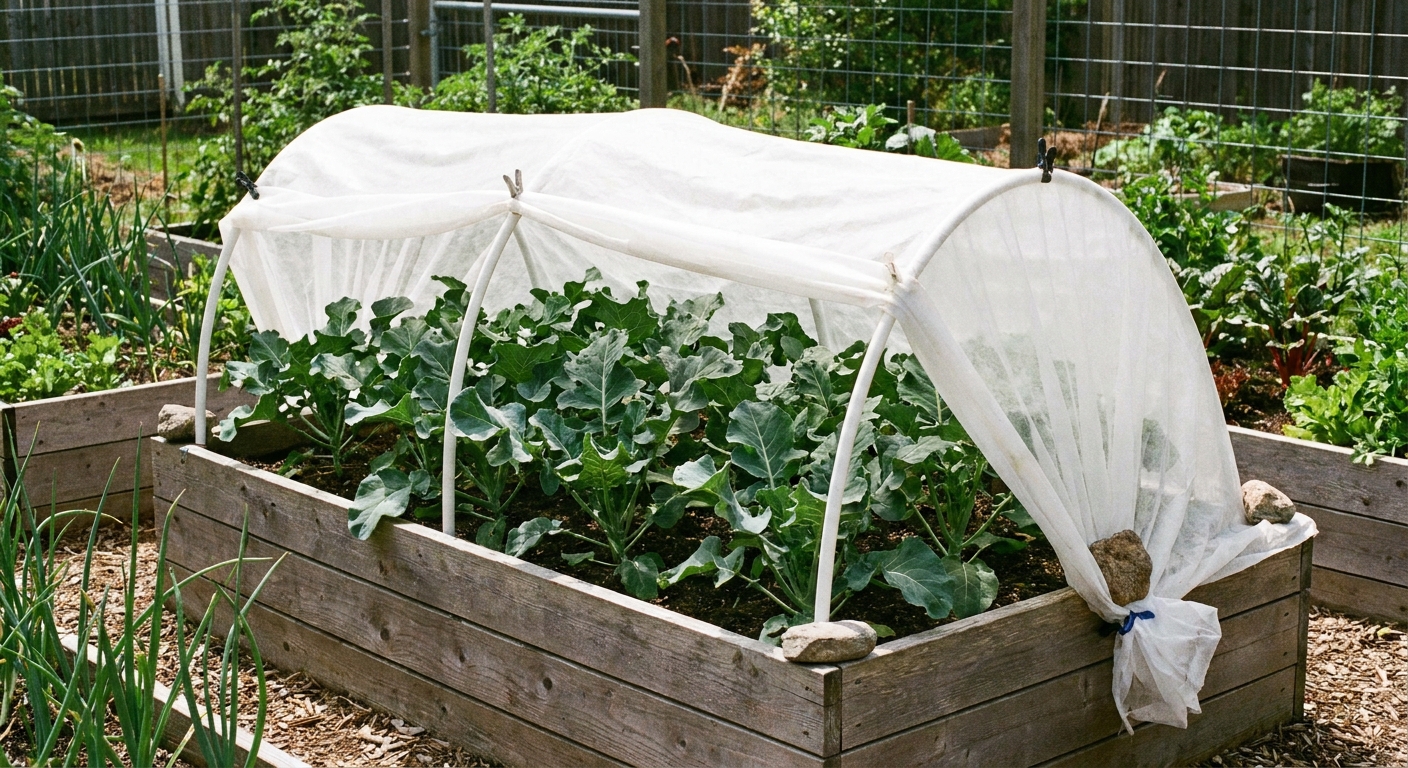
Lightweight floating row cover acts like a physical barrier, keeping butterflies and moths from laying eggs on your plants.
- Install row cover right after transplanting.
- Secure edges with soil, boards, or landscape pins so insects cannot sneak in.
- Check occasionally for trapped pests and to ensure plants are not being crushed as they grow.
Bt: best used early
Bacillus thuringiensis (Bt kurstaki) is an organic, targeted treatment that works best on small, young caterpillars.
- Scout the undersides of leaves for tiny, rice-grain yellow eggs or small caterpillars.
- Apply Bt in the evening (sunlight breaks it down faster) and reapply after heavy rain, following the product label.
- Use it as soon as you see early chewing damage or larvae. Waiting until caterpillars are large makes control harder.
My gentle reminder: row cover plus quick scouting often means you never need to spray anything. But if you do, Bt is one of the most broccoli-friendly options when used responsibly.
When and how to harvest
Harvest timing is where broccoli growers either feel triumphant or slightly betrayed. The goal is to cut the head when buds are tight and firm, before any yellow flowers show.
Harvest the main head
- Look for a crown that is deep green with tightly packed buds.
- Cut the main head with about 4 to 8 inches of stem using a sharp knife or pruners.
- Harvest in the morning if you can. Everything is crisp and sweet then.
Then keep harvesting side shoots
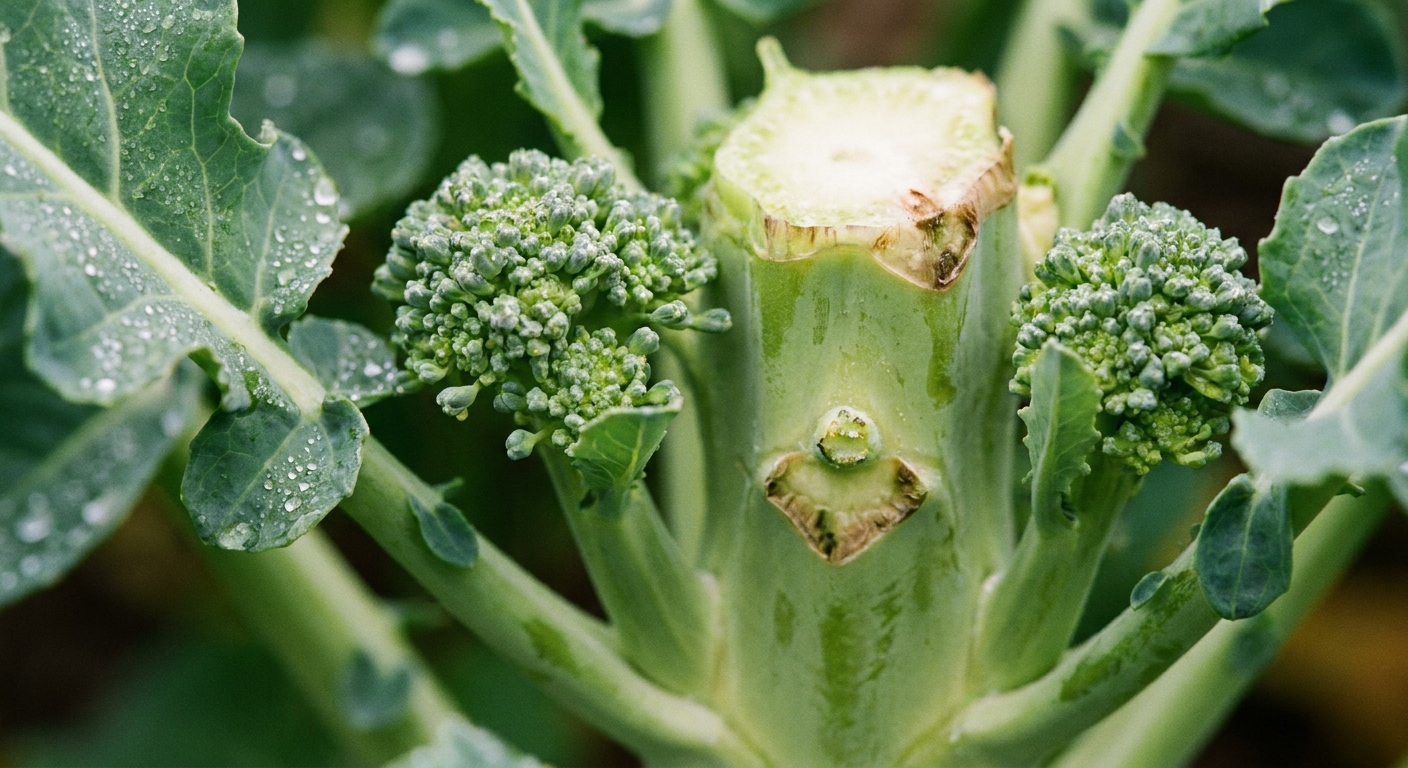
After the main head is removed, most varieties send out side shoots from the leaf joints. These are smaller florets, but they can keep coming for weeks.
- Check plants every few days once side shoots begin.
- Cut shoots while buds are still tight.
- Continue consistent watering and a light feeding if plants slow down.
If you see yellow: do not toss it. Broccoli that is starting to flower is still edible, just stronger flavored and softer. Harvest it right away and use it in soup, stir-fry, or roasted dishes.
Common broccoli hiccups
- Loose or “ricey” head: often heat stress or inconsistent moisture. Aim for fall timing, mulch well, and keep watering steady.
- Small heads: usually tight spacing, low fertility, or stress. Side-dress earlier and give plants more room next time.
- Bitter flavor: drought stress or overly mature heads. Water consistently and harvest while buds are tight.
- Holes in leaves: cabbage worms or flea beetles. Use row cover early and scout weekly.
- Bolting: the plant hit heat or stress and decided to flower. Harvest what you can, then plan for a cooler window next season.
Diseases and prevention
Most broccoli problems are easier to prevent than fix. The big three are airflow, clean habits, and rotation.
- Downy mildew: encouraged by cool, damp conditions and poor airflow. Space plants well, water at soil level, and avoid crowding under wet row cover for long periods.
- Black rot: spreads in warm, wet conditions and can come in on infected seedlings or contaminated tools. Start with healthy plants, avoid overhead watering, and remove infected leaves promptly.
- Clubroot: a soil-borne disease encouraged by acidic soil. Keep pH closer to neutral if it is an issue where you garden and rotate brassicas out of that bed for several years.
- Sanitation: clear out brassica debris at season’s end so pests and diseases have fewer places to overwinter.
A simple broccoli success plan
If you want a no-fuss checklist you can follow without overthinking, this is mine:
- Choose a cool window. Fall is usually easiest in hot-summer areas. Use days to maturity, then add 1 to 2 weeks in fall for slower growth.
- Feed the soil. Compost before planting, then side-dress twice during growth.
- Space generously. 18 to 24 inches between plants keeps them happy.
- Water steadily. Mulch and aim for 1 to 1.5 inches weekly.
- Block cabbage worms early. Row cover right after transplanting. Use Bt in the evening if larvae appear.
- Rotate your brassicas. Give that bed a break for a few years to reduce pests and soil-borne disease.
- Harvest on time. Cut the main head while tight, then come back for side shoots.
And if your first try is a little scruffy, welcome to the club. Broccoli is here to teach patience, not perfection. Keep showing up with water, compost, and curiosity, and it will meet you halfway.