How to Grow Asparagus at Home
Asparagus is the kind of vegetable that rewards your patience in a very unfair way, meaning you wait a couple of years and then it feeds you for a long time. Once an asparagus bed is happy, it becomes a springtime ritual: warm soil, tiny green tips, and that first crisp spear you grew yourself.
In this guide, I will walk you through choosing crowns vs seed, setting up a bed that lasts, what to expect in the first few years, how to harvest without weakening plants, and how to manage the tall, feathery ferns that power next year’s crop.

Crowns vs seed
You can grow asparagus from seed or from crowns. Both work. One is faster, and the other is cheaper with more variety options.
Planting crowns
Crowns are one-year-old roots that look like a many-legged sea creature. They are the standard for home gardens because they skip the baby phase and get you to harvest sooner.
- Pros: Faster to first real harvest, simpler early care, more predictable results.
- Cons: Higher upfront cost, you usually get fewer cultivar choices locally.
If you want asparagus on your plate as soon as responsibly possible, choose crowns.
Growing from seed
Seed is a slower start, but it is satisfying and can be budget-friendly if you want a longer row.
- Pros: Inexpensive, lots of cultivar options, easy to start indoors.
- Cons: Adds roughly a year to your timeline, seedlings need more weeding and attention early on.
One more seed note: asparagus plants can be male or female. Female plants put energy into berries, which can reduce spear production a bit. Many modern varieties are all-male for higher yields. If you start from generic seed, you may get a mix. If you buy a named, all-male hybrid seed (or reputable all-male crowns), you can expect reliably male plants. Saved seed from hybrids is not a reliable way to keep that trait.
Pick the right spot
Asparagus is perennial. You are not just choosing a place for this season, you are choosing a place for the next 15 years or more, sometimes longer with great care and the right conditions. That sounds dramatic, but it is also why it is such a great use of garden space.
- Sun: Full sun is best, meaning 6 to 8 hours or more.
- Soil: Loose, well-drained soil. Asparagus hates wet feet and compacted clay.
- Space: A dedicated bed is ideal because you will not be digging there often once plants settle in.
- Wind: Ferns can get tall and topple. A little shelter helps, but do not shade them out.
Avoid spots where water sits after rain, or where you know you will need to build, expand a patio, or run a new fence line later. Future-you will be grateful.
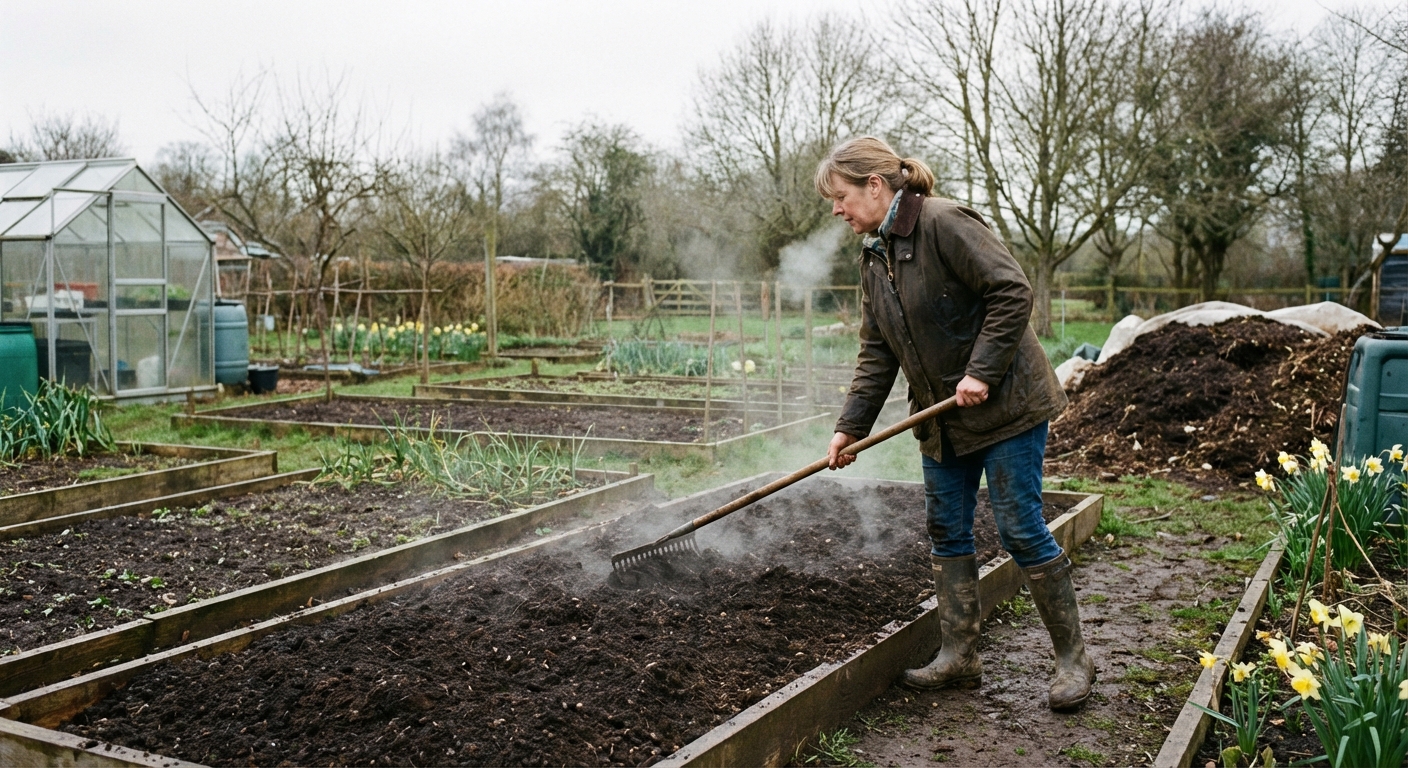
Bed prep that makes asparagus thrive
Most asparagus problems start with rushed bed prep. This is the unglamorous part, but it is where the magic happens. A well-prepped bed means thicker spears, fewer weeds, and less stress in hot summer weather.
Soil texture and drainage
Asparagus roots go deep. Aim for soil that is easy to dig at least 10 to 12 inches down. If your soil is heavy clay, consider a raised bed or a wide, mounded row to improve drainage.
Soil pH and fertility
Asparagus generally prefers a slightly acidic to neutral pH, around 6.8 to 7.2 (and it can tolerate a bit outside that). If you have never tested your soil, this is a great crop to do it for.
- Before planting: Mix in compost and, if needed, adjust pH based on a soil test.
- Go easy on fresh manure: Use well-composted manure only, and mix it in well ahead of planting.
I like to build fertility with compost, leaf mold, and a balanced organic fertilizer if a soil test calls for it. Asparagus is not fussy, but it does appreciate steady, long-term nutrition.
A simple yearly routine: Top-dress with compost in early spring, then give a light feeding after you finish harvesting (especially in sandy soil or if ferns look pale).
How to plant asparagus crowns
Timing depends on your climate, but crowns are typically planted in early spring as soon as the soil can be worked.
Step-by-step crown planting
Dig a trench: About 8 to 12 inches deep and 12 to 18 inches wide.
Make a ridge: Form a low mound of soil down the center of the trench.
Set crowns on the ridge: Spread roots out like spokes. Place crowns about 12 to 18 inches apart.
Row spacing: Space rows about 3 to 5 feet apart so you can weed, mulch, and harvest comfortably (and so ferns get good airflow).
Cover lightly: Start with 2 to 3 inches of soil over the crowns.
Backfill gradually: As shoots grow, add more soil over the season until the trench is filled level with the bed.
This gradual backfill helps the plant establish without burying new growth too deeply all at once. In many gardens, you end up with crowns sitting roughly 6 to 8 inches below the final soil surface, which is a comfortable depth for strong spears and winter protection.
How to grow asparagus from seed
If you are going the seed route, you can sow outdoors after the last frost, but I prefer starting indoors to get a head start and reduce weed competition.
Seed-starting basics
- When: Start seeds 10 to 12 weeks before your last frost.
- Soak: Soak seeds in water for 12 to 24 hours to speed germination.
- Germination: Expect 2 to 6 weeks depending on warmth.
- Transplant: Move seedlings outside after frost once they are sturdy, then eventually transplant into the permanent bed.
Seedlings are small and easy to lose in a weedy patch. Keep them clearly marked and weeded, especially in year one.
Years-to-harvest expectations
This is the part where I gently take your hand and say: asparagus teaches patience. The payoff is worth it.
What to expect by year
- Year 1: No harvest. Let plants grow ferns and build roots.
- Year 2: A very light harvest is sometimes possible for established crown plantings, but many gardeners still skip it or keep it extremely short.
- Year 3: Regular harvest begins. This is when the bed starts feeling like a real producer.
- Year 4 and beyond: Full production, often for 15 years or more with good care.
If you start from seed, shift this timeline about a year later. It feels slow at first, and then suddenly you have a daily spring harvest and wonder how you ever bought asparagus at the store.
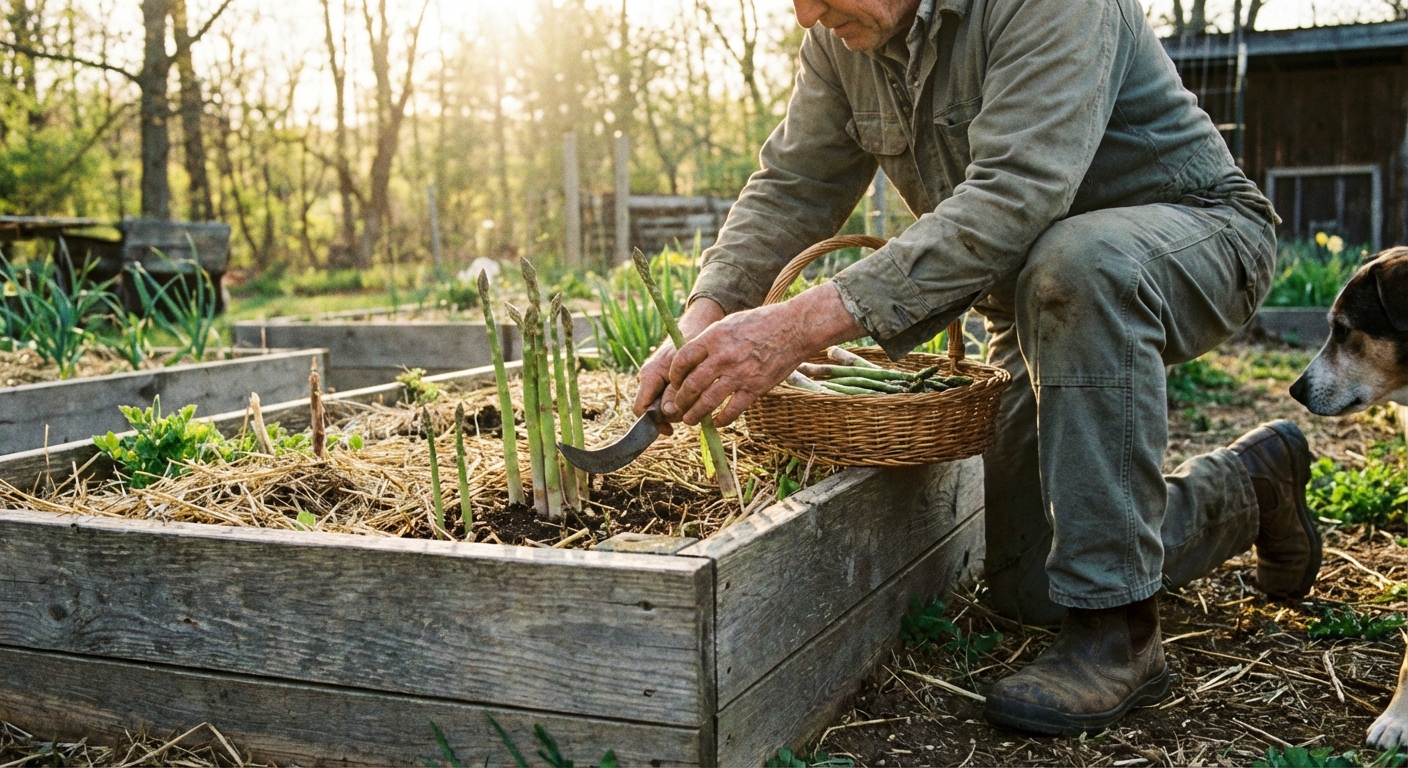
How to harvest without weakening the bed
Harvesting is all about timing and restraint. You are not just collecting food, you are deciding how much energy the plant keeps for next year.
When to cut
Harvest spears when they are 6 to 10 inches tall, before the tips loosen and start to fern out. Thick spears are great, but thin spears are not a failure, they are a message that the bed is young or stressed.
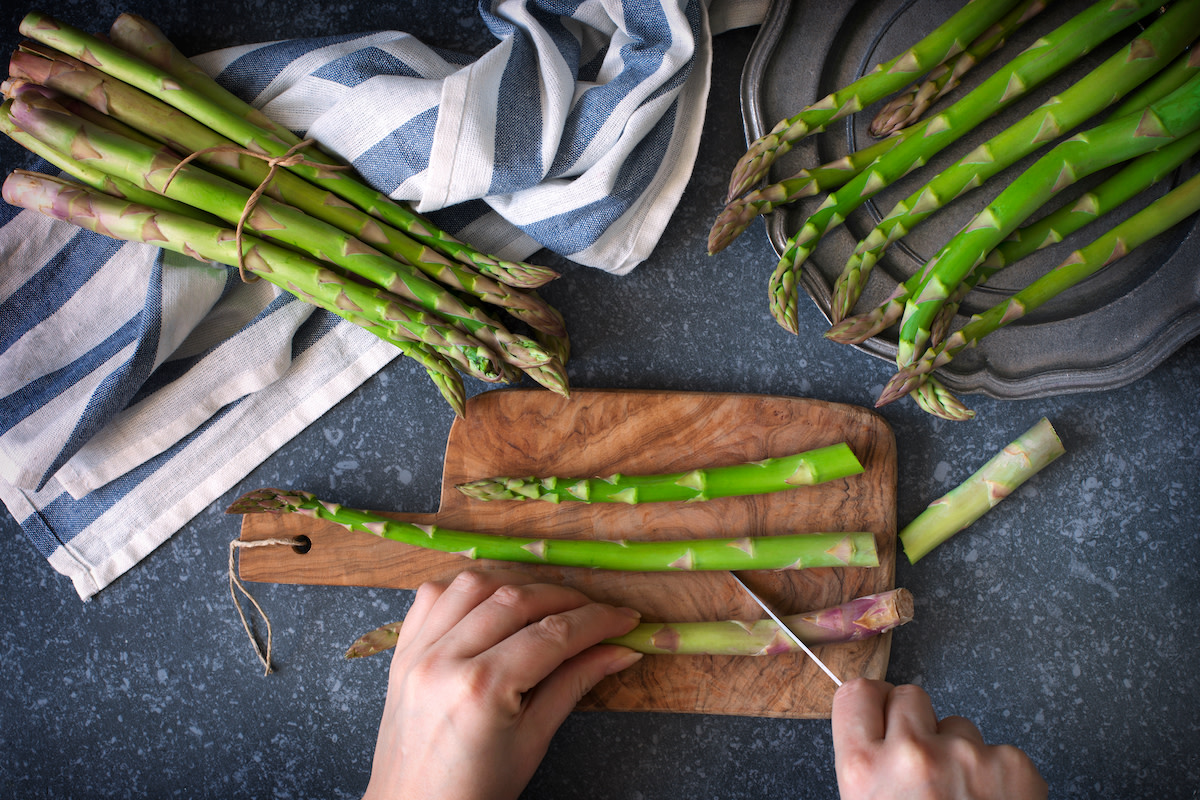
How to cut
- Method: Use a clean knife or garden scissors to cut spears at soil level, or snap them where they naturally break. Cutting is tidier. Snapping is quick.
- Do not cut deep: Avoid digging or slicing far below the soil surface, since it is easy to nick developing spears nearby.
- Harvest window: In mature beds, harvest for about 6 to 8 weeks, then stop and let the rest grow into ferns.
- Stop harvesting when: Spears become consistently pencil-thin. That is your plant asking for recovery time.
A good rule is to end harvest by early summer so plants can photosynthesize all season and recharge their roots.
Managing fern growth
After harvest, asparagus turns into a tall, airy fern. Those ferns are not just decoration. They are the solar panels that create next year’s spears. Treat them kindly.
Support and spacing
Ferns can reach 3 to 5 feet or more. In windy spots, they flop and tangle, which can stress plants and invite disease.
- Use stakes and soft twine, or a simple string corral around the bed.
- Do not crowd the bed with tall neighboring plants that shade ferns.
- Give ferns airflow. Good spacing and less tangling helps prevent disease issues like rust.
Watering and mulch
Consistent moisture helps ferns stay vigorous, especially during summer heat. As a baseline, aim for about 1 to 2 inches of water per week (rain plus irrigation), more in extreme heat or very sandy soil. Add a 2 to 3 inch layer of organic mulch to keep soil cool, suppress weeds, and protect soil life.
When to cut ferns back
Let ferns grow until they yellow and die back naturally, usually after frost. Then cut them down to a few inches above soil level.
Tip: If you have had pest or disease issues, remove the old fern debris from the bed rather than composting it in place, since it can shelter insects and spores.
Seasonal care checklist
Spring
- Weed early and often before spears emerge.
- Top-dress with compost.
- In cold climates, pull mulch back a bit in early spring to help soil warm faster, then re-mulch once spears are up.
- Begin harvest in mature beds, then stop on schedule.
Summer
- Let ferns grow tall and healthy.
- Water during dry spells, aiming for 1 to 2 inches per week total.
- Scout for pests and damage.
Fall
- After frost, cut yellowed ferns back.
- Clean up plant debris if pests were present.
- Mulch for winter protection and soil health.
Winter
- Let the bed rest under mulch or snow.
- Plan any bed expansions now, asparagus loves commitment.
Common problems
Thin spears
- Most common cause: Overharvesting or harvesting too long.
- Also possible: Young bed, drought stress, low fertility, heavy weed competition.
Solution: End harvest earlier, feed with compost, water consistently, and keep weeds down.
Weeds taking over
Asparagus beds can be tricky to weed because you do not want to damage crowns. Mulch is your best friend here, and hand weeding is often safest.
Asparagus beetles
If you notice chewed spears, black specks of frass, or small beetles and larvae on ferns, you may be dealing with asparagus beetles. They can weaken plants by defoliating ferns, which reduces next year’s harvest.
For a focused, step-by-step approach, visit our dedicated guide: asparagus beetle control.
Rust and crown rot
If ferns get rusty orange spots (rust) or plants gradually decline over time (often linked to crown and root rots like fusarium), prevention is the best tool. Keep weeds down, avoid overcrowding, water at the soil level when possible, and prioritize drainage. If a bed struggles year after year, starting a new bed in a fresh, well-drained spot is sometimes the kindest solution.
Varieties to consider
Most home gardeners do well with widely available, disease-resistant types. Look for varieties suited to your region, and consider all-male cultivars if you want maximum spear production.
- All-male hybrids: Often higher yielding and more uniform. Popular options include Jersey Knight, Millennium, and Jersey Giant.
- Heirloom and open-pollinated: Great for seed savers and biodiversity, sometimes slightly less uniform. Mary Washington is the classic name many gardeners start with.
- Color and novelty: Purple Passion is known for purple spears and a sweeter, milder flavor (it turns greener when cooked).
If you are gardening in a colder climate, choose a variety known for winter hardiness. In warmer regions, heat tolerance matters more, and good drainage becomes non-negotiable.
A final note
When people tell me they have a black thumb, asparagus is one of the first plants I bring up. Not because it is instant gratification, but because it is the opposite. You plant it once, you care for it steadily, and it quietly proves that long-term relationships with plants are absolutely possible.
Start with a small bed if that feels safer. Give it sun, compost, and a little patience. Then, when the first real harvest year arrives, invite someone over and cook it simply. You will taste the difference.