How to Get Rid of Rats in Your Yard Naturally
Rats are not a “set one trap and forget it” problem. They are smart, cautious, and very good at taking advantage of what we accidentally provide: easy snacks, cozy hiding spots, and quiet travel routes along fences and shrubs.
The good news is you can push rats out naturally without turning your yard into a war zone. The most effective approach is Integrated Pest Management (IPM): remove what attracts them, block access, reduce cover, then add humane, pet-safe pressure until your yard is simply not worth the risk.

First, make sure it is actually rats
Before you change everything, confirm your guest. Mice, voles, gophers, and rats leave different clues, and the fix changes depending on who is moving in.
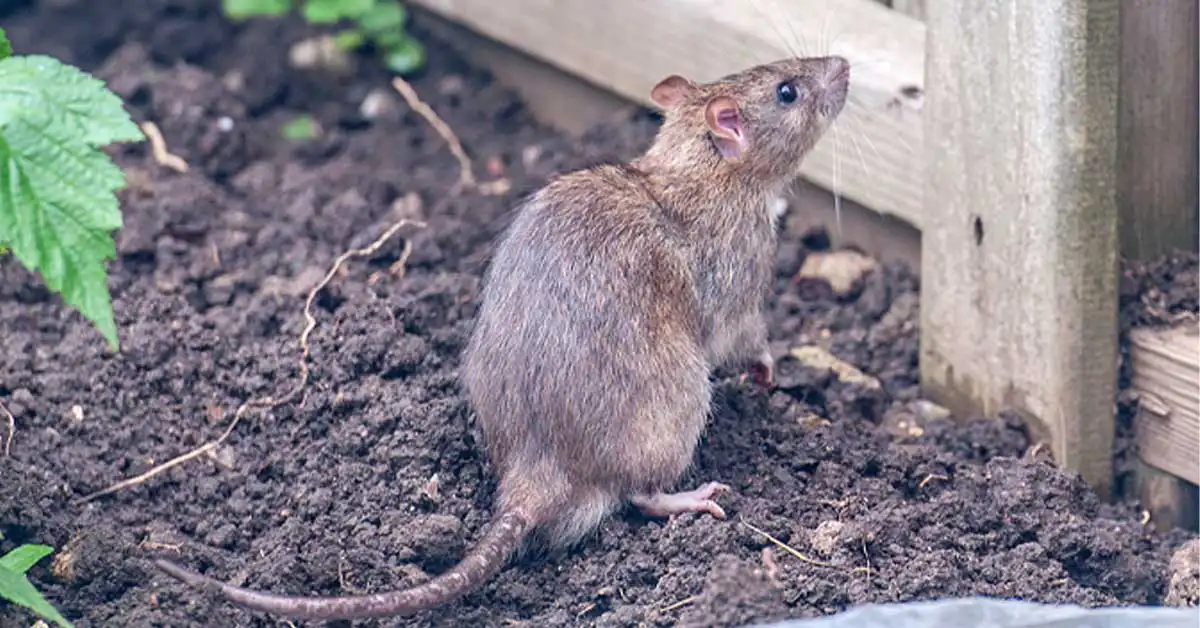
Common rat signs in yards
- Droppings: Rat droppings are larger than mouse droppings, typically dark and capsule-shaped.
- Runways: Smooth, narrow paths in grass or along walls and fences where they travel nightly.
- Burrows: Open holes near slabs, sheds, woodpiles, compost, or dense shrubs. Freshly kicked-out soil is a big hint.
- Gnaw marks: On irrigation lines, wood, plastic bins, fruit, or garden hoses.
- Grease rub marks: Dark smudges along walls, fences, or foundation edges where their fur brushes repeatedly.
If you see daytime activity, it can mean the population is high or food is very easy. It can also happen during disturbance, extreme weather, or when young rats are dispersing. Either way, it is a signal to start your plan now.
Roof rat vs Norway rat (quick yard clue)
- Roof rats: Great climbers. Often tied to fruit trees, dense vines, fences, and attics. You may see droppings on fences, rafters, or along elevated routes.
- Norway rats: Heavier-bodied diggers. More likely to burrow near slabs, sheds, woodpiles, and thick groundcover.
Set expectations and a humane timeline
Natural control works, but it is rarely instant. Rats are cautious and tend to test changes slowly.
- Days 1 to 3: You may still see activity as they follow established routes.
- Week 1: Sanitation and habitat reduction start to reduce nightly visits.
- Weeks 2 to 4: Exclusion and consistent deterrents usually push them to relocate.
- After 4 weeks: If signs remain strong, it is time to escalate to more intensive trapping or professional help.
Humane note: “Natural” does not always mean “non-lethal.” You can stay eco-minded while still prioritizing safety, disease prevention, and preventing suffering with quick, appropriate methods when necessary.
Safety first: droppings and cleanup
Rat droppings and urine can spread germs. This is not meant to scare you, just to keep you safe.
- Keep kids and pets away from droppings, burrows, and nesting areas.
- Do not dry sweep droppings. Avoid vacuuming unless you have a HEPA setup designed for this kind of cleanup.
- Wet-clean instead: Wear gloves and a mask, lightly mist droppings with disinfectant (or a bleach solution mixed per label directions), wait a few minutes, then pick up with paper towels and bag.
- Wash up: Wash hands well, and launder clothing that contacted contaminated areas.
Step 1: Cut off food, every night
Food is the magnet. If you do only one thing, do this. A rat can live comfortably on surprisingly small daily handouts.
Yard food sources to fix
- Fallen fruit and nuts: Pick up daily in season. Citrus, figs, apples, and avocados are rat favorites when they drop.
- Bird feeders: Pause feeding for 2 to 3 weeks, or switch to a feeder with a catch tray and only feed mid-morning, never at dusk. Sweep up spilled seed.
- Pet food: Feed pets indoors if possible. If outdoor feeding is unavoidable, remove bowls immediately after meals.
- Grill grease and outdoor kitchens: Degrease drip pans and wipe surfaces. Rats will absolutely lick grease.
- Trash and recycling: Use lidded, intact bins. Rinse containers and avoid bag overflow.
- Compost mistakes: No meat, dairy, oily foods, or cooked grains in open piles. Use a secure bin if rats are present.
Quick win: Walk your yard at dusk for five minutes and pretend you are a hungry rat. Anything you can nibble without being seen needs to be removed, contained, or cleaned.

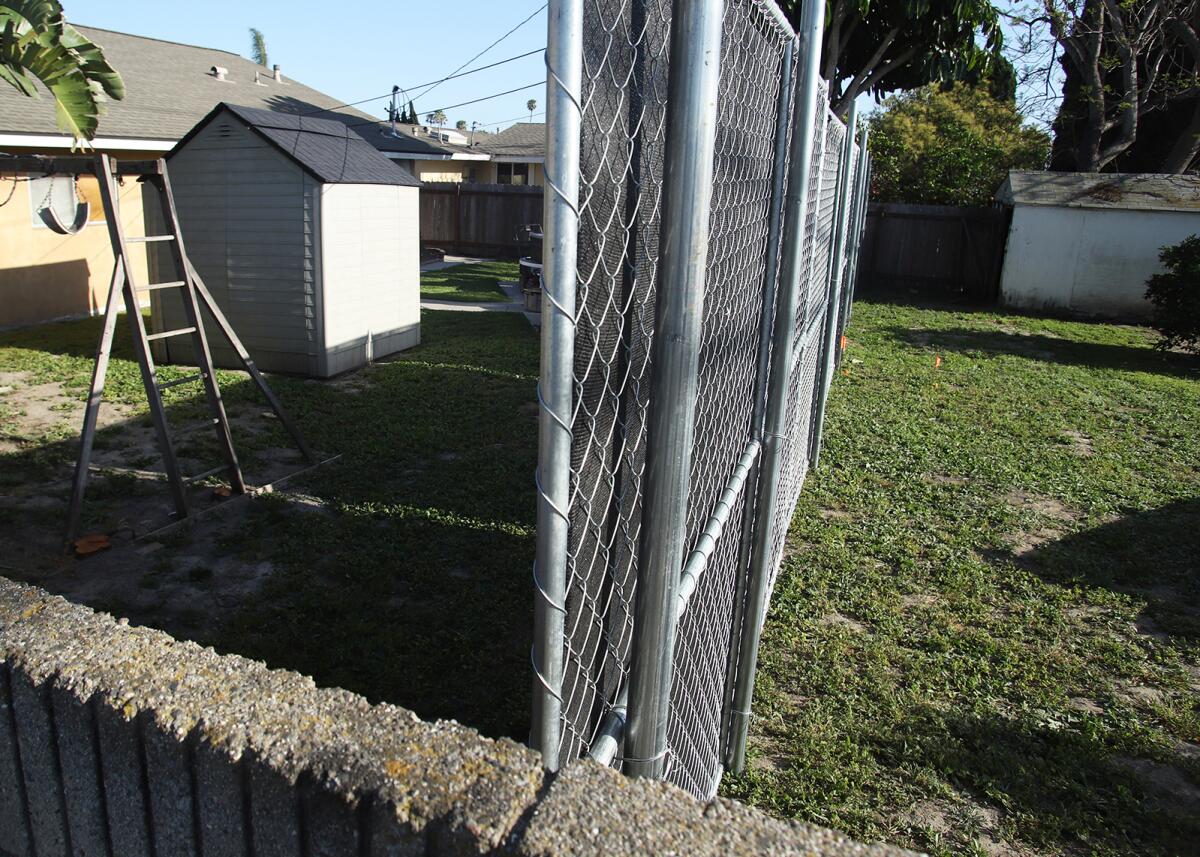
Step 2: Reduce cover and routes
Rats do not like open spaces. They prefer edges like fences, foundations, and dense plantings. Your goal is to make them feel exposed.
Habitat changes that work
- Trim low branches: Keep shrubs lifted so you can see underneath. Aim for 12 to 18 inches of clearance from soil.
- Thin dense groundcovers: Ivy and thick juniper can become rat highways. Consider replacing with less dense plantings and mulch.
- Move woodpiles: Store firewood at least 18 inches off the ground and several feet away from structures.
- Declutter: Old pots, stacked lumber, and forgotten tarps create perfect harborage.
- Manage compost: Use a rodent-resistant bin with a secure lid and small ventilation gaps.
If there is a burrow, do not immediately fill it until you have reduced food sources and confirmed rats are not actively inside. Otherwise, they often dig back out or create a new exit closer to the house.

Step 3: Exclusion and water fixes
Exclusion is where natural control becomes long-term control. If rats cannot get into cozy places, they are much easier to pressure out of the yard.
Where yard rats commonly shelter
- Under decks, sheds, hot tubs, and porches
- In crawlspace vents and gaps near pipes
- Behind stored items along fences
- In dense hedges or stacked materials
Exclusion basics (pet-safe)
- Seal gaps: Rats can squeeze through openings around 1/2 inch in many cases, sometimes a bit larger or smaller depending on the individual and species. Use sturdy materials like galvanized hardware cloth (not chicken wire), metal flashing, or concrete patch for gaps along slabs.
- Use the right mesh: 1/4 inch hardware cloth is a great all-around choice for vents and screening because it blocks small juveniles too.
- Screen and repair vents: Replace broken vent screens and cover crawlspace and foundation vents with rodent-rated metal mesh.
- Seal around pipes: Use an escutcheon plate plus an exterior-rated sealant, or pack larger voids with metal mesh and then seal over it.
- Door and garage gaps: Add door sweeps and fix warped thresholds so you do not leave an easy nightly entry.
- Skirt decks and sheds: Install hardware cloth along the perimeter, buried at least 12 inches down. In areas with persistent digging, go deeper (often 12 to 18 inches) and add an outward L-bend to discourage tunneling.
- Fix leaks and standing water: Repair dripping hose bibs, irrigation leaks, and low spots where water pools.
Re-check: After you exclude, inspect again in 1 to 2 weeks. New chew attempts and fresh rub marks show you exactly where to reinforce.
Important: If rats are living inside a structure (shed, garage, crawlspace), exclusion must be done carefully so you do not trap them inside. When in doubt, consult a wildlife control professional who uses exclusion-first methods.
Step 4: Deterrents that help
Deterrents work best after you remove food and cover. Think of deterrents as steady pressure, not magic. Results vary by layout, species, and how much food and shelter remains nearby.
Motion-activated devices
Motion-activated sprinklers are one of my favorite humane tools for yards. They startle rats and make travel routes unpleasant. Place them along fence lines, near compost, under fruit trees, and beside sheds. Adjust aim so you hit the corridor, not your neighbor.
Lighting
Rats prefer darkness, but bright lights alone rarely solve the problem. If you use lighting, pair it with habitat reduction so rats cannot simply move under shrubs.
Scents and plants: a reality check
Peppermint oil, predator urine, and “rat repellent” sachets can have short-term effects, but they often fade quickly outdoors, especially with irrigation or rain. If you try them, treat them as supplemental.
- Reapply often and after watering.
- Use them to protect specific spots like a compost bin area or a shed corner.
- Stop if pets investigate or chew on treated materials.

Step 5: Humane trapping options
If you have active rats, trapping is usually the quickest way to shrink the population while your sanitation and exclusion changes take effect.
Snap traps (fast when used correctly)
High-quality snap traps can be a humane choice because they can kill quickly when properly placed and sized. If you use snap traps, protect kids, pets, and wildlife by placing them inside a covered, tamper-resistant trap box (a protective enclosure designed for traps).
- Placement: Along walls, fence lines, and runways with the trigger end toward the wall.
- Bait: A small amount of peanut butter, a nut, or dried fruit. Use tiny portions so rats must work the trigger.
- Pre-baiting: If rats are trap-shy, set traps unset with bait for 1 to 2 nights, then arm them.
- Check frequency: Check traps at least daily (more often in heat) to reduce suffering and avoid attracting flies and scavengers.
Live traps (humane, but complicated)
Live trapping sounds kind, but it comes with real challenges: stressed animals, potential bites, and relocation rules that vary by location. Relocating rats may be illegal in some areas and is widely discouraged because it can spread disease and simply moves the problem to someone else.
If you choose live trapping, research local regulations first, and plan for a humane outcome that does not create suffering.
Disposal and cleanup
- Wear gloves, bag the animal securely, and follow local disposal guidance.
- Disinfect the trap after use and wash hands thoroughly.
Avoid these “natural” methods
- Glue boards: Not humane. They cause prolonged suffering and can trap birds, lizards, and beneficial wildlife.
- Homemade poisons: Dangerous to pets, owls, hawks, and neighborhood animals through primary and secondary exposure.
- Ultrasonic plug-ins outdoors: Results are inconsistent in open air and often do not justify the cost.
About bait stations (clear up the confusion)
“Bait station” can mean two different things:
- Trap boxes: Protective boxes that hold snap traps. These are great for safety.
- Rodenticide bait stations: Locked boxes designed to hold poison bait blocks. These can increase risk to wildlife through secondary poisoning and are best avoided in most home-yard situations, or used only with professional guidance and strict local compliance.

Keep your yard less rat-friendly
Once you have the situation under control, maintenance is how you keep it that way. Rats are opportunists, and they will return if conditions improve for them.
Weekly habits that prevent a comeback
- Pick up fallen fruit and garden produce promptly.
- Keep bird feeding tidy, or take breaks during peak rat season.
- Trim back dense growth along fences and structures.
- Store seed, bulbs, and animal feed in metal containers with tight lids.
- Check irrigation for leaks and soggy spots.
Compost, but make it rodent-resistant
I love compost with my whole heart, but an open pile is basically a free buffet and cozy bed if you add the wrong inputs. Use a closed bin, bury fresh scraps in the center, and keep the area clean around it.
When to call a pro
Sometimes the most responsible choice is getting help, especially when rats are nesting in structures or the population is established.
Call a pro if you notice
- Rats entering or exiting a crawlspace, garage, attic, or shed
- Chewed wiring, irrigation lines, or repeated damage
- Daytime rat activity multiple days in a row
- Droppings around doors, patios, kids’ play areas, or pet zones
Ask for a company that prioritizes exclusion and sanitation first, uses targeted trapping, and avoids broad rodenticide use whenever possible. That approach is safer for pets and for the owls and hawks that do free pest control in healthy neighborhoods.
Quick start checklist
If you want a simple plan you can start today, here is your order of operations.
- Tonight: Remove pet food, clean grill grease, pick up fallen fruit, pause bird feeding.
- This week: Trim dense shrubs, lift woodpiles, declutter, secure trash and compost.
- Within 7 days: Identify and block access points around decks, sheds, vents, and doors using hardware cloth and sturdy patches.
- Weeks 1 to 4: Add motion-activated sprinklers in problem corridors and use protected trapping if needed. Keep checking for new rub marks and fresh digging.
- After 4 weeks: If signs remain strong, bring in exclusion-focused professional help.
And please, do not beat yourself up if you are dealing with rats. It does not mean your yard is dirty or your garden is “failing.” It means you have a living landscape. With a steady, soil-loving routine and a few smart boundaries, you can make your yard a place where plants thrive and rats move along.