How to Force Amaryllis Bulbs Indoors for Winter Blooms
Amaryllis is my favorite winter magic trick. One chunky bulb, a pot, a little patience, and suddenly your kitchen looks like it has its own sunrise. If you have ever felt nervous about “forcing” plants, I promise it sounds bossier than it is. You are simply waking a bulb up indoors, then giving it the light and warmth it needs to flower.
Below is my beginner-friendly forcing workflow for bulb buyers, including what to look for at the store, soil vs. water forcing, and a simple timing plan if you are aiming for holiday blooms.

What “amaryllis” are we forcing?
Most bulbs sold as amaryllis for winter blooms are actually Hippeastrum hybrids, bred specifically to flower indoors. That is good news. They are reliable, big-blooming, and forgiving.
When you shop, you will usually see bulbs sold for indoor forcing, and sometimes notes about whether a bulb has had a cool rest (or should have one), especially for saved bulbs or certain suppliers who pre-condition stock. Most holiday amaryllis do not require you to chill them.
How to choose a good bulb
- Go big if you want more show: Larger bulbs (often sold by circumference or “grade”) typically produce stronger stalks and are more likely to give you two stalks.
- Pick firm and heavy: It should feel like an onion, not squishy.
- Papery skins are fine: But skip bulbs with soft spots, mold, or a sour smell.
Do you need to chill it?
Usually, no
Most new, ready-to-force Hippeastrum bulbs are sold primed to grow and bloom without a home chilling step. Pot it up, water once, and let it get on with it.
When a cool rest can help
A cool, dry rest period is most relevant when you are re-blooming a saved bulb, or if your bulb’s tag or supplier instructions specifically recommend a rest for timing.
If your bulb’s instructions say to chill
Follow the tag first. Typical guidance is a cool, dry, dark rest for about 8 to 12 weeks. Many growers aim for roughly 45 to 55°F (7 to 13°C), though recommendations vary by source and situation. A paper bag in a cool closet or basement works well.
One more storage tip: Keep bulbs away from ripening fruit if you can. Ethylene gas can interfere with flower development in some bulb crops, and it is an easy precaution.
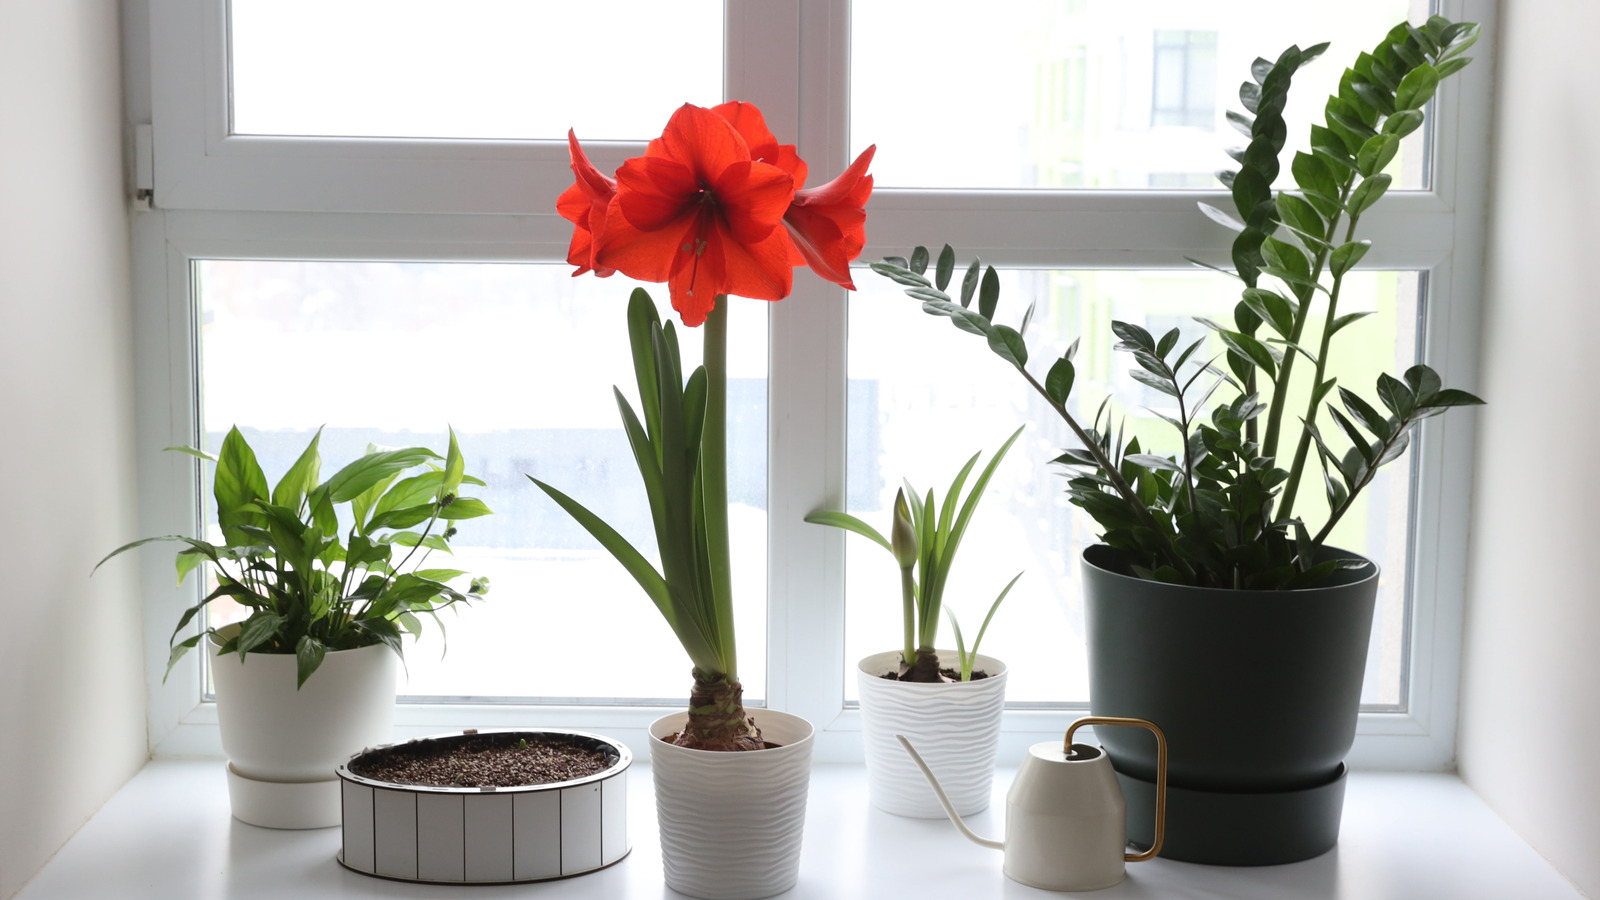
Two ways to force: soil or water
You can force amaryllis in potting mix (my go-to for long-term success) or in water using a bulb vase. Both can bloom beautifully. The best choice depends on whether you want a one-season show or a bulb you can keep for years.

Option 1: Forcing in soil (best for re-blooming)
What you need:
- A pot with drainage, about 1 to 2 inches wider than the bulb
- Potting mix (light and well-draining)
- A saucer
Step-by-step:
- Inspect the bulb. It should feel firm like an onion. Papery outer layers are fine. Soft spots or mold are not.
- Trim old roots only if needed. If roots are very long and dry, you can shorten them a bit. If they are plump and healthy, leave them.
- Plant high. Set the bulb so the top third to half sits above the soil line. This helps prevent rot.
- Water once to settle. Water thoroughly, then empty the saucer.
- Then pause. Do not water again until you see a sprout or feel that the mix is fully dry through the top couple inches. Early on, slightly dry is safer than soggy.
- Place in bright light and warmth. A sunny winter window is perfect. Aim for 65 to 75°F (18 to 24°C).
Watering rule that saves more amaryllis than anything else: once growth starts, water when the top inch of soil feels dry. Keep the mix barely moist, never soggy. Most bulb failures indoors are simply rot from too much water before roots are active.
Normal and good: Often the flower stalk shows up before leaves. It looks dramatic and slightly alien. Do not “help” it with extra water. Just keep light and warmth steady.
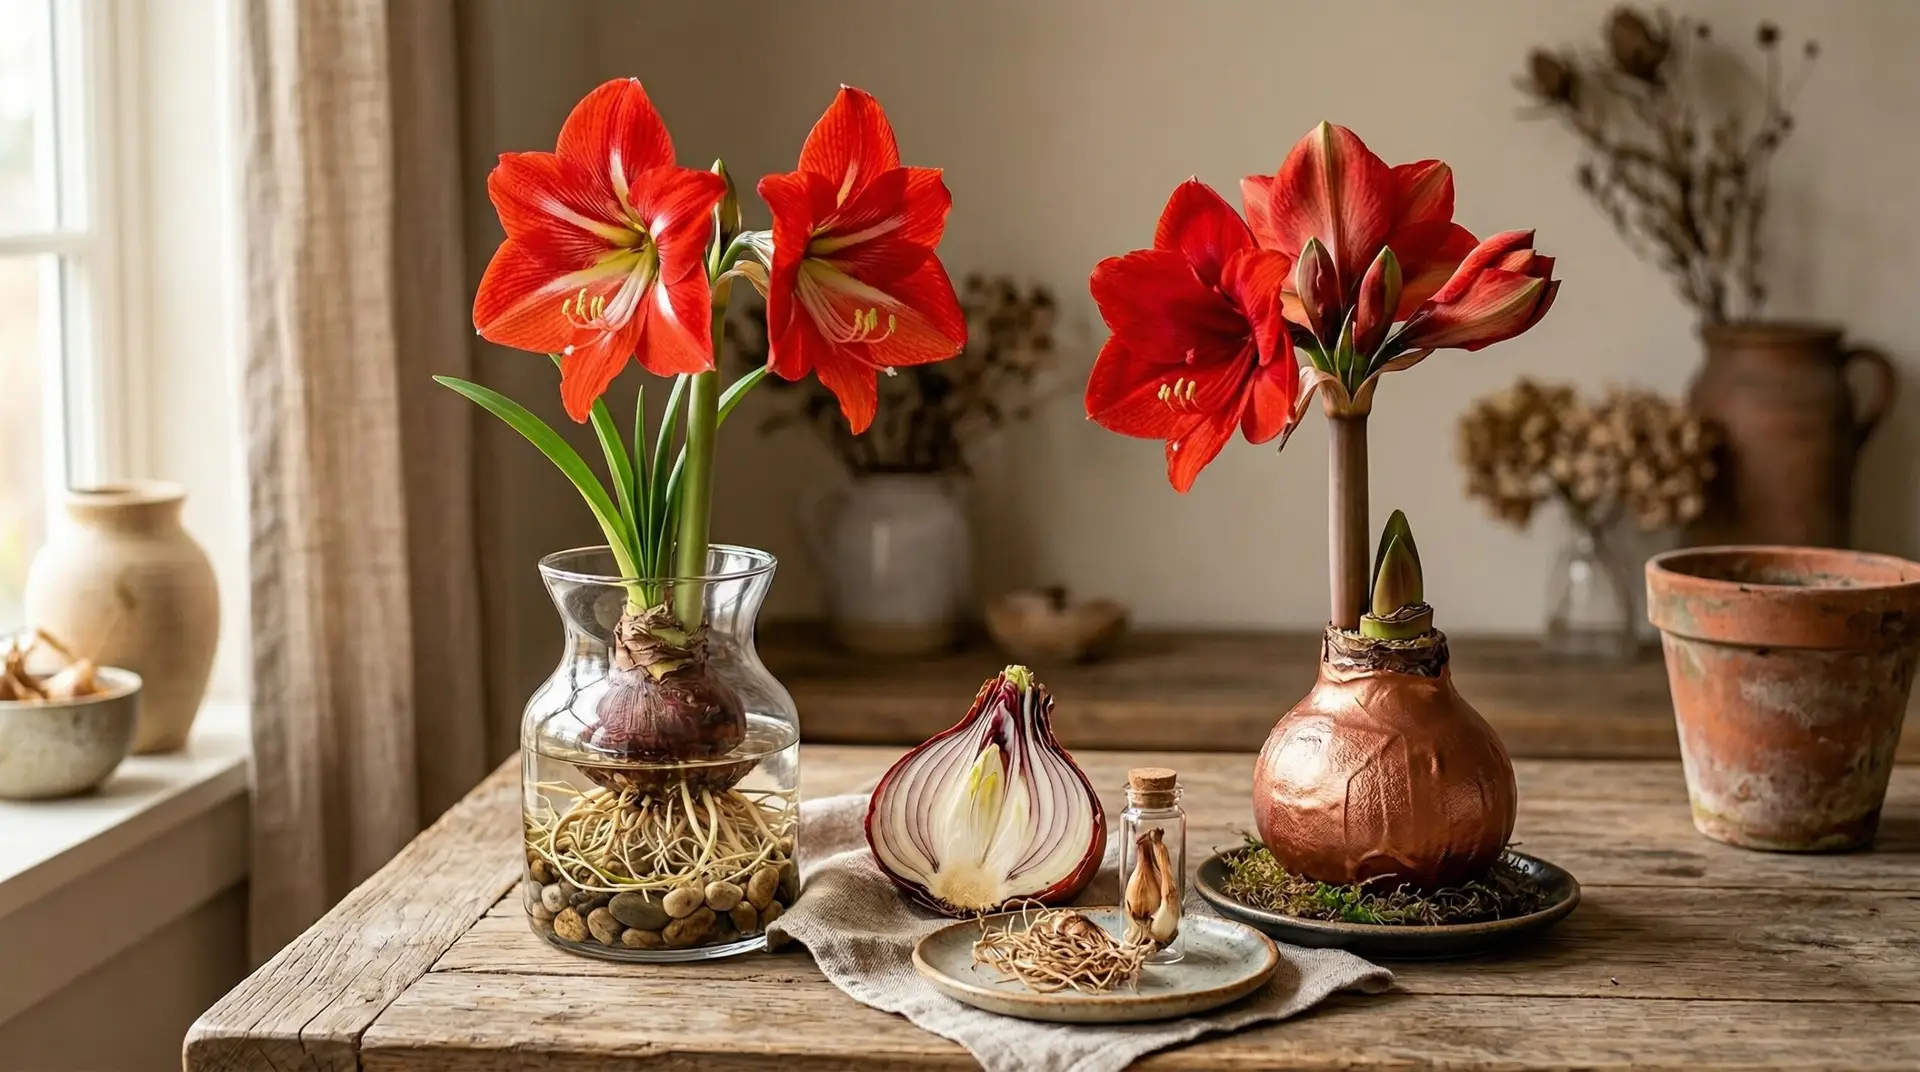
Option 2: Forcing in water (pretty, usually short-term)
Water forcing looks elegant and feels like a science experiment on your counter. It can work wonderfully for a single bloom cycle, but bulbs grown in water often struggle to recover for next year.
What you need:
- A bulb vase or a tall vase with stones or pebbles
- Clean water
Step-by-step:
- Add stones. Fill the vase base with pebbles to support the bulb.
- Set the bulb above water. The bulb’s base should sit just above the water line. You want roots to reach down, not the bulb to soak.
- Top up as needed. Once roots form, keep water touching the roots. Refresh if it becomes cloudy.
- Bright light, moderate warmth. Treat it like a potted bulb once it starts growing.
Timing for holiday blooms
Most amaryllis bloom about 6 to 10 weeks after potting, but timing can vary a lot by variety, bulb size, and how the bulb was pre-conditioned. Some bloom closer to 4 weeks, and some take 12. Warmer rooms speed things up. Cooler rooms slow things down.
Simple planning guide
- For Thanksgiving blooms: pot bulbs in late September to early October
- For Christmas blooms: pot bulbs in late October to mid November
- For New Year’s blooms: pot bulbs in mid to late November
- For Valentine’s Day blooms: pot bulbs in early to mid December
Want blooms on a specific week?
If you are aiming for a party or gift date, start a couple bulbs two weeks apart. Staggering gives you a safety net, since bulbs have personalities. Some sprint. Some take their sweet time.
Temperature tip: If your stalk is racing and you want to slow things down, move the pot to a slightly cooler spot (around 60 to 65°F). If nothing is happening after a couple weeks, increase warmth and light and double-check that you are not keeping the soil too wet.
Care as it grows (and the floppy lean)
Once you see green, your job is mostly to keep the plant steady, evenly lit, and gently watered.
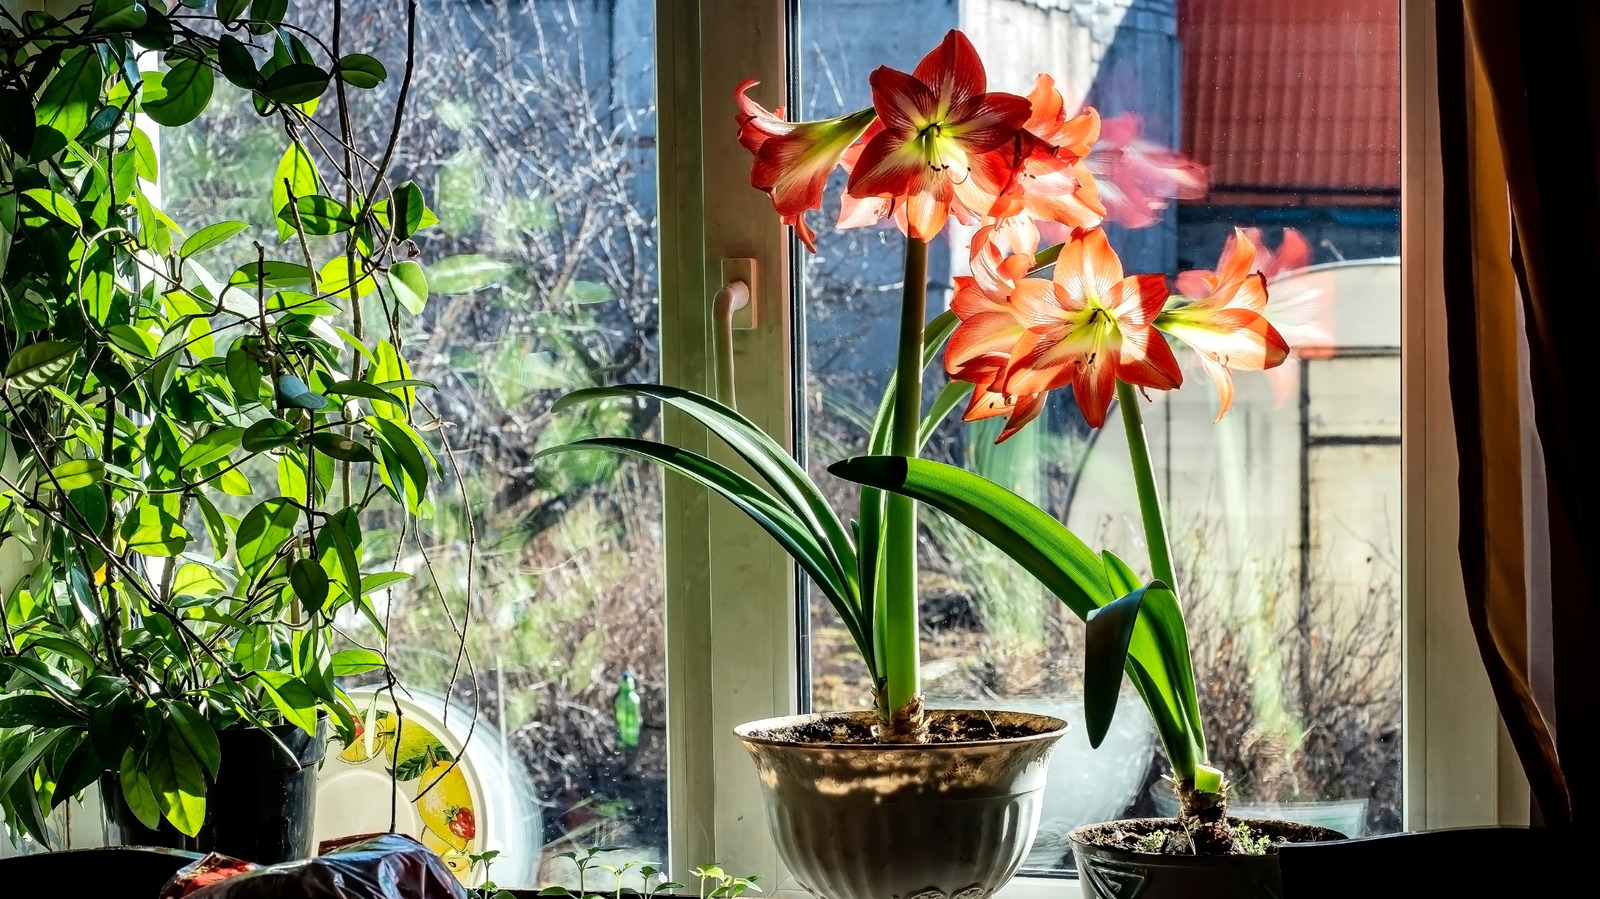
Light
Give bright light, and do not be afraid of some direct winter sun in a window. Rotate the pot every few days so the stalk does not bend dramatically toward the light. Unless you like that look, which I sometimes do. Plants have style.
Water
Water when the top inch of soil feels dry. Then water thoroughly and let it drain completely. Standing water in the saucer is an invitation to rot.
Staking
Amaryllis stalks can get tall and top-heavy, especially in low light or very warm rooms. If the stalk starts to tip, use a thin bamboo stake and soft ties.
- Stake early, while the stalk is still firm.
- Tie loosely in two spots, leaving room for slight movement.
- Keep ties away from developing buds to avoid bruising.
Bloom time: make flowers last
When the buds color up, it is tempting to put your amaryllis right in the warmest, brightest spot and stare at it every hour. I support that. But for longer-lasting blooms, a little restraint helps.
- Keep it cooler at night if you can. Cooler temps extend flower life.
- Avoid heat vents and fireplaces, which dry flowers quickly.
- Rotate the pot so blooms open evenly.
Each flower stalk can carry several blooms, and many bulbs produce two stalks. If you timed it for the holidays, that second stalk often feels like an encore performance.
After flowering: recharge and rest
This is where many people toss the bulb. If you want to keep it, you can. Think of the post-bloom phase as the bulb’s “recharge season.” The leaves are solar panels, and your goal is to help the bulb store energy for next year.
Step-by-step aftercare
- Cut the spent flowers. Snip off individual blooms as they wilt to keep things tidy.
- Remove the stalk when it finishes. Once the entire stalk is done and starting to soften or yellow, cut it down close to the bulb (about 1 to 2 inches above is fine). Leave the leaves.
- Keep watering lightly. Continue watering when the soil surface dries. Do not drown it, but do not let it fully desiccate either.
- Feed gently. Use a balanced houseplant fertilizer at half strength every 2 to 4 weeks while leaves are actively growing.
- Give it serious light. A very bright window is good. Outdoors in warm months is even better once nights stay above about 50°F (10°C). Acclimate it to sun slowly to prevent leaf scorch.
Dormancy basics
To rebloom reliably, many amaryllis do best with a rest period. In late summer to early fall, you can begin the transition:
- Gradually reduce watering.
- Let the leaves yellow and die back naturally.
- Store the potted bulb (or a bare bulb) in a cool, dark spot for about 8 to 10 weeks.
After its rest, bring it back into warmth and light, pot it up fresh if needed, and start the forcing steps again. It is a satisfying yearly rhythm, like tucking in a sleepy friend and waking them up for a winter party.
Troubleshooting
No growth after a few weeks
- Check that the bulb is firm and not rotting.
- Make sure it is warm enough. Aim for 65 to 75°F.
- Do not keep the soil wet. Slightly dry is safer early on.
Leaves but no flower stalk
- Bulb may be smaller or depleted from prior seasons.
- Low light can encourage weak growth. Increase brightness.
- Some bulbs are simply not primed to bloom this cycle. Keep caring for the leaves to rebuild energy.
Floppy stalks
- Increase light and rotate the pot.
- Stake early for support.
- Avoid overly warm rooms that cause fast, stretchy growth.
Bulb or soil smells sour
- That often signals rot from excess moisture.
- Unpot, inspect, trim mushy tissue, and repot into fresh, barely damp mix if the bulb is still mostly firm.
- Going forward, water less until growth is established.
Quick checklist
- Pick a firm, heavy bulb with no soft spots.
- Choose a larger bulb if you want the best shot at multiple stalks.
- Use a snug pot with drainage if forcing in soil.
- Plant with the top third to half of the bulb above the mix.
- Water once, then wait to water again until you see growth.
- Once growing, water when the top inch dries.
- Give bright light (including some winter sun) and rotate the pot.
- Stake if the stalk leans.
- After blooming, keep leaves growing to recharge the bulb.
Safety note: Amaryllis sap and bulbs can be irritating and are toxic if eaten. Keep away from curious kids and pets.
If you take nothing else from this page, take this: amaryllis wants to bloom. Your job is simply to keep it from rotting, give it light, and let the bulb do what it was built to do.