How to Compost at Home

Compost is the closest thing I know to garden magic you can make with your own hands. You take kitchen scraps, fallen leaves, and yesterday’s garden trimmings, and in time they turn into dark, crumbly, sweet-smelling “black gold” that feeds your soil for free.
One quick expectation-setter: compost can take anywhere from a month or two (if you actively manage a hot pile) to many months or even a year (if you keep it simple and let it do its thing). Both approaches work. The best compost is the compost you actually make.
If you’ve been nervous to start because you’re picturing a stinky heap full of flies, exhale. Most beginner compost problems come from too much wet “green” material or not enough air. After that, it is usually particle size, seasonality, or pests. I’ll walk you through beginner-friendly methods, the simple greens-to-browns balance that keeps things pleasant, and exactly what to do when something goes sideways.
What composting is
Composting is controlled decomposition. Microbes do most of the work, with help from larger decomposers like worms, insects, and other tiny soil critters (especially as a pile cools). Done well, it:
- Improves soil structure so it holds water and drains better
- Feeds beneficial soil life that supports healthier plants
- Reduces how much yard waste and food scraps go to the landfill
- Helps your garden become more resilient during heat and drought
Think of compost as a soil conditioner first, fertilizer second. It will not act like a quick-hit synthetic feed, but it makes your soil more fertile over time in the way nature intended.
Pick a method that fits
You do not need the “perfect” setup. The best method is the one you will actually use on a busy Tuesday night when you’re holding a bowl of onion peels.
1) Compost bin (stationary)
What it is: A container that holds compost in one spot. It can be a purchased plastic bin, a wire cylinder, or a DIY wooden box.
Pros:
- Neat and tidy for small yards
- Holds moisture well and stays warmer than an open pile
- Easy to add materials as you go
Cons:
- Turning can be a little awkward in tight bins
- Can go anaerobic (smelly) if it stays too wet and compacted
Best for: Most beginners with a little outdoor space.
2) Compost tumbler
What it is: A sealed drum on a stand that you rotate to mix and aerate.
Pros:
- Fast mixing with less physical shoveling
- More pest-resistant than open piles
- Great for people who like tidy systems
Cons:
- Can dry out quickly, especially in hot weather
- Limited capacity and harder to add bulky browns
- Finished compost can be tricky to remove if it clumps
Best for: Patios, small yards, and anyone who will actually spin a handle but will not turn a pile with a fork.
3) Compost pile (open or contained)
What it is: A simple heap, often contained with pallets, wire fencing, or nothing at all.
Pros:
- Cheapest option and very forgiving
- Handles big volumes of leaves and garden waste
- Heats up well if it is large enough
Cons:
- Looks messier unless you build a neat enclosure
- More exposed to pests if food scraps are added carelessly
- Needs room to spread out and turn
Best for: Gardeners with space and lots of yard material.
4) Worm composting (worm bin)
What it is: Composting with red wigglers in a ventilated bin. The worms eat scraps and create castings, which are an incredible soil amendment.
Pros:
- Perfect for apartments, basements, and winter composting
- Produces very nutrient-rich worm castings
- Minimal odor when balanced correctly
Cons:
- Worms have temperature limits and do not love extremes
- Not great for large volumes of yard waste
- Some people need a minute to get comfortable with worms
Best for: Indoor composters, small households, and anyone who wants a year-round option.

The compost basics
If you only remember one thing, make it this: compost needs a balance of greens (nitrogen-rich, usually wet) and browns (carbon-rich, usually dry), plus oxygen and moisture.
Greens vs browns
A classic target is roughly 2 to 3 parts browns to 1 part greens by volume. In real life, you do not need to measure with a cup. Just use this simple habit:
- Every time you add a bucket of kitchen scraps or fresh grass clippings, add an equal or larger bucket of dry leaves, shredded cardboard, or straw.
- If your bin ever looks wet or slimy, add more browns immediately.
If you like the nerdy version: the ideal carbon-to-nitrogen (C:N) ratio is often cited around 25 to 30:1, and the greens-to-browns volume ratio is a practical shortcut for home compost.
Examples of greens
- Fruit and vegetable scraps
- Coffee grounds and paper filters
- Fresh grass clippings (thin layers only)
- Fresh plant trimmings and spent annuals
- Manure from chickens, or herbivores (rabbit, horse, cow) that is aged or composted
Manure note: Chicken manure is especially high in nitrogen. Compost or age it thoroughly, and use extra browns to keep your pile balanced. If you are growing edibles, stick to well-finished composted manure and follow common-sense hygiene (wash produce, avoid splashing soil onto leaves).
Examples of browns
- Dry leaves (the gold standard)
- Shredded non-glossy newspaper
- Plain cardboard and paper egg cartons (torn up)
- Paper towels (as long as they are not soaked with cleaning chemicals or heavy grease)
- Straw or dried grass
- Wood chips or sawdust in small amounts (untreated wood only)
Moisture
Your compost should feel like a wrung-out sponge: damp, not dripping. Too dry and decomposition crawls. Too wet and it turns smelly and airless.
Air
Compost needs oxygen. You can provide it by:
- Turning with a garden fork every 1 to 2 weeks (or whenever you remember)
- Mixing in coarse browns like small twigs or straw
- Avoiding thick, matted layers of grass clippings
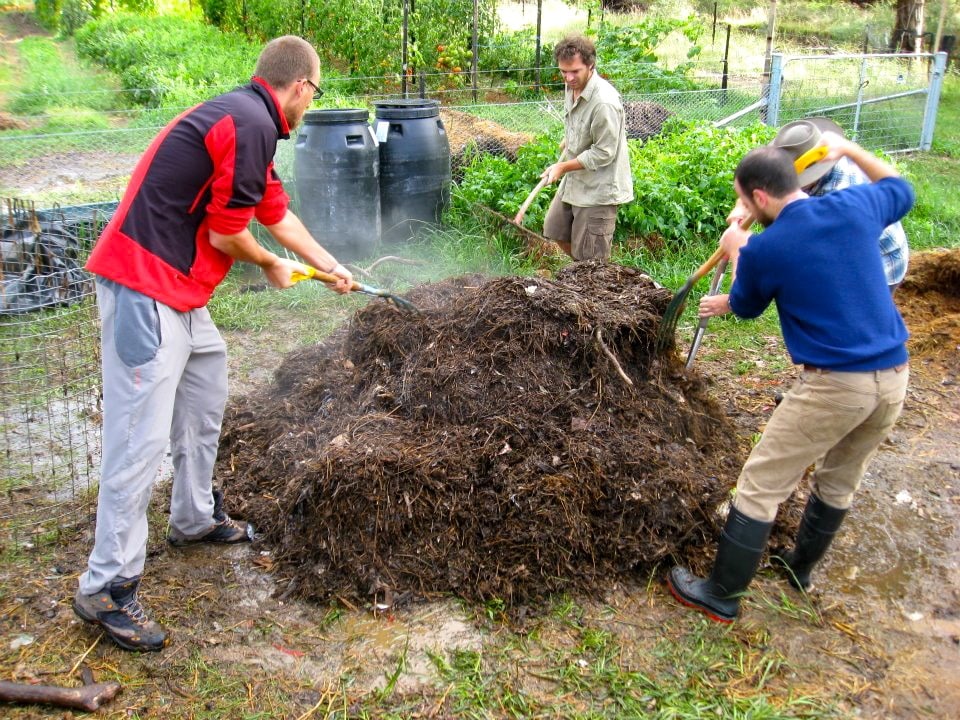
Heat and pile size
If you want a pile that heats up, size matters. A good target is about 3 ft x 3 ft x 3 ft (roughly 1 meter cubed). Smaller piles usually struggle to hold heat, especially in cool weather.
Season and weather
Cold slows everything down. Winter composting often becomes “keep adding, it will finish later.” Heavy rain can waterlog a pile, so a loose lid or tarp helps. Hot, dry weather can dry it out fast, so check moisture now and then.
What to compost
When you are starting out, keep it simple. You can always get fancier later.
Compost these
- Vegetable and fruit scraps (chop large pieces for speed)
- Tea leaves and most tea bags (remove staples, and avoid “plastic” mesh bags)
- Eggshells (crushed)
- Coffee grounds
- Dry leaves and spent garden plants (disease-free)
- Plain paper and cardboard (shredded or torn)
Avoid these
- Meat, fish, bones (pests and odor)
- Dairy and oily foods (odor and slow breakdown)
- Pet waste from cats and dogs (pathogen risk)
- Charcoal briquettes (additives)
- Glossy paper and heavily coated packaging
- Weeds with mature seeds unless you know your pile gets reliably hot
Citrus, onions, and bread
Small amounts of citrus and onions are fine in most outdoor compost, especially if you bury them in browns. Bread can mold and attract pests, so I skip it or keep it very minimal and well covered.
A quick heads-up on herbicides
One modern composting headache is persistent herbicides that can ride in on some manures, hay, or grass clippings and harm sensitive plants (like tomatoes and beans). If you are bringing in manure or straw from outside your yard, source it from a trusted supplier, and when in doubt, compost it separately and test it on a small pot before spreading widely.
How to start
Here is a beginner setup that works for bins, piles, and many tumblers.
- Pick a spot. Outdoors, place your bin or pile on bare soil if possible so beneficial organisms can move in. Choose partial shade if your summers are hot and dry.
- Start with a brown base. Add 4 to 6 inches of dry leaves, shredded cardboard, or straw. This helps airflow and prevents a soggy bottom.
- Add greens, then browns. Add kitchen scraps, then cover them with a layer of browns. Think “lasagna,” but with more leaves.
- Moisten if needed. If everything is dry and crunchy, lightly water as you build.
- Keep adding in layers. Always cap fresh food scraps with browns to discourage flies and smell.
- Turn or mix (optional, but helpful). After 1 to 2 weeks, stir the center out to the edges and edges into the center. Tumblers get a few spins. If you do not turn it, you are essentially doing cold composting, and it will still work, just slower.
How long it takes
Compost timing depends on particle size, temperature, moisture, and how often you aerate.
- Hot compost (actively managed): roughly 1 to 3 months
- Cold compost (minimal turning): 6 to 18 months
- Worm composting: often 2 to 6 months for a steady bin
If you want faster compost, the easiest wins are: chop materials smaller, keep the pile damp, build it big enough to hold heat, and add more browns than you think you need.
Troubleshooting
Composting is mostly a gentle game of adjusting. Here are the fixes I use over and over.
Smells rotten or like ammonia
Cause: Too many greens, too wet, not enough air.
Fix:
- Add a thick layer of browns (dry leaves, shredded cardboard)
- Turn the pile to introduce oxygen
- If it is very soggy, mix in dry cardboard and leave the lid ajar for a day or two
Fruit flies or gnats
Cause: Exposed food scraps.
Fix:
- Bury scraps in the center and cover with browns
- Freeze scraps first, then add them (this also helps break cell walls)
- Avoid leaving a “top layer” of banana peels and melon rinds
Not breaking down and looks dry
Cause: Too dry, too many browns, or big chunky pieces.
Fix:
- Water lightly while turning
- Add more greens like coffee grounds or fresh grass in thin layers
- Chop or shred large materials (especially cardboard)
Slimy or matted
Cause: Thick layers of greens creating airless pockets.
Fix:
- Pull it apart and mix in coarse browns
- Add grass clippings in thin layers only, and always mix with leaves
Critters are visiting
Cause: Tempting food (especially fats, meat, dairy), or scraps not covered.
Fix:
- Remove problematic foods and switch to plant-based scraps only
- Bury food scraps deep and cap with browns
- Use a rodent-resistant bin or a tumbler if pests are persistent
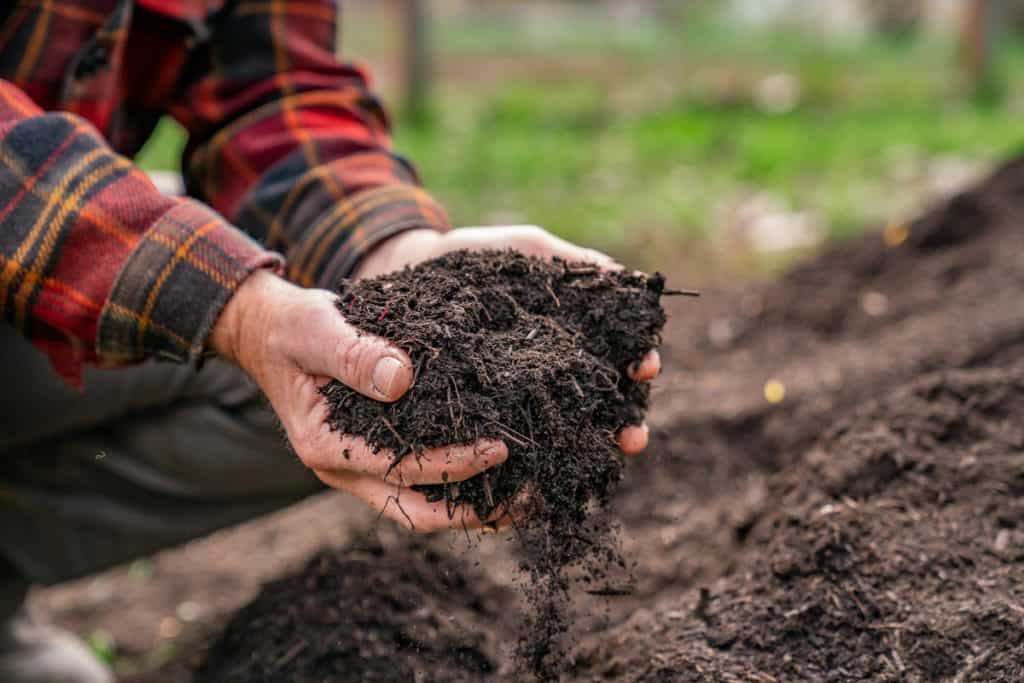
When it is finished
Finished compost looks and smells like forest soil. It should be:
- Dark brown and crumbly
- Earthy-smelling, not sour
- Mostly unrecognizable (a few small sticks are normal)
- Cool with no heat in the center
If you still see a lot of identifiable food scraps, let it sit longer or give it a turn and a handful of browns.
How to use compost
This is the fun part. Compost is gentle, so it is hard to “burn” plants with it the way you can with strong fertilizers.
In garden beds
- Top-dress: Spread 1 to 2 inches over the soil and let rain and worms work it in.
- Mix in when planting: Blend compost into the top 4 to 6 inches of soil for new beds.
For vegetables and flowers
- Add a scoop to each planting hole for transplants.
- Side-dress heavy feeders like tomatoes, squash, and roses mid-season with a thin ring of compost around the drip line.
For pots and raised beds
- Refresh containers with 1 inch of compost on top each season.
- For potting mixes, use compost as a component, not the whole mix. A common beginner blend is 20 to 30% compost with the rest being quality potting mix for better drainage.
Compost tea (optional)
For a low-fuss option: put a shovel of finished compost in a bucket of water, stir, let it sit for 24 hours, then water the soil. I treat this as optional, not essential. Skip spraying on leaves unless you are confident your compost is fully finished and you are comfortable with the safety side of it.
Beginner shortcuts
- Keep a browns bin. Store a bag of dry leaves or shredded cardboard near your compost so balancing is effortless.
- Chop big scraps. Melon rinds and broccoli stems break down much faster when cut.
- Cover every food addition. A simple cap of browns prevents most smell and fly issues.
- Start small. A little compost that works beats a huge pile you avoid because it feels complicated.
- Talk to your compost. Optional, but I do. It keeps me paying attention.
If you want, tell me your space and your goal (apartment balcony, small yard, or big garden bed situation), and I will suggest the simplest setup that matches your lifestyle.