How to Clean Houseplant Leaves
Leaf cleaning sounds like the fussy, optional step you only see in glossy magazines. In real life, it is one of the simplest ways to help your plants photosynthesize better, breathe easier, and look like themselves again. A thin film of dust can block light, and mineral spots from hard water can make even the happiest pothos look a little tired.
My favorite part, though, is the built-in bonus: when you clean leaves slowly, you actually see your plant. That is when you catch sticky residue, tiny webs, or a suspicious speck before it becomes a full-blown pest party.

Why clean leaves?
Plants do not need shiny leaves to be healthy, but they do need clear surfaces. Here is what cleaning helps with:
- Better light absorption: Dust acts like a tiny shade cloth.
- Cleaner leaf surfaces: Oily kitchen film, spray residue, and hard water minerals can build up and leave leaves looking dull.
- Healthier leaf function: Leaves exchange gases through stomata, often on the undersides. A light layer of dust is usually more of a light problem than a stomata problem, but sticky residue and heavy buildup can interfere.
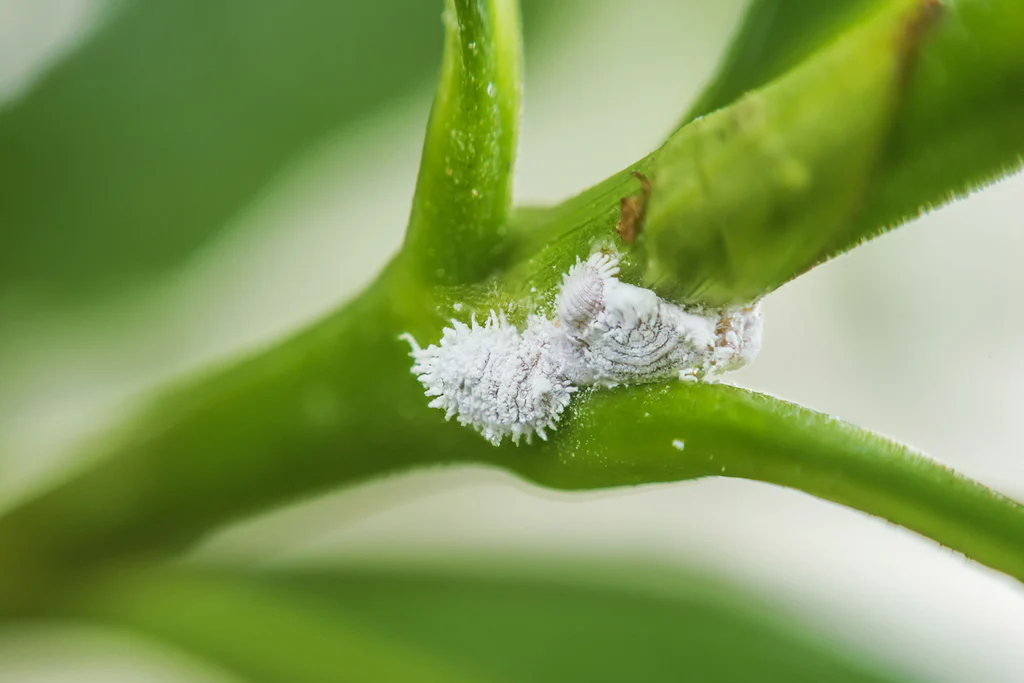
- Pest detection: You spot scale bumps, mealybug fluff, spider mite stippling, or thrips damage early.
If you have ever wondered why your plant is “fine” but not thriving, leaf cleanliness is a surprisingly common missing piece.
Before you start
Think of this as a five-minute reset, not a deep-clean marathon.
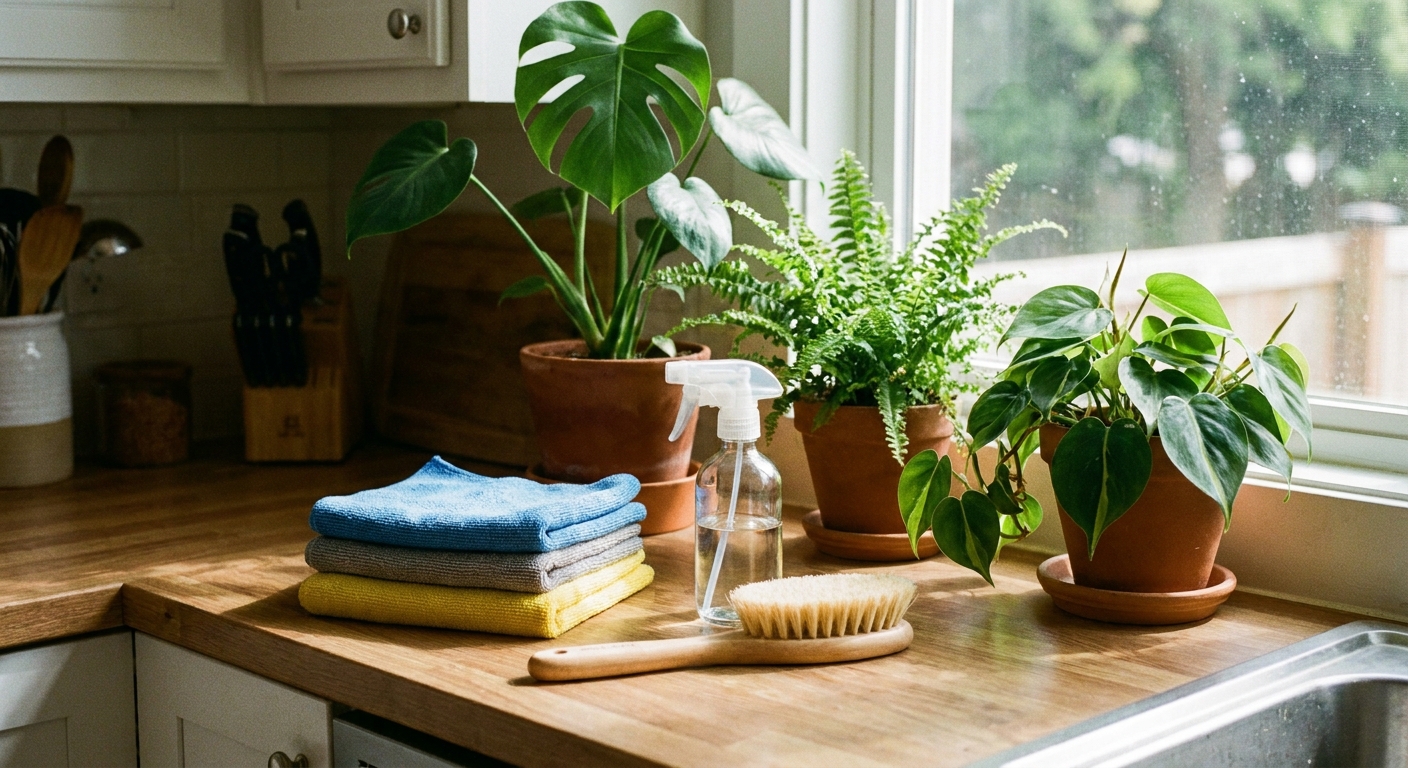
What I keep within reach
- Soft microfiber cloths or a very soft cotton rag
- A small bowl or spray bottle of lukewarm water
- A soft makeup brush or paintbrush (great for fuzzy leaves and tight corners)
- Optional: distilled water for spot-prone plants
- Optional for mineral spots: white vinegar and a second cloth
- A towel or waterproof mat under the plant
Do a quick safety check
- Is the soil already wet? If you plan to shower the plant, you may want to cover the soil so it does not get waterlogged.
- Is the plant stressed? If it is freshly repotted, droopy from underwatering, or sunburned, keep cleaning gentle and minimal.
- Any fresh blooms? Avoid spraying or wiping delicate flowers. They spot easily.
Quick hygiene note: If you suspect pests, use a fresh cloth for each plant (or at least rinse it well) and wash brushes after. It is an easy way to avoid spreading hitchhikers.
Remove dust
Dust is the most common issue, and the easiest to fix. Pick the method that matches your plant and your patience level.
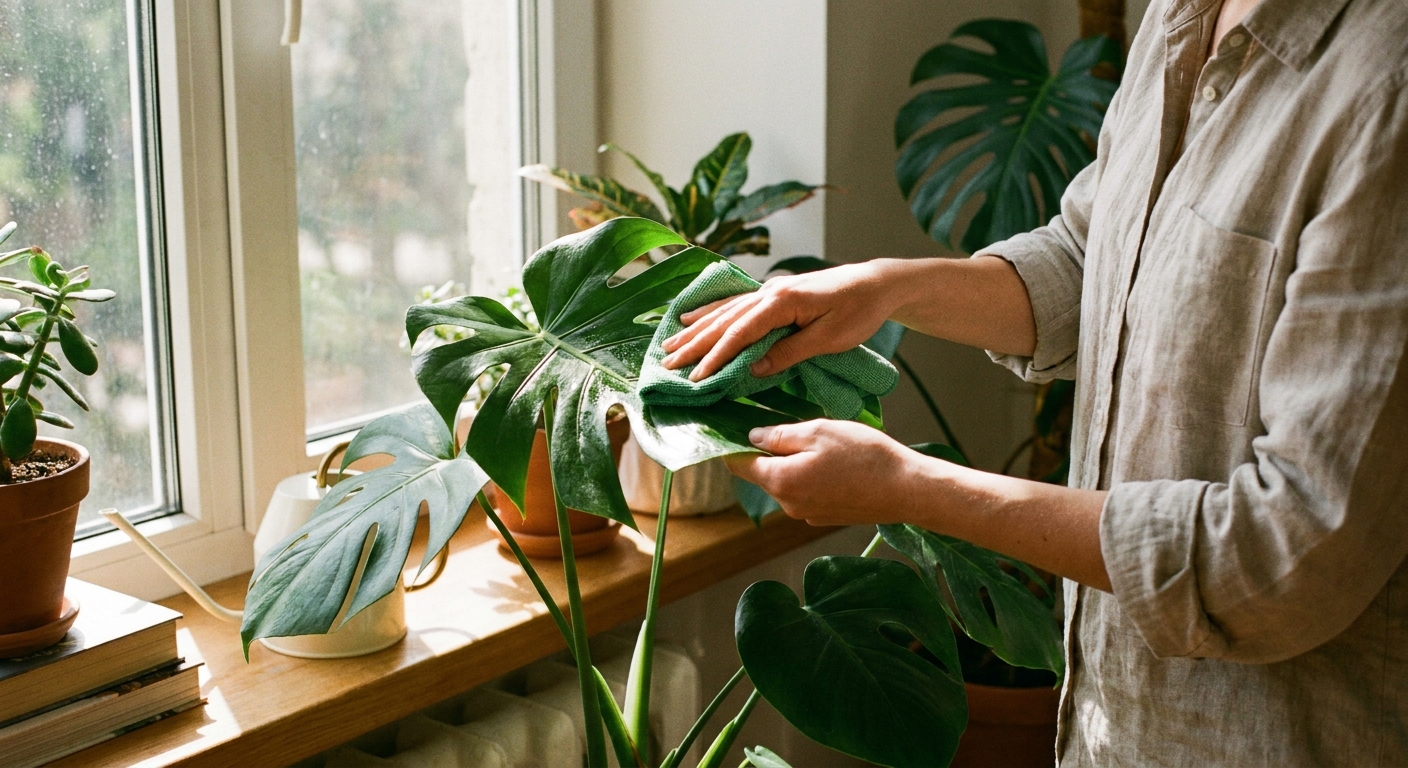
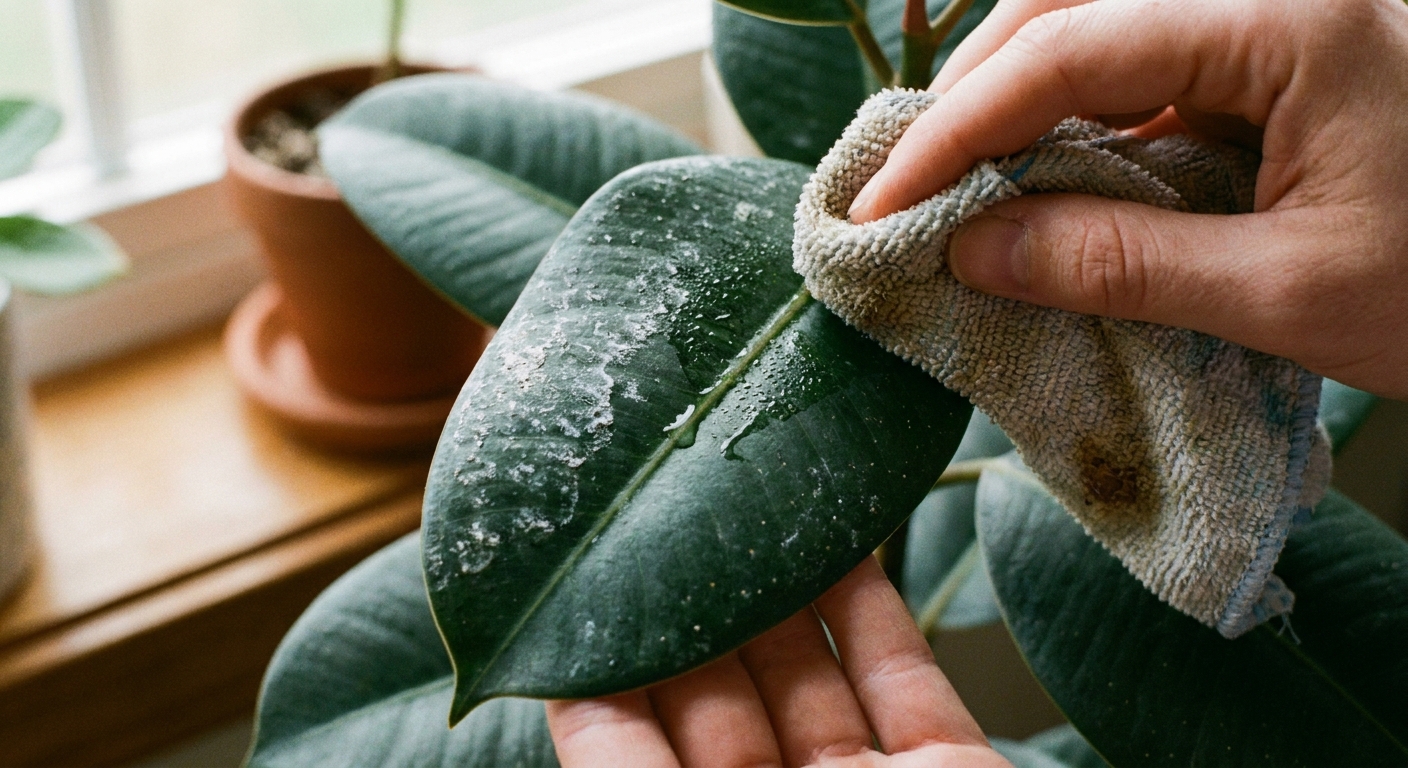
Method 1: Damp cloth
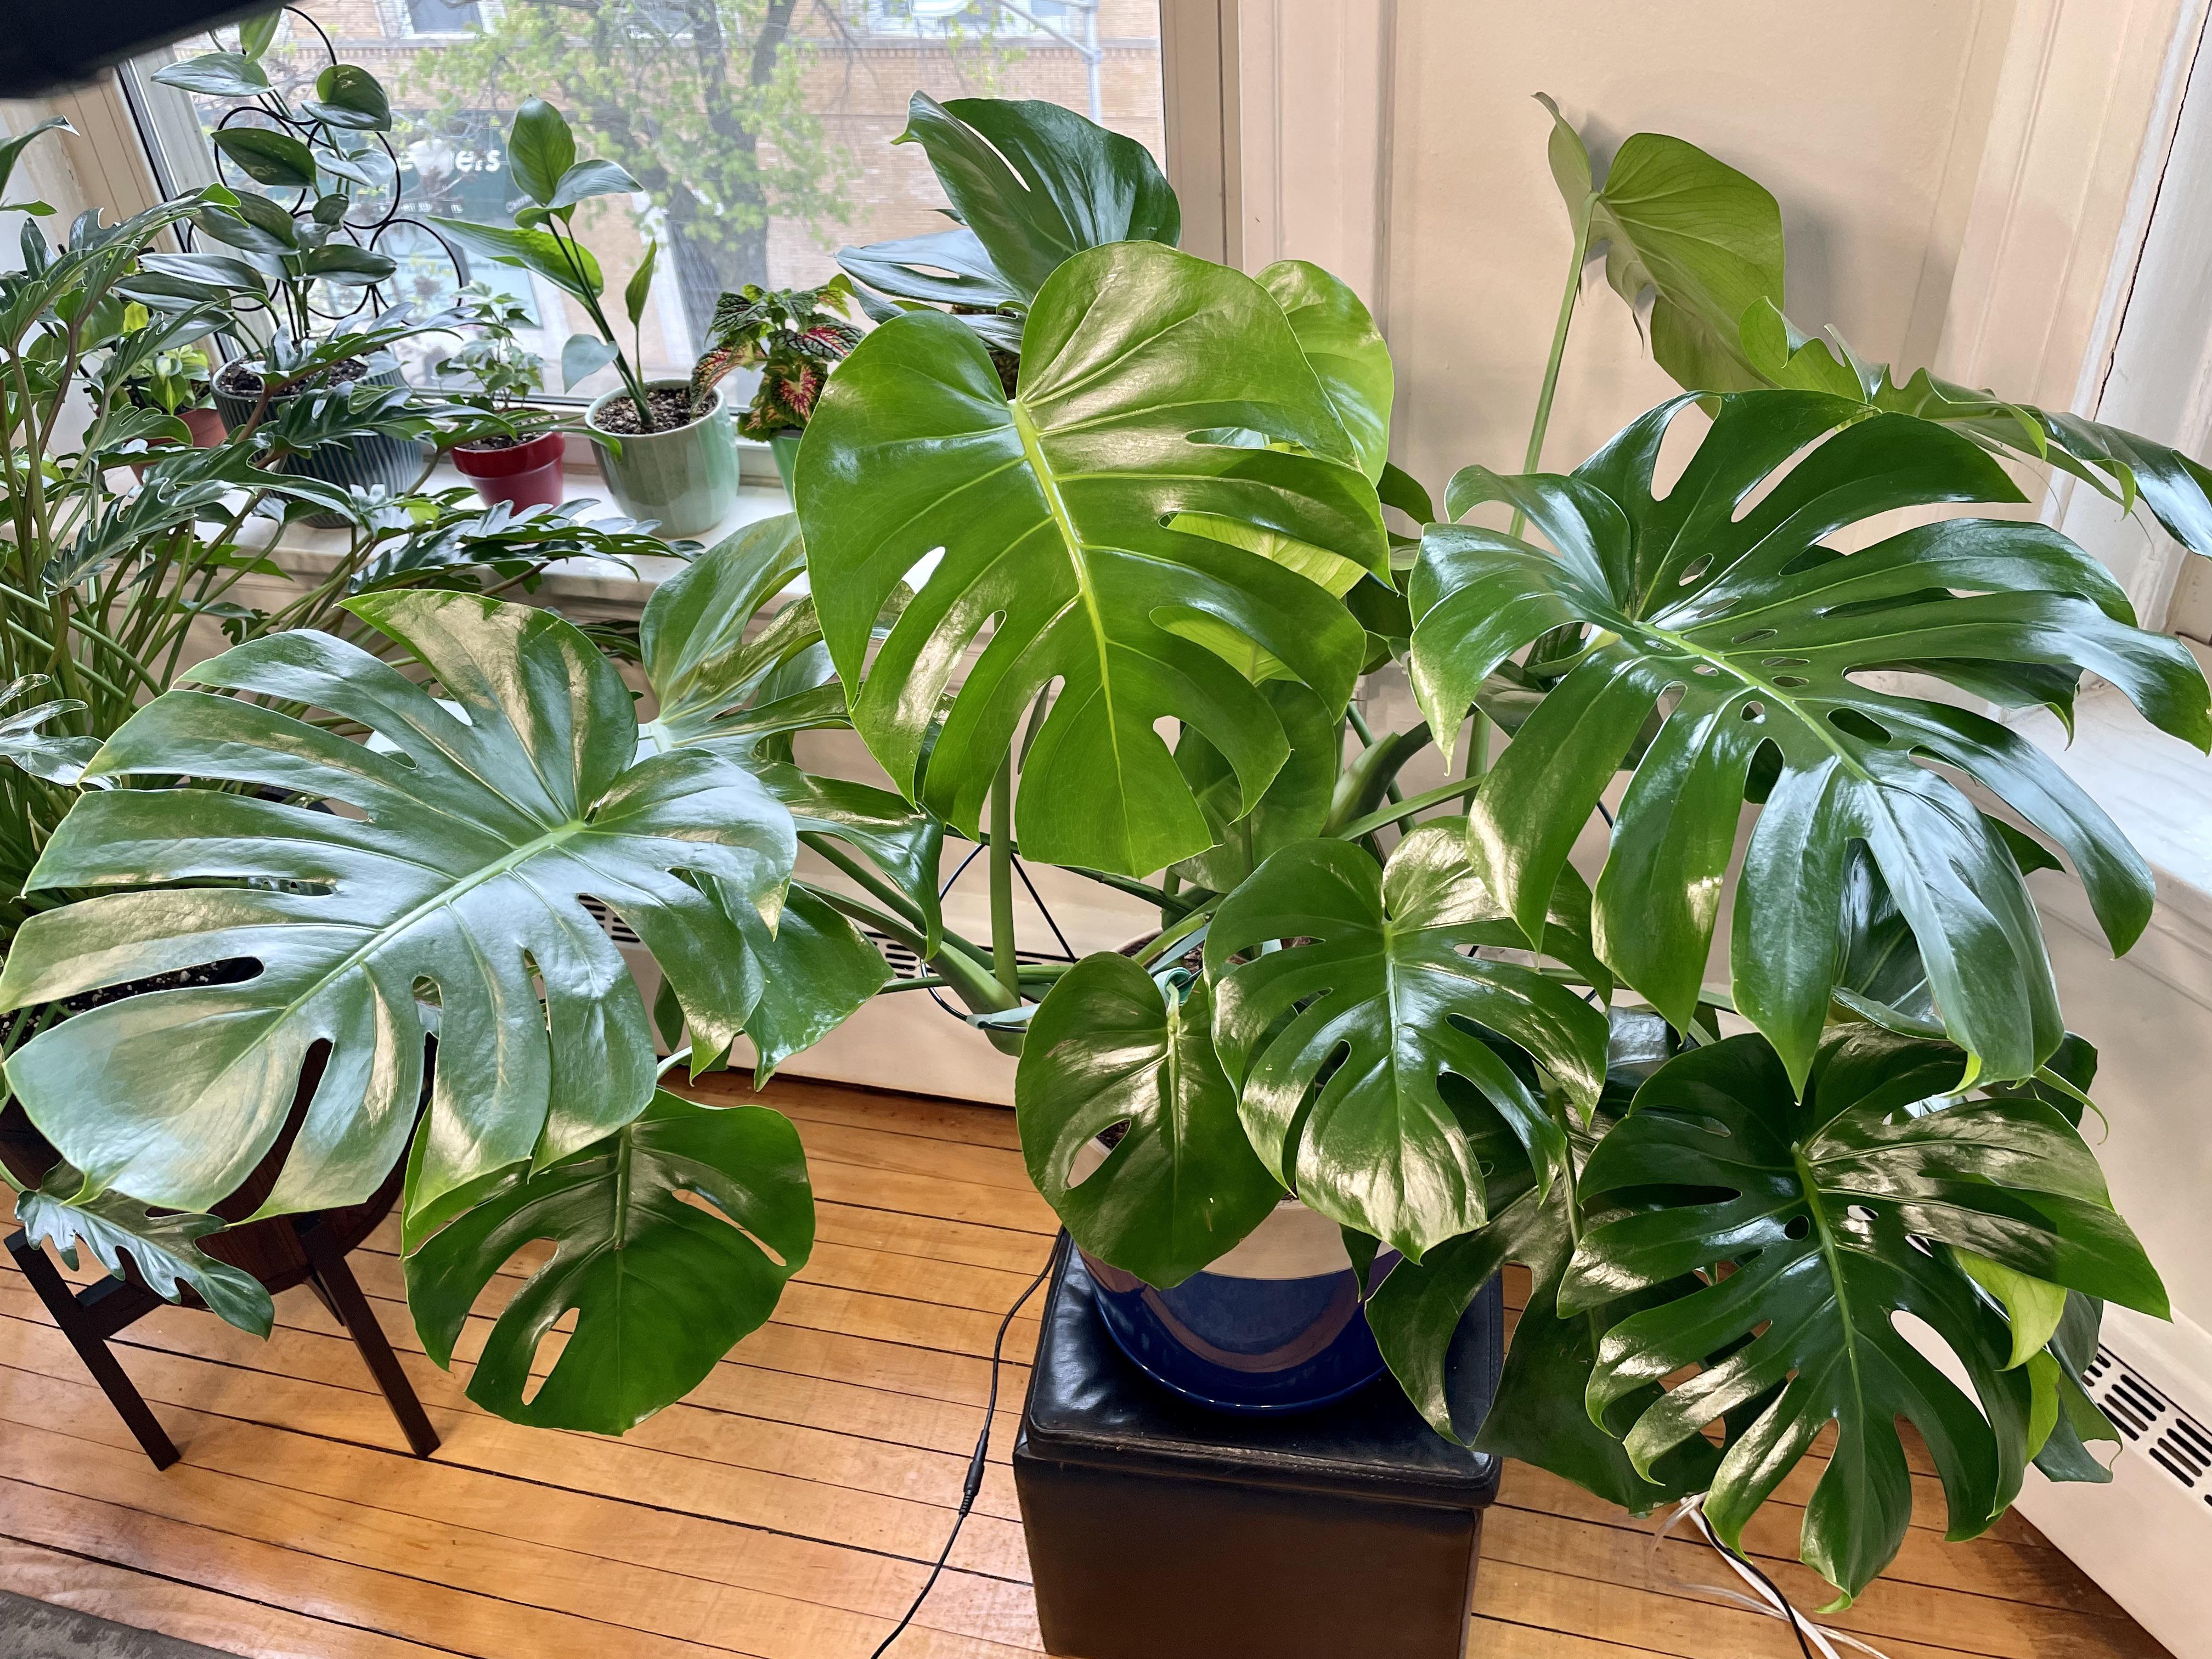
This is my go-to for monstera, philodendron, rubber plant, pothos, hoya, ZZ plant, and most aroids with firm leaves.
- Use lukewarm water. Wring the cloth so it is damp, not dripping.
- Support the leaf with one hand underneath so you do not crease or snap the petiole.
- Wipe from the base to the tip, following the leaf’s natural shape.
- Do not forget the underside of a few representative leaves, especially in the lower canopy where pests like to hide.
If the cloth starts leaving gray streaks, congratulations. That is the dust leaving.
Method 2: Soft brush
Some leaves hate being wiped. African violets, many begonias, gloxinia, and other fuzzy-leaved plants can get spots or rot if water sits on the surface.
- Use a clean, dry, very soft brush.
- Brush gently, working outward and lifting dust away.
- For crown plants like African violets, keep water out of the center.
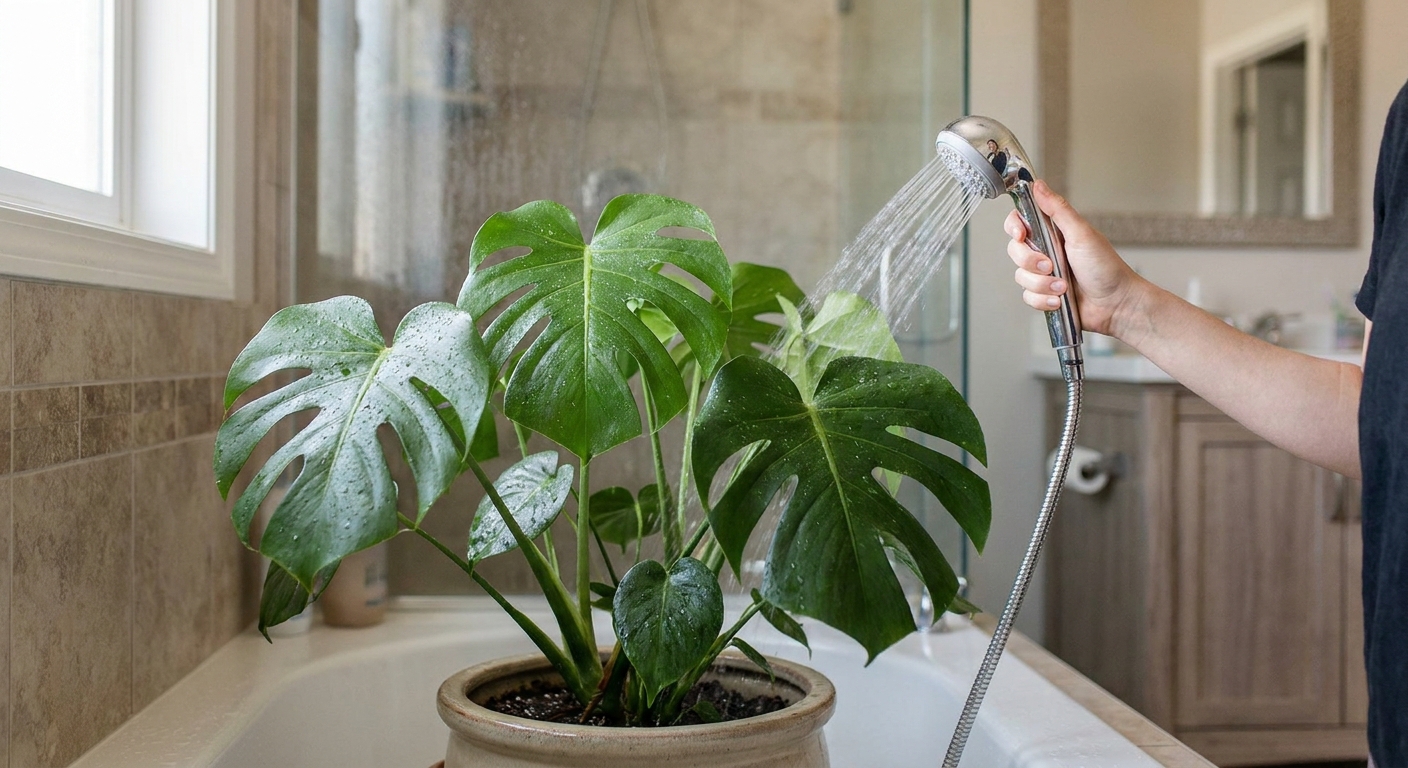
Method 3: Quick shower
If you have a jungle situation, rinsing is efficient. It also knocks loose pollen, dust, and the occasional gnat hitchhiker.
- Use lukewarm water and low pressure.
- Angle the spray so you rinse leaves without blasting the soil.
- Let the plant drain thoroughly, then drip dry in a warm spot with good airflow.
- Avoid cold drafts right after showering, especially for tropicals.
- Keep it out of harsh sun until leaves are fully dry to avoid spotting.
Tip: If your tap water is very hard, rinsing can trade dust for mineral spots. In that case, finish with a gentle wipe using distilled water on the most visible leaves.
Hard water spots
Those chalky white rings or speckles are usually mineral deposits, especially if you mist with tap water or top-water and splash the foliage. The goal is to dissolve the minerals without stripping the leaf’s natural protective surface.
Try first: Distilled water
- Dampen a microfiber cloth with distilled water.
- Wipe the spotted area gently.
- Dry with a second cloth if the leaf tends to spot.
If needed: Diluted vinegar
Vinegar is acidic, which helps dissolve mineral deposits. It is also something to use with a light hand.
- Mix 1 teaspoon white vinegar into 1 cup water.
- Test on one leaf first, especially for sensitive plants.
- Dampen a cloth with the solution and wipe only the spotted areas.
- Do not spray or soak the plant with vinegar solution.
- Follow up with a cloth dampened with plain water to remove any residue.
Avoid: using vinegar on very delicate, thin leaves or on leaves that already have damage. When in doubt, stick to distilled water and patience.
What not to use
A quick myth-busting moment, because the internet is creative.
- Oils (olive, coconut) or mayonnaise: they leave a film that grabs dust and can stress leaves over time.
- Milk: it can dry streaky and smell off as it ages.
- Dish soap mixes for routine wiping: even mild soap can be too harsh if used often or not rinsed well. Save soaps for actual pest treatments and follow product directions.
- Abrasive sponges or wipes: they can scratch cuticles and leave leaves looking worse.
Leaf shine products?
I know they are tempting. They promise instant gloss, and they photograph beautifully. But for most everyday houseplants, I recommend skipping commercial leaf shine products.
- They may clog stomata or leave a residue that attracts dust faster, depending on the product and plant.
- They can cause leaf damage, especially if applied heavily or if the plant is then placed in strong light.
- They can mask problems like pests, sticky honeydew, or early fungal spotting.
If you want leaves that look naturally vibrant, the best “shine” is simply clean leaves plus good light and consistent watering. If a plant is meant to be matte, let it be matte. Not every leaf needs to be glossy, and I respect that.
Clean and check for pests
Here is my little ritual: every time I clean, I inspect. It adds maybe two minutes, and it can save you weeks of frustration.
Where to look
- Undersides of leaves: spider mites, eggs, thrips, and stippling show up here first.
- Leaf joints and nodes: mealybugs love crevices.
- Along the midrib and veins: scale insects can look like small tan or brown bumps.
- New growth: pests often target tender leaves.
- Soil surface: fungus gnats are not leaf pests, but you may see them while you are there.
What you might notice
- Sticky leaves: often honeydew from scale, aphids, or mealybugs.
- Fine webbing: classic spider mite clue, especially in dry air.
- Silvery streaks or tiny black dots: thrips feeding and frass.
- White cottony patches: mealybugs.
If you find something suspicious, pause the cleaning and isolate the plant if you can. A gentle rinse can help remove some pests, but identification matters for next steps.
How often to clean
Frequency depends on your home and your plant. A kitchen with cooking oils in the air will coat leaves faster than a quiet bedroom. Same with homes near busy roads or with lots of pets.
A simple schedule
- Smooth-leaved tropicals: light dusting or wiping every 2 to 4 weeks
- Big statement plants (monstera, rubber plant, fiddle leaf fig): every 2 to 3 weeks if you want them to look their best
- Cacti and succulents: gentle dry brush monthly, avoid wet wiping on farina (the powdery coating)
- Fuzzy-leaved plants: dry brush as needed, usually monthly or when dust is visible
- Plants in very bright windows: check more often since dust reduces the light they rely on
My rule of thumb: if you can write your name in the dust on a leaf, it is time.
Plant cautions
Fiddle leaf fig
- Wipe gently and support each leaf.
- Use plain water or distilled water. Avoid oily products.
Succulents with farina
- Do not wipe the leaves. That protective powder does not grow back evenly.
- Use a very soft dry brush or a gentle puff of air.
African violets and fuzzy begonias
- Avoid wet leaves when possible.
- Brush dust off and keep water out of the crown.
Orchids
- Wipe leaves with plain water. Avoid getting water trapped in the crown of some types.
- Inspect closely for scale, which orchids can attract.
Thin, delicate leaves
- Skip vigorous wiping and choose a gentle rinse or light brushing.
- Always use lukewarm water.
Troubleshooting
Leaves look dull after wiping
That is often residue from misting, fertilizer splashes, or previous sprays. Try a distilled water wipe, then a very mild vinegar solution only if needed.
If you recently used neem oil or insecticidal soap, some residue is normal. Cleaning is fine, just be extra gentle around tender new growth.
I rinsed my plant and now it has spots
Likely hard water. Next time use distilled water for the final rinse, or wipe dry right after rinsing. Also keep freshly wet leaves out of direct sun until dry.
I see sticky patches
Sticky residue can be honeydew from pests. Do your inspection before you assume it is just sap or a spill. Clean the leaf, then monitor and treat based on what you find.
10-minute routine
If you want a repeatable habit, here is the rhythm I use on a weekend morning:
- Put a towel under the plant and gather a cloth and brush.
- Check undersides and nodes on a few leaves for pests.
- Wipe or brush dust from top surfaces, supporting leaves as you go.
- Spot-clean any mineral rings with distilled water.
- If needed, use diluted vinegar on stubborn spots, then wipe with plain water.
- Finish by checking the newest growth and the leaf joints one more time.
Then step back and admire. Your plant will look brighter, and you will feel like you just gave it a little spa day without the gimmicks.