Hosta Care for Beginners
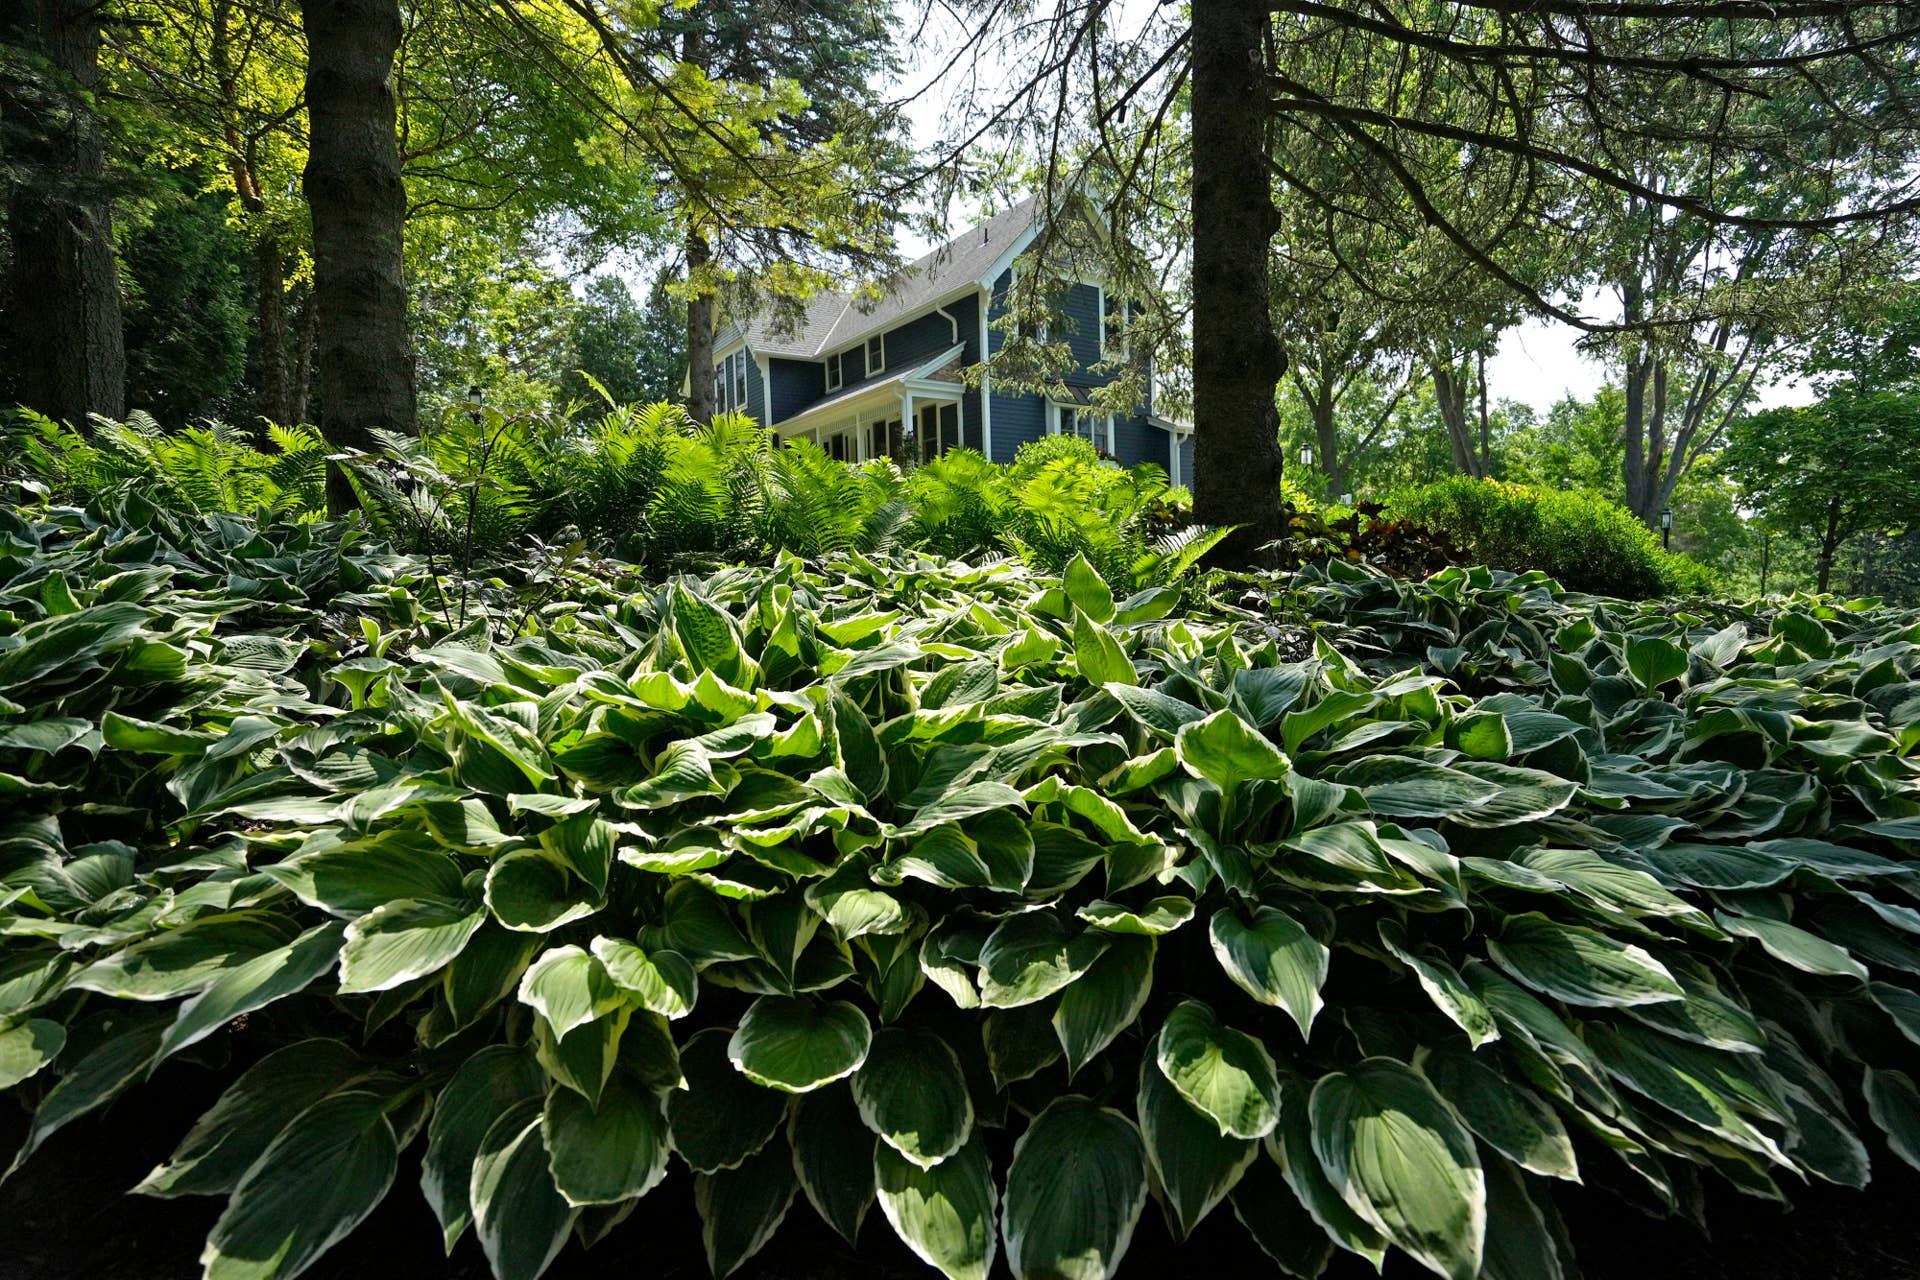
Hostas are the leafy, reliable best friends of the shade garden. Give them the right light, consistent moisture, and a little protection from slugs, and they will reward you with big, lush clumps that look like they have been pampered.
The funny part is that many beginner hosta disappointments trace back to two basics: too much sun or inconsistent water. But pests, hungry critters, and poor drainage can absolutely join the party too.
This guide walks you through beginner hosta care from planting location to seasonal routines, plus slug prevention that does not require you to declare war on your whole yard.

Light: choosing the right shade
Hostas are known as shade plants, but “shade” comes in a few flavors. The goal is bright, gentle light that fuels growth without scorching the leaves. Some varieties can take more sun if the soil stays evenly moist, but hot afternoon sun is where most hostas start to look stressed.
Know your shade type
- Dappled shade (ideal): Filtered sun under trees, especially morning light. Leaves stay thick and colorful.
- Part shade: About 3 to 5 hours of sun, preferably morning sun. Works for many varieties, especially thicker-leaved types.
- Full shade: Very little direct sun. Hostas will grow, but may be slower and greener, with fewer flowers. In hot-summer climates, full shade can actually be the safer choice.
Color clues: what your hosta is telling you
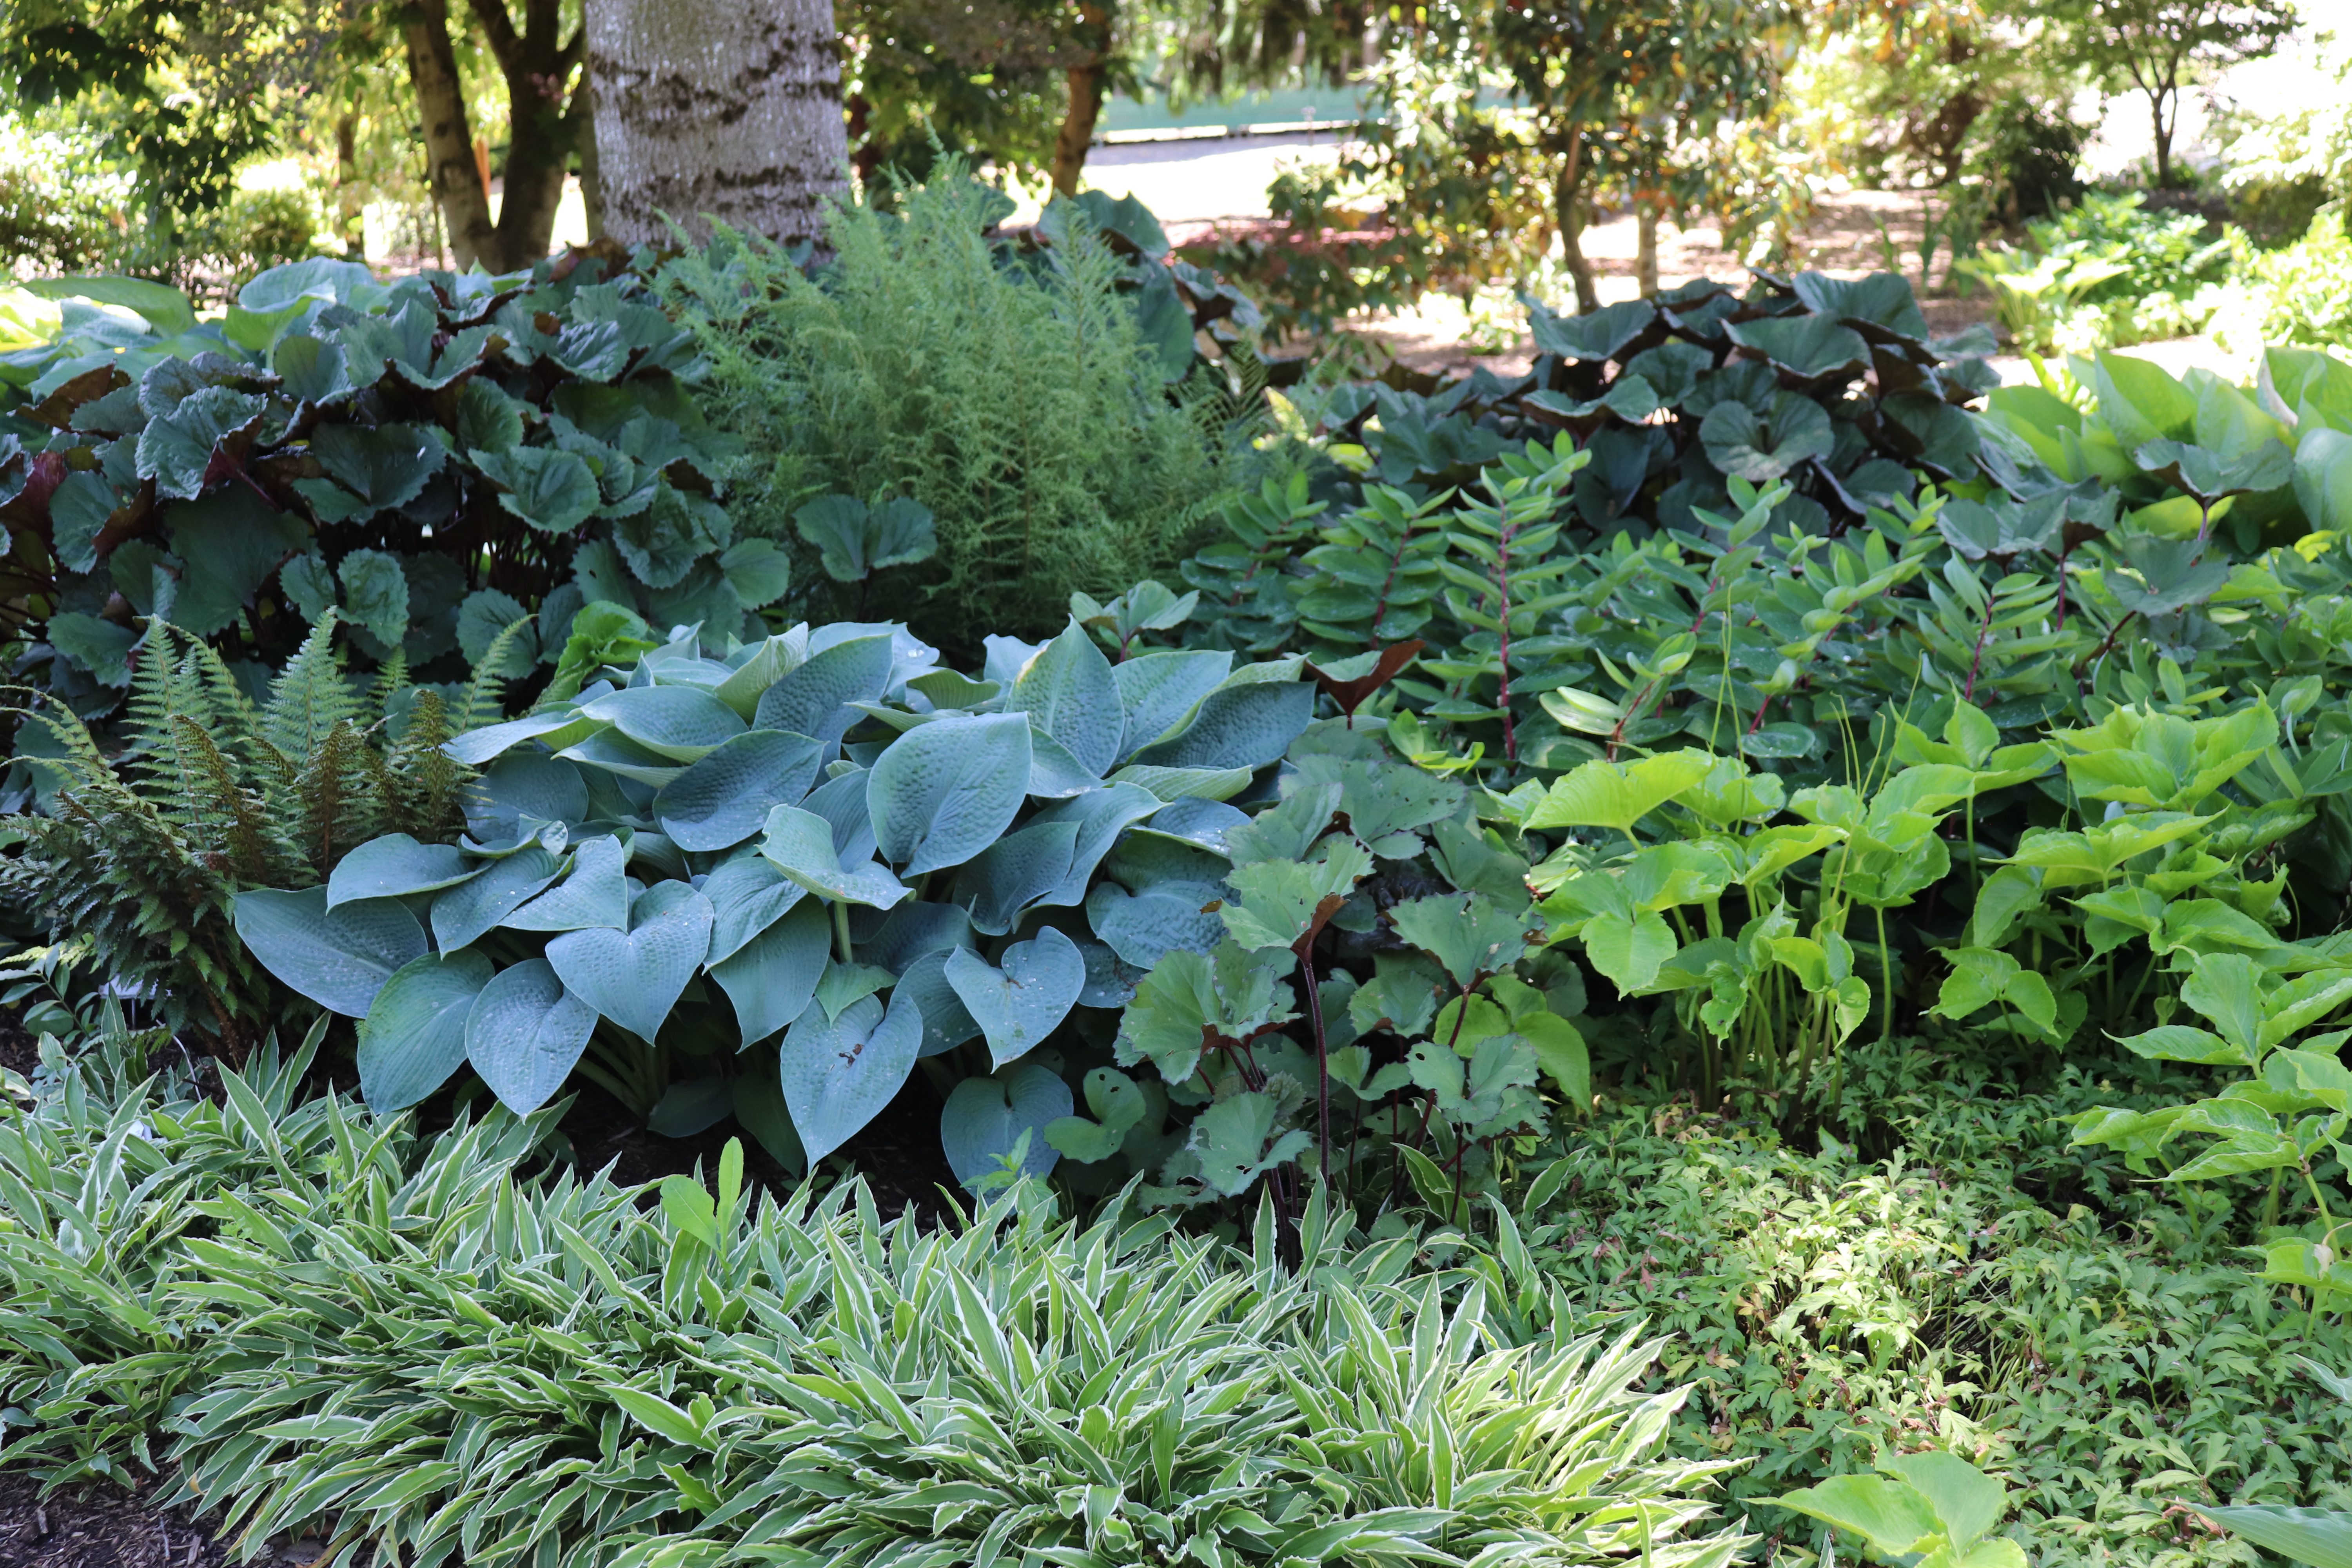
- Blue hostas (powdery, waxy leaves) keep their blue best in shade. Too much sun melts that blue coating and turns them green.
- Gold and yellow hostas often need some sun to color up. Morning sun is the sweet spot.
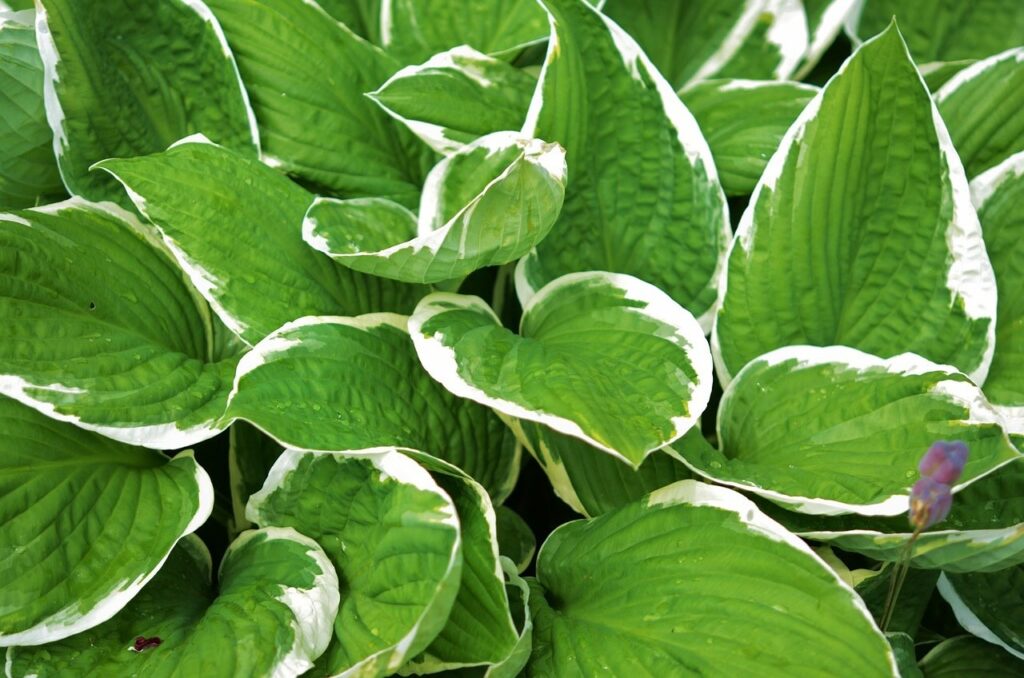
- White-variegated hostas can scorch easily. Aim for bright shade and avoid hot afternoon sun.
Easy placement tip
If you are unsure, spend one day watching your planting spot. A simple rule is morning sun plus afternoon shade. If the spot gets strong sun after 1 pm in summer, plan on extra watering and expect some leaf stress.
Soil: moisture-retentive, not soggy
Hostas want soil that stays evenly moist like a wrung-out sponge, not a swamp and not bone dry. Great hosta soil is built around organic matter.
What hostas prefer
- Texture: Loamy soil with compost mixed in
- Drainage: Good drainage matters, even though they like moisture
- Soil pH: Slightly acidic to neutral is fine for most gardens
Simple soil upgrade for beginners
Before planting, mix 2 to 3 inches of compost into the top 6 to 8 inches of soil. If your soil is sandy, compost helps it hold water. If your soil is heavy clay, compost helps it breathe and drain.
Mulch consistently
A 2-inch layer of shredded bark, leaf mold, or composted leaves keeps roots cooler, reduces watering, and makes slugs easier to monitor. Keep mulch pulled back an inch or two from the crown so the base of the plant is not constantly damp.
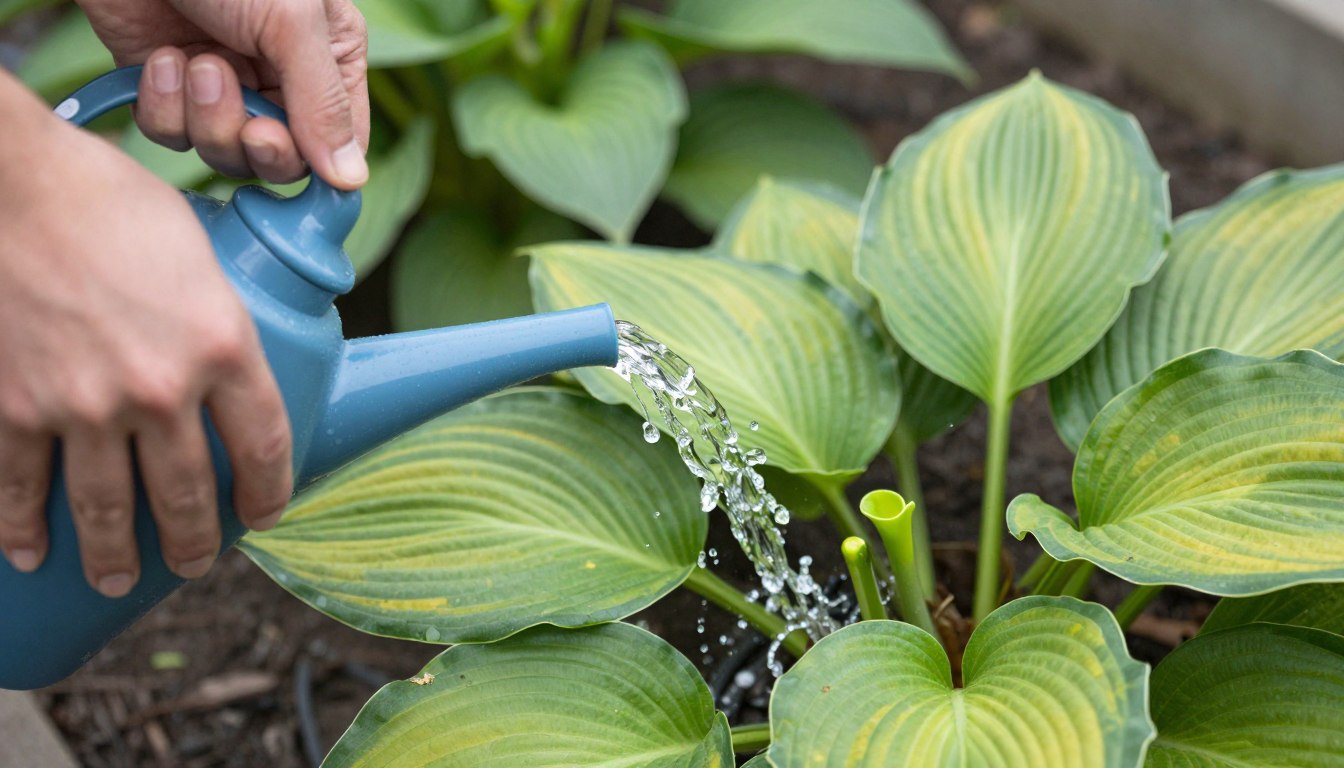
Water: how to keep leaves lush
Hosta leaves are very water-rich, and that is why they look so dramatically sad when they dry out. The trick is deep, consistent watering that encourages strong roots.
Newly planted hostas (establishment phase)
The first season is about root growth. Water deeply 2 to 3 times per week for the first few weeks if you are not getting rain, then taper to weekly deep watering. In hot spells, you may need more.
- How much: Aim for moist soil 4 to 6 inches down.
- Best timing: Morning, so leaves dry early and pests are easier to spot.
Established hostas
Once established, hostas typically do well with about 1 inch of water per week from rain or irrigation. In summer heat, under thirsty tree roots, in sandy soil, or in containers, you may need to water more often even when the plant is “established.”
How to tell if you are watering correctly
- Too dry: Droopy leaves midday that do not perk back up in the evening, crispy edges, smaller new leaves.
- Too wet: Yellowing leaves, soft crown, or a sour smell in the soil. This can point to poor drainage or crown rot risk.
Watering method that keeps slug pressure lower
Water at the soil line with a soaker hose or watering wand. Slugs are less interested in wet leaves than they are in cool, damp shelter and overnight moisture. Morning watering helps surfaces dry sooner and makes the bed less inviting by evening.
Planting and spacing: set them up for the long haul
Hostas are long-lived perennials, and they get bigger over time. Give them room now so you are not forced into emergency moving later.
Planting steps
- Dig a hole as deep as the root ball and about twice as wide.
- Loosen the surrounding soil so roots can expand.
- Set the crown level with the surrounding soil. Do not bury it.
- Backfill, water deeply, and mulch.
Spacing basics
Check the mature width on the tag, then add a little extra breathing room for airflow and slug monitoring. Small hostas can be 12 inches apart, while big types may need 3 feet or more.
Dividing versus establishment
Hostas can be divided, but beginners do best focusing on establishment first. Let a new hosta settle for a season or two before you start thinking about dividing. Dividing is useful when a clump outgrows its space, the center thins, or you want more plants.
If you do divide, use a clean, sharp tool and sanitize between plants. It is a simple habit that helps reduce the chance of spreading problems like viruses.
Slug prevention that actually works
If hostas are the salad bar, slugs are the late-night buffet crowd. The good news is you do not need a single perfect tactic. You need a small, steady plan.
Start with observation
Look for ragged holes, shiny slime trails, and damage that appears overnight. Check under leaves, boards, and dense mulch. Slugs hide during the day and feed in the evening and early morning.
Best beginner strategy: iron phosphate bait
For many home gardeners, iron phosphate slug bait is the simplest, most effective option when used correctly. It is generally considered safer for pets and wildlife than older metaldehyde products, but safety varies by product and dose. Choose products labeled for pet safety when that is a concern, store them securely, and always follow label directions.
- Apply in the evening when slugs are active.
- Reapply after heavy rain if the label recommends it.
- Use it early in the season before damage becomes constant.
Barrier strategies (use them where they make sense)
- Copper tape or copper mesh: Works best around containers or small, defined bed edges. Keep it clean so it stays effective.
- Gritty rings: A band of coarse material like sharp sand can deter some slugs, but it often fails after rain or when mulch mixes in. Consider it a helper, not your only defense.
- Collars: Short plastic plant collars can protect young hostas, especially just after planting.
Habitat tweaks that reduce slug pressure
- Water in the morning instead of at night.
- Keep mulch at about 2 inches, not a deep, soggy layer.
- Clear dense groundcover right against hosta crowns if slugs are severe.
- Lift and thin surrounding plants to improve airflow.
Hand-picking and simple trapping
If you can stomach it, a flashlight walk at dusk after a damp day is shockingly effective. You can also place a flat board in the bed. In the morning, slugs often hide underneath and can be removed.
Seasonal hosta care
Spring
- Watch for “pips”: New shoots are tender and especially attractive to slugs. Start prevention early.
- Clean up gently: Remove old, matted leaves around the crown to reduce hiding spots for pests.
- Mulch refresh: Top up mulch after the soil warms a bit, keeping it off the crown.
Summer
- Water deeply: Consistency matters most during heat waves.
- Trim ugly leaves if needed: Snip badly shredded leaves at the base for a tidier look, but avoid scalping the whole plant.
- Flower stalks are optional: Leave them for pollinators or remove after bloom if you prefer foliage-first.
Fall
- Cut back after frost: Once a hard frost collapses the foliage, remove it and discard. If disease is suspected, do not compost the leaves.
- Do not over-fertilize: You want the plant to settle into dormancy, not push tender growth.
- Mulch for winter: In colder regions, a light insulating layer after the ground begins to freeze can protect crowns.
Winter
- Leave the bed mostly alone: Dormant hostas do not need fussing. Avoid walking on frozen or saturated beds to prevent soil compaction.
- Check drainage: Winter puddling can lead to crown issues. If water sits for days, plan a spring soil improvement.
Frost heave: what it is and how to fix it
In freeze-thaw climates, hosta crowns can get pushed upward by expanding ice in the soil. This is called frost heave, and it can expose roots and dry the crown.
Signs of frost heave
- The crown sits higher than it did in fall
- Roots are visible at the soil surface
- The plant looks loose, like it can wobble
How to deal with it
- Wait for a thaw: Do not fight frozen soil.
- Gently press the plant back: Once the soil is workable, nudge the crown back to soil level.
- Add soil and mulch: Top up with compost or garden soil around exposed roots, then mulch lightly.
How to prevent it next year
After the ground starts to freeze in late fall, apply a light winter mulch, especially for newer plantings. The goal is to keep soil temperatures steadier, not to smother the crown.
Fertilizer and feeding: keep it simple
Hostas are not heavy feeders in most decent garden soils. If you improve soil with compost, you are already doing a lot.
- Compost in spring: A half-inch to one-inch top-dressing around the plant is gentle and effective.
- Optional slow-release fertilizer: If growth is weak, use a balanced slow-release fertilizer in spring as shoots emerge. Water it in well.
- Avoid late-season feeding: Late nitrogen can encourage soft growth that struggles going into fall.
Troubleshooting common beginner issues
Scorched edges
Usually too much sun or inconsistent watering. Shift to morning sun only, add mulch, and water deeply during dry stretches.
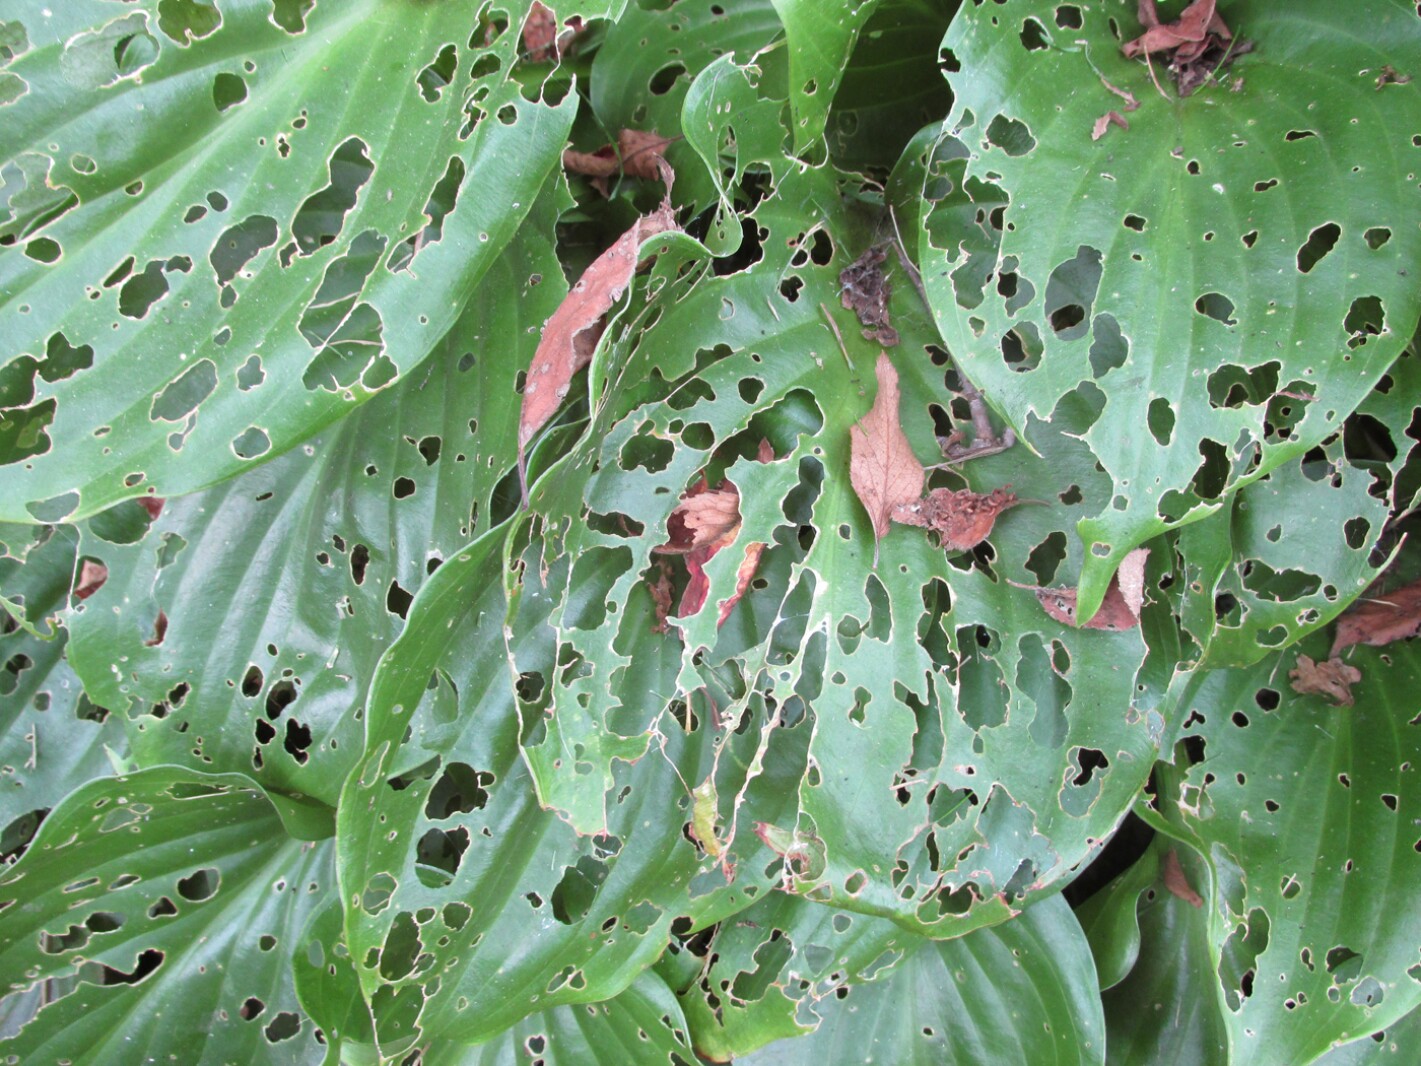
Holes in leaves
Classic slug or snail feeding. Start baiting early in spring, reduce hiding spots, and consider copper barriers for containers.
Yellowing leaves
Can be normal aging later in the season, but if it happens early, check drainage and root health. Soggy soil is a frequent culprit.
Chewed shoots in spring
Slugs, earwigs, or even rabbits depending on your area. Protect new shoots, scout at dusk, and use targeted controls.
Torn leaves or missing chunks
Often deer or rabbits. Look for ragged, ripped edges (not neat little holes). Fencing is the most reliable fix, but repellents can help if reapplied regularly, especially after rain.
Streaking, mottling, or distorted growth
If leaves show odd ink-bleed style patterns, twisted growth, or persistent streaking that is not normal for the variety, consider viruses (like Hosta virus X) or foliar nematodes. Isolate the plant and avoid dividing it. Use clean tools, and if you suspect a serious infection, remove and discard the plant rather than composting it.
A quick beginner checklist
- Plant in dappled shade or morning sun with afternoon shade.
- Build soil with compost and keep a 2-inch mulch layer off the crown.
- Water deeply and consistently, especially the first season. Water more often in containers and sandy soil.
- Start slug prevention early in spring before damage ramps up.
- Cut back collapsed foliage after frost and watch for frost heave in late winter or early spring.
If you take nothing else from this page, take this: hostas forgive a lot, but they never stop appreciating steady moisture and kind shade. Give them that, and your “black thumb” worries can go hang out in the compost pile where they belong.