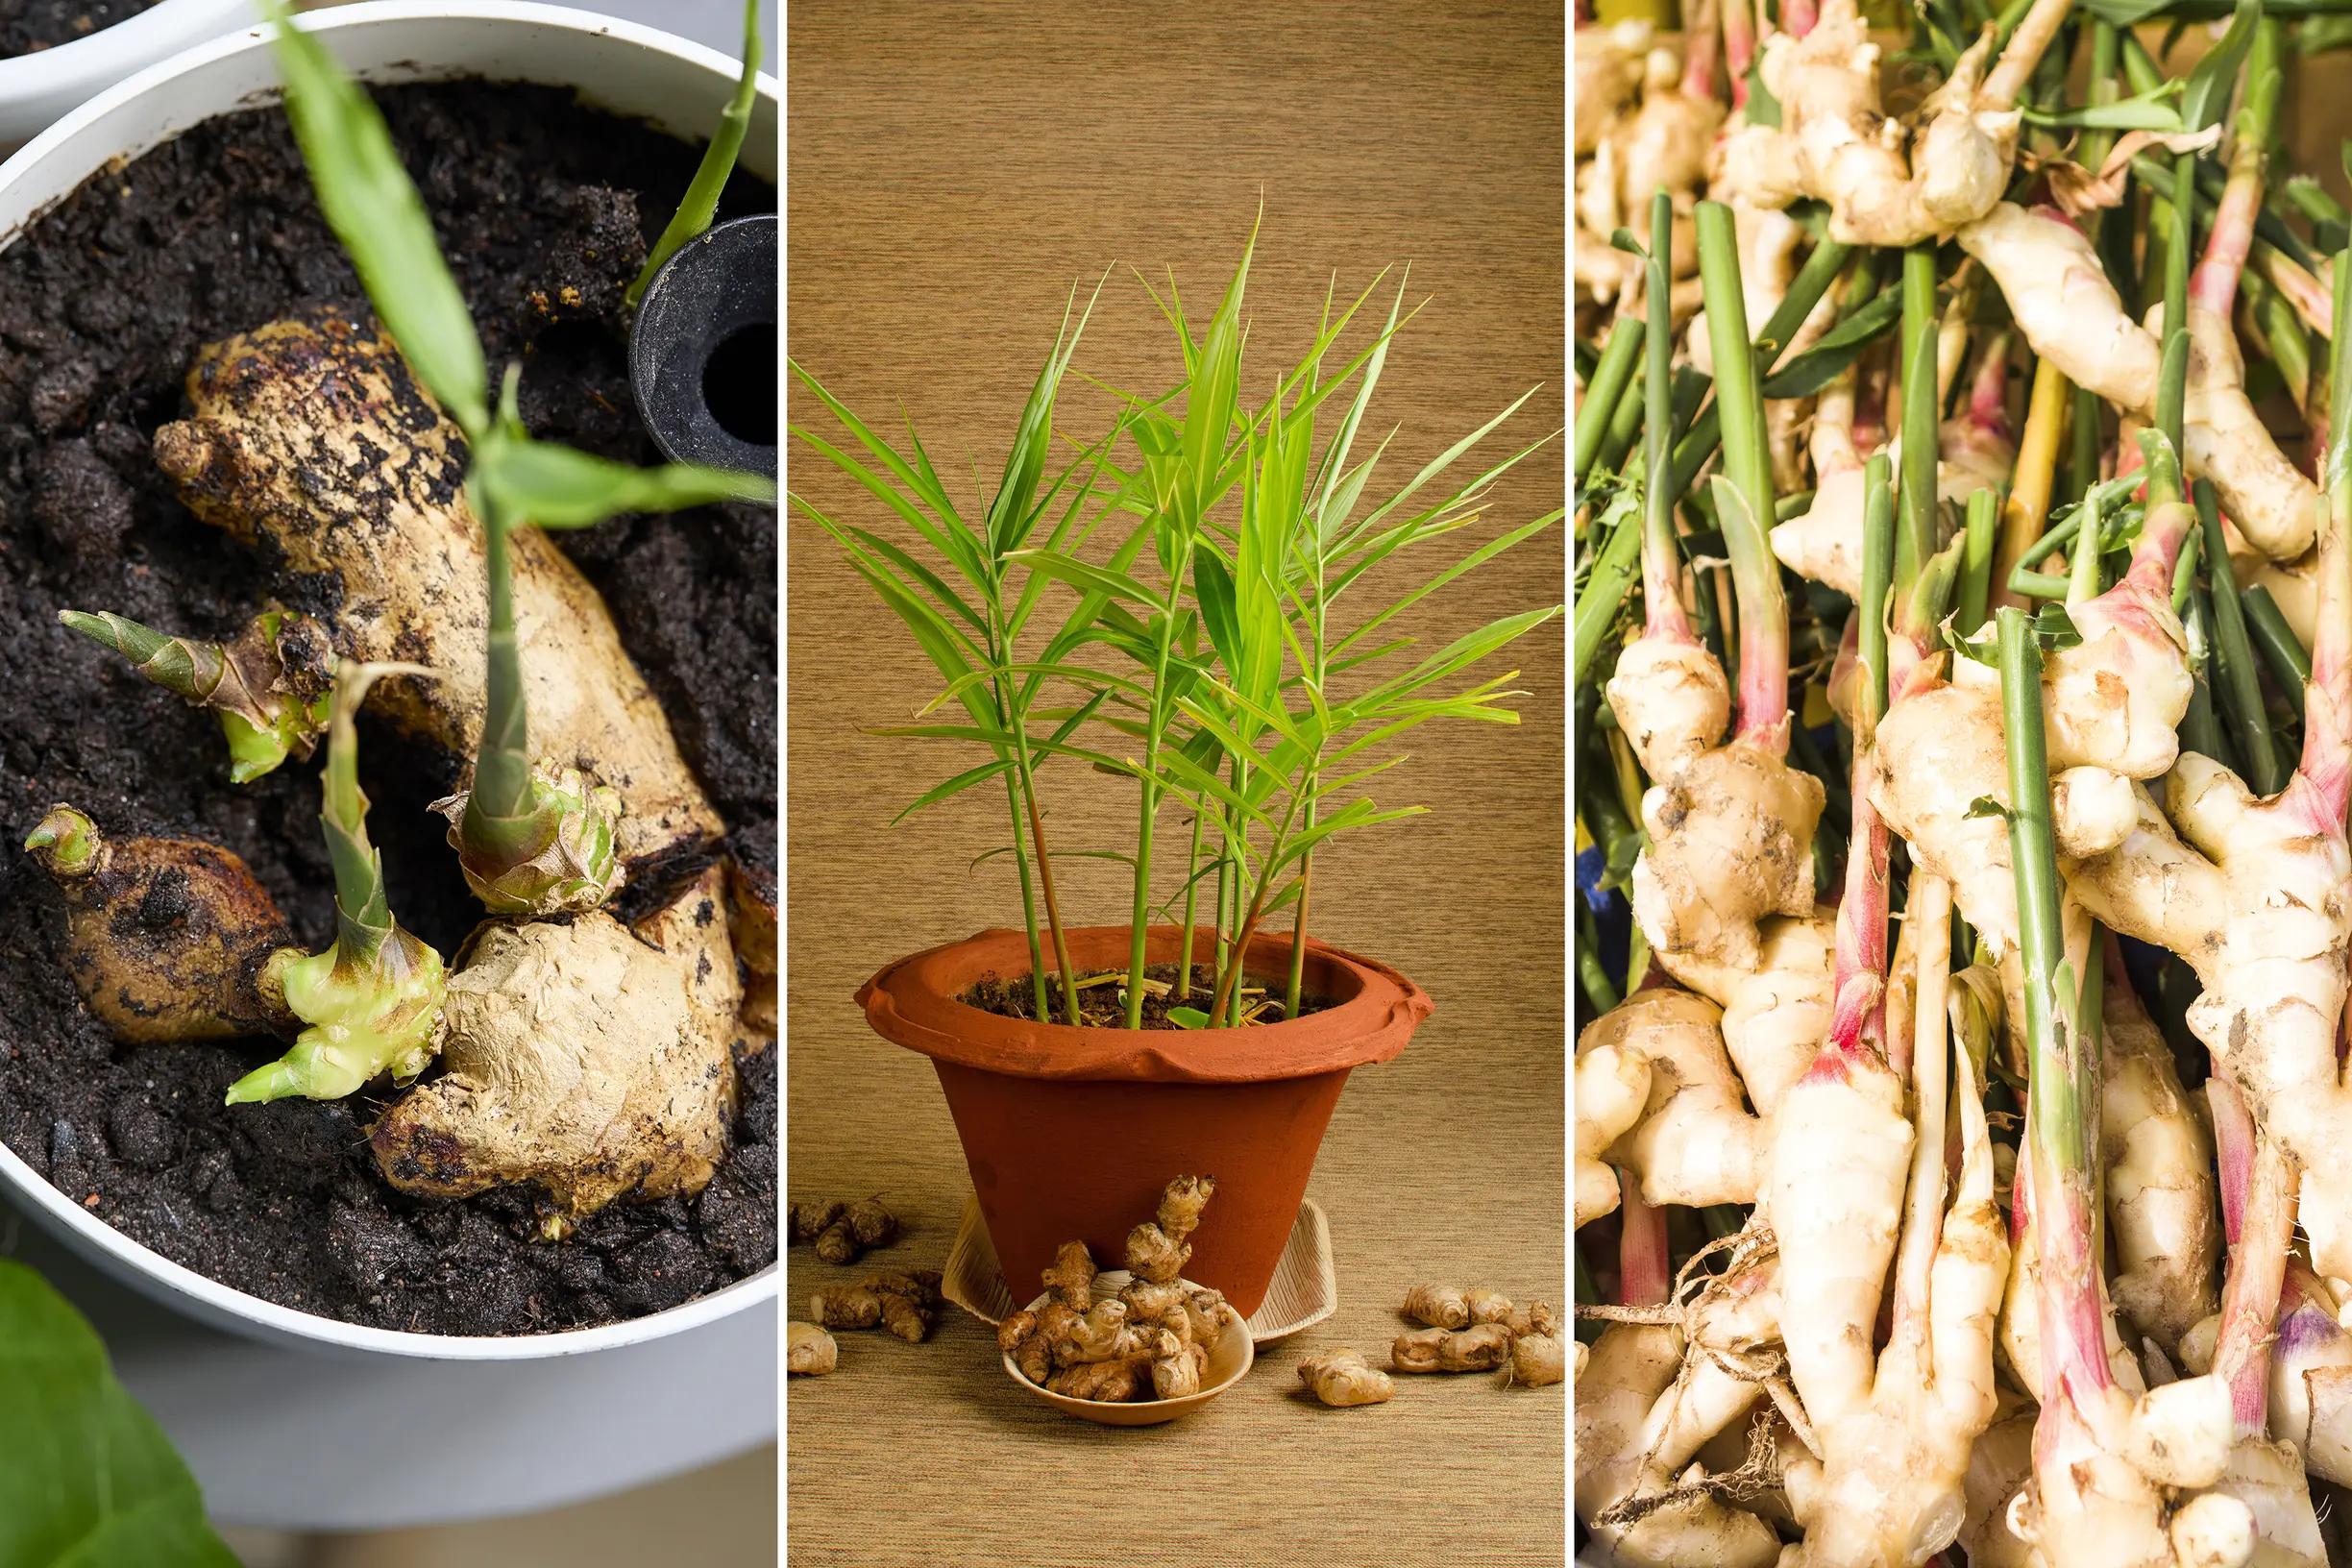
Grow Ginger Indoors from Store-Bought Rhizomes
If you have ever brought home a knobby piece of ginger and thought, this looks like it wants to be a plant, you are absolutely right. Ginger is one of my favorite indoor edibles because it is forgiving, fragrant, and quietly magical to watch. With warmth, patience, and the right pot, that grocery store rhizome can turn into a lush, tropical houseplant that also feeds you.

Below I will walk you through choosing the best ginger, coaxing it to sprout, potting at the right depth, and harvesting without harming the plant so you can keep replanting the cycle.
Choosing the best store-bought ginger
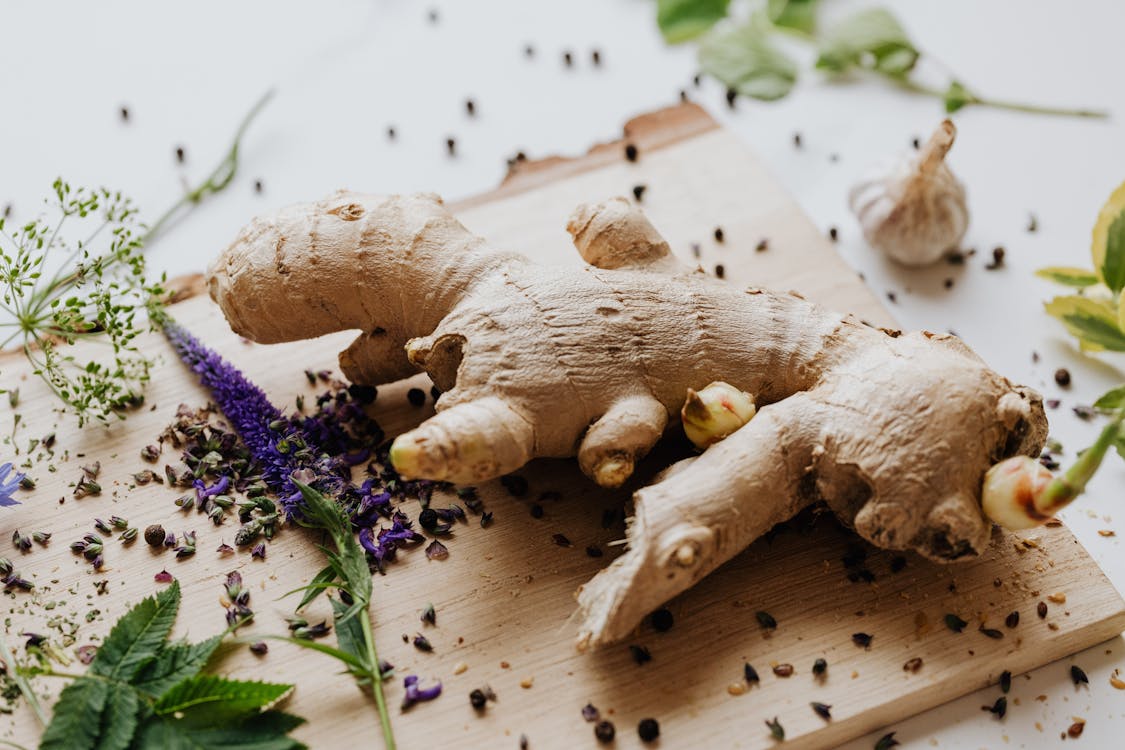
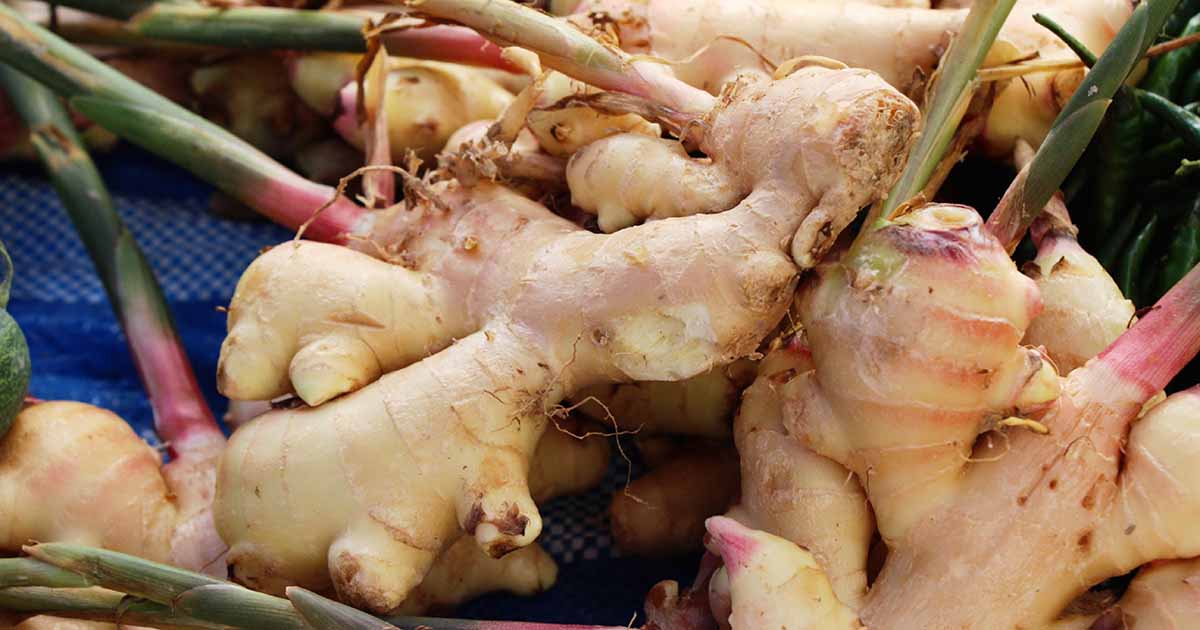
Success starts at the produce bin. You want ginger that is alive enough to sprout. Many grocery store pieces will sprout, but success varies by supplier and country. Some ginger is treated, irradiated, or simply too dried out to wake up quickly.
What to look for
- Plump and heavy for its size, with smooth skin (wrinkly ginger is often dehydrated).
- Visible eyes or little bumps, especially at the tips. These are growth buds.
- Firm texture with no soft spots.
- No mold, weeping areas, or strong sour smell.
Organic vs. conventional
If you can, buy organic ginger or pick up a piece from a farmers market. It is often quicker to sprout and less likely to be treated with sprout inhibitors. If you only have conventional ginger available, you can still grow it. Just plan to give it extra time and consider the optional soak and pre-sprout steps below.
Prep and sprout your rhizome
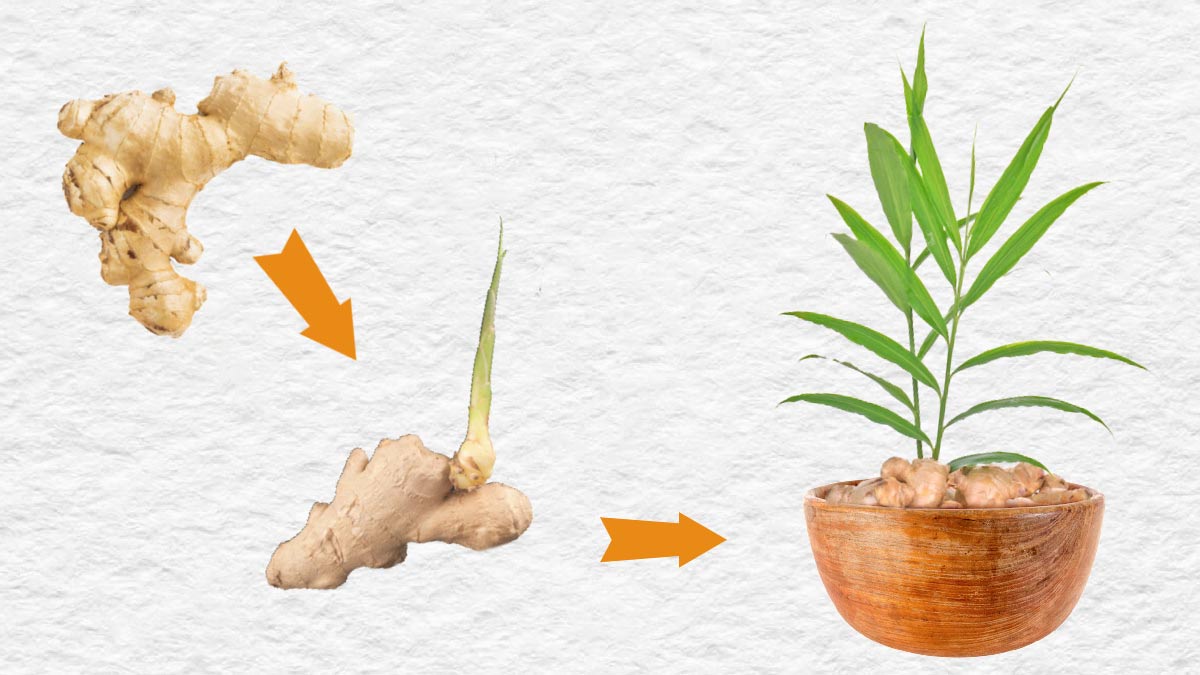
Ginger can produce seed under specific conditions, but culinary ginger is almost always grown from rhizomes, which are underground stems. Each eye can become a shoot.
Step 1: Optional soak
Soaking is not required, but it can help rehydrate a dry piece and rinse off surface residue. If you want to do it, soak the rhizome in room-temperature water for 8 to 12 hours. With conventional ginger, I like an overnight soak and I change the water once.
Step 2: Cut into pieces (optional)
You can plant the whole rhizome, or cut it into chunks. If you cut it:
- Make pieces that are 1.5 to 3 inches long.
- Ensure each piece has at least 2 eyes.
- Let the cut sides air-dry for 24 to 48 hours until they feel a bit leathery. This callusing helps prevent rot.
Step 3: Pre-sprout (recommended)
Pre-sprouting is like giving ginger a head start. Place your rhizome pieces in a shallow container on slightly damp coconut coir or a paper towel. Keep it warm and loosely covered. If your home runs cool, a seedling heat mat can dramatically speed things up.
- Temperature: 75 to 85°F (24 to 29°C) is the sweet spot.
- Moisture: damp, not wet. If water pools, rot is around the corner.
- Time: sprouts can show in 1 to 4 weeks, sometimes longer if the piece was sleepy.
Once you see little nubs or tiny green points, you are ready to pot.
Pot and soil basics
Ginger grows horizontally, expanding outward and slightly upward as it forms new rhizomes. That means container shape matters more than most people expect.
Pick the right container
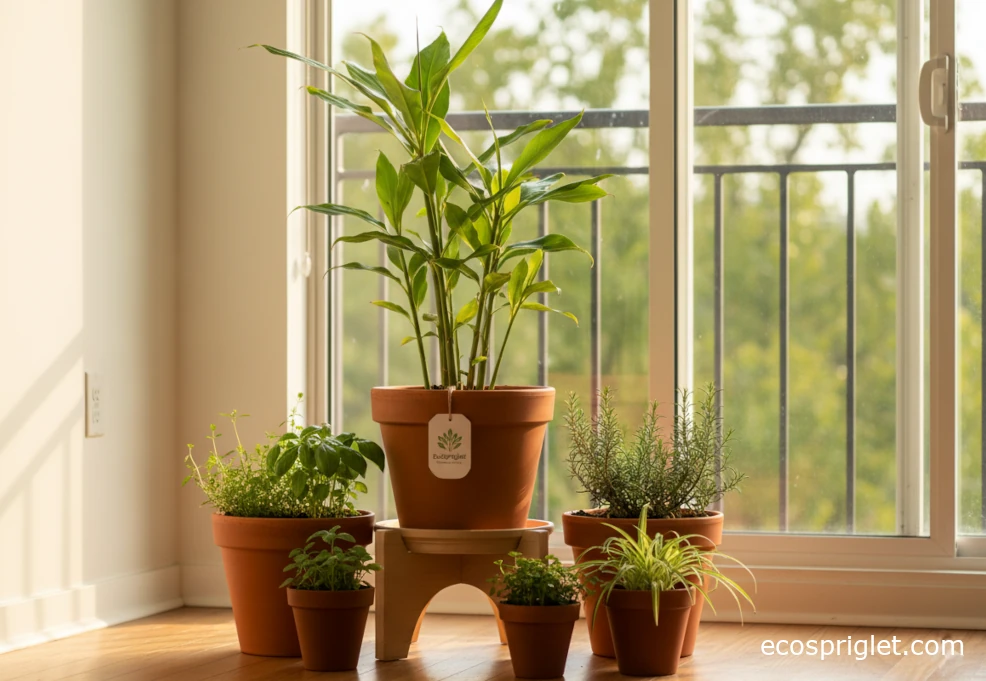
- Width: choose a pot that is wider than it is tall. Aim for 12 inches wide for one good-sized piece, larger if planting multiple.
- Depth: aim for at least 8 to 10 inches deep (up to 12 inches is great). Width still matters most, but some depth gives root space and moisture buffering.
- Drainage: non-negotiable. Ginger hates sitting in water.
Drainage setup
Use a pot with drainage holes and a saucer. Skip the gravel layer at the bottom, it does not improve drainage in containers the way people hope. An airy mix does the real work.
Soil mix ginger actually likes
Think: rich, airy, and moisture-retentive without becoming swampy.
- 2 parts quality potting mix
- 1 part compost or worm castings
- 1 part perlite or pumice
- Optional: a handful of coconut coir for steady moisture
If you want to go full soil-nerd (I say this with love), ginger enjoys slightly acidic to neutral soil, roughly pH 6.0 to 7.0.
How deep to plant
Plant your sprouted piece 1 to 2 inches deep, with the eyes facing up. Cover lightly, water once, then step back. Ginger is a slow starter above ground.
Spacing if planting more than one
If you are planting multiple pieces, give them a little breathing room. Space pieces roughly 4 to 6 inches apart so they can expand without instantly competing.
Warmth and light
If you remember one thing, make it this: ginger is a warmth lover. Indoors, warmth is usually the first bottleneck, and light is the second.
Temperature and humidity
- Ideal: 70 to 85°F (21 to 29°C).
- Minimum: growth slows dramatically below 65°F (18°C).
- Humidity: average home humidity is usually fine, but ginger looks happiest with moderate humidity. Grouping plants together or using a pebble tray can help if your air is desert-dry.
Light requirements
Ginger is a tropical understory plant. It likes bright light, but not harsh, scorching sun.
- Best window: bright east or bright filtered south exposure.
- Grow light option: 10 to 12 hours daily works beautifully, especially in winter.
- Watch the leaves: pale leaves can mean too much sun or not enough nutrients. Long, floppy growth can mean too little light.
Expected size indoors
Indoors, ginger often tops out around 2 to 3 feet tall in good conditions (sometimes a bit less in lower light). It is more about lush leaves than towering height, and it still makes rhizomes even when it stays compact.
Watering cadence
Indoor ginger wants consistent moisture, not constant wetness. The rhizome can rot if the pot stays soggy, especially before it has a full root system.
After planting
- Water once to settle the soil.
- Then keep the mix lightly moist. Let the top inch dry before watering again.
During active growth
Once you have leafy shoots, ginger will drink more.
- Water when the top 1 to 2 inches feel dry.
- Water thoroughly until it drains, then empty the saucer.
- If your home is cool or dim, water less. If it is warm and bright, water more often.
Signs you are overwatering
- Yellowing leaves that feel limp
- A musty smell from the pot
- Fungus gnats that never seem to leave
If you suspect rot, stop watering, increase airflow, and let the soil dry more between waterings. Ginger is patient, but it will not forgive a bog.
Feeding indoor ginger
Because you are growing ginger in a container, it relies on you for steady nutrition.
Simple fertilizer schedule
- Start feeding when shoots are 4 to 6 inches tall.
- Use a gentle organic fertilizer or liquid seaweed at half strength.
- Feed every 3 to 4 weeks during active growth.
Mulch and top-dressing
A thin layer of compost on top of the soil is like a cozy blanket and a slow snack. I add a small top-dressing every couple of months during spring and summer.
Harvest timing
The fun part. You can harvest ginger at different stages, depending on what you want in the kitchen. Timelines vary with warmth, light, cultivar, and how fast your pot dries.
Baby ginger
Baby ginger is less fibrous and often has thinner skin. You can start harvesting around 4 to 6 months after planting.
- Gently dig along the edge of the pot.
- Snap off a small side rhizome.
- Re-cover the remaining plant and water lightly.
Mature ginger
For full-sized rhizomes, plan on 8 to 10 months, sometimes up to a year indoors. You will often notice the leaves begin to yellow and die back. That is your cue that the plant is shifting energy into the rhizome, or easing into dormancy.
Harvest without killing the plant
You do not have to pull the whole thing. My favorite method is the selective harvest.
- Harvest from the outer edges first.
- Leave the central clump and a few healthy shoots intact.
- Top up soil after harvesting to keep rhizomes covered.
Replanting and keeping it going
Once you grow ginger once, you can keep it cycling. The plant practically begs you to share it, replant it, and keep a bit for tea.
Saving pieces to replant
- Choose firm rhizomes with visible eyes.
- Let them dry for a day on the counter (out of direct sun).
- Plant immediately, or store short-term as described below.
Short-term storage
For replanting soon, store rhizomes in a cool spot with airflow. A paper bag in a pantry works better than a sealed plastic bag. If you refrigerate, keep it dry and check weekly for mold.
Overwintering indoors
Indoors, ginger may slow down in winter, especially if light drops or your soil runs cool.
- Reduce watering when growth slows.
- Keep it away from cold drafts and heat vents.
- If it goes partially dormant and dies back, that can be normal. Keep the rhizome barely moist, not bone dry, and do not assume it is dead.
Troubleshooting
It is not sprouting
- Likely cause: too cool, or a treated piece.
- Fix: move it to a warmer spot or use a seedling heat mat.
- Also check: the rhizome may be dried out. Try soaking (optional) and pre-sprouting, or start with a fresher piece.
Leaves turning yellow
- Likely cause: overwatering, low light, low nutrients, or seasonal slowdown.
- Fix: let the top couple inches dry, increase light, and confirm the pot drains well.
Brown tips
- Likely cause: dry air, inconsistent watering, or salt buildup from fertilizer.
- Fix: water more consistently, flush the pot with clean water once, and keep feeding gentle.
Pests
Indoors, ginger can occasionally attract spider mites or aphids, especially in dry, warm rooms. Rinse leaves, wipe gently, and use insecticidal soap if needed.
A simple routine
If you want a low-stress rhythm, here is the version I recommend to my friends who are nervous plant parents:
- Week 1: (optional) soak, pre-sprout, pot in a wide container, plant 1 to 2 inches deep.
- Weeks 2 to 6: keep warm, water lightly when the top inch dries.
- After shoots appear: brighter light, water when top 1 to 2 inches are dry.
- Monthly: gentle feeding, check for pests, rotate the pot for even growth.
- Months 4 to 6: optional baby ginger harvest.
- Months 8 to 12: mature harvest, save pieces to replant.
And if something goes sideways, please do not label yourself a black thumb. Ginger teaches patience. It is slow, steady, and surprisingly forgiving when you give it warmth, good drainage, and a little time.
Pet note
If you garden with curious pets, double-check safety with your vet or a trusted poison control resource. Pet sensitivity varies, and it is always worth confirming before you place a tempting pot at nose level.