Get Rid of Bindweed Naturally
Bindweed is the kind of garden guest that shows up uninvited, raids the fridge, and then tries to move in. If you have those twining vines threading through your perennials or strangling your beans, you are not alone.
Quick definition: Bindweed is a persistent twining vine (most often field bindweed) that survives year to year because it stores energy in deep, creeping roots.
The good news is that you can get rid of bindweed naturally, but it helps to approach it like a long, steady composting process instead of a single dramatic weekend.
Our job is to patiently, repeatedly interrupt its survival plan until the roots run out of energy.
One small but helpful note: “Bindweed” is a common name used for a couple of different plants. Field bindweed (Convolvulus arvensis) is the classic backyard menace, but some gardeners are dealing with hedge bindweed (Calystegia sepium), which can be larger and even more vigorous. The overall approach is the same, but your timeline and level of persistence may vary.

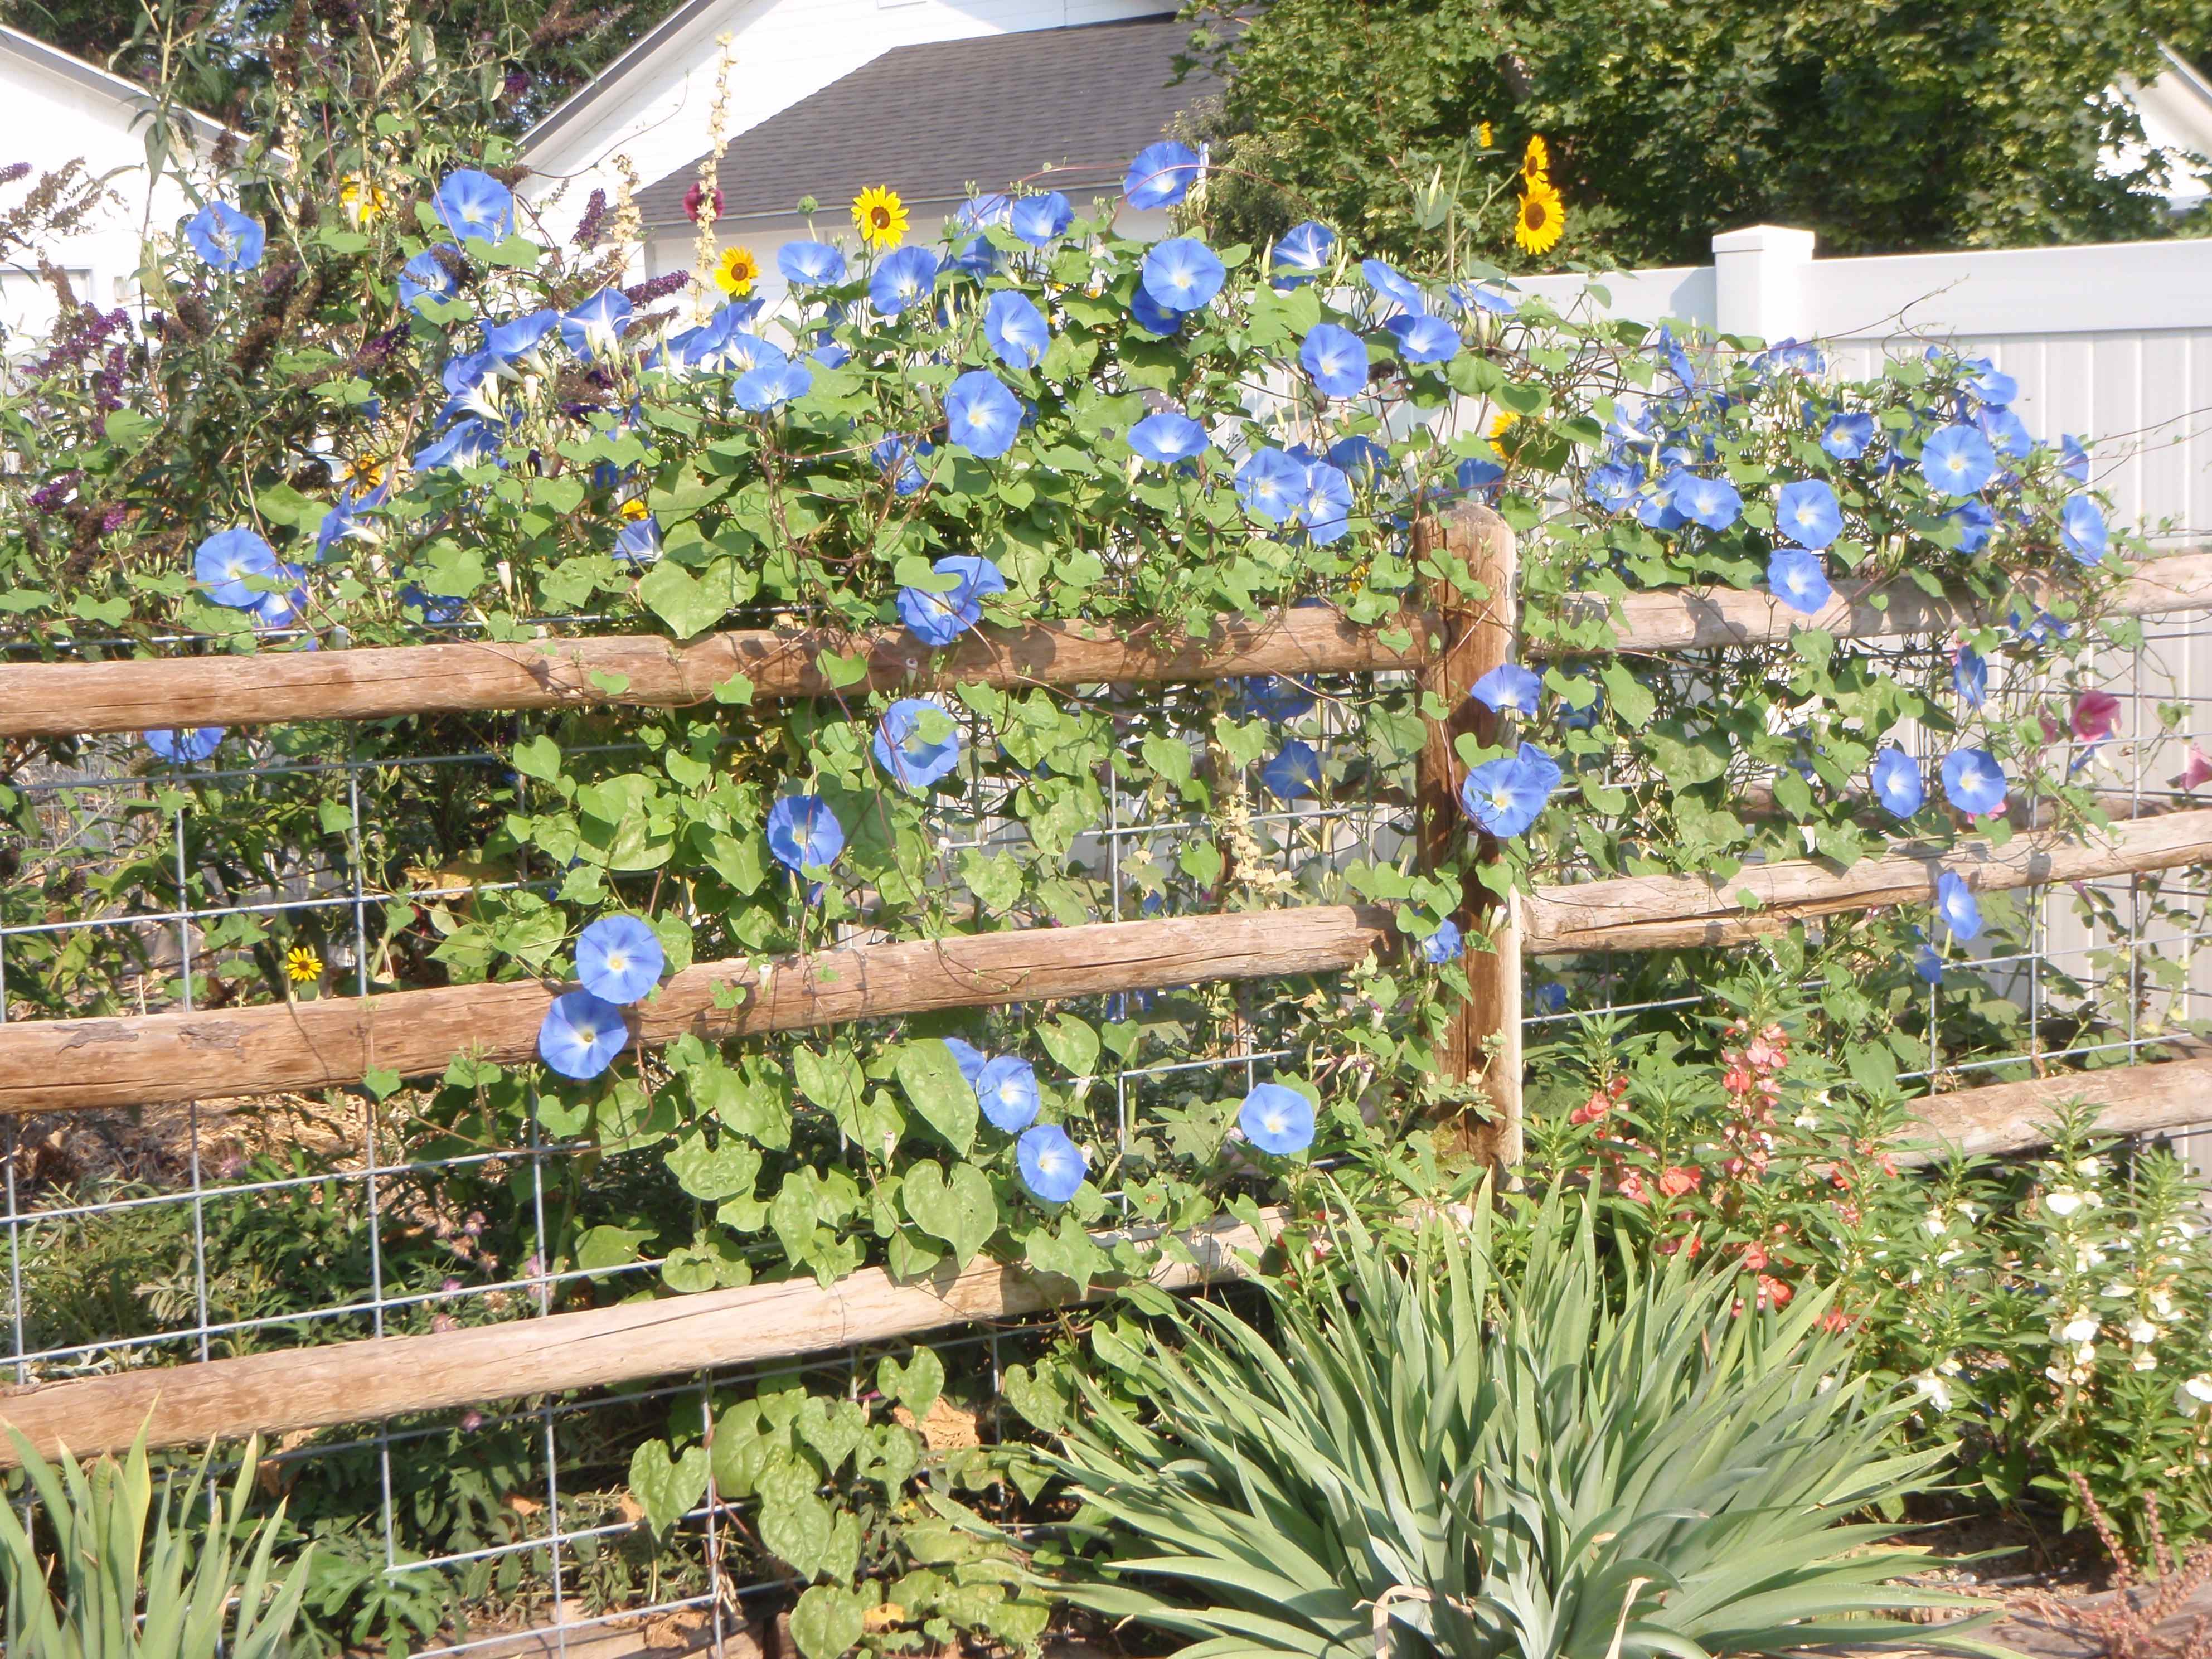
Bindweed vs. Morning Glory
Before you launch into battle, make sure you are pulling the right plant. Bindweed and morning glory are in the same family and can look similar at first glance, especially once everything is tangled together.
Field bindweed
- Leaves: Usually small to medium and shaped like an arrowhead, with pointed lobes at the base.
- Flowers: Small funnel-shaped flowers, often white or pale pink, typically about 1 inch across.
- Growth habit: Thin, wiry vines that twine aggressively through other plants and along the soil surface.
- Roots: Perennial, deep, spreading roots and rhizomes that store energy. This is why it comes back.
Hedge bindweed
- Leaves: Often larger and more triangular or heart-leaning than field bindweed.
- Flowers: Bigger white or pinkish trumpets, commonly 2 inches or more across.
- Growth habit: Fast, strong climber that can smother shrubs and tall perennials.
- Roots: Creeping perennial roots and rhizomes, also very capable of regrowth.
Morning glory (ornamental or weedy types)
- Leaves: Often larger and more heart-shaped, though leaf shape varies by species.
- Flowers: Usually larger and showier, often 2 to 4 inches across, with blues, purples, pinks, or white.
- Roots: Often grown as an annual from seed in colder climates. In warmer regions, some types can behave like perennials or reseed heavily.
My favorite quick check: If the flowers are small and the vine is popping up year after year from the same area, you are likely dealing with bindweed.

Why Tilling Makes It Worse
It is completely natural to want to “dig it out.” Bindweed turns that instinct against you.
Bindweed spreads with creeping perennial roots and rhizomes that store energy. When you till or chop the soil, you can:
- Break roots and rhizomes into pieces, and many of those fragments can sprout new plants (not every tiny piece, but enough to cause real trouble).
- Mix root fragments through a bigger area, essentially planting bindweed around your bed.
- Stimulate regrowth by creating multiple new growing points.
If you must dig, do it gently and intentionally. Think “lift and sift,” not “chop and churn.”
The Natural Strategy
Bindweed control is less about one heroic removal and more about starving the roots. Every time you remove top growth, the plant has to spend stored energy to regrow. If you keep doing that, the storage tank runs low.
Step 1: Repeat removal
Your goal is to remove green growth as consistently as you can without disturbing the soil too much.
- Pull or snip weekly during active growth. In peak season, every 5 to 7 days is ideal.
- Pull slowly so you remove as much vine as possible without tearing up the bed.
- In tight plantings: Snip at soil level with clean scissors or pruners to avoid yanking your desired plants.
A quick nuance that helps: The biggest long-term problem is what is happening below ground. Bindweed vines themselves usually do not “root everywhere” just because they snap, but any roots left in the soil will keep trying. So be gentle with the soil, and be relentless with the leaves.
Another small habit that pays off: If you see flowers, remove them. Bindweed can spread by seed as well as roots, and you do not want it investing in its next generation on your watch.
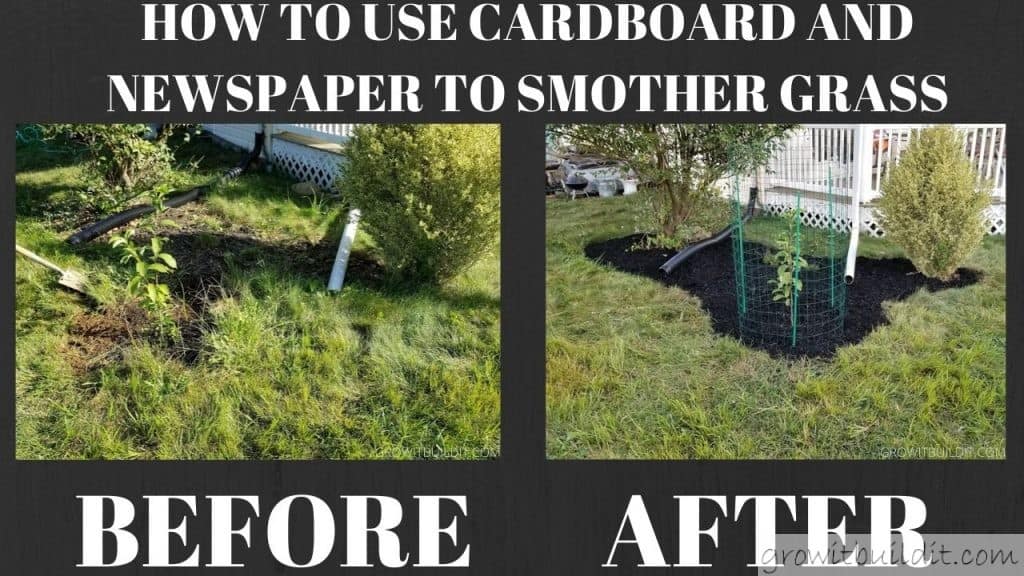
Step 2: Smother where you can
Smothering works best in pathways, new beds, around shrubs, and any area you can cover without harming plants you love.
Here is my reliable smothering recipe:
- Cut bindweed to the ground and remove what you can.
- Lay down cardboard with generous overlap. Aim for 6 to 8 inches of overlap at seams.
- Go beyond the patch: Extend your cardboard at least 12 to 24 inches past the visible infestation if you have the space. Bindweed loves to hunt for edges.
- Wet it thoroughly so it hugs the soil.
- Top with 3 to 6 inches of mulch such as wood chips, shredded leaves, or compost plus chips.
How long to leave it: For bindweed, think in seasons, not days. Leave smothering layers in place as long as you can, ideally through a full growing season. If shoots find an edge and pop out, pull them immediately and add more overlap.
Get Timing Right
Bindweed is most vulnerable when you consistently remove its leaves before it can rebuild energy reserves.
Best times to act
- Spring: Start early when shoots are tender and easy to pull. Early consistency prevents recharge.
- Early summer: Keep up a steady rhythm of pulling or cutting. This is prime starvation season.
- Late summer into fall: Many perennial plants shift resources down into their roots as the season winds down. If you keep bindweed defoliated in this window, you often reduce what it stores for next year.
What to avoid: Letting it grow “just for a little while.” Bindweed does not use a little while the way we do. A few weeks of lush growth can refill the root reserves you spent months trying to drain.
Competitive Planting
Bindweed loves bare soil and open sunlight at ground level. One of the most natural ways to tip the balance is to make your garden feel less like an empty parking lot and more like a dense, healthy plant community.
Use living mulch and groundcovers
Choose plants that:
- Fill space quickly
- Create shade at the soil surface
- Can handle occasional tugging nearby
Some options gardeners often use (pick what fits your climate and bed style):
- Creeping thyme for sunny edges and paths
- Strawberries as a friendly, productive groundcover in many gardens
- White clover in pathways or orchard areas where appropriate
- Dense ornamental grasses or robust perennials to reduce open soil pockets
A gentle truth: Competitive planting does not “kill” bindweed by itself. It helps you by limiting easy sunlight and giving you fewer bare spots to defend.
Also true: Bindweed can still snake through groundcovers and climb. Plan to peek under your living mulch now and then and snip any shoots you find.
What About Digging
Sometimes you have to dig, especially when bindweed has invaded a new bed before planting, or when you are renovating a border. If you choose to dig, do it as a careful extraction, not a rototiller moment.
How to dig without multiplying it
- Work when soil is slightly moist so roots pull more cleanly.
- Use a garden fork to loosen and lift, which slices less than a shovel.
- Sift patiently and remove as many white roots and rhizomes as you can find.
- Expect regrowth from pieces you missed and plan for follow-up pulling.
Disposal note: Do not toss fresh bindweed roots into your compost pile unless you are confident your system gets consistently hot. Bag it for trash or solarize it in a sealed clear bag in full sun until it is thoroughly cooked and dead. Depending on your sun and heat, that can take a few weeks or longer. When in doubt, leave it longer.
Multi-Season Timeline
I wish I could tell you there is a one-and-done trick. Bindweed is a perennial with deep reserves. Natural control is absolutely achievable, but it usually looks like steady progress, not instant disappearance.
- First season: You will see a lot of regrowth. Your win is consistency. The vines should start looking thinner and less vigorous over time.
- Second season: In many gardens, this is when you notice fewer shoots and weaker twining. Smothered areas often show a big improvement.
- Third season and beyond: You move into maintenance mode. Occasional sprouts happen, especially from neighboring areas, but they are much easier to handle.
If bindweed is coming from a neighbor’s lot, an alley, or under a fence line, you may always have some pressure. In that case, think like a gardener with a good boundary plan: focus on edges, keep them mulched, and pull new shoots immediately.
Simple Natural Plan
If you want a clear checklist, here is the approach I recommend most often for home gardens.
Weekly
- Pull or snip any visible bindweed growth.
- Remove any flowers you spot so it does not set seed.
- Check edges, fence lines, and the base of shrubs where vines like to hide.
Monthly
- Refresh mulch depth to keep soil shaded.
- Patch smothering areas where cardboard has broken down or shifted.
- Do a quick “groundcover check” and snip any bindweed sneaking through.
Seasonally
- In spring, start early before vines get long.
- In late summer and fall, be extra consistent to reduce next year’s stored reserves.
- Plant groundcovers or fill bare spots so bindweed has fewer easy openings.
And if you have a tough day where you pull a whole armful and it still feels like it is winning, I want you to hear this: bindweed is not a reflection of your gardening skill. It is simply a plant that is very good at surviving. Your superpower is patience.