English Ivy Care Indoors
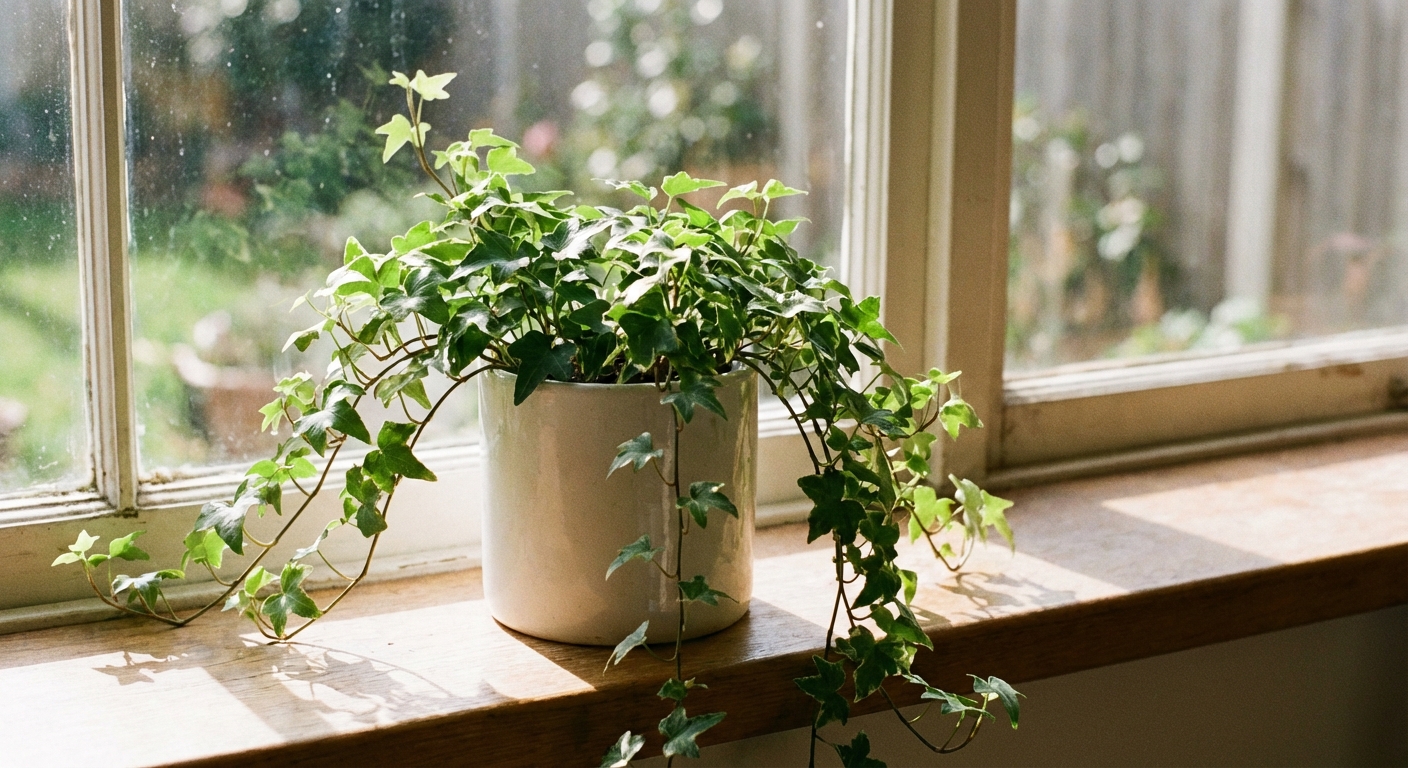
English ivy (Hedera helix) is one of those classic houseplants that looks effortlessly elegant spilling from a shelf or winding around a little hoop trellis. Indoors, though, it can be a bit opinionated. If your ivy is dropping leaves, crisping at the edges, or suddenly looks dusty and tired, it is usually asking for three things: steadier moisture, brighter (but gentle) light, and more humidity.
The good news: once you learn its cues, ivy becomes a reliable, fast-growing green companion that makes your home feel calmer and more alive.
Quick care snapshot
- Light: Bright, indirect light is ideal. Variegated ivy needs brighter light than solid green. Avoid harsh midday sun.
- Water: Keep evenly moist, not soggy. Water when the top 1 inch of soil feels dry (timing changes with season and pot size).
- Humidity: Prefers moderate to high humidity. Dry air often triggers leaf drop and increases spider mite risk.
- Temperature: Likes it cool to average indoors, about 55 to 75°F (13 to 24°C). Cooler is better. Prolonged warmth (especially above 70 to 75°F) plus dry air can increase stress and pest pressure. Keep away from heat vents.
- Growth habit: Vigorous trailing or climbing vine. Prune to keep it full and tidy.
- Pet note: English ivy is toxic if chewed by pets or humans. It can cause drooling, vomiting, and stomach upset. The sap can also irritate skin for some people.
Light
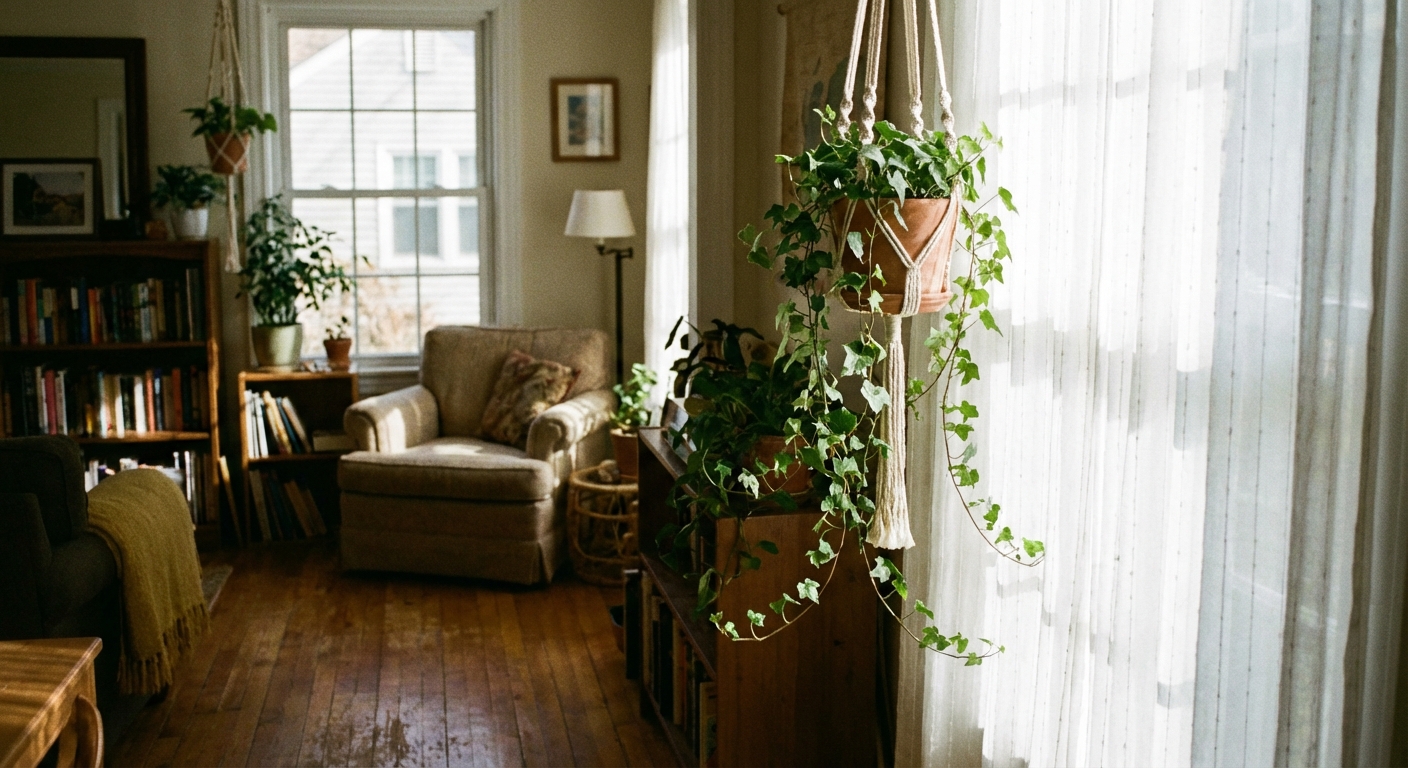
If there is one indoor adjustment that makes ivy instantly happier, it is giving it more bright, indirect light. Ivy can survive in lower light, but it often gets sparse, leggy, and more prone to pests when it is struggling.
Best window placements
- East-facing: Ideal. Gentle morning sun, then bright indirect light.
- North-facing: Usually fine, especially close to the glass. Growth may be slower.
- South or west-facing: Can work, but protect from harsh direct sun with a sheer curtain or set the plant back a few feet.
Signs your ivy wants different light
- Too little light: Long bare stretches of vine, smaller leaves, dull color, slow growth. Variegation may fade.
- Too much direct sun: Scorched patches, crispy edges, bleaching on exposed leaves.
If your home is dim in winter, a simple LED grow light (kept 12 to 18 inches above the plant) can keep growth compact and support overall vigor. Pair that with steady watering and routine pest checks, especially during heating season.
Watering
Indoors, English ivy prefers soil that is evenly moist. The goal is not constant wetness. It is consistency. Big swings between bone-dry and soaked can cause leaf drop and stress.
When to water
Stick your finger into the pot. When the top 1 inch feels dry, water thoroughly until it runs from the drainage holes, then empty the saucer.
Common mistakes
- Overwatering: Yellowing leaves, mushy stems, soil that stays wet for days. Fix by improving drainage, switching to a lighter potting mix, and watering less often.
- Underwatering: Crispy edges, lots of dry leaf drop, vines that look limp. Fix by watering deeply, then returning to the top-inch-dry routine.
- Small pots dry fast: Ivy in hanging baskets can need water more often. Check it twice weekly in warm months.
Soil and pot choice
Use a quality indoor potting mix with extra aeration. I like a blend that includes perlite or pumice. Always choose a pot with drainage holes. Ivy can be dramatic above the soil, but it hates suffocating roots.
Humidity
English ivy is famous for acting cranky in dry indoor air, especially during heating season. Low humidity can cause leaf drop, crispy leaf edges, and it creates the perfect conditions for spider mites.
Ways to boost humidity
- Group plants together: A small cluster creates a gentler microclimate.
- Use a humidifier: The most reliable option for meaningfully raising humidity.
- Pebble tray: Helps add a little localized moisture right around the plant (think microclimate, not whole-room humidity). Keep the pot base above the waterline.
- Bathroom placement: If you have bright light in a bathroom, ivy often thrives there.
Misting can temporarily dampen leaves, but it is not a long-term fix for dry air. Think of it like offering a sip of water when the whole room is thirsty.
Pruning and training
Indoors, ivy can grow quickly once it is comfortable. That is a gift, but it can also turn into a tangle that sheds leaves along older stems. Your two best tools are pinching and training.
Prune for fullness
- Pinch the tips: Snip or pinch just above a leaf node to encourage branching.
- Shorten leggy vines: Cut long bare stretches back to where leaves are still healthy.
- Prune little and often: A small trim every few weeks keeps it thick and tidy.
Training ideas
- Classic cascade: Let vines trail from a shelf or hanging basket. Rotate the pot weekly so one side does not hog the light.
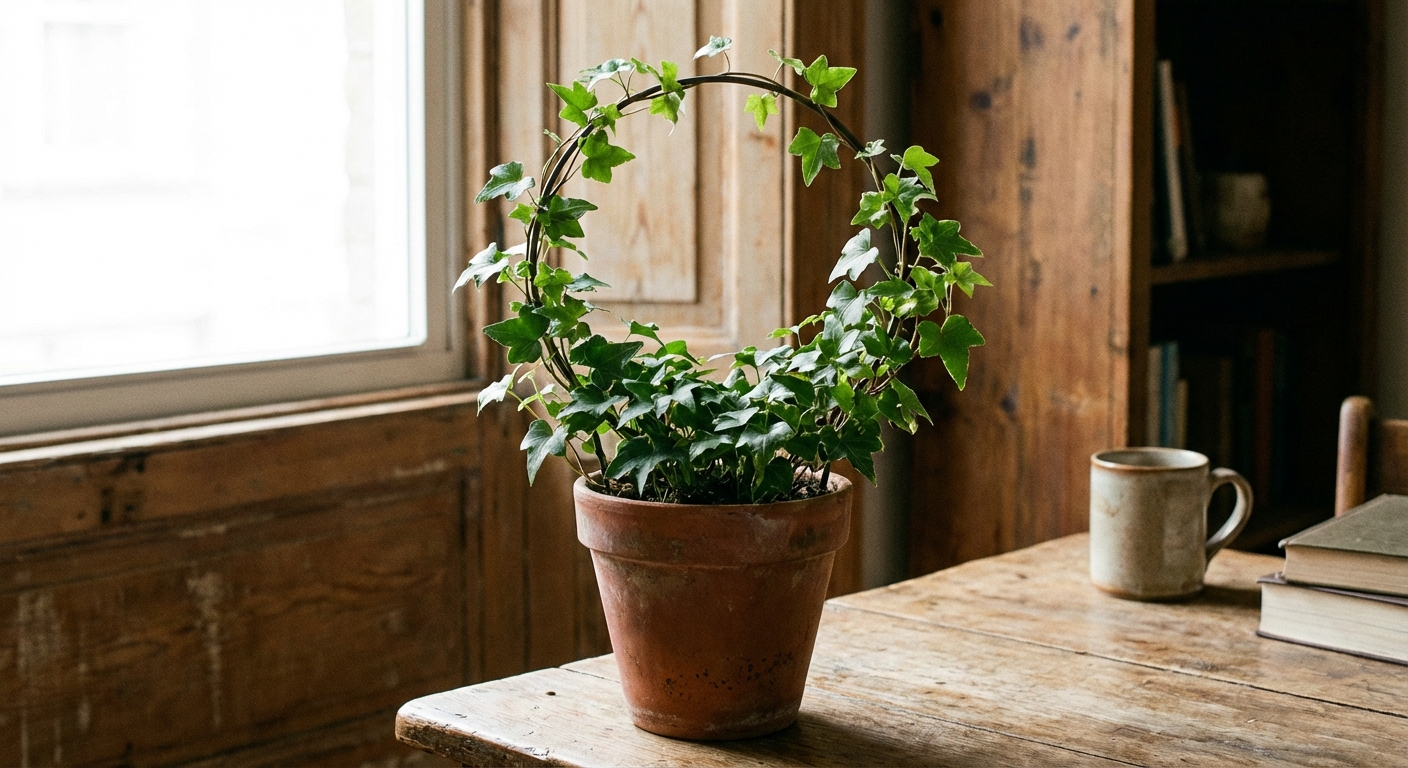
- Small trellis or hoop: Gently wrap vines around a hoop or mini trellis and secure with soft plant ties.
- Wall hooks and guide wires: For renters, removable hooks can guide vines along a window frame or above a bookshelf.
Tip from my own slightly overenthusiastic ivy days: do not force stiff vines into tight curves. Warm the vine in your hands first, bend slowly, and secure loosely so the stem can thicken without being strangled.
If you get itchy hands after pruning, you are not imagining it. Ivy sap can irritate skin. Gloves make the whole job easier.
Fertilizing
English ivy does not need heavy feeding indoors, but it appreciates a little nutrition during active growth.
- Spring through early fall: Feed about once a month with a balanced houseplant fertilizer at half strength.
- Late fall and winter: Pause fertilizing if growth slows. Many ivies rest a bit when light levels drop.
If your ivy is lush but soft and floppy, you may be over-fertilizing or keeping it too warm and low-light. Back off feeding and increase light.
Cleaning
If your ivy looks dusty and tired, it probably is. Dust blocks light and gives pests more places to hide. Every few weeks, rinse the vines in the shower with lukewarm water or wipe leaves gently with a soft, damp cloth. Skip leaf shine products, which can clog leaf pores and make future cleaning harder.
Common problems
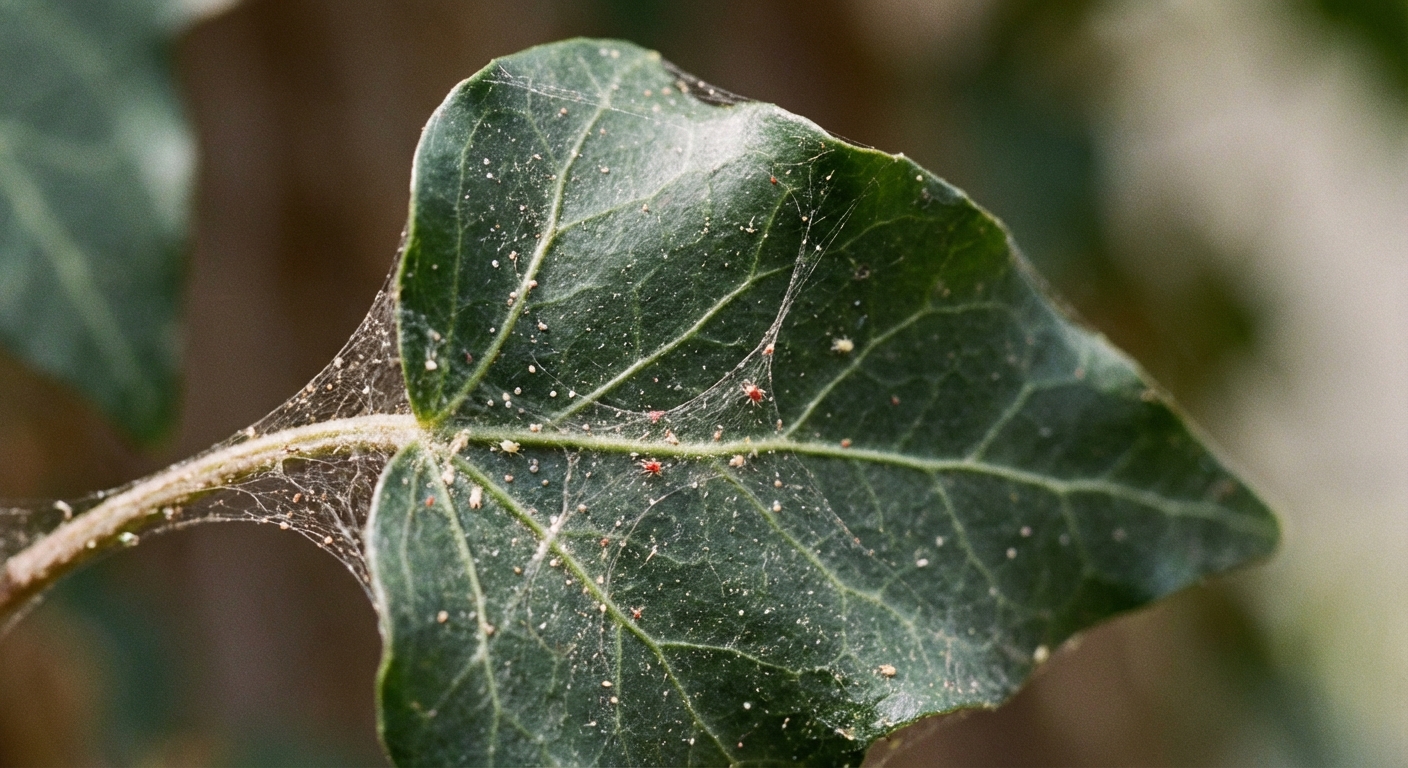
Spider mites
Spider mites are the indoor ivy villain, and they love warm, dry rooms. Early signs include tiny pale speckles, dull leaves, and delicate webbing where stems meet leaves.
- Step 1: Isolate the plant and rinse it thoroughly in the shower or sink, focusing on the undersides of leaves.
- Step 2: Wipe leaves gently with a soft cloth. This physically removes mites and eggs.
- Step 3: Treat with insecticidal soap or horticultural oil, following the label. Repeat every 5 to 7 days for 3 to 4 rounds to catch new hatchlings.
- Step 4: Improve conditions that favor mites. Higher humidity helps reduce risk, and keeping ivy cooler and away from heaters makes outbreaks less likely. Keep monitoring, because mites are persistent.
If you are in a recurring cycle, humidity is often the missing piece, but it is rarely the only piece. Consistent treatment and follow-up checks are what finish the job.
Leaf drop
Some leaf drop is normal when you bring a new plant home. But ongoing leaf drop usually points to dry air, inconsistent watering, or a sudden temperature change.
- Check humidity: Aim for moderate humidity. A humidifier near your plant is the fastest fix.
- Stabilize watering: Do not let it fully dry out, then flood it.
- Watch drafts: Keep ivy away from exterior doors, AC blasts, and heat vents.
Crispy edges and brown tips
- Most common cause: Dry air or underwatering.
- Also possible: Too much direct sun or fertilizer salt buildup.
If you suspect fertilizer buildup, flush the pot with plain water using several pot-volumes (for example, run 2 to 4 times the pot’s volume through the soil). Let it drain completely, and pause feeding for a month.
Yellow leaves
Yellow leaves can happen from overwatering, low light, or natural aging of older leaves. If yellowing is widespread and the soil feels wet, prioritize drainage and let the top inch dry before watering again.
Other pests and leaf issues
- Scale, mealybugs, aphids: Sticky residue, cottony clusters, or bumps on stems and leaf undersides. Rinse, then treat with insecticidal soap and repeat weekly until gone.
- Leaf spot: Dark spots or blotches that spread, often linked to wet leaves and low airflow. Remove affected leaves, avoid splashing the foliage, and improve air circulation.
Repotting and propagation
When to repot
English ivy likes being slightly snug, but if roots circle the pot or water rushes straight through, it is time. Repot in spring into a container just 1 to 2 inches wider.
Propagate from cuttings
- Snip a healthy vine with 3 to 5 leaves.
- Remove the lowest leaf or two to expose nodes.
- Root in water or moist potting mix in bright, indirect light.
- Once rooted, pot up several cuttings together for a fuller plant.
This is my favorite way to fix a leggy ivy: take cuttings from the best tips and restart them in the same pot for instant fullness.
Outdoor and disposal note
A quick but important PSA: English ivy is highly invasive outdoors in many regions (including parts of the Pacific Northwest and beyond). Enjoy it as a houseplant, but do not plant it outside where it can escape into natural areas.
When you prune or propagate, do not toss live cuttings into the yard or compost. Bag them and dispose of them, or keep them contained in pots.
Long-term success
If you remember nothing else, remember this: ivy wants consistency. Consistent light, consistent moisture, and air that is not painfully dry. Do that, and it will reward you with a steady spill of fresh leaves that makes even a small apartment feel like a garden.
And if you slip up and your ivy throws a tiny tantrum, you are not failing. You are learning its language. Plants are wonderfully forgiving teachers.