
Elderberry Care and Harvest

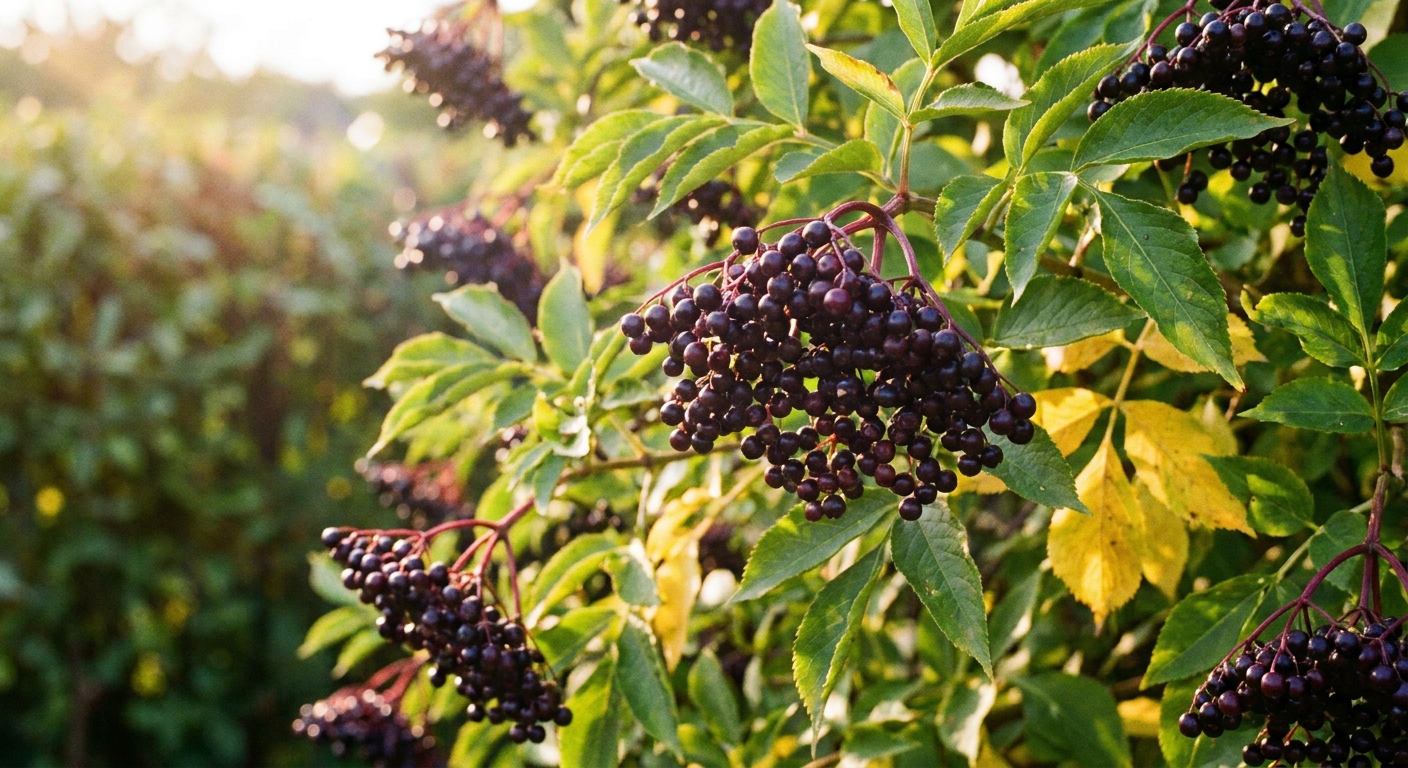
Elderberries are one of those plants that feel like they belong in the landscape, not tucked away like a fussy “fruit crop.” Give them sun, moisture, and a little patience, and they reward you with frothy spring blooms and heavy berry clusters by late summer. The trick is learning which elderberry to plant, how to set up pollination, and when to harvest so you get maximum fruit with minimum drama.

One important safety note before we dig in: raw elderberries can cause stomach upset, and the seeds and green parts contain higher levels of compounds that are not considered safe to eat. Cooking is recommended for berry use in syrups, jams, wine, and teas. Avoid leaves, bark, and large amounts of stems in anything you plan to consume. We will cover safe harvest and simple processing later.
Pick the right elderberry
Not all “elder” plants are the same, and choosing well at the start saves years of disappointment. Most home gardeners in North America grow American elderberry, commonly labeled Sambucus canadensis. You may also see it listed in references as Sambucus nigra subsp. canadensis. Both names are used, so do not let the label throw you, just focus on the type and the cultivar.
European elderberry (Sambucus nigra) is also grown in some regions, but cultivar recommendations and hardiness can vary widely.
American elderberry (S. canadensis)
- Best for: Cold winters, humid summers, and home landscapes that can spare a bit of space.
- Habit: Multi-stem shrub, often 6 to 12 feet tall and wide depending on pruning and site.
- Fruit: Reliable, heavy clusters when pollinated well.
Common cultivars
Nurseries and mail-order suppliers often sell named cultivars selected for fruiting. Availability changes by region, but you will frequently see options like ‘York’, ‘Nova’, ‘Adams’, ‘Wyldewood’, and ‘Bob Gordon’ (often sold as American elderberry types). If you are shopping locally, ask two questions: is it a fruiting cultivar, and does the seller recommend a pollination partner for it?
Red elderberry is different
You may also see red elderberry (Sambucus racemosa). It is a gorgeous native shrub in many areas and beloved by wildlife, but it is not the usual choice for home syrup, jam, or wine recipes. Red elderberry is also more associated with toxicity concerns if handled incorrectly. If your goal is berry processing, stick with fruiting selections of American elderberry unless you have strong local, expert guidance.
Site, soil, and spacing
If I could whisper one secret to new elderberry growers, it would be this: elderberries love consistent moisture. They are not picky divas about soil texture, but they do poorly when they are baked dry for weeks.
Light
- Best fruiting: Full sun, about 6 to 8 hours daily.
- Tolerates: Light shade, with fewer berries.
Soil
- Ideal: Loamy soil with plenty of organic matter.
- pH: Slightly acidic to neutral is usually fine for elderberries.
- Avoid: Bone-dry sandy spots unless you can irrigate reliably, and waterlogged areas that stay swampy all season.
Spacing
Elderberries are often planted like small hedgerow shrubs, but they need airflow for healthier foliage and easier harvesting.
- Home garden spacing: 6 to 10 feet apart (closer for a hedgerow you plan to prune, wider for easy access).
- Row spacing: 10 to 12 feet if you want room to walk and harvest comfortably.
Planting steps
- Plant in spring after hard freezes are mostly done, or in fall where winters are mild.
- Dig a hole about twice as wide as the root ball and just as deep.
- Set the shrub at the same depth it was growing in its pot.
- Backfill and water deeply to settle soil around roots.
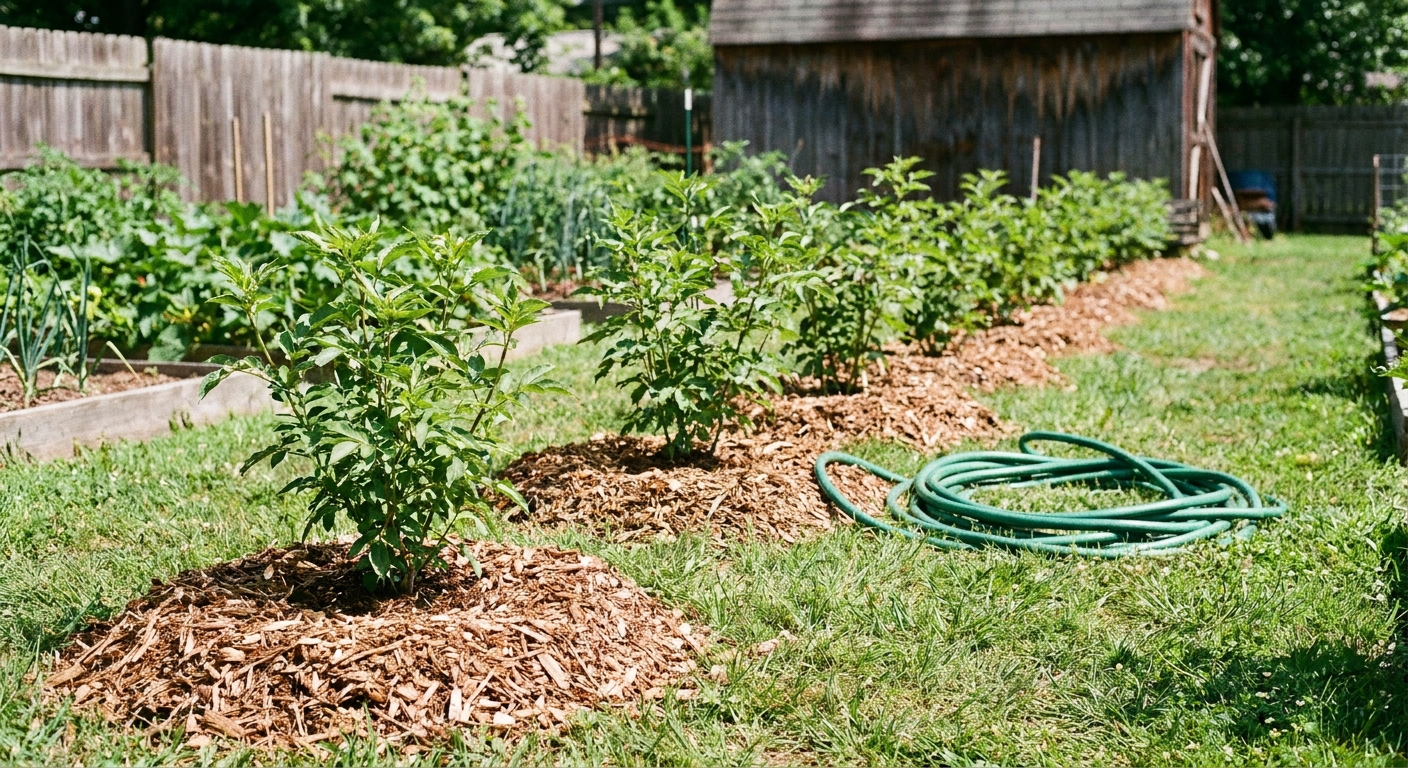
- Add a 2 to 4 inch mulch ring (leaf mold, compost, shredded bark), keeping mulch a few inches away from stems.
Pollination: plant a partner
Here is the part that catches a lot of gardeners off guard: many elderberries set better fruit when they have a compatible partner nearby. Even if a cultivar is described as “self-fertile,” you will usually get heavier clusters and more consistent yields with two different cultivars that bloom at roughly the same time.
How many plants?
- Minimum for good fruiting: Two elderberry plants of different cultivars.
- Ideal home patch: 3 to 6 plants so you have cross-pollination plus enough berries to make processing worth your time.
How close?
Pollinators do the work, so you do not need them touching, but you also do not want them across the neighborhood. Think of this as a practical yard guideline, not a hard rule.
- Good range: Within 50 feet is plenty for most yards, assuming bloom times overlap and you have decent pollinator activity.
If you are buying plants, check the cultivar description and, when possible, purchase from a supplier that lists recommended pollinators for that cultivar.
Watering and feeding
Elderberries grow fast. That is wonderful, but fast growth means they appreciate steady moisture and nutrients, especially in their first two seasons and during fruit fill.
Water
- Year 1: Water deeply 1 to 2 times per week if rain is not soaking the root zone.
- Established plants: Water during dry spells, especially from flowering through harvest.
- Tip: Drip irrigation or a soaker hose under mulch keeps leaves drier and reduces stress.
Fertilizer and soil
I am a big fan of feeding the soil first. Each spring, top-dress with compost and refresh mulch. If your plants look pale or growth is weak, a modest application of an organic balanced fertilizer in spring can help.
- Best practice: Compost plus mulch annually.
- Go easy on nitrogen: Too much can mean lush leaves and fewer berries.
Pruning for fruit
Elderberry pruning gets confusing because advice depends on the type you grow and the style you want. Here is the good news: you have options, and the best method is the one you will actually do every year.
Two pruning options
American elderberries (including many fruiting cultivars like ‘Bob Gordon’ and ‘Wyldewood’) can produce heavily on first-year shoots. That makes an ultra-simple method possible.
- Option 1: Coppice (easy mode)
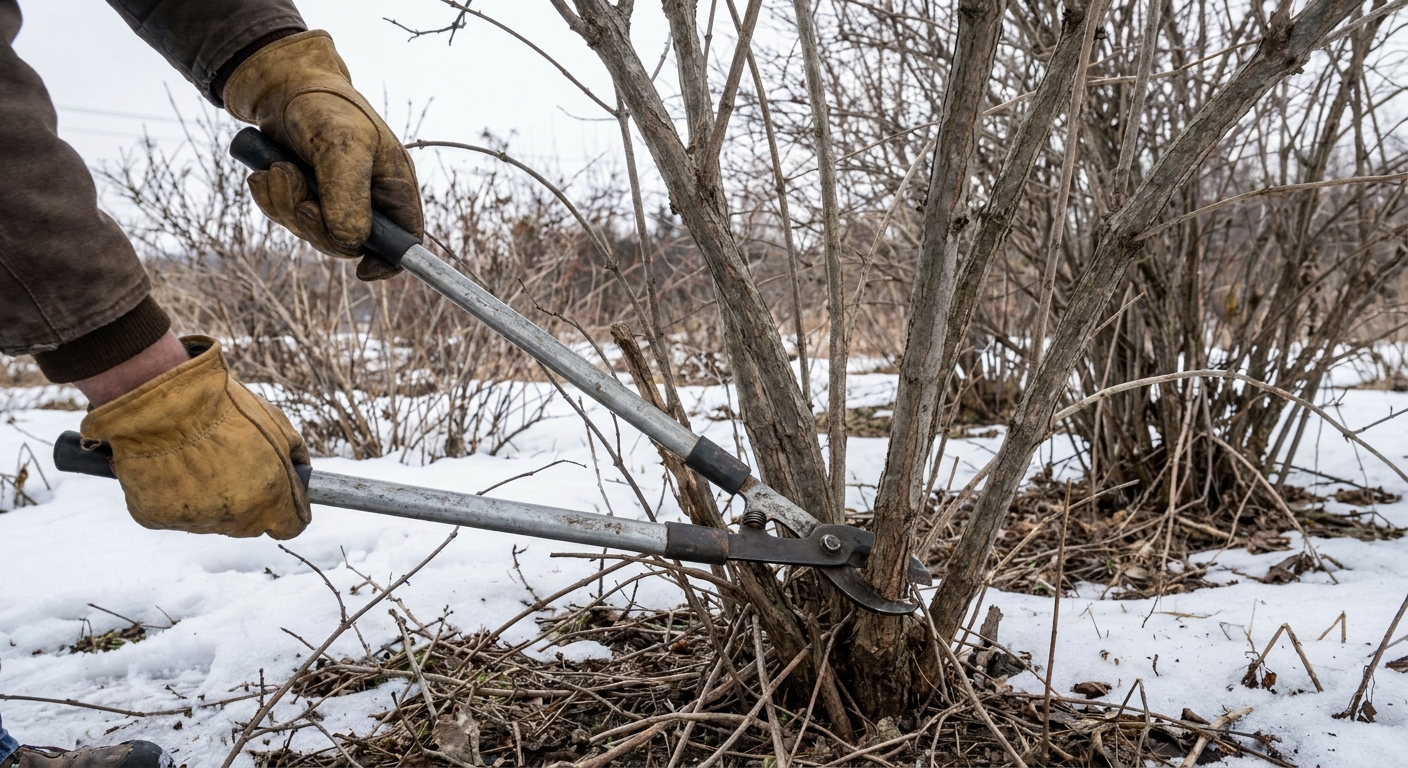
- What it is: Cut all canes down to the ground in late winter or very early spring.
- Why gardeners love it: Keeps shrubs shorter, makes netting easier, and can push impressive berry clusters on fresh growth.
- Trade-offs: Harvest may come a bit later than on older wood in some climates, and you are putting all your eggs in one season of growth.
- Option 2: Renewal pruning (classic shrub style)
- What it is: Each year, remove the oldest canes at the base and keep a rotation of younger canes.
- Why it works: Maintains a steady framework and spreads risk across different cane ages.
When to prune
- Late winter to early spring: The easiest time, before bud break.
- After harvest: Light clean-up is fine, but save major work for dormancy.
A simple renewal plan
- Remove dead, damaged, or crossing canes at the base.
- Remove the oldest canes (often darker, thicker, and more woody). Aim to take out about one third each year once the plant is mature.
- Keep a mix of strong younger canes so the plant is always renewing itself.
- Shorten overly tall canes if needed to keep harvest reachable, cutting back to a healthy outward-facing bud.
How many canes?
For a typical backyard shrub under renewal pruning, keeping roughly 6 to 10 strong canes is a good starting point. More canes means more flowers, but too many can reduce airflow and make disease and harvesting headaches more likely. If you coppice, you are resetting the whole shrub each year, so the “how many canes” question mostly becomes “how many new shoots do I thin to,” and many home growers simply let it fill in and then remove the weakest shoots in early summer.
Bird protection
Birds notice elderberries right about the time you do. If you want berries for yourself, plan ahead, because once the flocks find your shrubs, it can turn into a very efficient buffet.
Best options
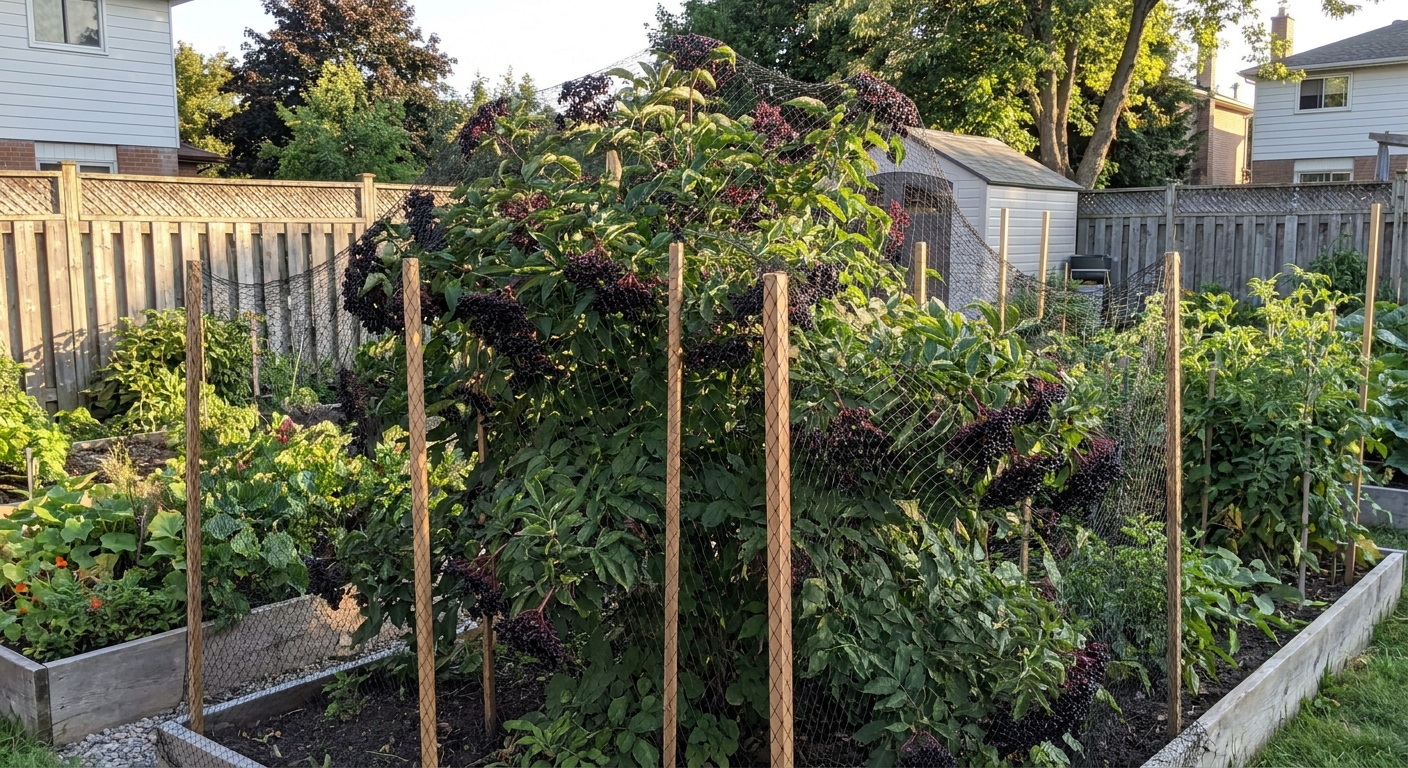
- Netting: The most reliable. Use fine bird netting and secure it at the bottom so birds do not get trapped. Drape it over a simple frame or stakes so it does not tangle in fruit clusters.
- Grow enough to share: With multiple shrubs, you can often harvest plenty even with some wildlife loss.
- Decoys and shiny tape: Can help briefly, but birds often adapt fast.
If netting feels intimidating, start small: net just one or two of your most heavily loaded shrubs so you can learn what works in your yard.
Timing and harvest
Timing is everything with elderberries. You want fully ripe berries, and you want to leave behind the unripe ones. Underripe berries are more likely to cause stomach upset and they do not taste great anyway. Harvest time is usually late summer into early fall, depending on your climate and cultivar.
What ripe looks like
- Color: Deep purple to nearly black (depending on cultivar).
- Cluster: Most berries in the cluster are ripe at the same time.
- Texture: Plump and juicy, not hard.
What to avoid
- Green berries: Leave them. They are not ready.
- Red or pink berries: Still unripe on black-fruiting elderberries.
- Stems and leaves in the harvest: Remove as much as you reasonably can during processing.
The easiest harvest method
Instead of picking individual berries, clip whole clusters. This saves time and reduces bruising.
- Use clean snips or pruners.
- Cut the berry clusters into a clean bucket or basket.
- Keep harvest out of direct sun if you can, especially on hot days.
Flowers: a bonus harvest
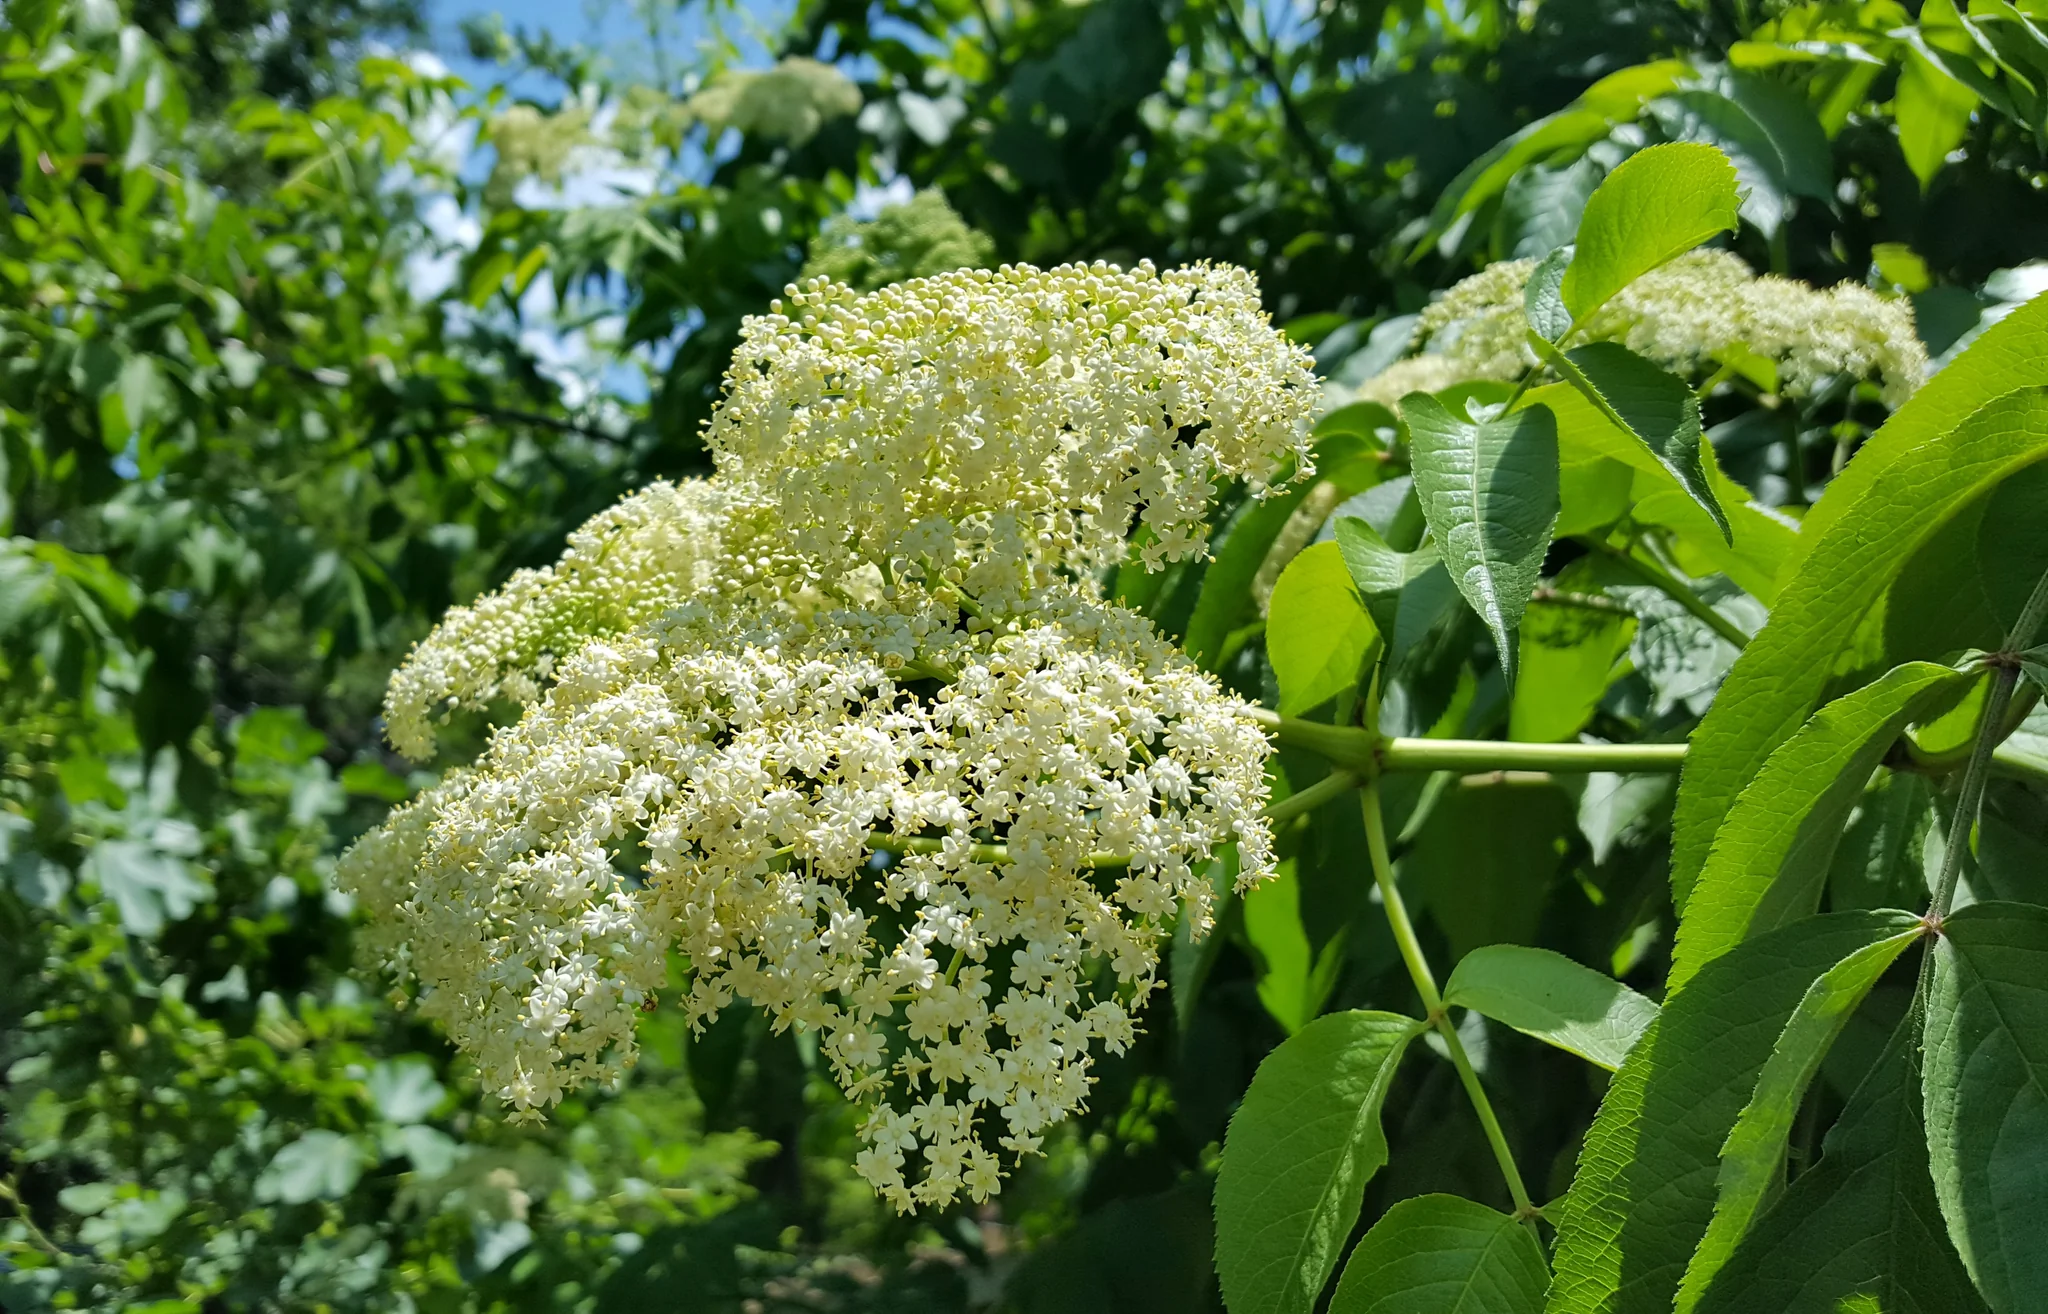
Many gardeners grow elderberries for the flowers as much as the fruit. Elderflowers are commonly used for cordial, tea, and fritters. Harvest flower clusters when most of the tiny blooms are open and fragrant, then use them fresh or dry them for later. As with berries, stick with trusted recipes and avoid consuming green parts or thick stems.
Simple processing and freezing
Elderberries shine when you treat them like a “batch project.” Set aside an hour, put on music, and let it be a cozy kitchen task. Your future self will thank you.
Step 1: Clean and de-stem
Many recipes recommend removing berries from stems because stems can contribute bitterness and are not considered part of the edible harvest. The fastest home method is to chill the clusters first.
- Quick chill: Spread clusters on a tray and freeze 30 to 60 minutes, just until firm.
- De-stem: Run a fork through the clusters over a bowl so berries pop off.
- Rinse: Rinse berries in a colander and pick out stray stems and debris.
Step 2: Freeze for later
- Pat berries dry or let them drain well.
- Spread in a single layer on a baking sheet and freeze until solid.
- Transfer to freezer bags or containers, label with the date, and return to the freezer.
This “tray freeze” method keeps berries from clumping into one giant purple brick.
Step 3: Basic cooking
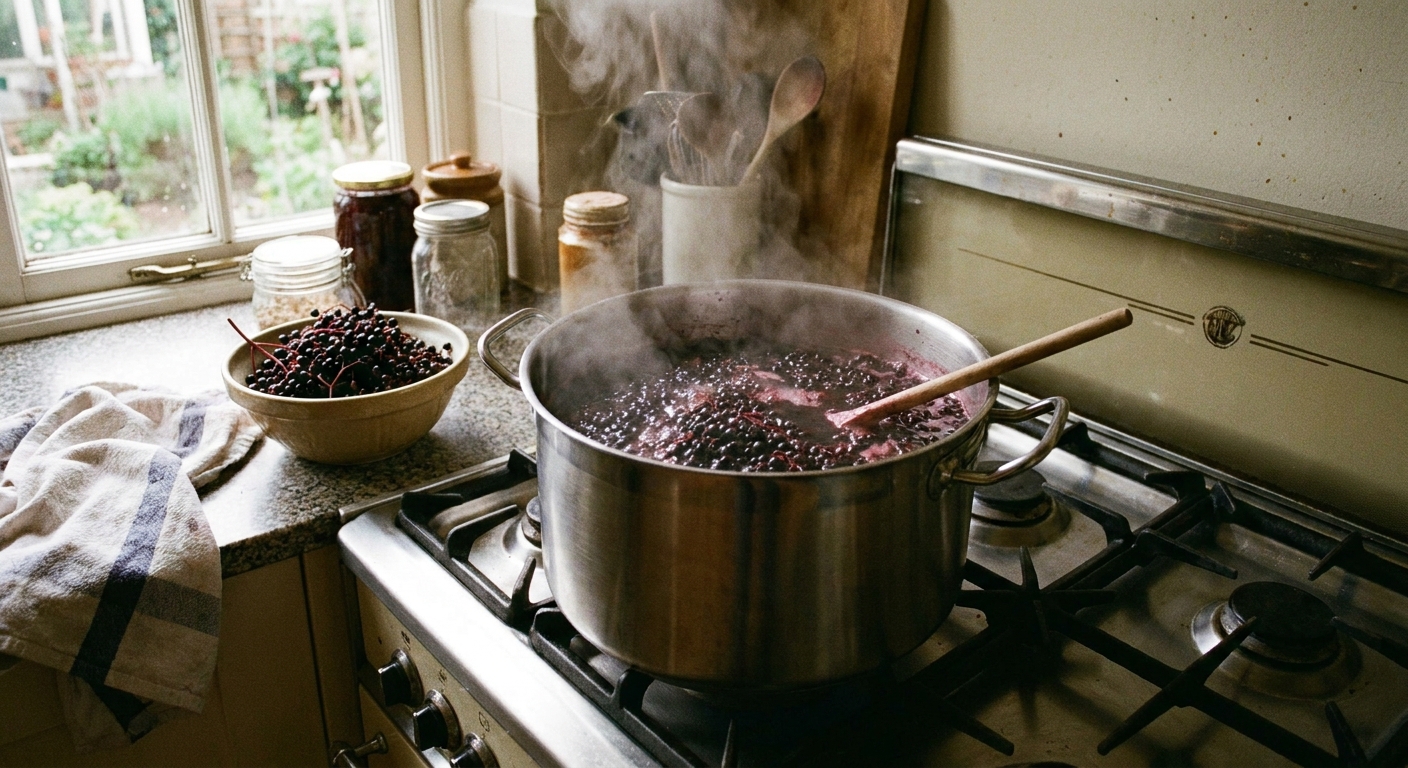
When you are ready to use them, most home preparations begin with simmering berries in a small amount of water to release juice, then straining. Cooking is recommended to reduce the chance of stomach upset. Always follow a trusted recipe for the specific product you are making, especially for canning.
Food safety notes
- Do not eat large amounts raw: Raw berries may cause GI upset. Cooking is recommended for most uses.
- Avoid plant parts: Leaves, bark, and thick stems should not be consumed.
- Use reliable recipes: Especially for shelf-stable canning, follow tested guidelines.
Pests and diseases
Elderberries are fairly tough, but a few common issues can sneak in, especially in crowded or drought-stressed plantings.
- Aphids: Usually cosmetic. Blast off with water or encourage beneficial insects. Avoid over-fertilizing with nitrogen.
- Powdery mildew: More likely with poor airflow. Prune for space, water at the base, and keep mulch refreshed.
- Cane dieback and cankers: Remove and dispose of dead or suspect canes. Clean tools between plants if you are cutting out disease.
- Borers: Keep plants vigorous and remove badly infested canes at the base.
In most home gardens, good airflow, steady moisture, and a tidy pruning routine prevent the majority of problems.
Quick troubleshooting
Lots of flowers, few berries
- Most common cause: no pollination partner or mismatched bloom times.
- Also check: drought stress during bloom, low pollinator activity, or late frost damage.
Big shrubs, tiny harvest
- Too much nitrogen can push leafy growth over fruit.
- Try a different pruning system. Many American types respond beautifully to annual coppicing.
Berries disappear overnight
- Birds. It is almost always birds.
- Use netting early, right as berries begin to color.
Your first season plan
If you are new to elderberries, keep it simple. Plant two compatible cultivars, mulch well, water consistently, and let the shrubs settle in. In year one, you might get a modest harvest or none at all, and that is completely normal. By year two and three, with pollination and pruning dialed in, you will start seeing those heavy clusters that make you feel like you are living beside a tiny, delicious forest.