Echeveria Care for Beginners
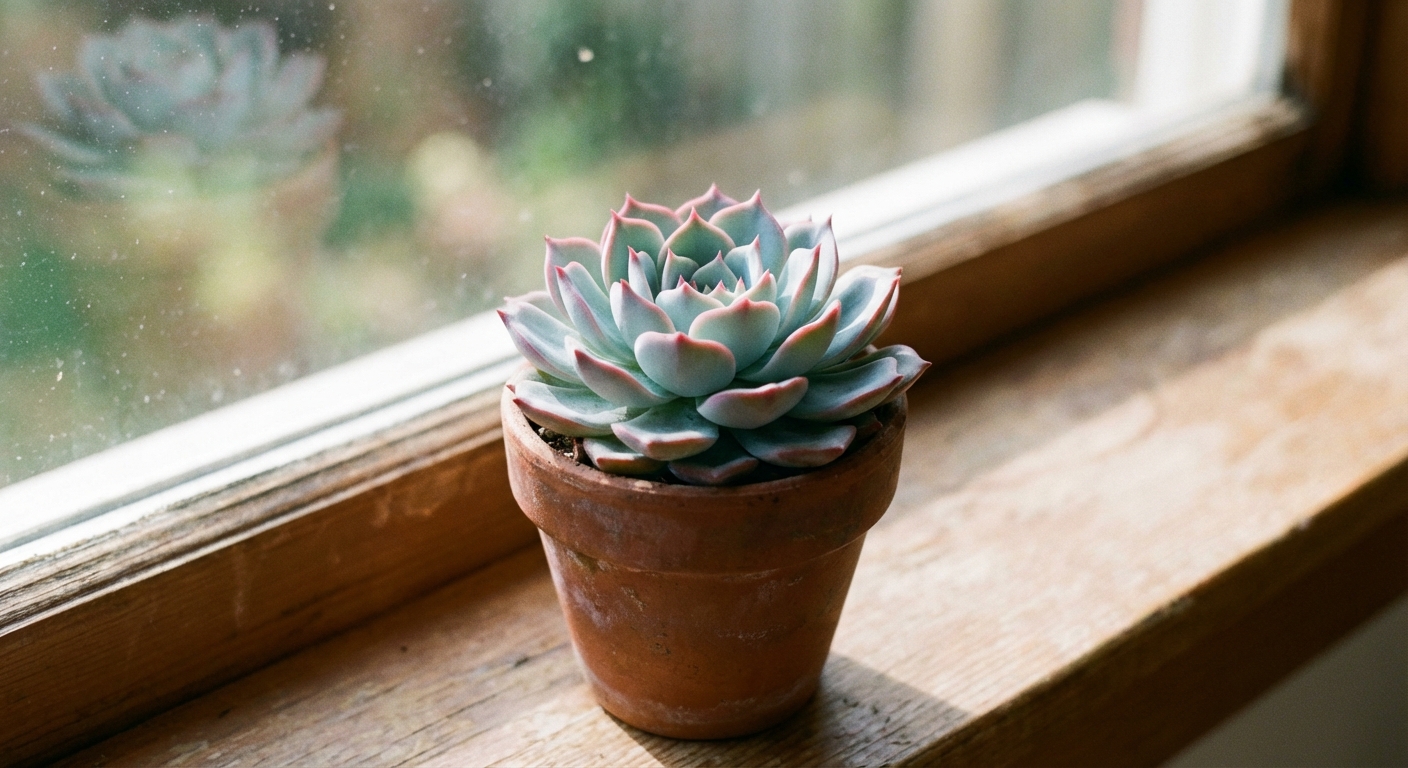
Echeverias are the poster plants of the succulent world for a reason. Those tidy little rosettes look like living flowers, and once you learn their few strong preferences, they are wonderfully low drama. The secret is to copy their native rhythm: bright sun, quick rain, then a long dry spell in gritty soil.
If you have ever felt personally attacked by a succulent that turned into a pale, lanky octopus, you are in the right place. Let’s get your echeveria growing compact, sturdy, and maybe even blushing with color.
Meet echeveria in one minute
Echeveria is a large genus of rosette-forming succulents found mostly in Mexico, with some species reaching into Central America and parts of the southwestern U.S. Their leaves store water, so they hate wet feet, and they love strong light.
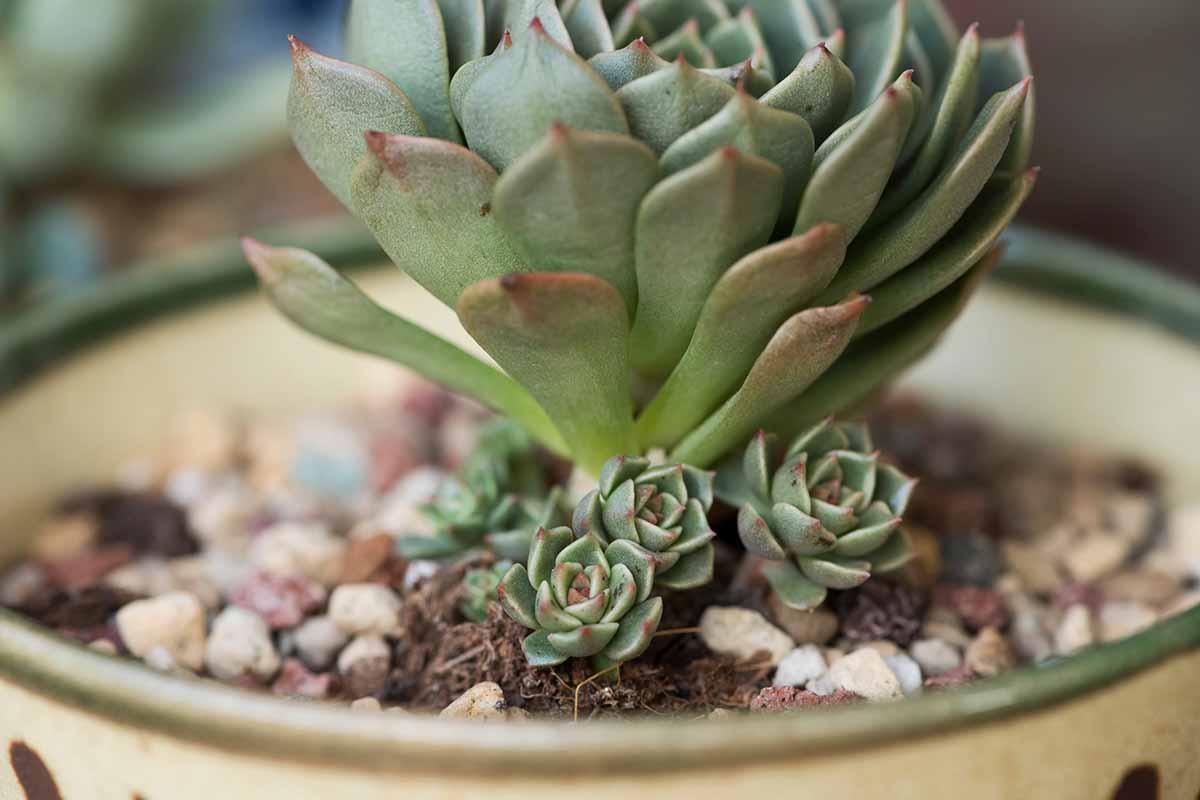
- Growth habit: rosette that may stay low or slowly form a stem with age
- Color: many varieties develop deeper pinks, purples, reds, or blue tones in bright light and cooler temps
- Common beginner win: they tell you what they need if you know what to look for
Light needs: full sun, but build up gently
If you do just one thing for your echeveria, make it this: give it more light than you think. Echeverias prefer full sun outdoors and the brightest window you have indoors, but intensity depends on your climate and your specific cultivar. Thin-leaved types can scorch faster; farina-heavy, powdery types often take stronger sun.
How much light is “enough”?
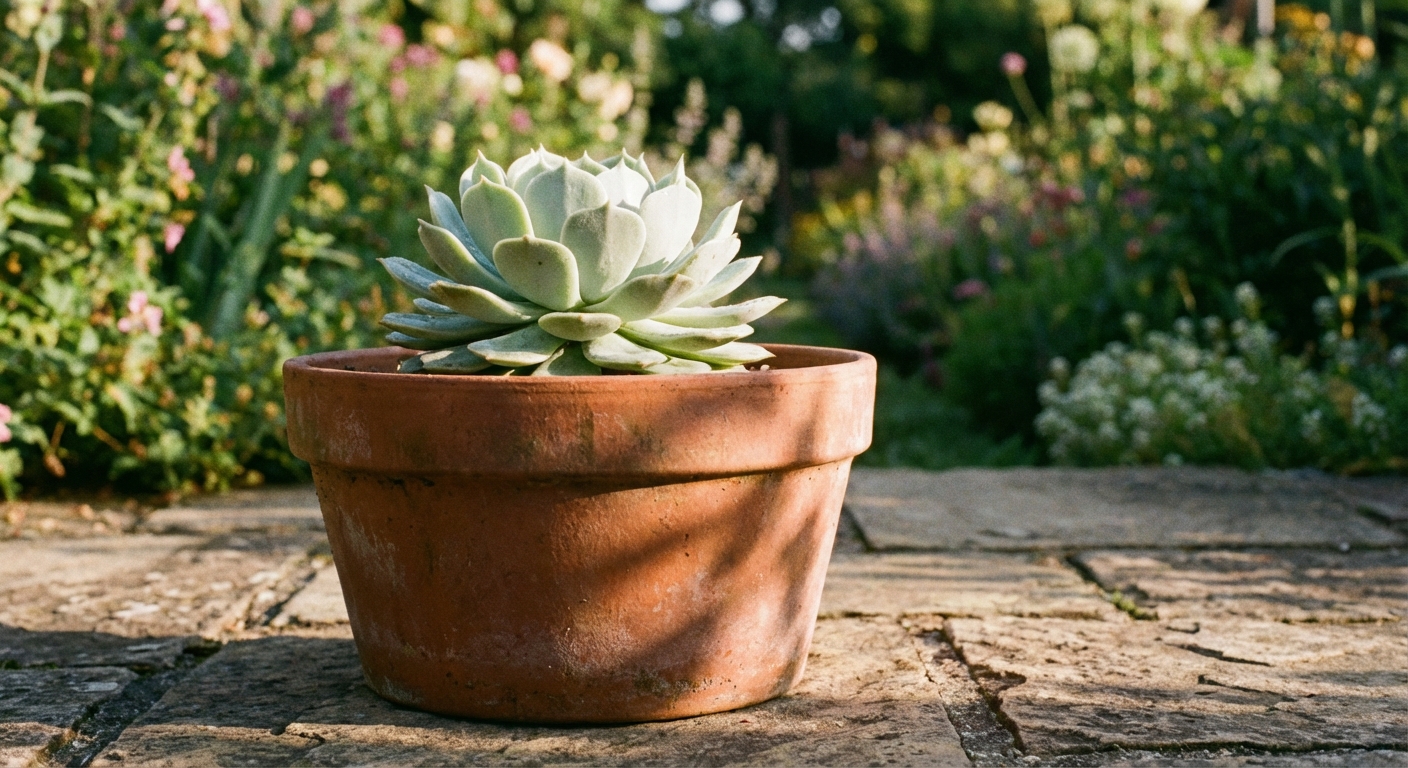
- Outdoors: 6+ hours of direct sun is ideal in many climates. In hot regions (and sometimes even in temperate summers), a little afternoon shade can prevent scorching.
- Indoors: a south or west-facing window is usually best. East can work for some varieties if it is bright and unobstructed.
- Grow lights: a strong LED grow light can keep echeveria compact when natural light is limited. Place close enough to be effective (often 6 to 12 inches, depending on the fixture) and run it 10 to 14 hours daily. If your light provides PPFD guidance, use it. In real life terms, you want “bright enough to stop stretching,” not “vaguely plant-ish lighting.”
Acclimation: avoid sunburn
Moving an echeveria from indoor light to outdoor sun is like sending a pale winter kid to the beach at noon. Increase sun exposure over 7 to 14 days.
- Start with bright shade or 1 to 2 hours of gentle morning sun.
- Add an hour of sun every few days.
- Watch for bleached, tan, or crispy patches, which are sunburn scars.
Sun stress (the good kind)
Many echeverias color up in strong light with slightly cooler nights. This is often called sun stress, and it is not harmful when the plant is otherwise healthy. Think rosy edges and richer tones, not crispy spots.
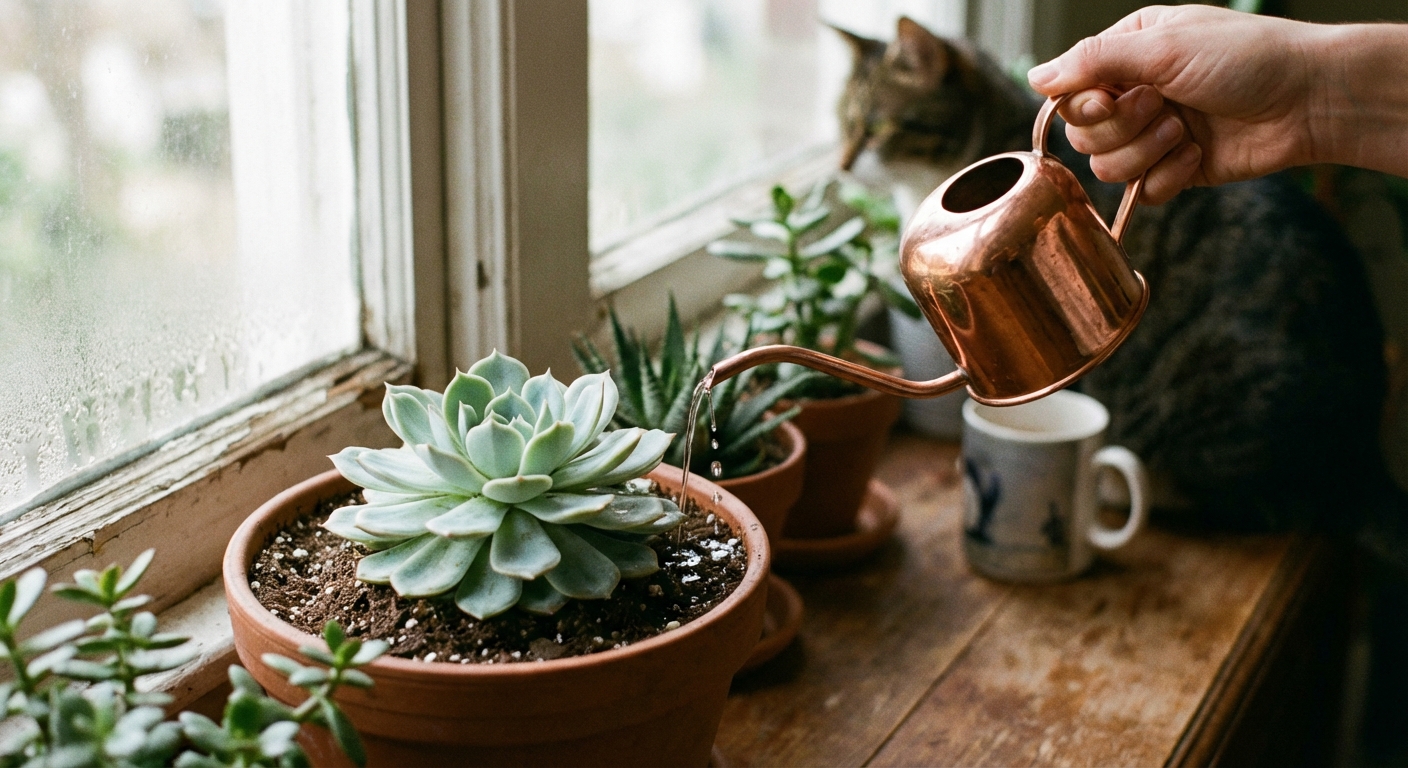
Watering: soak and dry, and keep the rosette dry
Echeverias want a thorough drink, then they want to dry out completely. The most common beginner mistake is frequent small sips that keep the root zone damp.
The soak-and-dry method
- Wait until the soil is fully dry from top to bottom.
- Soak the pot until water runs freely out of the drainage hole.
- Drain completely. Never leave the pot sitting in a saucer of water.
- Repeat only when the soil dries again.
How often should you water?
There is no universal schedule because light, pot size, soil mix, and season change everything. Use these as rough starting points, then let your plant and soil do the talking:
- Bright summer growth: every 7 to 14 days is common indoors, sometimes more often outdoors in heat if the mix is very gritty.
- Winter indoors: every 3 to 5 weeks is common when growth slows and light is weaker.
My cheat: lift the pot. When it feels noticeably lighter, it is usually close to watering time. Bonus cue: if lower leaves are just starting to feel a little less firm (not mushy), and the soil is bone dry, you are in the watering window.
Water placement: avoid the “cup”
That tight rosette can trap moisture. If water sits in the crown, especially in cool or low-light conditions, it can lead to rot.
- Water at the soil line, not into the rosette.
- If water splashes into the center, tip the plant gently and dab with a paper towel.
- Good airflow is your friend.
Signs you are underwatering vs overwatering
- Underwatering: lower leaves wrinkle and feel thin, soil bone dry, plant still firm overall
- Overwatering: leaves turn translucent or mushy, rosette feels loose, soil stays wet, sudden leaf drop from the bottom
Rain reality check
Outdoor echeverias love sun. Prolonged rain, not so much. If your area gets multiple wet days in a row, move potted plants under cover (porch, eaves, greenhouse shelf). Cold rain plus soggy soil is basically rot speed-dating.
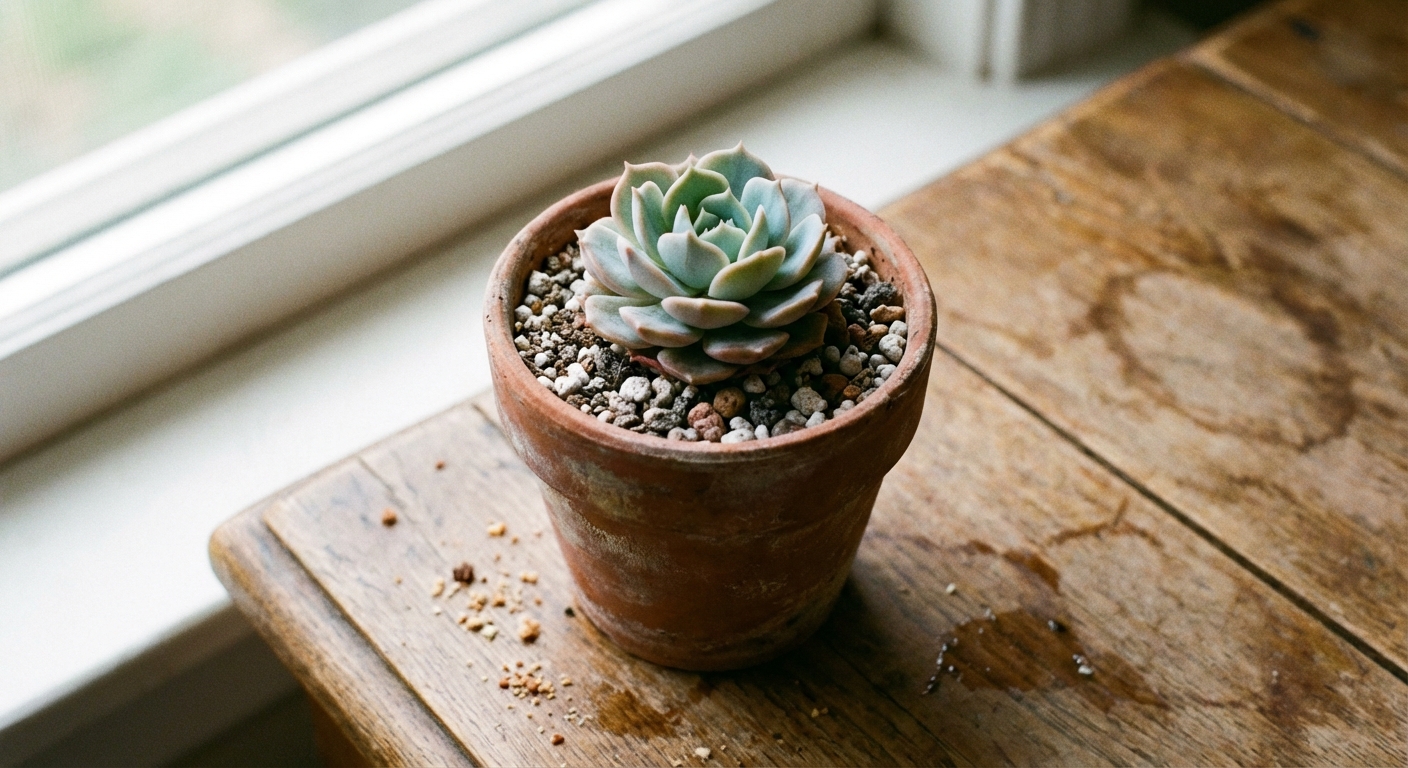
Soil requirements: gritty, fast-draining, and not too rich
Echeverias are not impressed by fluffy, moisture-holding potting soil. They want air around their roots and quick drainage.
The best soil mix for beginners
A simple, reliable recipe:
- 50% cactus or succulent mix
- 50% mineral grit (pumice, perlite, crushed lava rock, or coarse horticultural sand)
If your home is humid or your light is lower, lean even grittier. If you keep plants outdoors in hot, dry sun, you can use a little more organic material for moisture balance.
Pot choice matters
- Drainage hole required. Non-negotiable.
- Terracotta helps the mix dry faster and is great for heavy-handed waterers.
- Choose a pot only slightly larger than the root ball. Oversized pots stay wet longer.
Feeding: light snacks, not a buffet
Echeverias do not need much fertilizer, but a tiny boost during active growth can help steady, healthy leaves.
- When: spring through summer, when the plant is actively growing
- What: a balanced succulent or cactus fertilizer
- How: dilute to 1/4 to 1/2 strength and apply after watering (never on bone-dry roots)
- Skip it: in winter, during heat waves when growth stalls, or if the plant is stressed or freshly repotted
Overfertilizing can push soft, weak growth that stretches easier. If you are chasing a tight rosette, go easy.
Temperature and seasons
Echeverias like it warm and bright, and most do not tolerate frost.
- Ideal range: about 65 to 80°F (18 to 27°C)
- Can handle: many can handle short dips into the 40s°F (4 to 9°C) if kept dry, but this is species and cultivar dependent and growth slows
- Frost: damages leaves and can kill the plant. Bring indoors before freezing nights.
Indoor winter tips
- Give your brightest light and rotate weekly for even growth.
- Water less often. Cold plus wet is the fastest route to rot.
- Keep leaves from touching icy window glass.
Outdoor summer tips
- In extreme heat, protect from harsh late-afternoon sun, even once acclimated.
- Expect faster drying, especially in terracotta and gritty mixes.
Repotting: timing and basics
Repot when the mix breaks down, the plant is top-heavy, or roots are packed. For most homes, every 1 to 2 years is plenty.
- Best time: spring or early summer, when growth is picking up
- After repotting: keep the plant dry for a few days (especially if roots were disturbed), then resume soak-and-dry
- Root check: trim any black, mushy roots with clean scissors and let the plant sit out briefly to dry before potting
Propagation: leaves and offsets (the fun part)
Echeverias are wonderfully generous once you get the hang of it. Propagation works best during active growth in brighter seasons.
Propagating echeveria from leaves
- Pick the right leaf: choose a healthy, plump leaf from the lower rosette.
- Remove cleanly: gently wiggle until the leaf releases with its base intact. A torn leaf base often fails.
- Let it callus: set the leaf in bright shade for 2 to 5 days until the end dries.
- Place on dry mix: lay it on top of gritty soil. Do not bury the leaf.
- Wait for roots and pups: in a few weeks, you may see tiny roots and a baby rosette.
- Water lightly only after roots appear: misting is often overdone. I prefer occasional small sips near the roots, not on the leaf.
- Pot up when sturdy: once the baby rosette is about the size of a coin and has roots, you can plant it.
Not every leaf will take, even for experienced growers. Propagation is gardening’s little reminder to stay humble and try again.
Propagating from offsets (pups)
This is the easiest method when your plant makes babies at the base.
- Gently unpot and brush away soil to see where the offset connects.
- Use clean scissors or a knife to separate, keeping some roots if possible.
- Let the cut end callus for 1 to 3 days.
- Plant in dry gritty mix, then wait about a week before watering.
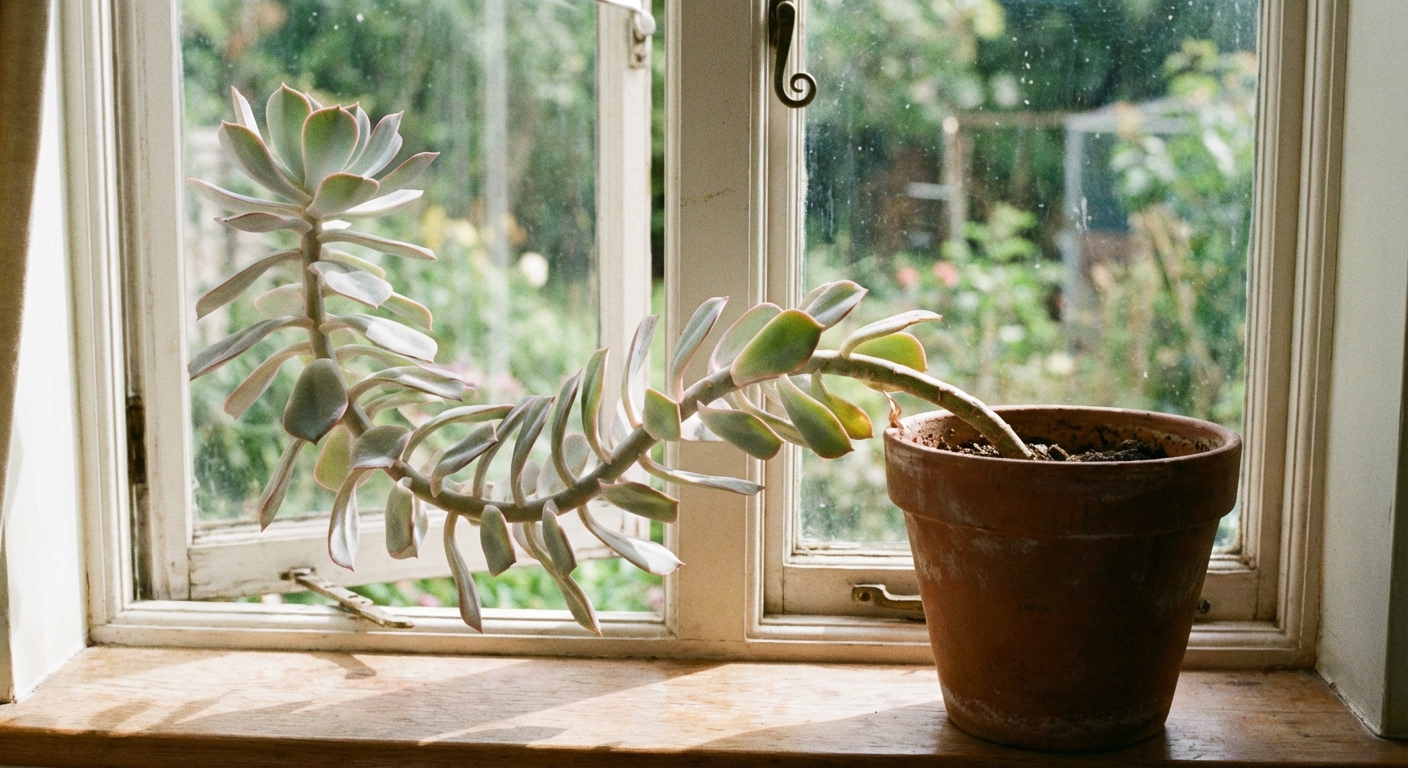
Stop etiolation (stretching)
Etiolation is when an echeveria stretches toward light, creating a longer stem, wider leaf spacing, and a looser rosette. It is the most common beginner issue, and it is almost always a light problem.
What it looks like
- Rosette opens up like a tired starfish
- Stem lengthens and the plant leans
- Leaves become thinner and paler
How to fix it
- Increase light: move to a brighter window, clean the glass, remove sheer obstacles, or add a grow light.
- Rotate weekly: a quarter turn keeps growth even.
- Mind watering: low light plus frequent watering speeds up weak growth.
Can it become compact again?
The stretched stem will not shrink, but you can absolutely reset the look.
- Behead and reroot: cut the rosette with 1 to 2 inches of stem, let it callus for several days, then place in dry gritty mix. Water lightly only after roots form.
- Keep the stump: the remaining stem often produces offsets, giving you bonus plants.
Common problems and quick fixes
Leaves dropping from the bottom
- Normal: occasional lower leaves dry up as the plant grows.
- Not normal: lots of leaves falling while still plump can point to overwatering or low light.
Powdery coating rubbing off
Many echeverias have a natural waxy bloom called farina. It protects the plant from sun and water sitting on the leaf. Try not to touch the leaves too much because fingerprints can permanently mark the farina.
Pests
Mealybugs are the usual suspects, but keep an eye out for scale, aphids on flower stalks, and spider mites in hot, dry indoor air.
- Inspect: check leaf joints and the underside of leaves.
- Quarantine: isolate new plants for a couple of weeks if you can.
- Treat: dab mealybugs with isopropyl alcohol on a cotton swab and repeat weekly until gone. For bigger outbreaks, an insecticidal soap or a succulent-safe systemic may be needed.
Rot
Rot usually starts with a soggy crown or roots. If the center turns mushy, your best move is often to save healthy leaves for propagation and adjust light, soil, and watering for the next round.
A simple care routine
- Daily: glance at the rosette. Is it reaching or staying tight and centered?
- Weekly: rotate the pot and check soil dryness with a finger or skewer.
- When dry: water deeply at the soil line, then drain completely.
- Seasonally: increase light in winter, acclimate slowly in spring, repot in spring if needed, and refresh gritty soil every year or two if it breaks down.
If you remember nothing else, remember this: bright light plus dry roots makes an echeveria happy. The rest is just fine-tuning, and you are allowed to learn as you go. I have talked plenty of succulents into forgiving me, and your echeveria will probably do the same.