Dendrobium Orchid Care
Dendrobium orchids are the kind of plant that make you stop mid-grocery run and stare. Tall canes, tidy leaves, and blooms that look like they were painted on with a tiny brush. They also have a reputation for being fussy, which I’d like to gently retire. Most Dendrobiums are predictable once you understand one big truth: they store water and energy in their canes, so they like a wet-to-dry rhythm rather than constantly damp roots.
Below, I’ll walk you through the most common Dendrobium “types” sold as houseplants, how to tell what you’ve got, and exactly what to do week to week so it stays plump, rooted, and blooming.
Quick caveat: Lots of store-bought Dendrobiums do fall into two main care groups, but not all. If your blooms are twisted like little antelope horns, or the label says Latouria (or “antelope type”), care can vary a bit, especially for light and temperature.

Know your Dendrobium type
There are many species in the Dendrobium genus, but many plants you’ll see in shops fall into two practical care groups. You don’t need the exact species name to care well, but you do want to know which group you’re closest to because it affects watering and how you trigger rebloom.
Phalaenopsis type (evergreen) Dendrobium
Often labeled as “Den Phal” or just “Dendrobium.” These keep their leaves on the canes year-round and usually don’t need a true cold, dry winter rest to bloom. That said, they often bloom best with bright light and a mild night temperature drop in late summer and fall.
Nobile type (deciduous or semi-deciduous) Dendrobium
Often labeled “Dendrobium nobile.” These can drop some leaves in fall or winter and commonly bloom along older canes. Many nobile types bloom best after a brighter, cooler period with less water in late fall and winter.
Quick visual clues:
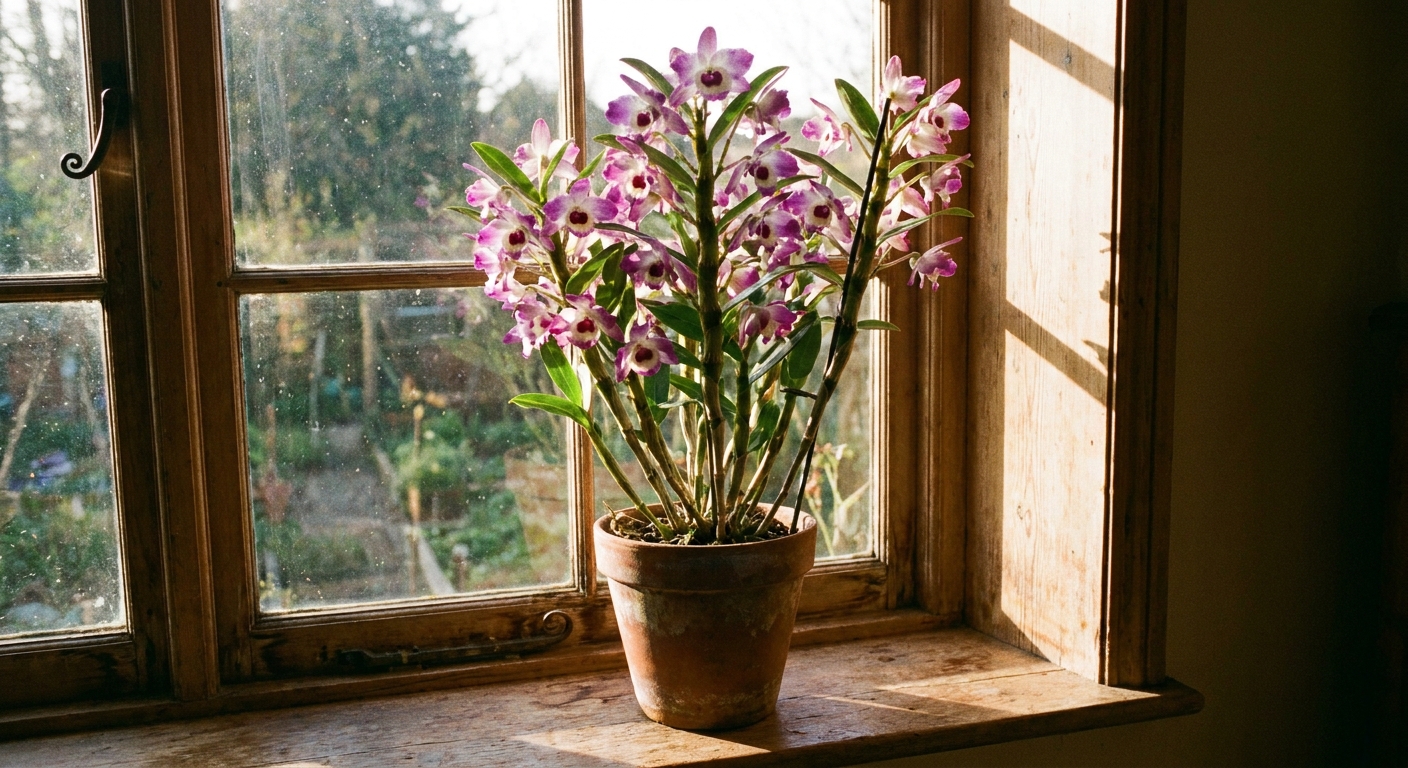
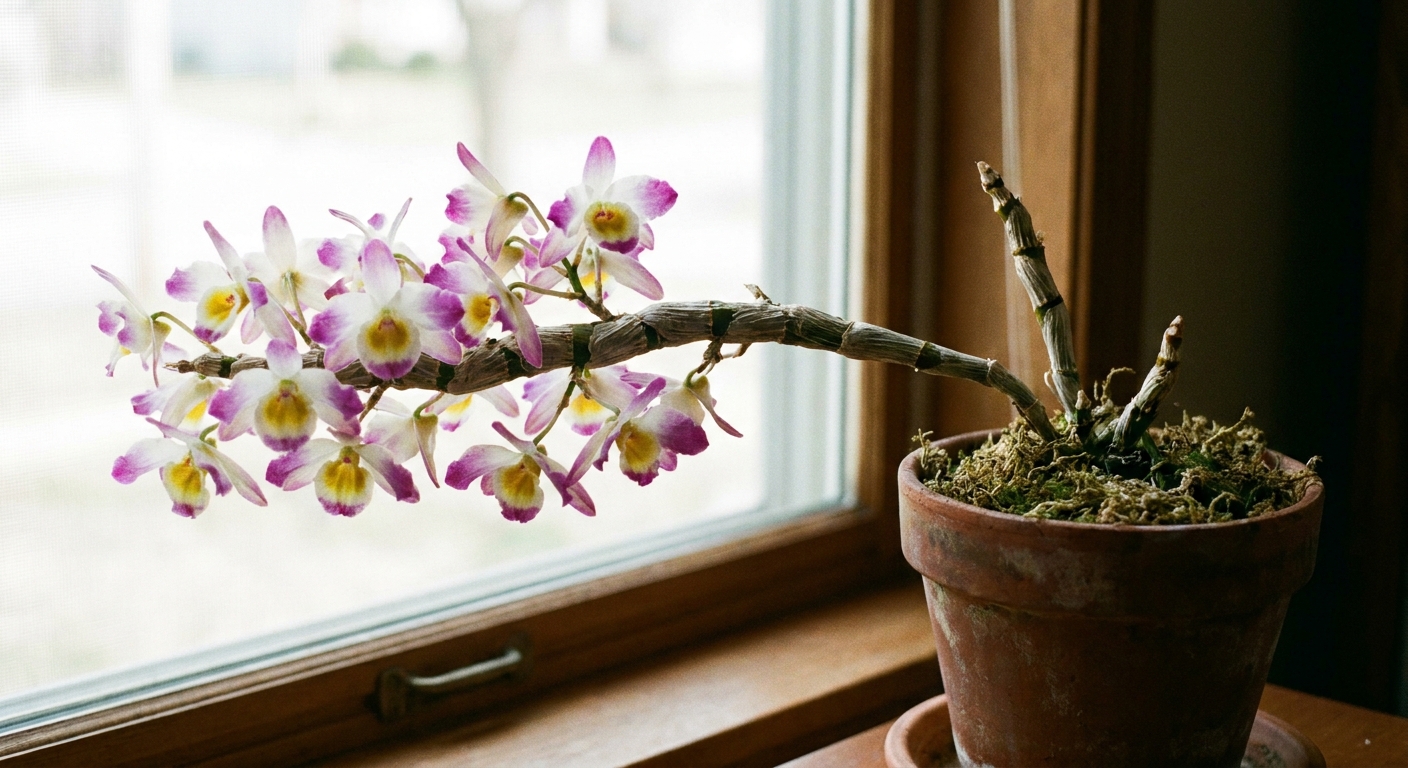
- Den Phal: thick canes with leaves mainly near the top and sides, blooms often on tall stems near the cane tips.
- Nobile: canes tend to be a bit more reed-like, leaves spaced along the cane, flowers appear from nodes along the length of older canes.
Light
If I could only give one piece of Dendrobium advice, it’d be this: give bright light. Many orchids survive in medium light. Dendrobiums tolerate it, but they rarely bloom well there.
- Best window: East is a sweet spot. South can work if you soften harsh midday sun with a sheer curtain. West can be intense in summer, so watch for leaf scorch.
- Target: bright, indirect light with a few hours of gentle sun.
- Signs of too little light: dark green leaves, long weak growth, no flower spikes.
- Signs of too much light: yellowing that looks bleached, crispy patches, leaves that feel hot to the touch.
A little leaf color nuance helps. Many Dendrobiums look happiest with medium green leaves, not deep forest green.
Watering
Dendrobiums like thorough watering followed by airflow and drying. Their roots want oxygen as much as moisture. “A little sip every day” is usually what causes root trouble.
One rule that beats every schedule: let dryness, not the calendar, decide. Light, heat, pot size, and media change everything.
How to water (my reliable method)
- Check first: lift the pot. If it feels light and the mix is mostly dry, it’s time.
- Soak: run room temperature water through the pot for 20 to 30 seconds, or soak the pot in a bowl for 10 minutes if the mix has become hydrophobic.
- Drain completely: no standing water in the cachepot or saucer.
- Wait: water again only when the mix is almost dry.
Small but important: skip ice cubes. They don’t soak evenly, and cold water against tropical roots is not the vibe.
How often?
It depends on light, temperature, and potting media, but here are realistic ranges for indoor plants in bark:
- Spring and summer: every 4 to 7 days, sometimes more often in bright light and warmth.
- Fall and winter: every 7 to 14 days for Den Phal types. For nobile types, you’ll often reduce further during their rest period.
If you’re growing in moss, in a cool room, or in lower light, those intervals can stretch. Always check the mix and roots.
Healthy hydration cue: canes should feel firm. Slightly pleated canes usually mean the plant is using reserves faster than the roots are supplying water, often from underwatering, root loss, or very dry air.
Also: avoid letting water sit in leaf axils for hours, especially in cooler weather. Good airflow helps, and watering earlier in the day is a simple fix.
Humidity and airflow
Dendrobiums enjoy moderate humidity, but they hate stagnant air. Think “breezy greenhouse,” not “steamy bathroom with no ventilation.”
- Ideal humidity: 40 to 60 percent is great for most homes.
- If your air is dry: group plants together, run a small humidifier nearby, or place the pot on a pebble tray with water kept below the pot bottom.
- Airflow: a gentle fan across the room helps prevent fungal issues, especially if you mist. If you do mist, do it early in the day so leaves dry before night.
Temperature
Most Dendrobiums sold as houseplants are comfortable at typical indoor temperatures.
- Daytime: 68 to 80°F (20 to 27°C)
- Night: 60 to 68°F (16 to 20°C)
For nobile types: a cooler, brighter stretch in late fall can encourage buds. Many bloom best with cooler nights somewhere around 45 to 60°F (7 to 16°C), depending on the hybrid and your light levels. Aim for what you can manage safely, and avoid freezing temperatures.
Potting mix and pots
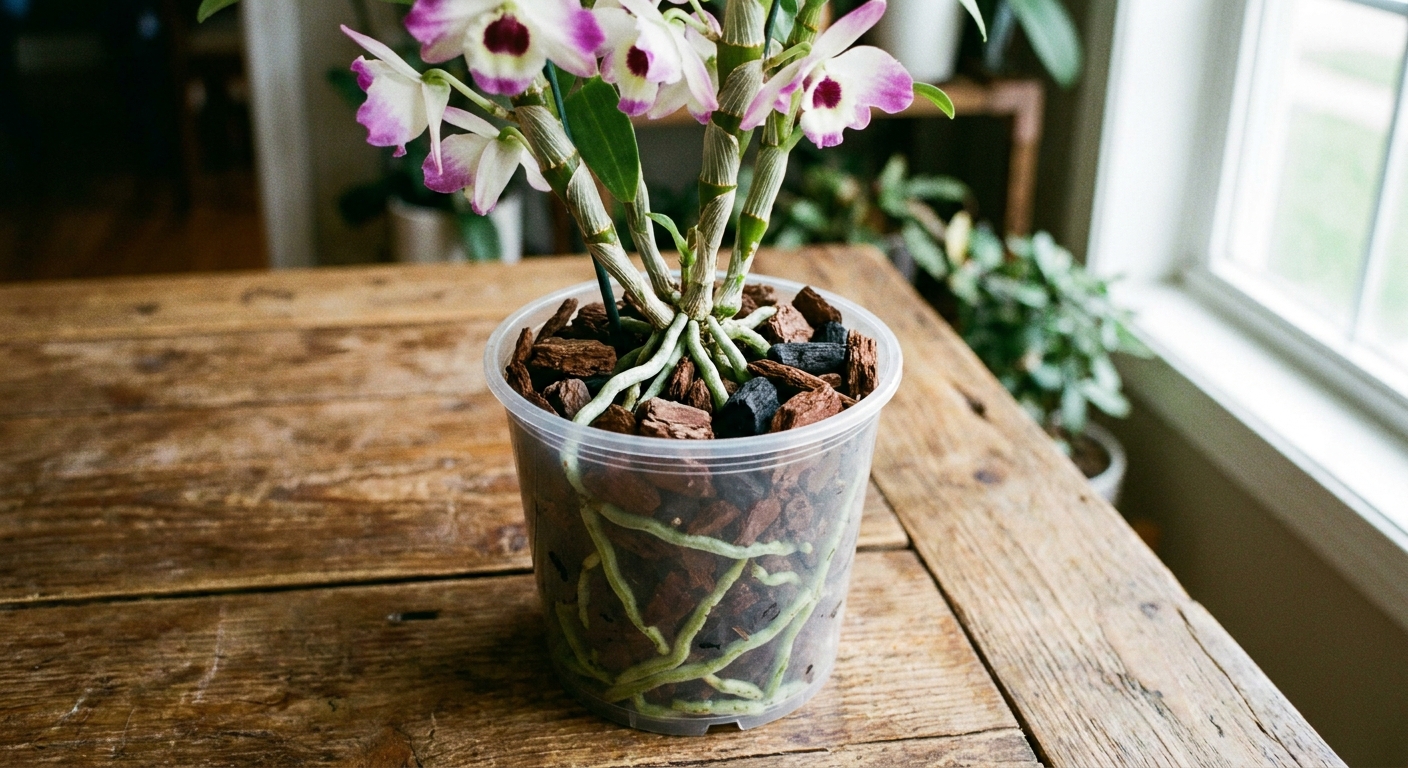
Dendrobiums are epiphytes in nature, clinging to trees with roots that dry quickly. Your goal is to mimic that with an airy mix.
Best potting media
- Medium orchid bark is the classic choice.
- Add-ins: perlite, charcoal, or a little sphagnum moss to fine-tune moisture retention.
- Avoid: regular potting soil. It stays too wet and suffocates orchid roots.
Pot choice
- Clear plastic orchid pots make it easy to see root health and moisture level.
- Clay pots dry faster and can be great if you tend to overwater.
- Drainage: non-negotiable. Extra side holes are a bonus.
Fertilizer
Dendrobiums grow best with regular, diluted fertilizer during active growth. The canes and leaves you grow this season help set up future blooms.
- When: spring through early fall, or whenever you see new roots and fresh growth.
- How much: a balanced orchid fertilizer at one quarter to one half strength.
- Frequency: every 2 weeks is an easy rhythm, or weekly at very low strength.
- Flush: once a month, water thoroughly with plain water to rinse out salts.
Winter note: many growers reduce feeding in winter when growth slows. For nobile types in rest, pause fertilizer until new growth resumes.
Repotting
Orchids aren’t like houseplants that want fresh mix on a schedule just because. Repot when the mix breaks down, roots are overcrowded, or the plant is unstable in the pot.
Best time
Right as new roots begin to grow, often in spring or early summer. Repotting into fresh mix when the plant is pushing new roots helps it reestablish quickly.
Simple steps
- Slide the plant out and gently remove old bark.
- Trim mushy, hollow, or black roots with sterilized snips. Healthy roots are firm.
- Choose a pot only slightly larger than the root mass.
- Hold the plant so the base sits at the same height as before and fill around roots with bark mix.
- Wait 3 to 5 days before watering if you trimmed many roots, giving cuts time to dry.
Reblooming
This is the part that makes people swear they’ve got a “black thumb,” so let’s make it straightforward. Blooming is usually about light first, then seasonal cues.
For Den Phal types
- Increase light in late summer and fall.
- Keep a steady routine with watering and light feeding during growth.
- Look for spikes emerging near the tops of mature canes.
- Helpful extra: a mild night drop can make a difference even if you don’t change much else.
For nobile types
“Rest period” sounds dramatic, but it’s really a gentler, drier season.
- Bright light in fall and cooler nights help.
- Reduce watering once growth hardens off, usually late fall. Think: water lightly and less often, just enough to prevent severe cane shrivel. You’re aiming for “not bone dry,” but definitely drier than summer.
- Hold back fertilizer during the rest period.
- Resume watering gradually when buds or new growth appear.
Important: don’t cut old canes just because they aren’t blooming now. Dendrobiums store energy in those canes, and many will rebloom from older canes or use them to fuel new ones.
After bloom care
Once flowers fade, you can trim the spent flower stem back to where it emerged. Leave the canes unless they’re fully brown and dead.
- Green canes: keep them. They still photosynthesize and store energy.
- Yellowing cane with firm texture: usually aging, still useful. Leave it.
- Brown, shriveled, papery cane: you can remove it at the base.
Keikis
Dendrobiums love to surprise you with keikis, which are baby plants that pop out along a cane.
- When to leave it: if it’s small, let it grow. The mother plant can support it for a while.
- When to separate: once it has several roots that are a few inches long (often around 2 to 3 inches), you can gently twist it off or cut it with sterilized snips.
- How to pot it: small pot, airy mix, slightly more even moisture at first, and bright, gentle light.
Troubleshooting
Wrinkled canes
- Most common causes: underwatering, very low humidity, or roots damaged by overwatering.
- What to do: check roots. If roots are healthy, increase watering frequency slightly and consider a small humidity boost. If roots are compromised, repot into fresh airy mix and return to a soak-and-dry rhythm.
Yellow leaves
- Normal: an occasional older leaf yellowing and dropping.
- Not normal: many leaves yellowing quickly, especially with soggy mix.
- What to do: confirm drainage, check for root rot, and move to brighter indirect light if the plant is in a dim spot.
Bud blast (buds shrivel and drop)
- Common triggers: sudden temperature swings, dry air, moving the plant, or inconsistent watering.
- What to do: keep conditions steady, avoid cold drafts, and maintain even moisture while buds develop.
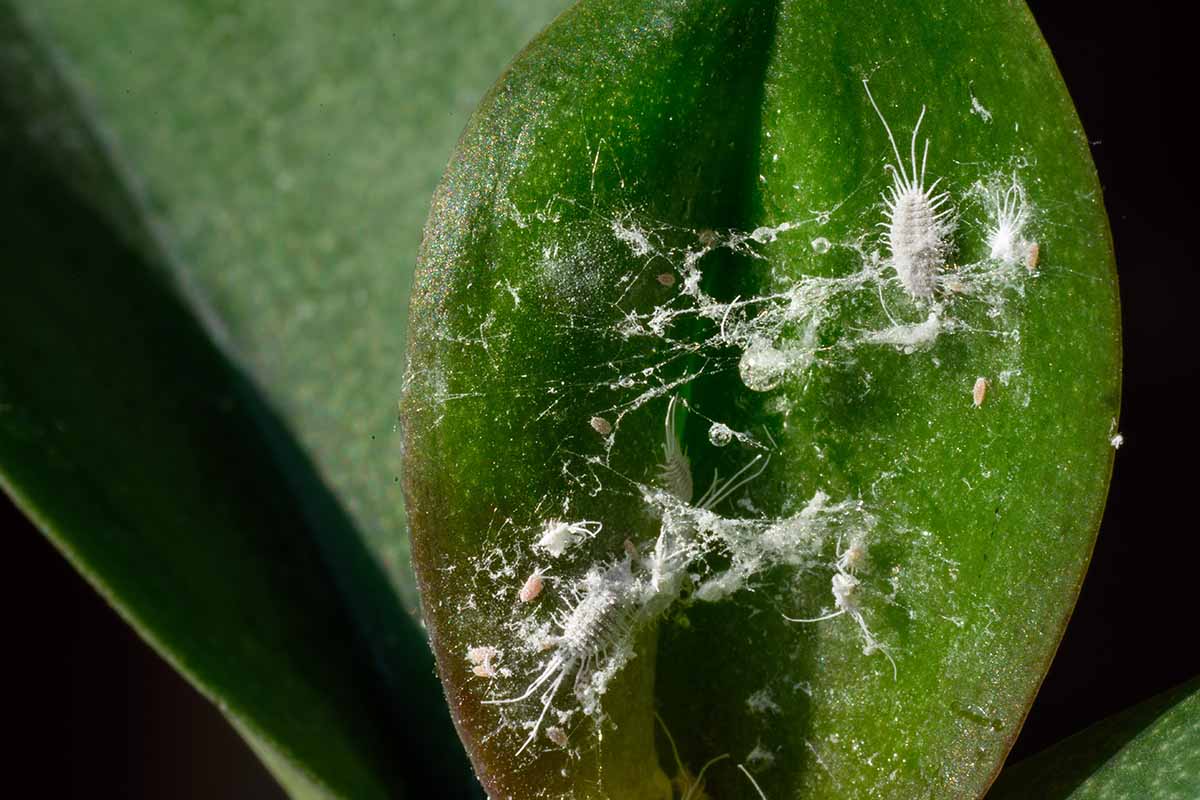
Sticky spots
This can be nectar from blooms, which is harmless, or it can be pests. Check leaf undersides and cane nodes.
- Look for: scale (little bumps), mealybugs (cottony clusters), or aphids.
- What to do: isolate the plant and wipe pests with cotton swabs dipped in isopropyl alcohol. Test a small area first, and try not to drip alcohol into the potting mix. Repeat weekly until gone. Increase airflow and inspect nearby plants.
Pet safety
Orchids are generally considered non-toxic to cats and dogs, but curious pets can still chew leaves or bark and end up with stomach upset. If your cat thinks every plant is a salad bar, put your Dendrobium where it can bloom in peace.
Weekly routine
If you like a simple routine you can actually stick to, here’s the one I recommend for most Den Phal type Dendrobiums indoors:
- Once a week: check moisture, water thoroughly if nearly dry, rotate the pot a quarter turn for even growth.
- Every 2 weeks (growing season): fertilize at low strength.
- Monthly: flush with plain water and inspect for pests.
- Seasonally: move closer to brighter light in fall and winter, and consider a slightly cooler night spot if you’re trying to trigger blooms.
If you tell me what your plant label says (or share a photo of the canes and blooms), I can help you ID whether it’s closer to Den Phal, nobile, or an antelope or Latouria type and fine-tune your rebloom plan.