Daylily Care: Division, Deadheading, and Reblooming
Daylilies are the kind of perennial that make you feel like a gardening genius. They bounce back from heat, tolerate a bit of neglect, and still throw a cheerful parade of blooms. But if you want more flowers, sturdier clumps, and those coveted reblooming waves, the secret is simple: good siting, smart dividing, and a little tidy-up after the show.

Let’s walk through what daylilies need and how to handle division, deadheading, and reblooming without turning it into a fussy chore.
Daylily vs. Lily
Daylilies (Hemerocallis) and true lilies (Lilium) share a name and a certain elegant vibe, but they are botanically different and they behave differently in the garden.
How to tell them apart
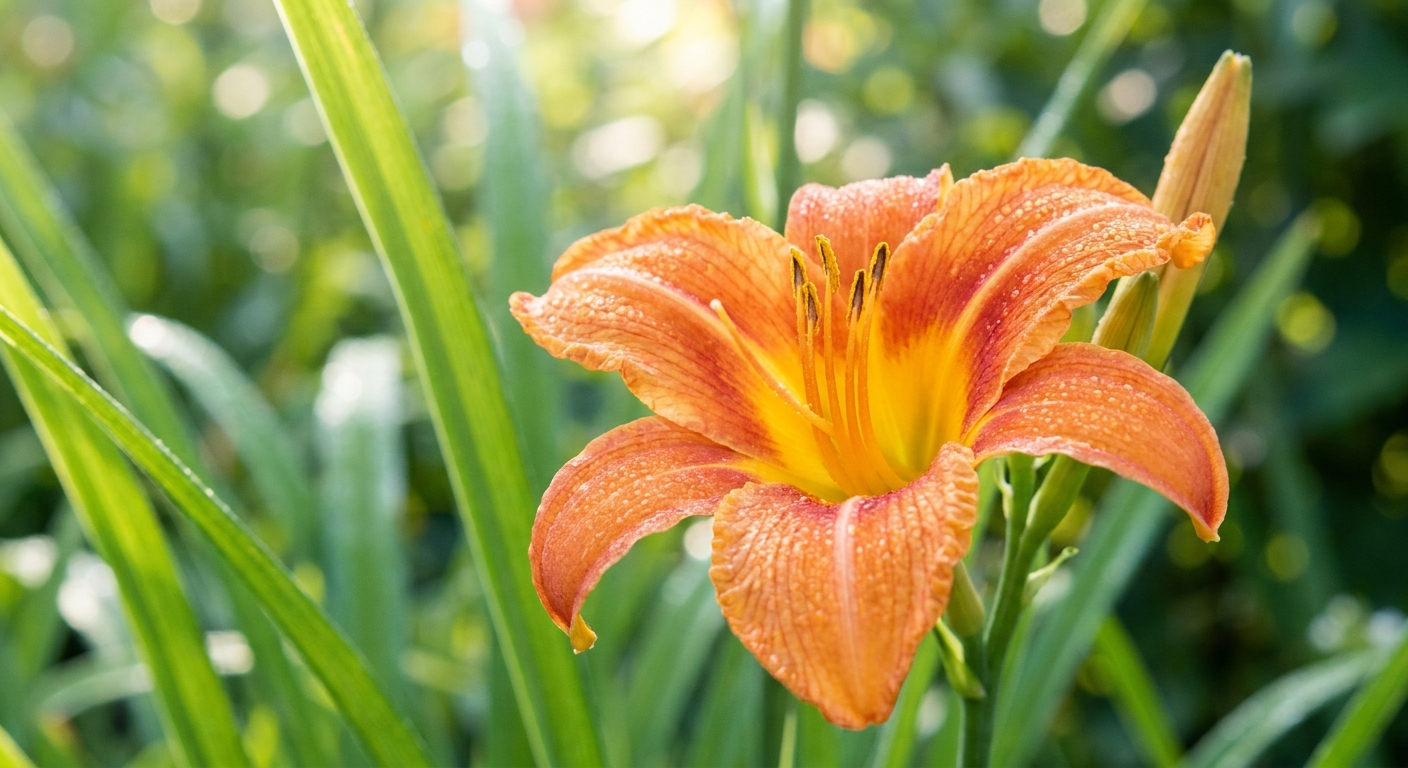
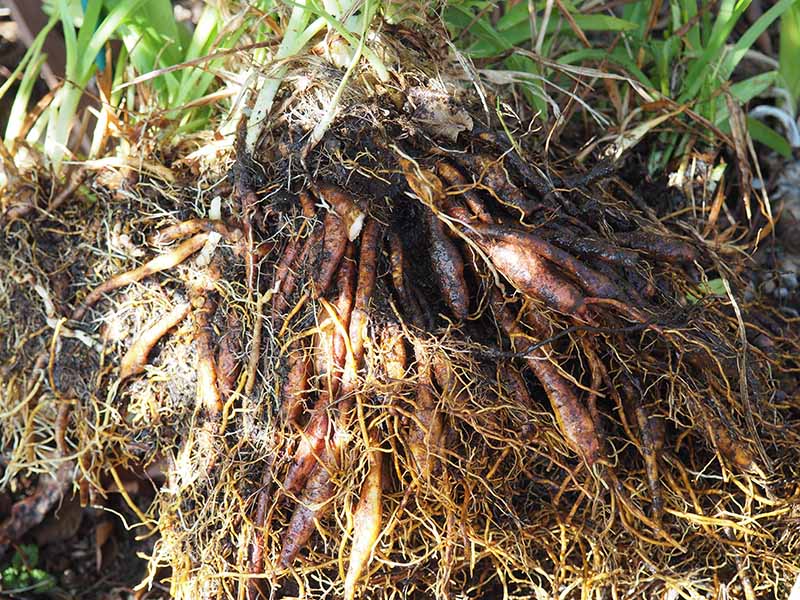
- Daylilies grow from fleshy roots and form clumps of arching, strap-like leaves coming from the base. Each bloom lasts one day, but each scape holds many buds.
- True lilies grow from bulbs and usually have a single upright stem with leaves spaced along it. Blooms last longer than a day, and bulbs can be sensitive to rot and critters.
This matters because daylilies generally tolerate division and rough handling better than bulb lilies, and they recover quickly when you renovate a crowded clump.
Sun and Soil
Daylilies are adaptable, but they bloom best when their basic needs are met. Think of them as solar-powered plants with a deep appreciation for decent soil.
Sun
- Full sun is ideal: about 6 or more hours of direct light for the strongest bloom show.
- Light shade is fine, especially in hot climates where afternoon shade can prevent scorching.
- Dark red and purple varieties often appreciate a little shade during the hottest part of the day to keep color from fading.
Soil
- Aim for well-draining soil with plenty of organic matter.
- They prefer a slightly acidic to neutral pH (roughly 6.0 to 7.0), but most garden soils work.
- In heavy clay, mix in compost and consider planting slightly high to avoid waterlogged crowns.
Water and mulch
Regular moisture during bud formation helps blooms look lush instead of stressed. A 2 to 3 inch layer of mulch (shredded leaves, bark, or compost) keeps roots cooler, reduces weeds, and feeds soil life as it breaks down.
When to Divide
Division is the fastest way to revive a tired clump and get it blooming with more vigor. Over time, daylilies pack themselves tight, and the center can lose steam. Dividing gives each “fan” of leaves more elbow room, fresh soil contact, and better access to water and nutrients.
Signs your daylily wants division
- Fewer blooms than previous years
- Skinny flower scapes or shorter plants
- A dense clump with a weak or bare-looking center
- Plants spilling into paths or crowding neighbors
Best timing
- Early fall is my favorite in many regions: the soil is still warm, and the plant can grow new roots before winter.
- Early spring also works well, especially where winters are harsh or where fall is short.
- In very warm climates, late fall to winter division can be ideal, when heat stress is lower.
- If you are in a hot climate, avoid dividing during peak heat whenever possible.
Cold-winter rule of thumb: aim to divide about 4 to 6 weeks before hard frost so roots can re-establish. If you must divide in summer, keep divisions shaded and evenly moist until they re-root.
How to Divide
You do not need special tools, just a sturdy spade, a garden fork if you have one, and a willingness to get your hands a little grubby.
- Water the day before if the soil is dry. Damp soil releases roots more gently.
- Cut foliage back to about 6 to 8 inches. This reduces stress and makes the clump easier to handle.
- Lift the clump by digging a circle several inches away from the base, then levering up from underneath.
- Shake or rinse off excess soil so you can see where the fans separate.
- Split into divisions. Many clumps pull apart by hand. If not, use a clean knife or spade to cut through. Each division should have at least one healthy fan and a good bundle of roots. Two to three fans per division gives quicker impact.
- Inspect and trim any mushy or dead roots. Keep the firm, pale roots.
- Replant promptly at the same depth as before. The crown (the junction where the leaves meet the roots) should sit just below soil level, not buried deep.
- Water in deeply and mulch lightly, keeping mulch from piling directly on the crown.

Spacing: For most varieties, 18 to 24 inches between plants is a good starting point. They will fill in.
Aftercare
- Keep soil evenly moist for 2 to 3 weeks while roots re-establish.
- Skip heavy fertilizer right away. Compost and consistent watering do more good than a strong feed.
- Do not be surprised if blooms are lighter the first season after a big division, especially if you divided in spring. Many plants roar back the following year.
Deadheading
Daylilies bloom one flower at a time, and each flower is a one-day wonder. Deadheading keeps the plant tidy and can help prevent energy from going into seed production. For many established daylilies, the biggest payoff is simply a cleaner-looking clump, with potential bloom benefits showing up most in rebloomers and in stressed plants.
Daily quick tidy (optional)
If you are strolling the garden with your morning coffee, you can simply pinch off the wilted blooms. Many will slip right off with a gentle tug.
Seed pods (sometimes helps rebloom)
After a bloom is pollinated, a small swelling forms at the base. That is the start of a seed pod. If you want the plant to focus on more buds, removing pods early can help, especially on reblooming varieties.
- If you want more blooms: snip off developing seed pods as you see them.
- If you want to hybridize or save seed: leave pods to mature, then harvest when they begin to split and dark seeds are visible.
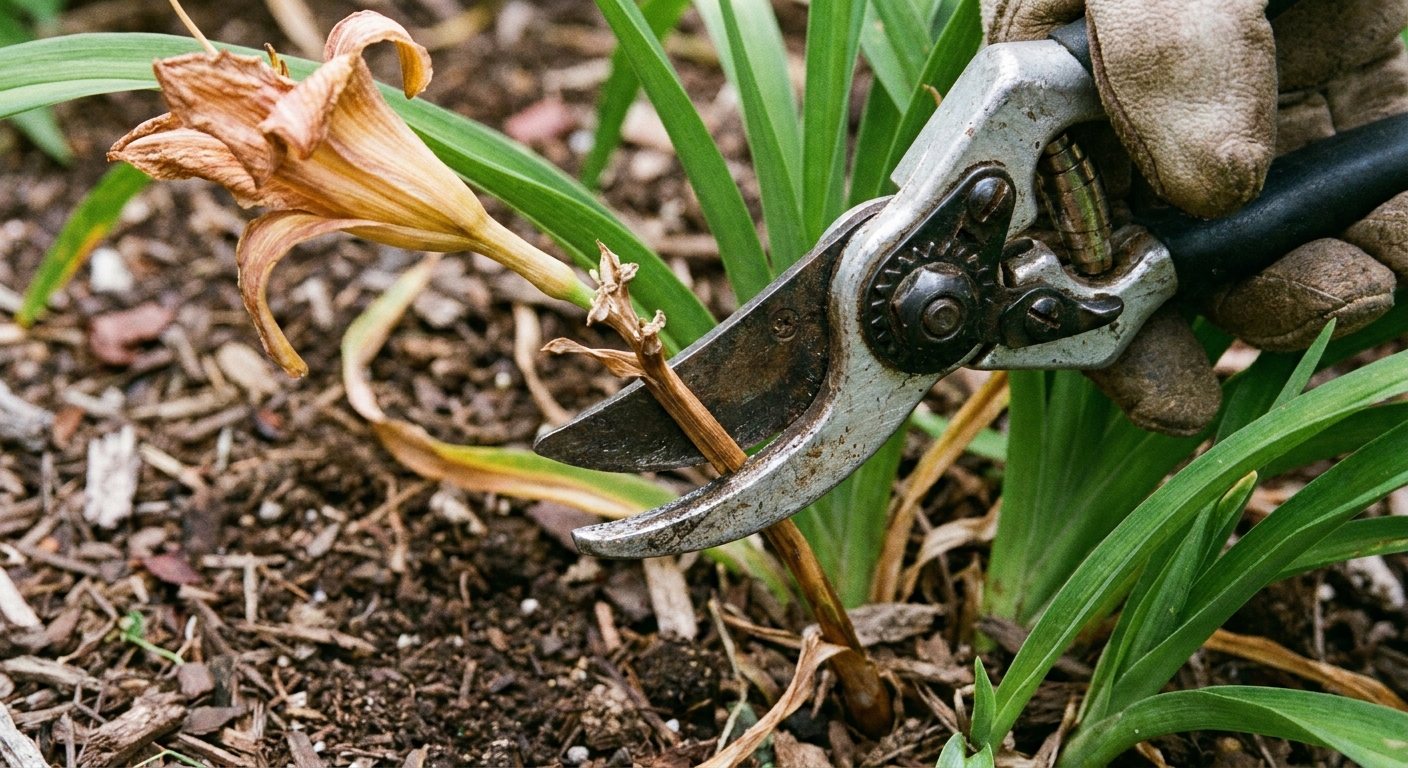
What about the whole flower stalk?
Once all buds on a stalk have finished, cut the spent scape down near the base. Use clean pruners. This tidies the clump and can help reblooming varieties redirect energy toward new scapes.
Encourage Rebloom
Some daylilies bloom once and call it a season. Others are rebloomers or repeat bloomers, meaning they can flower again later in summer or early fall. A few are labeled everblooming in warm climates, where they can keep producing on and off.
Rebloom is partly genetic, but good care can make a noticeable difference.
What helps rebloomers perform
- Give enough sun. Many rebloomers need strong light to recharge for a second round.
- Deadhead and remove seed pods. This can help some plants avoid putting energy into seed, but it is not a guarantee. Moisture and sun matter a lot.
- Feed the soil. Top-dress with compost in spring. If your soil is lean, a balanced, slow-release fertilizer can help. Avoid heavy nitrogen, which can push leaves at the expense of flowers.
- Water during dry spells. Drought stress often cancels the encore. Deep watering once or twice weekly is better than frequent sprinkles.
- Divide overcrowded clumps. Crowding reduces bloom count and can shut down reblooming.
Seasonal rhythm
- Spring: compost top-dress, refresh mulch, pull weeds early.
- Early summer: water consistently as scapes form.
- Bloom season: deadhead, remove pods if desired, cut finished scapes.
- Late summer to early fall: keep moisture steady for rebloomers and consider division if clumps are congested.
Pests and Problems
Daylilies are usually low drama, but a few issues pop up often enough to keep on your radar.
Common pests
- Deer: Daylilies are famously “deer candy.” If deer browse in your area, plan for protection. Fencing is the most reliable. Repellents can help but need reapplication, especially after rain and during heavy browsing pressure.
- Aphids: Cluster on buds and scapes. Blast off with water or use insecticidal soap if needed.
- Thrips: Can cause streaked, distorted flowers. Remove badly affected blooms and keep weeds down. In heavy cases, spinosad products labeled for thrips can help.
- Slugs and snails: Chew young growth and flowers, especially in damp shade. Hand-pick at dusk, reduce hiding spots, and use iron phosphate bait if necessary.
- Spider mites: More common in hot, dry conditions. Increase humidity with occasional rinsing and avoid stressing plants.
Leaf streak and rust
Leaf streak often shows up as yellowing along the midrib that turns into brown streaks. Daylily rust can look similar at first, but typically develops orange to rusty pustules that can rub off on your fingers.
Because symptoms can overlap with nutrient stress and other leaf spots, treat this as a “slow down and confirm” moment if it keeps spreading.
- Remove and discard infected leaves.
- Improve air flow and avoid overhead watering.
- Clean up debris in fall.
- If you suspect a fungal disease, do not compost infected foliage.
- Sanitize pruners when moving between clumps, especially if disease is present.
- If problems persist, check with a local extension office or garden center for regional guidance and resistant varieties.
Small Habits, Big Payoff
If you only do three things for your daylilies, make it these:
- Plant in sun with well-draining, compost-enriched soil.
- Divide every 3 to 5+ years or when clumps get crowded or bloom slows.
- Deadhead and remove seed pods if you want the longest bloom season, especially on rebloomers.
Quick safety note
Daylilies can be toxic to cats. If you have cats that chew plants or go outdoors, place daylilies out of reach and ask your veterinarian for guidance if exposure is possible.
And if you miss a week, or a month, or an entire season? Your daylilies will probably forgive you. Come back with pruners, compost, and a little patience, and they will meet you halfway.