Dahlia Tuber Storage Over Winter
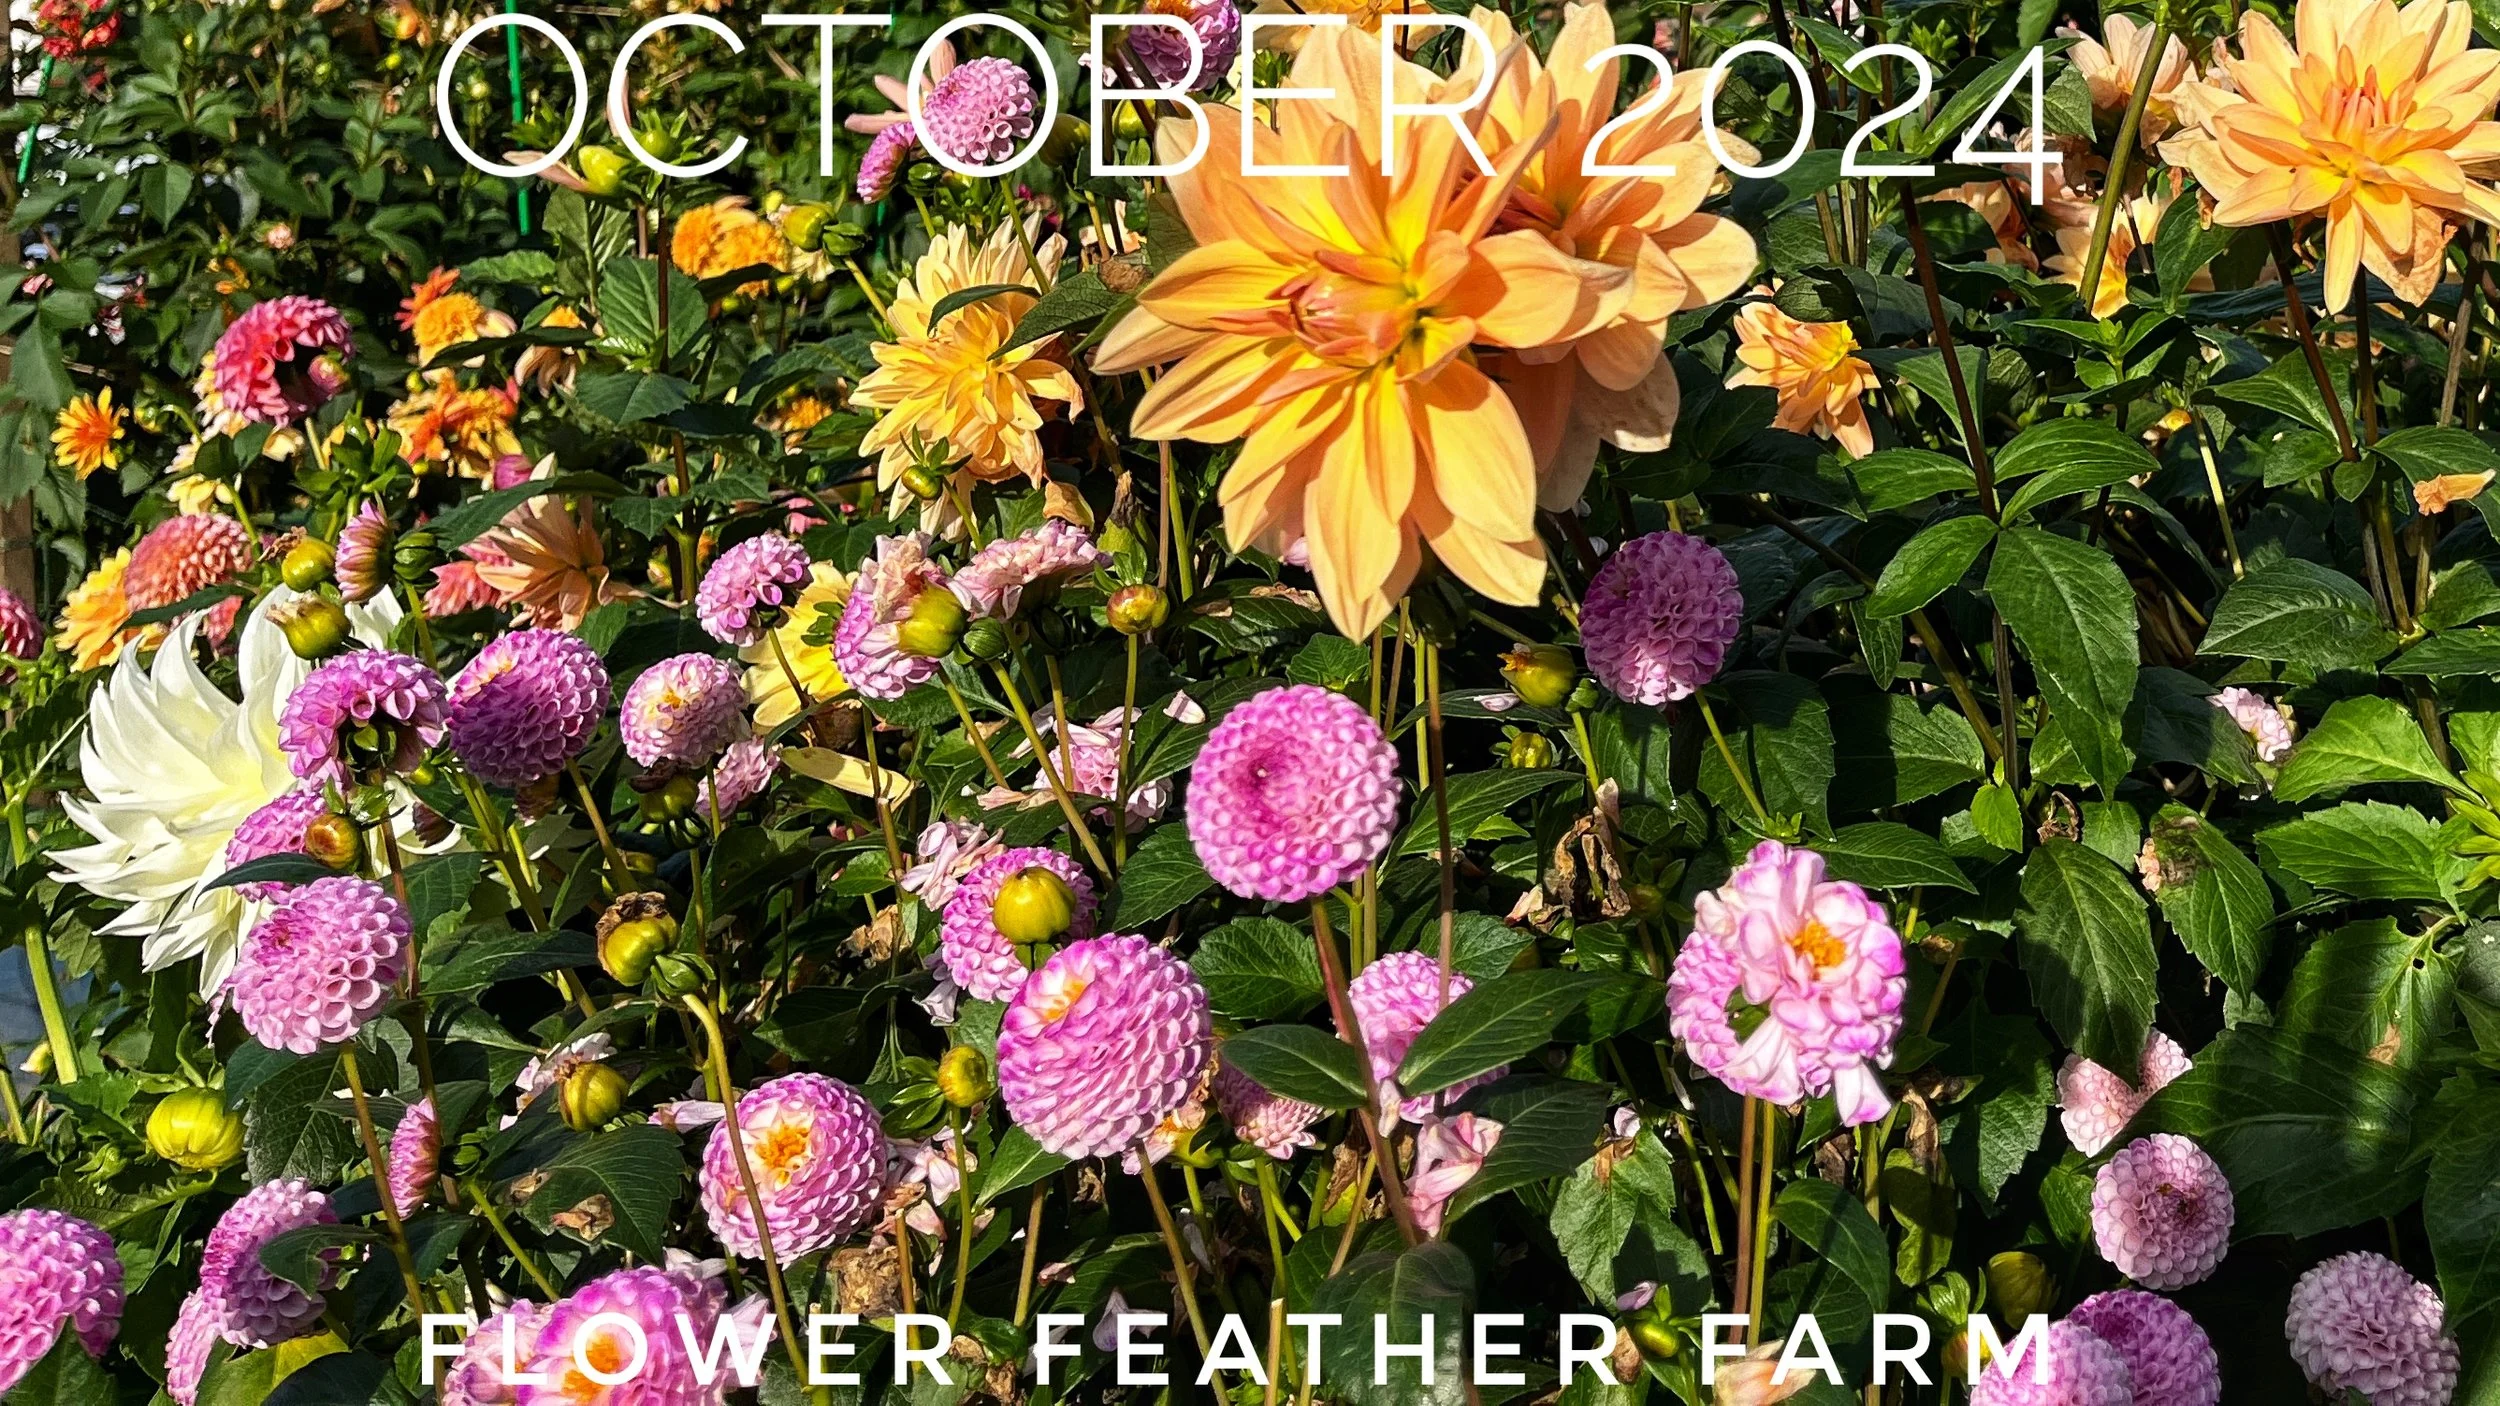
Dahlias are warm-season showoffs, but their tubers are tender. If you garden where the ground freezes, winter storage is how you keep your favorite varieties year after year. The good news: you do not need fancy gear. You need good timing, gentle handling, and a storage setup that stays cool and steady.
If you are new to dahlias, bookmark this as your cold-weather companion to our warm-season guide on growing dahlias from tubers. The summer work gets you blooms. The fall work gets you a repeat performance.

Know your frost timing
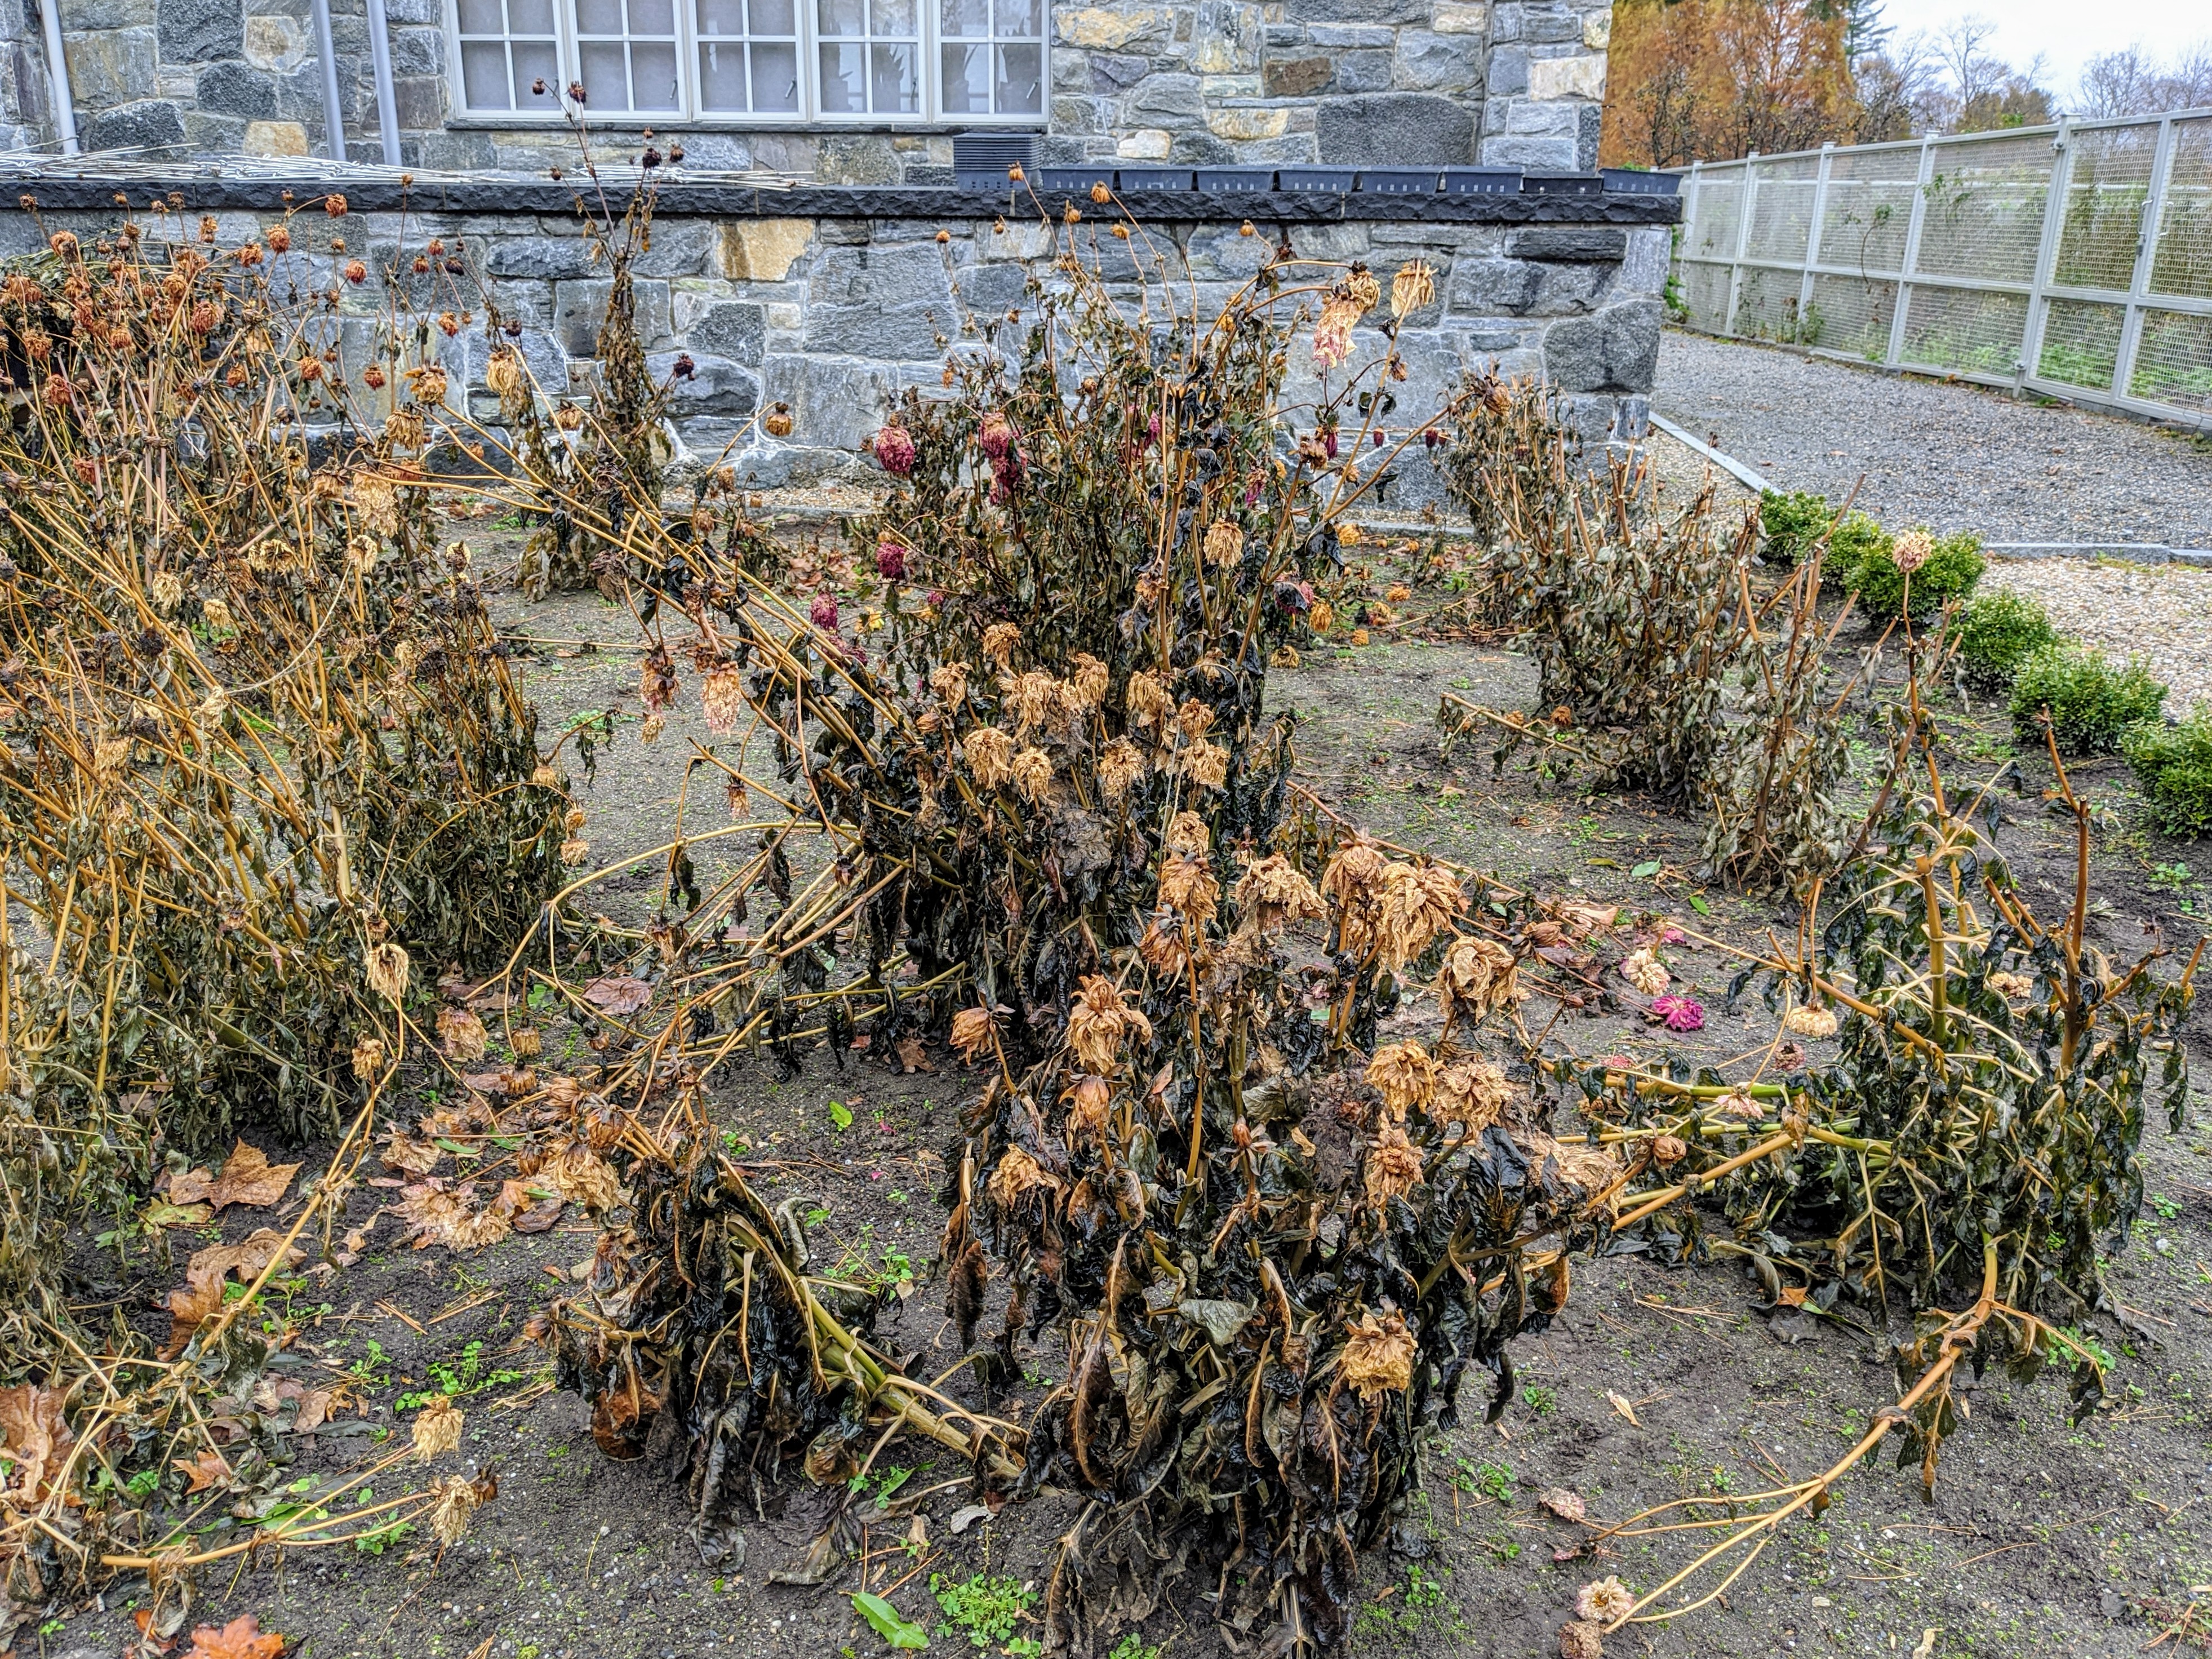
The goal is to let the plant finish storing energy for dormancy, then dig before a true hard freeze can damage the tubers. Frost is not magic. It is simply a practical seasonal cue that growth is shutting down.
When to cut back and dig
- After first light frost: Wait until the foliage is blackened or collapsed, then plan to dig within a few days. That dieback is your sign the plant is done for the season.
- Before a hard freeze: If you are expecting several hours in the upper 20s°F (about 28 to 30°F), dig first. Freeze injury can start quickly, and cold, wet soil also increases rot risk. Local conditions matter, so if your ground freezes fast, do not push your luck.
- No frost yet but the season is ending: If you are in a mild climate that rarely freezes, you can sometimes leave tubers in the ground with heavy mulch. If your winters are wet, indoor storage is still safer than soggy soil.
Quick zone note: In many gardens, USDA zones 8 to 10 can overwinter in-ground with mulch and good drainage. Zones 7 and colder typically lift and store. Microclimates are real, so use your soil and winter moisture as the final vote.
Clara note: I like to leave 4 to 6 inches of stem when I cut back. That little handle makes the clump much easier to lift without snapping necks.
Tools and prep
Set yourself up before you dig. Tubers do not love sitting around uncovered while you hunt for a marker.
- Garden fork or sharp spade
- Hand pruners or loppers
- Gloves
- Old towel, cardboard, or a drying rack
- Labels that survive winter (plastic tags or painter’s tape plus a permanent marker)
- Packing containers (cardboard boxes, plastic totes with vents, or paper bags)
- Packing media (see options below)
- Disinfectant for tools (isopropyl alcohol or a diluted bleach solution)
Clara note: If you divide or trim, wipe blades between clumps. It is a small habit that can save your whole collection.
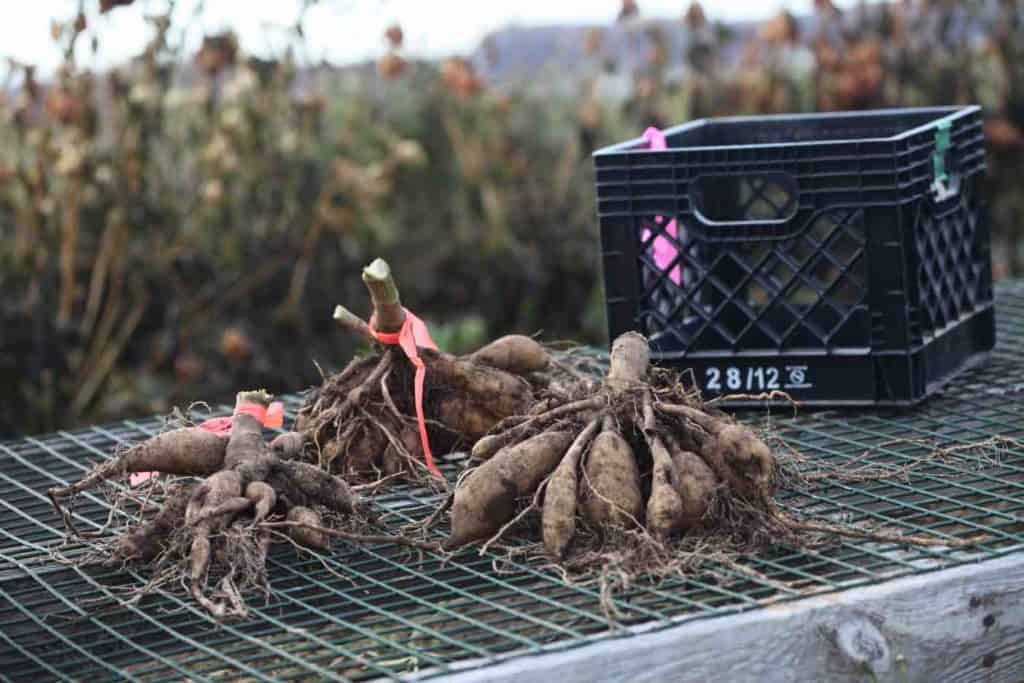
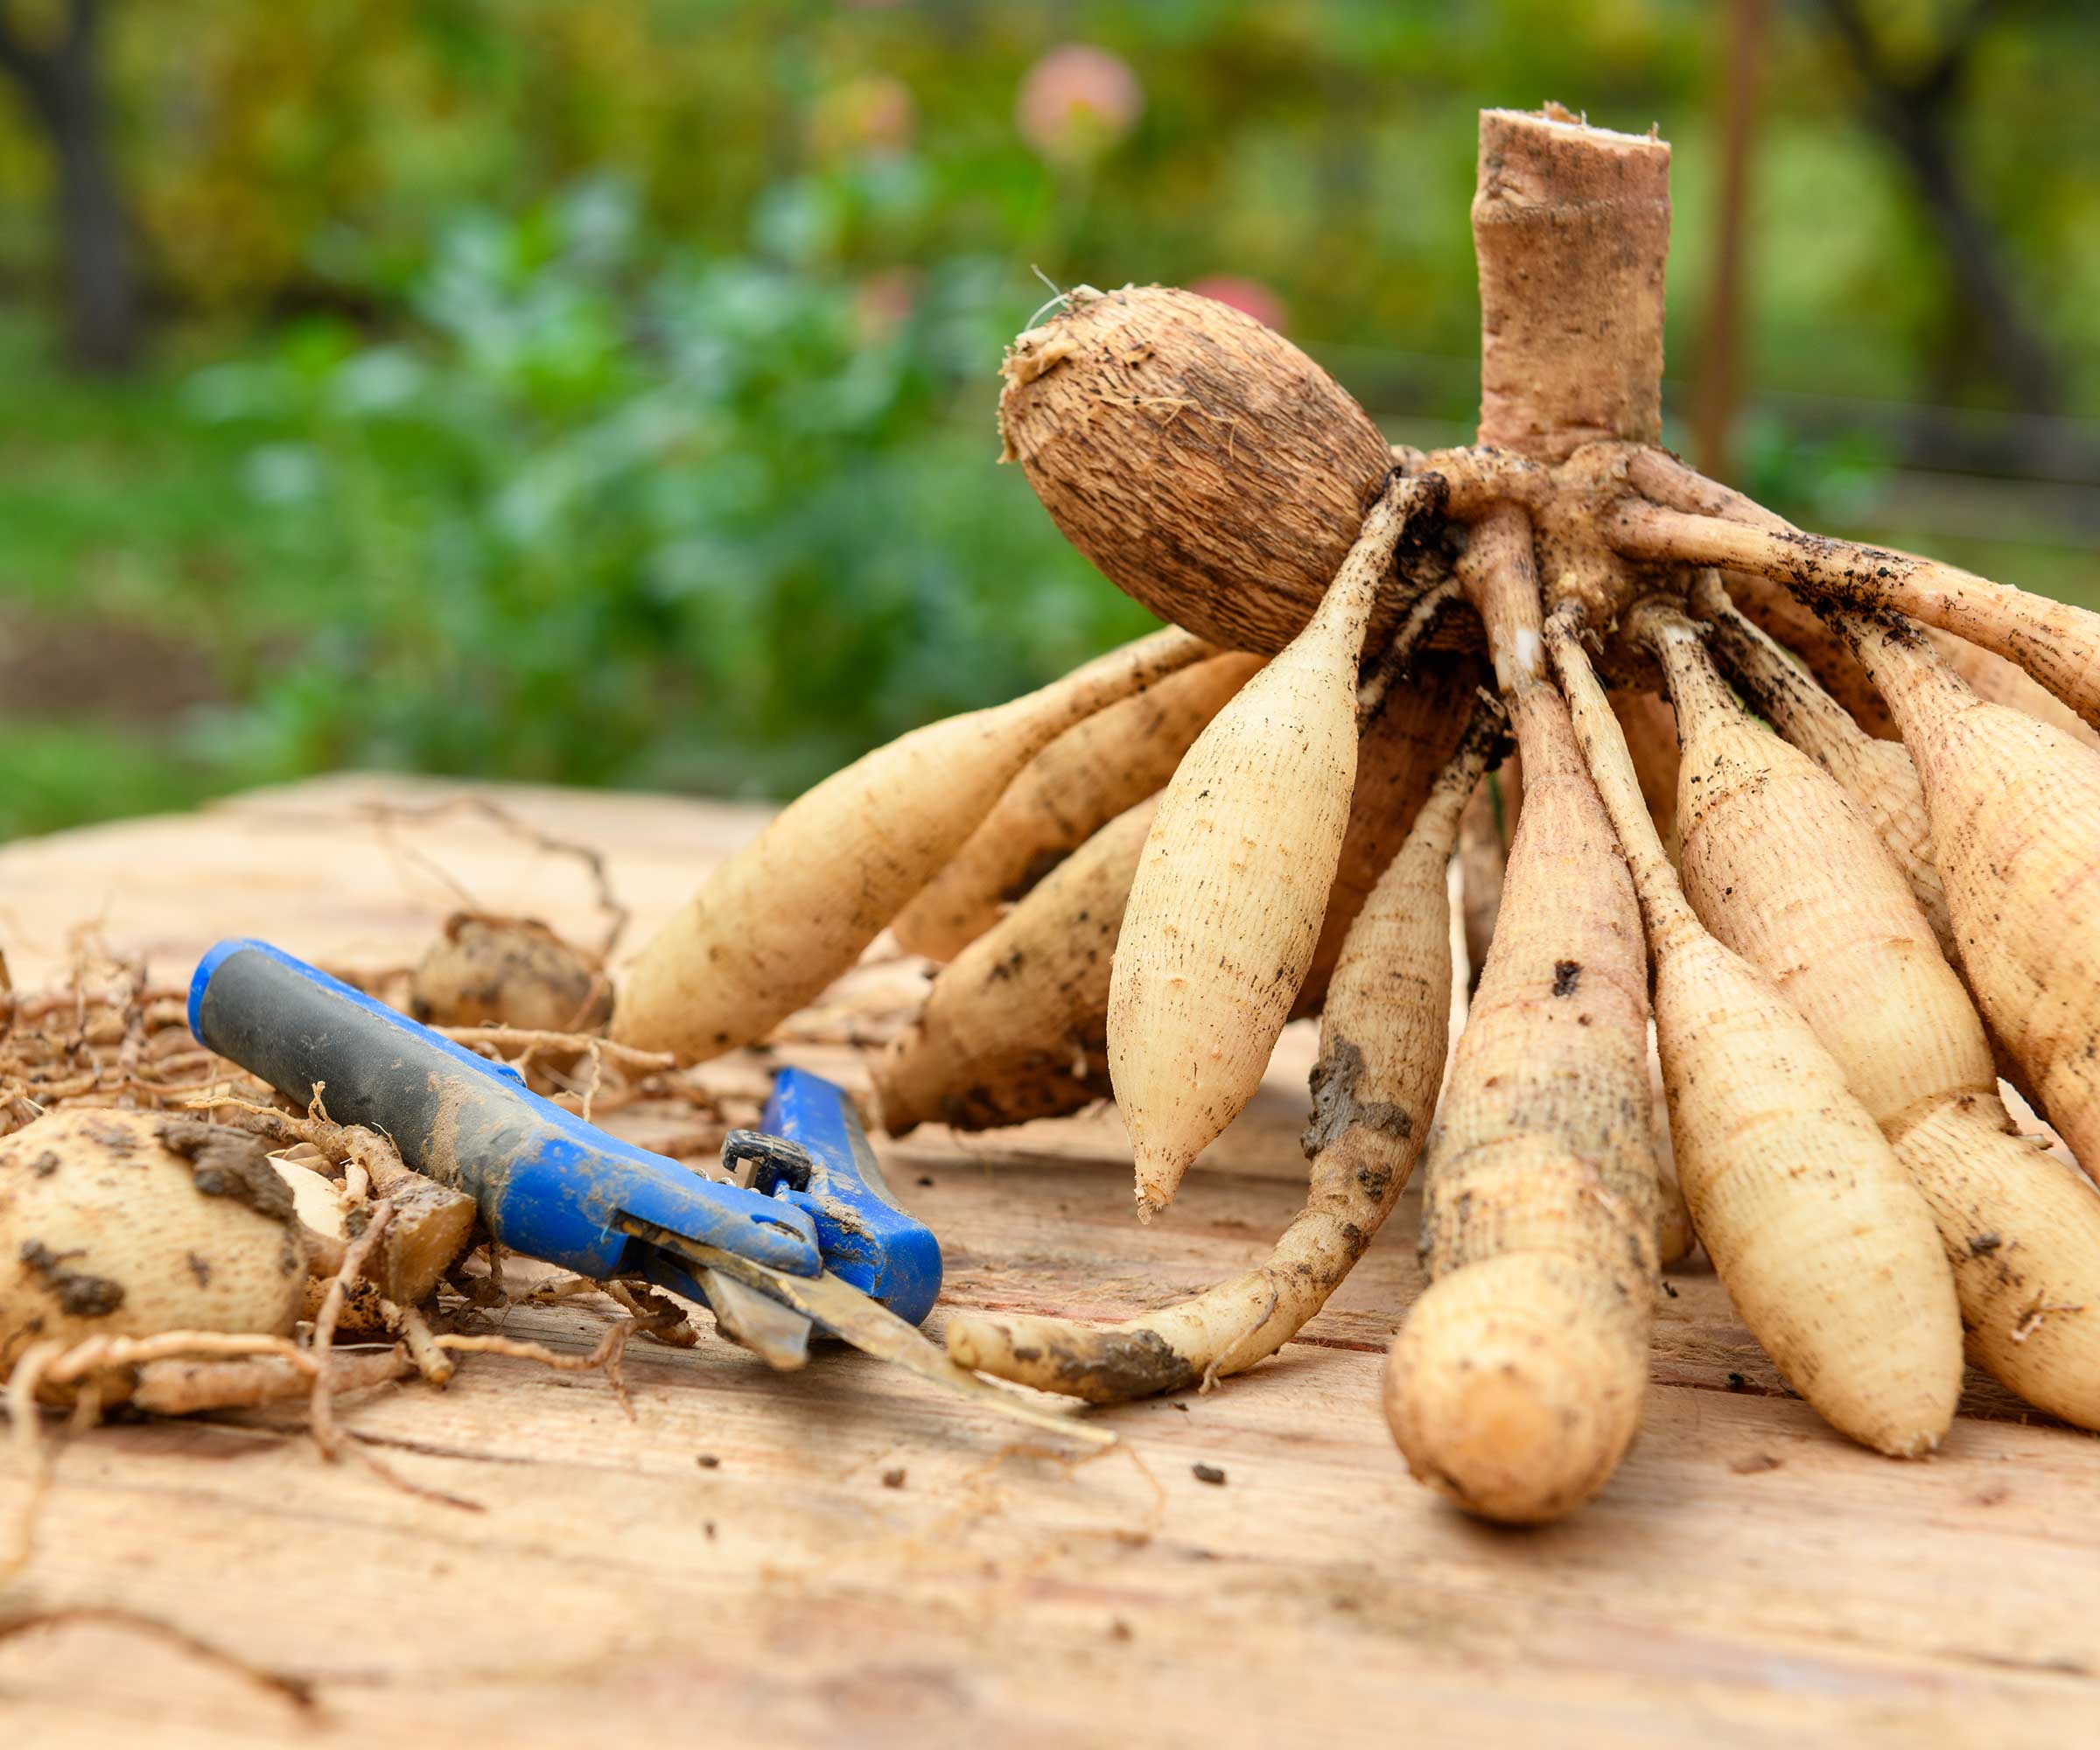
How to dig without breaks
Dahlia tubers are attached to a central crown. The tuber necks can snap if you yank or pry too close to the stem. Slow and wide wins.
Step-by-step
- Cut the plant back to 4 to 6 inches of stem.
- Loosen soil in a wide circle 10 to 12 inches away from the stem (even wider for big plants).
- Rock the clump up gently with a fork, lifting from multiple sides rather than prying from one spot.
- Lift by the soil mass, not the stem when possible. If the stem is sturdy, use it only as a guide, not as a handle.
- Shake off loose soil and set the clump aside to dry.
If you accidentally snap a tuber neck, do not panic. A single broken tuber is a bummer, but the rest of the clump can still store beautifully.
Wash or do not wash
Gardeners have opinions here, and I am cheerfully flexible. Both approaches work if you cure correctly and store smart.
Option A: Do not wash
- Pros: Less moisture risk, faster to get into curing, less handling.
- Cons: You may not spot small rot spots right away, and it is harder to divide cleanly in fall.
Simply brush off chunks of soil and let the clump dry. Remaining soil often crumbles off later.
Option B: Wash
- Pros: Easier to inspect, label, and divide later. Great if your soil is heavy clay.
- Cons: Adds moisture, so curing time matters more.
If you wash, use a gentle hose spray. Do not blast. Then give tubers extra drying time in a well-ventilated spot.
Curing
Curing lets the skins toughen and small wounds callus over. This is what makes the difference between firm tubers in March and mushy tubers in January.
How to cure
- Place: A cool, airy spot out of direct sun. Many growers aim for about 50 to 65°F, but airflow matters more than a perfect number.
- Surface: Cardboard, newspaper, or a rack. Avoid sealing them in plastic while curing.
- Time: Usually 3 to 7 days. Washed tubers may need closer to a week.
- Position: Lay clumps so air can circulate. If stems are hollow and holding water, tip clumps so moisture drains.
What curing should look like: Skins feel a bit firmer and drier, and the outside is not damp. Tubers should not shrivel like raisins.
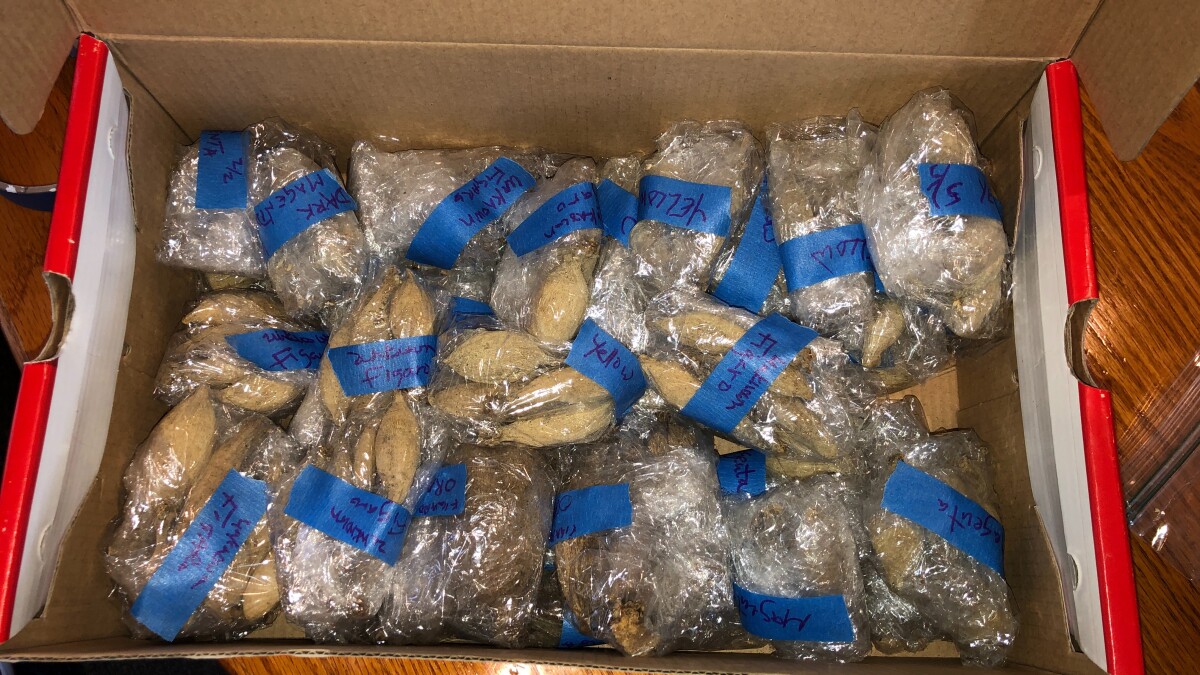
Labeling
Dahlia tubers look wildly similar once they are asleep for winter. Labeling is not a nice-to-have, it is the whole game if you grow more than one variety.
Tips that last
- Tag the clump before storage: Tie a plastic label to the stem stub, or tape a tag to the clump.
- Back it up: Label the container too.
- Use waterproof marker: Regular ink fades in humidity.
- Include the basics: Variety name, color if you like, and year.
Packing method
Storage is a balancing act: tubers must not freeze, must not dry out completely, and must not sit in wet, stagnant air. Your home’s humidity is the deciding factor.
Best conditions
- Temperature: 40 to 50°F is ideal. Avoid spots that dip below freezing.
- Humidity: Moderate, often around 70 to 80% relative humidity works well. If you cannot measure it, use the tubers themselves as your guide (shrivel means too dry, mold means too wet).
- Darkness: Helps keep tubers dormant.
- Airflow: Gentle ventilation prevents mold.
Clumps or divided tubers?
You can store either. Beginners usually have the easiest time storing whole clumps and dividing in spring when eyes are easier to spot. If space is tight, or if you want to quarantine varieties, store divided tubers instead.
Packing media options
Pick one and keep it consistent so troubleshooting is easy.
- Vermiculite: Light, clean, holds moisture evenly. Great for dry basements. Use it dry to slightly dry, not damp.
- Peat moss or coco coir: Cushions tubers and buffers humidity. Coco coir is a more renewable choice. Use dry and fluffy.
- Wood shavings (untreated): Good airflow, helps prevent excessive moisture. Choose fine shavings, not big chunks.
- Clean, dry sand: Stable and protective, but heavy. Works well in places that swing in humidity.
- Paper method: Wrap individual tubers in newspaper and place in a box. Handy when you want to isolate varieties and spot problems fast.
Container choices
- Cardboard boxes: Breathable and forgiving. Easy favorite.
- Plastic totes: Use only if you add ventilation holes and keep the lid loose to avoid trapped moisture.
- Paper bags: Great for small collections and easy labeling.
Simple packing steps: Add an inch of media, set clumps or tubers so they are not touching, then cover with more media. Do not pack tightly like you are shipping dishes.
Where to store
You are looking for cool and steady, not warm and drafty.
- Basement: Often ideal, especially away from the furnace and exterior doors.
- Attached garage: Works if it stays above freezing. Use a thermometer for a week before committing.
- Crawl space: Can be great if it is dry and rodent-free.
- Spare closet on an exterior wall: Sometimes the best option in apartments.
Avoid: near hot water heaters, in sunny windows, or anywhere that freezes.
Rodent reality check
Mice consider dahlia tubers a winter buffet. If you have ever seen droppings in your storage area, add protection: elevate boxes on shelves, use a lidded tote with ventilation holes, or line shelves with hardware cloth. (Peppermint oil smells nice, but it is not a security system.)
Monthly check-ins
Set a calendar reminder. A quick peek once a month catches problems early.
What to look for
- Firm tubers: Slightly pliable is fine, but they should not be hollow or papery.
- Rot or mold: Soft spots, bad smell, or fuzzy growth.
- Early sprouting: Little eyes waking up too soon usually means it is too warm.
What to do
- If tubers are shriveling: Your storage is too dry. Add a tiny bit of humidity by mixing in a small handful of barely damp media, or place a loosely closed bag of slightly moist coir near (not on) the tubers. Recheck in two weeks.
- If tubers are molding or rotting: Too wet or too little airflow. Remove affected tubers immediately. Let the rest air out for a day, then repack with dry media and better ventilation.
- If tubers are sprouting: Move to a cooler spot. You can pinch sprouts off during storage, but the real fix is temperature.
Clara note: If one tuber is going bad, I do not debate it. I cut it away or toss it. One mushy tuber can turn into a whole-box problem.
Divide in fall or spring
You can divide clumps in fall or spring. I usually recommend spring for beginners because the eyes are easier to see as dormancy breaks.
Fall dividing
- Pros: Smaller pieces store more easily, and you can discard weak tubers sooner.
- Cons: Eyes can be hard to spot, so it is easier to accidentally make blind tubers that will not sprout.
Spring dividing
- Pros: Eyes are more visible. Higher success rate.
- Cons: You need a little workspace close to planting time.
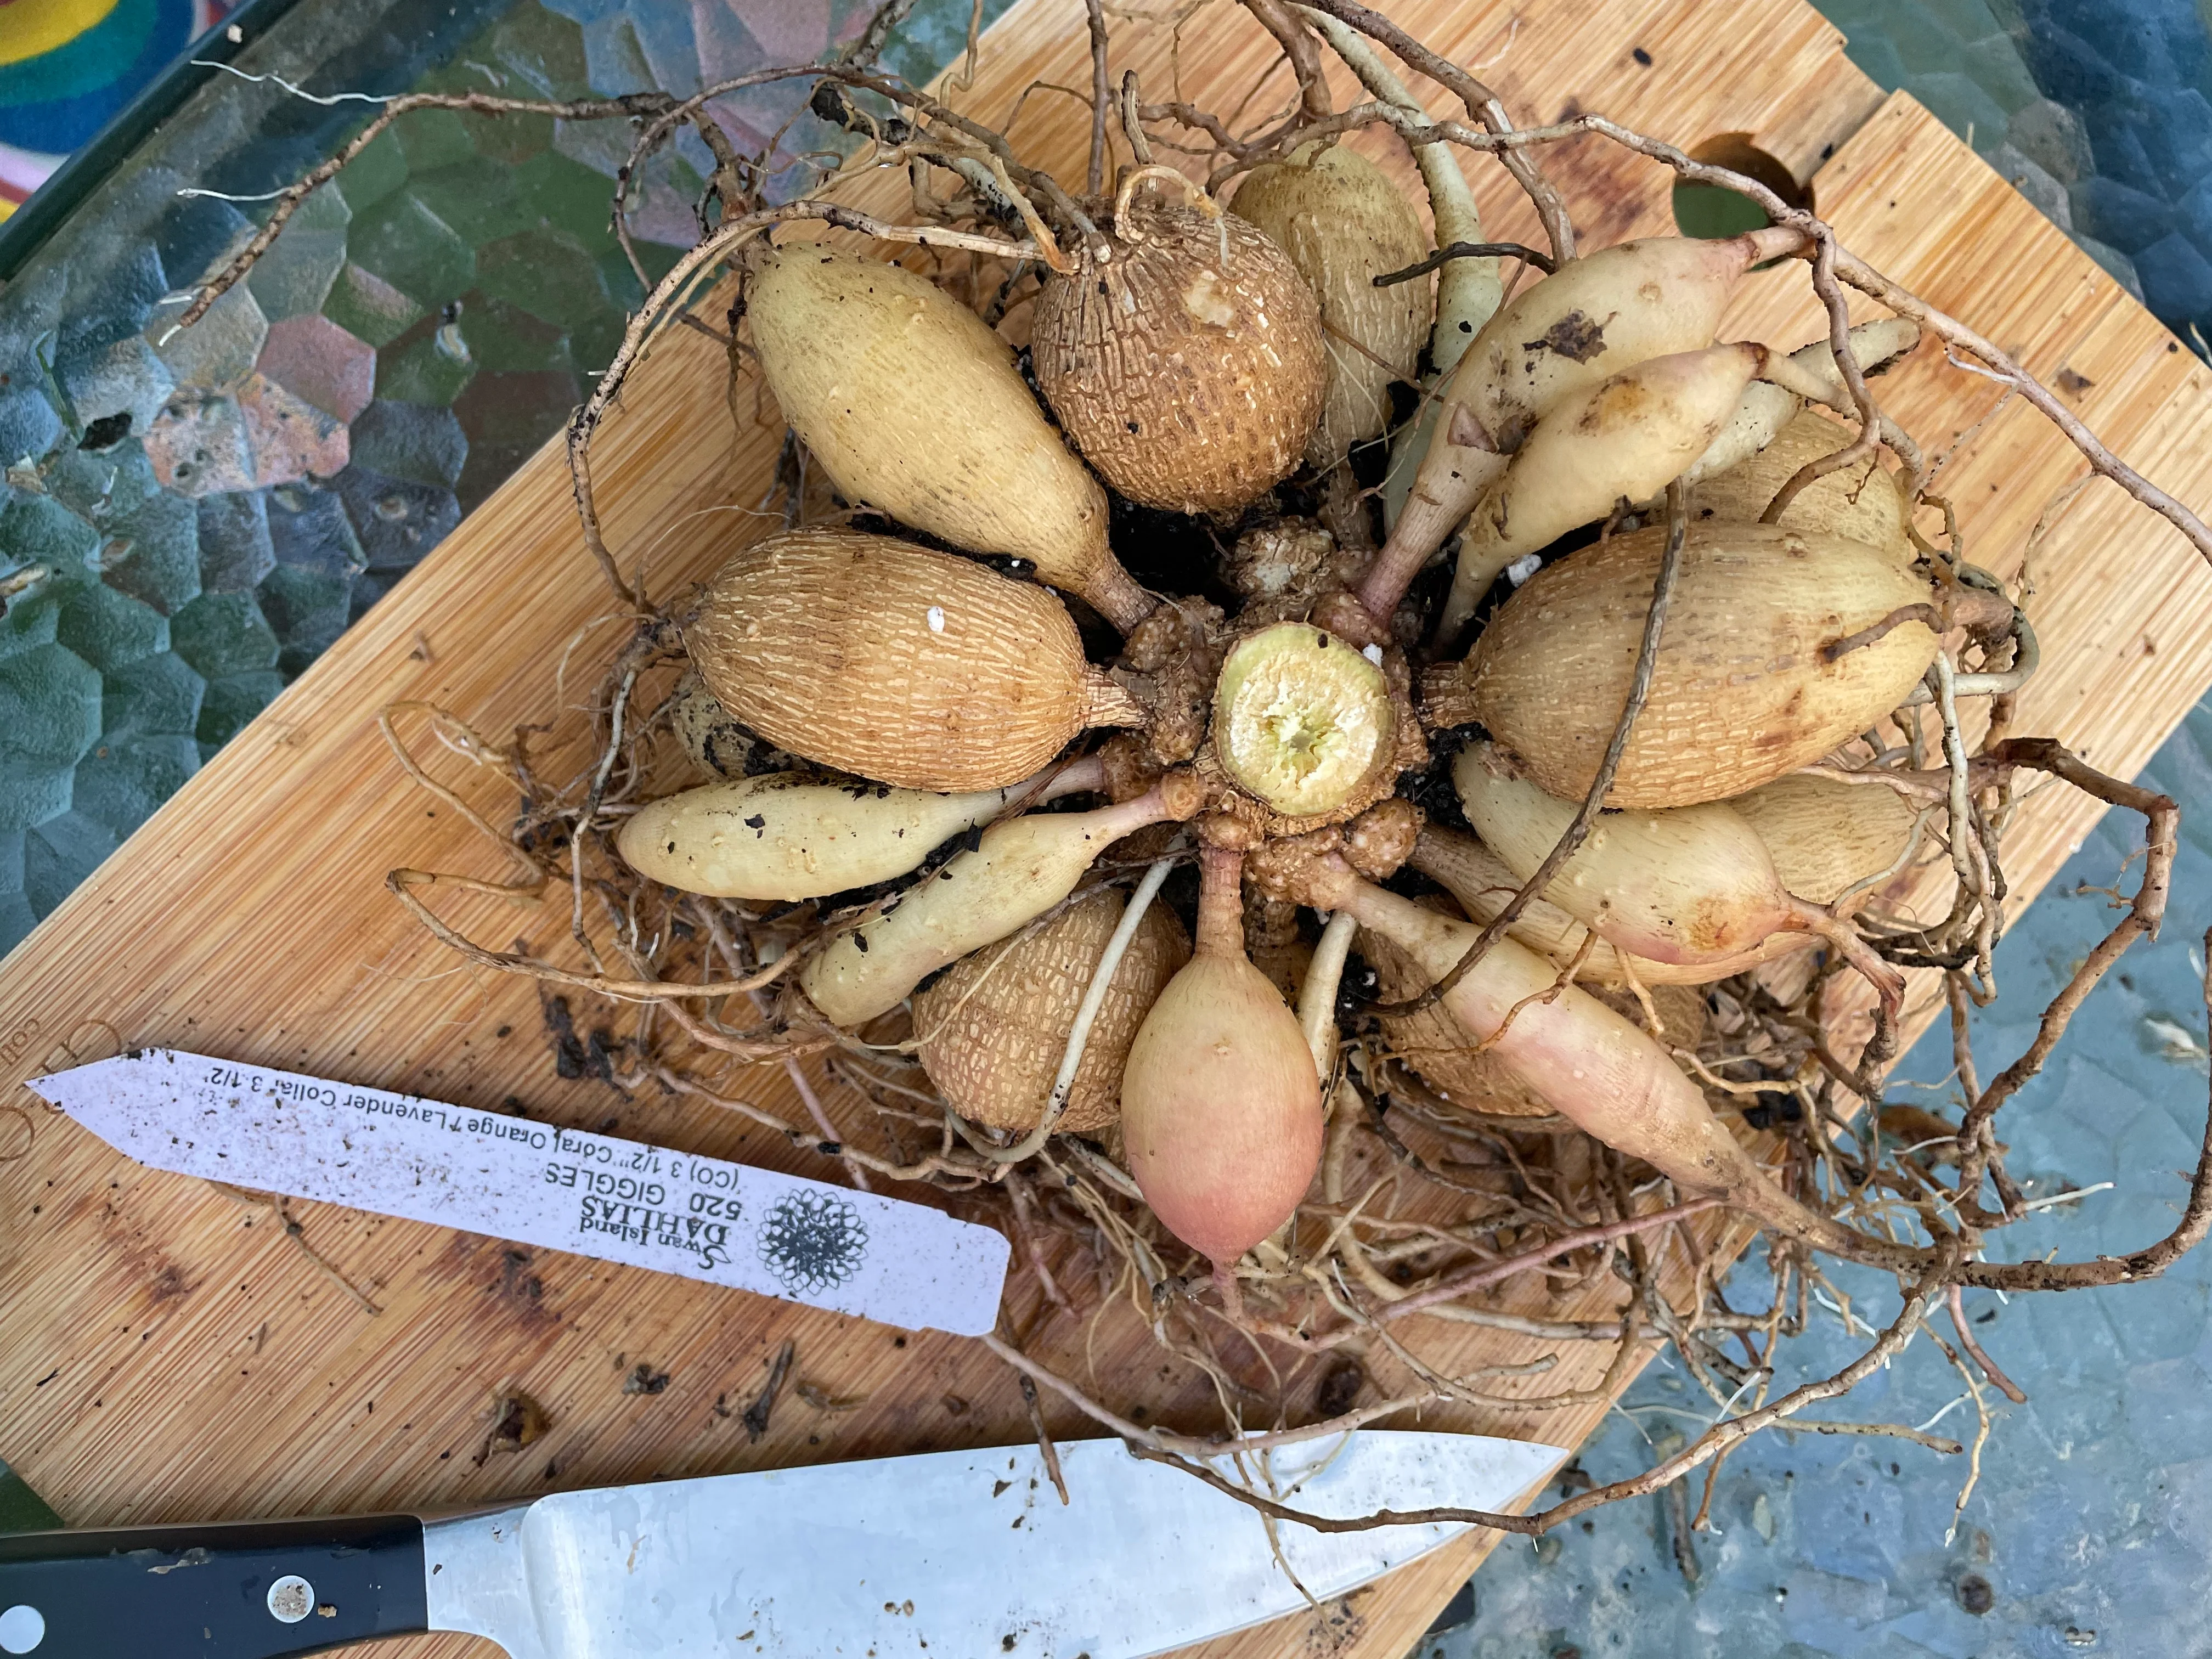
Rule of thumb: Every divided piece needs at least one viable eye on the crown and at least one healthy tuber attached. A tuber without an eye is just a snack for the compost pile.
If rot is a chronic issue: After dividing, let cuts dry and callus for 24 hours in a ventilated spot. Some gardeners dust cuts with sulfur or cinnamon. Consider it optional, not mandatory, and always prioritize clean cuts and good airflow.
Spring wake-up
About 2 to 4 weeks before your last frost date, pull tubers out for a look. This is when you can divide, trim, and plan your planting lineup.
- Inspect: Firm, healthy tubers get a gold star. Discard anything soft, hollow, or moldy.
- Divide if needed: Use a clean knife or pruners. Let fresh cuts dry for a day before potting or planting.
- Optional pre-sprouting: Pot tubers in barely moist potting mix in a bright, frost-free spot to get a head start.
Then head back to our dahlia growing guide for planting depth, spacing, staking, and that glorious summer care routine.
Quick checklist
- Wait for frost-blackened foliage or dig before a hard freeze in the upper 20s°F
- Cut stems, dig wide, lift gently
- Choose to wash or not wash, then cure 3 to 7 days with airflow
- Label clumps and containers clearly
- Store whole clumps (easy) or divided tubers (space-saving)
- Store at 40 to 50°F in breathable containers with a suitable packing media
- Check monthly and adjust humidity as needed
- Divide in spring for easiest eye visibility
If you have ever called yourself a “black thumb,” I want you to know this: dahlia storage is not about perfection. It is about small, steady habits. A little attention in November gives you armfuls of blooms in July.