Croton Propagation From Cuttings
Crotons are the houseplant equivalent of a fireworks show. One minute you have a single plant, and the next you are eyeing every empty pot in your home thinking, you know what would look great there? More crotons.
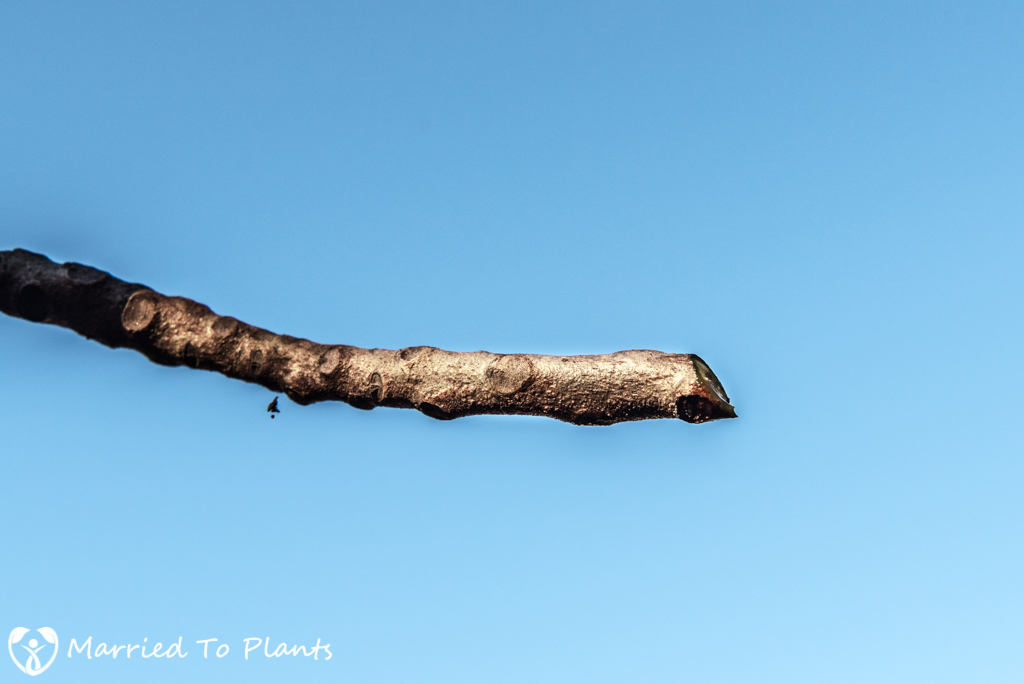
The good news is crotons (Codiaeum variegatum) can be propagated from stem cuttings at home. The not so glamorous news is they can be a little fussy about warmth, humidity, and clean technique. If your last cutting turned into a sad twig, you are not alone. Let’s fix it.
When to take croton cuttings
The single biggest “secret” to croton propagation is timing. Crotons root best when they are actively growing and can heal quickly.
- Best season: Spring through midsummer.
- Okay season (indoors with stable conditions): Early fall, if your home stays warm and bright.
- Avoid: Winter, or any time your croton is stressed from low light, overwatering, pests, or recent repotting.
Look for a parent plant that’s putting out new leaves and has firm, healthy stems. If the plant is dropping leaves or has crispy edges from low humidity, fix care first and propagate later.
What you will need
Gather your supplies before you snip. Crotons bleed a milky sap (latex-like) when cut, so a tidy setup helps.
- Clean, sharp pruners or scissors (disinfect with rubbing alcohol)
- Small pot with drainage (2 to 4 inches / 5 to 10 cm) or a clean jar for water propagation
- Fresh, airy rooting medium (see soil recipes below)
- Rooting hormone (optional, but helpful)
- Clear plastic bag or a humidity dome
- Gloves and a paper towel (for sap)
Quick safety note: Croton sap can irritate skin and trigger dermatitis in sensitive people, and the plant is toxic to pets and humans if ingested. Wear gloves if you’re sensitive, keep cuttings away from pets, and wash your hands after handling.
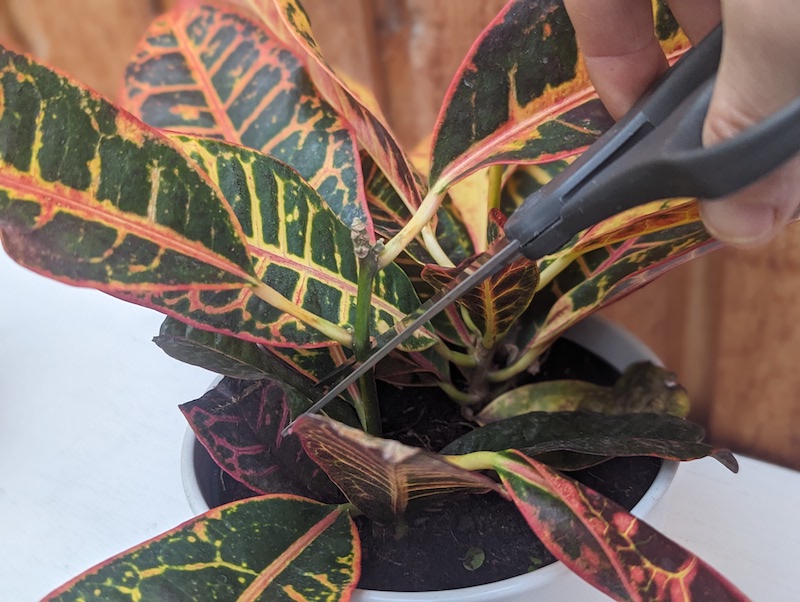
How to take a croton cutting
A good cutting is basically a tiny, living “starter kit” with at least one growth node and enough stem to support new roots.
Step-by-step
- Choose a stem: Pick a healthy, semi-woody tip with several leaves. Avoid very soft, floppy new growth and very old, thick woody stems.
- Cut below a node: Take a 4 to 6 inch (10 to 15 cm) cutting, making the cut just below a node (the small bump or line where a leaf attaches). Nodes are where roots love to form.
- Remove lower leaves: Strip leaves from the bottom half of the cutting so no leaves will sit in water or soil.
- Reduce big leaves (optional but smart): If the remaining leaves are large, cut them in half. This reduces moisture loss while the cutting has no roots.
- Manage the sap: Blot with a paper towel. If sap is flowing heavily, you can rinse the cut end under lukewarm water for a few seconds, then blot again. Let it sit just long enough to stop actively dripping, usually 5 to 10 minutes, but don’t let it dry out for hours.
How many cuttings can you take? A good rule is no more than 20 to 30 percent of the parent plant at once. Crotons like to be lush, not scalped.
Rooting hormone
Crotons can root without hormone, but rooting hormone often improves success by nudging the cutting to form roots faster. Faster rooting means less time for rot, fungus, and dehydration to win.
How to use it
- Dip the bottom 1 to 2 inches (2.5 to 5 cm) of the cutting in water (so the hormone sticks).
- Tap off excess hormone. More is not better.
- Plant immediately into pre-moistened medium.
Do you need it for water rooting? Not really. Some people use it anyway, but the benefit is usually limited in water. Warmth, humidity, and clean technique matter more.
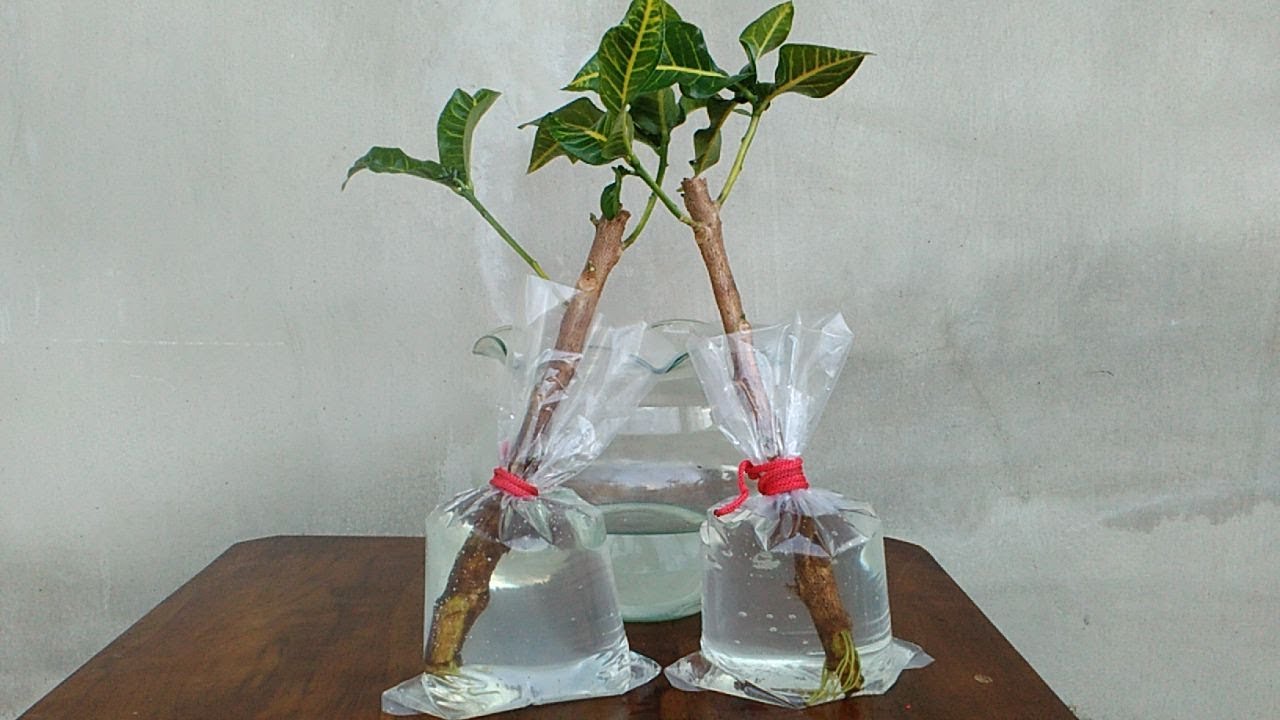
Water propagation
Water rooting is satisfying because you can watch roots appear. For crotons, it works best when you keep the water clean and the cutting warm. The tradeoff is that water roots can be a bit delicate when moved to soil.
Steps
- Fill a clean jar with room-temperature water.
- Place the cutting so at least one node is under water and no leaves are submerged.
- Put the jar in bright, indirect light near a window.
- Keep it warm: ideally 75 to 85°F (24 to 29°C).
- Change the water every 3 to 5 days, or sooner if it looks cloudy.
When to pot up
Once you have several roots that are 2 to 3 inches (5 to 7.5 cm) long, you can transition to soil. To reduce shock, pot into a very airy mix, keep it evenly moist (not soggy), and bump humidity for about a week while it adjusts.
Soil propagation
If you want a cutting that acclimates more smoothly to life in a pot, soil propagation usually wins. The key is a mix that stays lightly moist without staying soggy.
Rooting mixes
- Easy blend: 1 part potting mix + 1 part perlite
- Extra airy: 1 part coco coir + 1 part perlite
- Chunky option: potting mix + perlite + a small handful of orchid bark
Avoid heavy garden soil. It packs down, holds too much water, and invites rot.
Steps
- Moisten your medium so it feels like a wrung-out sponge.
- Fill a small pot and poke a planting hole with a pencil or chopstick.
- (Optional) Dip in rooting hormone.
- Insert the cutting so 1 to 2 nodes are buried. Firm the mix gently around it.
- Cover with a clear plastic bag (not touching leaves) or use a humidity dome.
- Place in bright, indirect light and warmth.

Humidity and airflow
Croton cuttings love humidity, but stale air is a rot party. Open the bag or dome for a few minutes daily. If you see constant heavy condensation or dripping, vent more.
Misting tip: Skip frequent misting inside the dome. It tends to keep leaves wet and can invite fungal issues. If the mix is drying too fast, bottom-water the pot instead.
Light, warmth, and patience
Propagating croton is less about luck and more about setting up the little “nursery conditions” it craves.
- Light: Bright, indirect. Too little light slows rooting. Direct sun can overheat the cutting inside a bag.
- Temperature: 75 to 85°F (24 to 29°C) is ideal. Below about 70°F (21°C), rooting often slows significantly.
- Time: Expect 3 to 8 weeks for rooting, sometimes longer depending on variety and conditions.
If you have a heat mat, this is one of the best times to use it. Warm roots, happy croton.
Reality check: Even with great technique, not every cutting takes. If one fails, you didn’t “ruin” propagation, you just got data for next time.
How to tell if it rooted
Try not to yank it out to check. I know, it’s tempting. Here are gentler signs:
- New growth: A tiny new leaf or bud at the tip is a great sign.
- Resistance: A light tug feels anchored.
- In water: Visible roots that are branching, not just one thin thread.
Once rooted, slowly reduce humidity over a week by venting the bag longer each day. This hardens it off so it doesn’t faint the moment it meets normal room air.
Aftercare
Rooted cuttings are like toddlers. Tougher than they look, but they do best with consistency.
- Watering: Keep evenly moist at first, never waterlogged. Let the top inch (2.5 cm) dry slightly once it’s established.
- Light: Gradually increase light to what crotons like: bright light with some gentle sun if your variety tolerates it.
- Fertilizer: Wait 4 to 6 weeks after rooting, then feed lightly during active growth.
- Humidity: Crotons appreciate it long-term. A pebble tray or nearby humidifier can help.
Other propagation options
Stem cuttings are the go-to, but crotons give you a couple more options in specific situations.
Air layering
If your plant has a thick, woody stem (or you want a bigger, faster-starting new plant), air layering is a great alternative. You lightly wound the stem, pack damp sphagnum moss around it, wrap it, and let roots form while the stem is still attached to the parent plant. Once you see a solid root bundle, you cut below it and pot it up.
Cane cuttings
Got a leggy croton with a bare “cane” and leaves mostly at the top? You can cut the cane into sections (each with at least one node), then root those sections in an airy mix under high humidity and warmth. It’s slower, but it can turn an awkward plant into several new starts.
Common mistakes
If your cutting turns black, mushy, or drops all its leaves, it’s usually one of these issues. The nice thing about plant problems is they’re often repeatable. That means they’re fixable.
1) Rot from soggy conditions
- Symptoms: Blackened stem, foul smell, mushy base.
- Fix: Use a lighter mix, smaller pot, and only lightly moist medium. Vent humidity cover daily.
- When to restart: If the base is black or soft, recut the stem above the rot with disinfected tools and restart in fresh medium.
2) Cold temperatures
- Symptoms: Cutting just sits there for weeks, then declines.
- Fix: Move to a warmer spot or use a heat mat. Keep away from cold windows at night.
3) Not enough light
- Symptoms: Slow rooting, leaf drop, dull color.
- Fix: Brighter indirect light, or a simple grow light 10 to 12 hours a day.
4) Too much leaf surface
- Symptoms: Leaves wilt fast, edges crisp, cutting shrivels.
- Fix: Remove extra leaves and trim large leaves in half. Increase humidity.
5) Dirty tools or containers
- Symptoms: Stem darkens quickly at the cut, fungus appears.
- Fix: Disinfect tools, use fresh medium, wash jars, and change water often.
6) Expecting instant results
- Symptoms: You keep checking, repotting, moving it around, and it never settles.
- Fix: Set the cutting in a stable spot and let it be. Crotons like steady conditions.
Croton propagation FAQ
Can I propagate croton from a single leaf?
Not reliably. You need stem tissue with a node. A leaf alone may stay alive for a while, but it typically won’t grow into a full plant.
Why is my croton cutting losing leaves?
Leaf drop is usually stress from low humidity, temperature swings, or the cutting trying to conserve moisture before it has roots. Increase humidity, keep it warm, and reduce leaf area next time.
Should I root croton in water or soil?
Both can work. If you’re new to propagation, water is easier to monitor. If you want a sturdier transition and fewer water-root adjustment issues, soil is often smoother for crotons.
How long does croton propagation take?
Commonly 3 to 8 weeks, sometimes longer. Warmth and bright indirect light make the biggest difference.
Final note
If your first cutting fails, you didn’t “kill it.” You ran an experiment and learned what your home environment does best. Adjust one thing next time, usually warmth or airflow, and try again. Crotons are dramatic, yes, but they’re also surprisingly forgiving when you meet them halfway.