Closed Terrarium Care
A closed terrarium is basically a tiny weather system you can hold in your hands. When it is built well, it feels almost magical: moisture rises, condenses, and drips back down, keeping your plants happy with very little intervention. When it is built poorly (or loved a little too enthusiastically with the watering can), it can turn into a foggy mold sauna.
Let’s build one the reliable way, then I will show you how to read the glass like a forecast so you know exactly when to seal it tight and when to crack the lid.

What “closed” means
A closed terrarium is sealed most of the time, but not sealed forever. Think of it like a sourdough starter jar: it lives best with a stable routine and occasional check-ins.
- Closed terrariums thrive with humidity-loving plants and minimal watering.
- Open terrariums suit dry-air plants like most succulents and cacti (these usually rot in closed systems).
If your dream plant list includes succulents, swap to an open bowl. If you love moss, ferns, and jewel-toned tropical foliage, you are in the right place.
Pick a container and spot
Container tips
- Clear glass with a lid is easiest to manage because you can read moisture levels at a glance.
- Wide openings make planting and cleanup far less frustrating than narrow-neck bottles.
- Size matters: bigger containers are more stable and forgiving because they swing less wildly in humidity and temperature.
Where it should live
Bright, indirect light is your sweet spot. A closed terrarium in direct sun can overheat fast, even on a cool day.
- Best light: near an east window, or a few feet back from a bright south or west window.
- Avoid: hot windowsills, radiators, heat vents, and cold drafts.
- Grow lights: a small LED plant light works beautifully. Aim for 10 to 12 hours daily, with the light 10 to 18 inches away depending on intensity.
Temperature comfort zone: most closed terrarium plants are happiest around typical indoor temps, roughly 65 to 80°F (18 to 27°C). Try to avoid heat spikes. If the jar feels warm to the touch, it is too close to sun or a strong light.
Quick tools list
You can build a terrarium with what you have, but a few small tools make it calmer and cleaner.
- Long tweezers or chopsticks (planting and cleanup)
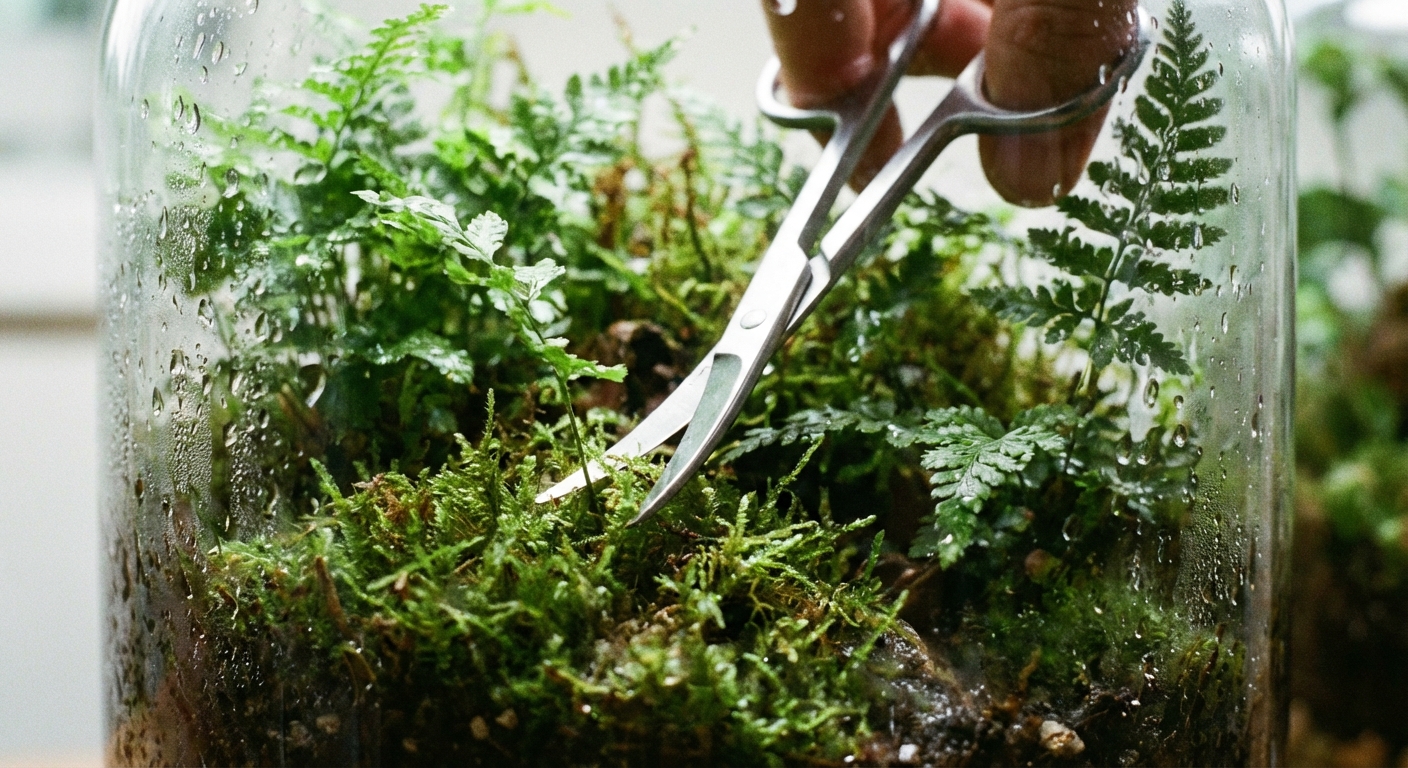
- Small scissors (pruning)
- Spoon, small scoop, or funnel (soil layers)
- Spray bottle or syringe (precision watering)
- Microfiber cloth (cleaning inner glass)
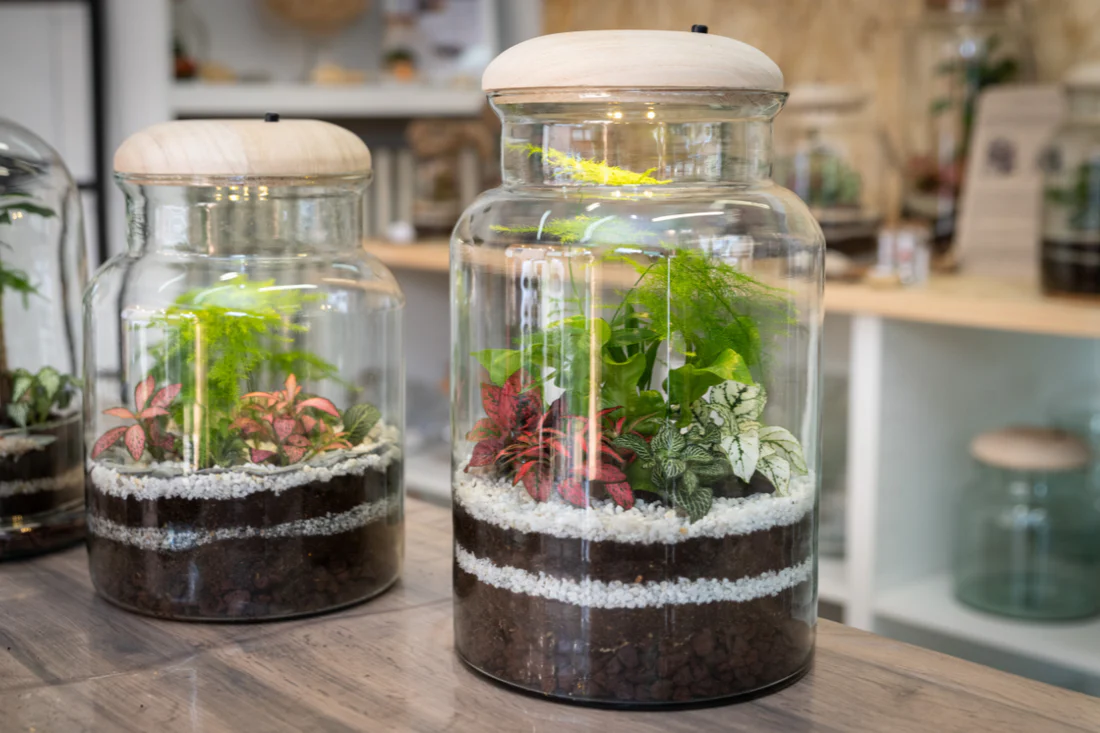
Layers (no soggy roots)
Closed terrariums do not have drainage holes, so we build in a buffer and use a light substrate to reduce the chances of constantly saturated roots. One important nuance: a gravel reservoir does not magically “drain” the soil the way a pot with holes does. If you overwater, the substrate can still stay too wet above the gravel. The real secret is airy soil plus careful watering, with the bottom layers acting as extra insurance.
Layer 1: drainage (1 to 2 inches)
Use rinsed pebbles, aquarium gravel, pumice, or LECA. The goal is a reservoir where extra water can collect away from most roots, buying you time if you add a bit too much.
Layer 2: charcoal (thin, optional)
A sprinkle of horticultural charcoal helps keep things fresher by adsorbing odors and impurities. It is not a magic mold shield, but it is a nice insurance policy.
Layer 3: barrier (optional)
A thin layer of sphagnum moss or a piece of fine mesh keeps soil from sifting down into the gravel over time.
Layer 4: substrate (2 to 4 inches)
Use a light, airy mix. Avoid dense garden soil.
- Easy blend: 2 parts coco coir or peat-free potting mix, 1 part perlite or pumice, 1 part fine orchid bark.
- For moss-heavy builds: add a small handful of sphagnum to hold gentle moisture without turning soupy.
Layer 5: top dressing (optional)
A thin layer of leaf litter (dried magnolia leaves, oak leaves, or clean dried hardwood leaves) looks natural and helps reduce splashing and fungal flare-ups by keeping the soil surface from staying glossy-wet.

Best plants for humidity
Closed terrariums reward plants that enjoy steady moisture and higher humidity. Skip anything that demands strong airflow or drying cycles.
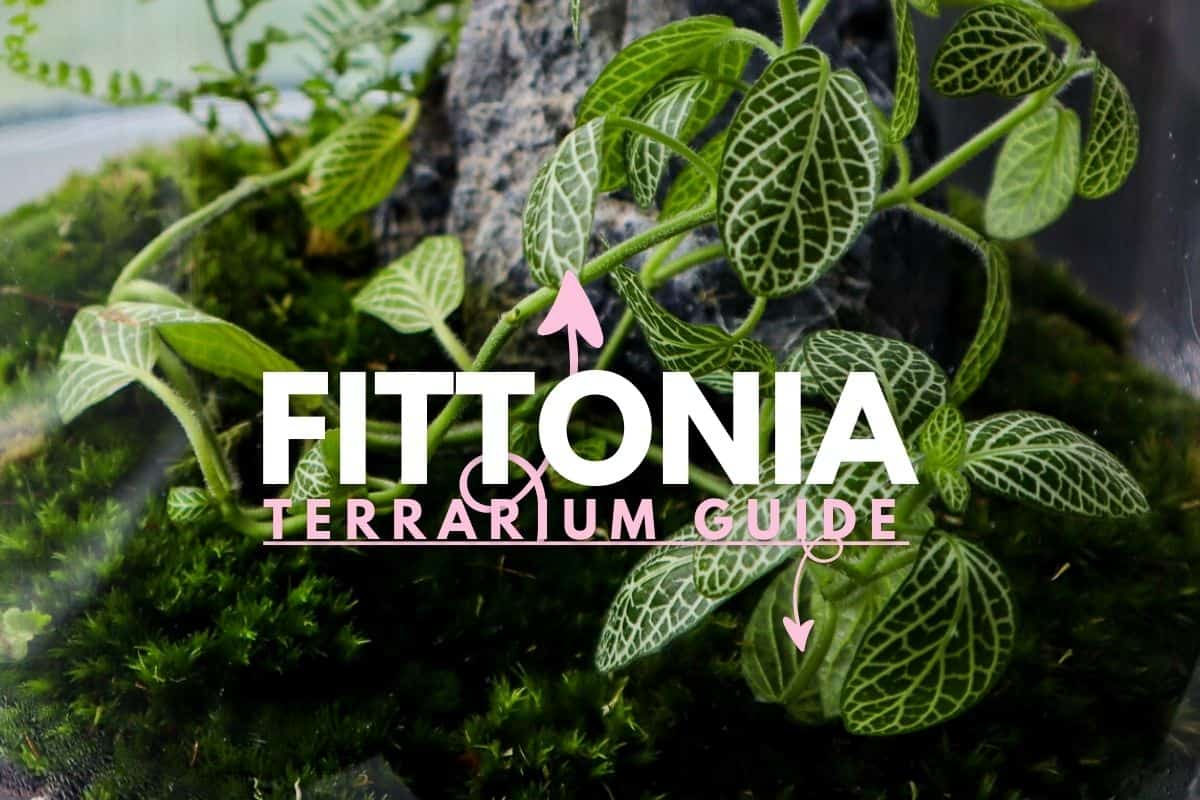
Great starter plants
- Fittonia (nerve plant): colorful, forgiving, and clearly shows thirst before it becomes a crisis.
- Selaginella (spikemoss): loves humidity and stays compact.
- Pilea depressa or other small pileas: soft trailing texture without taking over.
- Peperomia (mini types): choose smaller varieties and avoid thick, succulent-like types in very wet setups.
- Miniature ferns: button fern (Pellaea), lemon button fern (Nephrolepis ‘Duffii’) if you have enough space.
- Moss: sheet moss, cushion moss, or nursery-grown moss.
Moss note: if you collect moss locally, only harvest where it is clearly permitted, on land you have permission to use, and in a way that does not strip an area bare. When in doubt, buy nursery-grown. Rinse well either way.
Plants to avoid
- Succulents and cacti (they rot in constant humidity).
- Most common houseplant orchids (like Phalaenopsis) in a sealed jar (they usually need more airflow at the roots than a beginner closed terrarium provides).
- Fast growers that quickly hit the glass and turn lanky, unless you are committed to frequent pruning.
- Big-root plants that outgrow the container fast.
My cozy rule: choose plants with similar moisture preferences and similar growth speed. Mixed “one likes it wet, one likes it dry” terrariums usually end with one plant thriving and the other sulking.
Planting and layout
Think in tiny landscapes: low growers in front, taller accents in back, and breathing room around each plant so leaves are not constantly pressed against wet glass.
Step-by-step planting
- Pre-moisten the soil so it is evenly damp, like a wrung-out sponge. Do not plant into mud.
- Plant largest first, then tuck in smaller plants and moss.
- Firm gently around roots to remove big air pockets.
- Clean the glass inside with a microfiber cloth so you start with a clear view of condensation.
- Wait before sealing: leave the lid off 12 to 24 hours so the terrarium can air out and the initial surface moisture can settle.
If you want hardscape (stones, branches), keep it minimal. Too much wood in a constantly damp jar can encourage fungus over time unless it is well-cured and you have a cleanup crew (more on that below).
Watering discipline
Closed terrariums do not need “regular watering.” They need rare correction.
How to water
- Use a mist bottle or syringe for precision.
- Water the soil, not the leaves, especially with ferns and fittonia packed tightly.
- Add a little, then wait: 1 to 2 tablespoons can be plenty for small jars.
How often?
It depends on your room temperature, light, container size, and plant load. Many healthy closed terrariums only need a small top-up every 1 to 3 months, sometimes even longer.
Better question: “What does the glass tell me?”
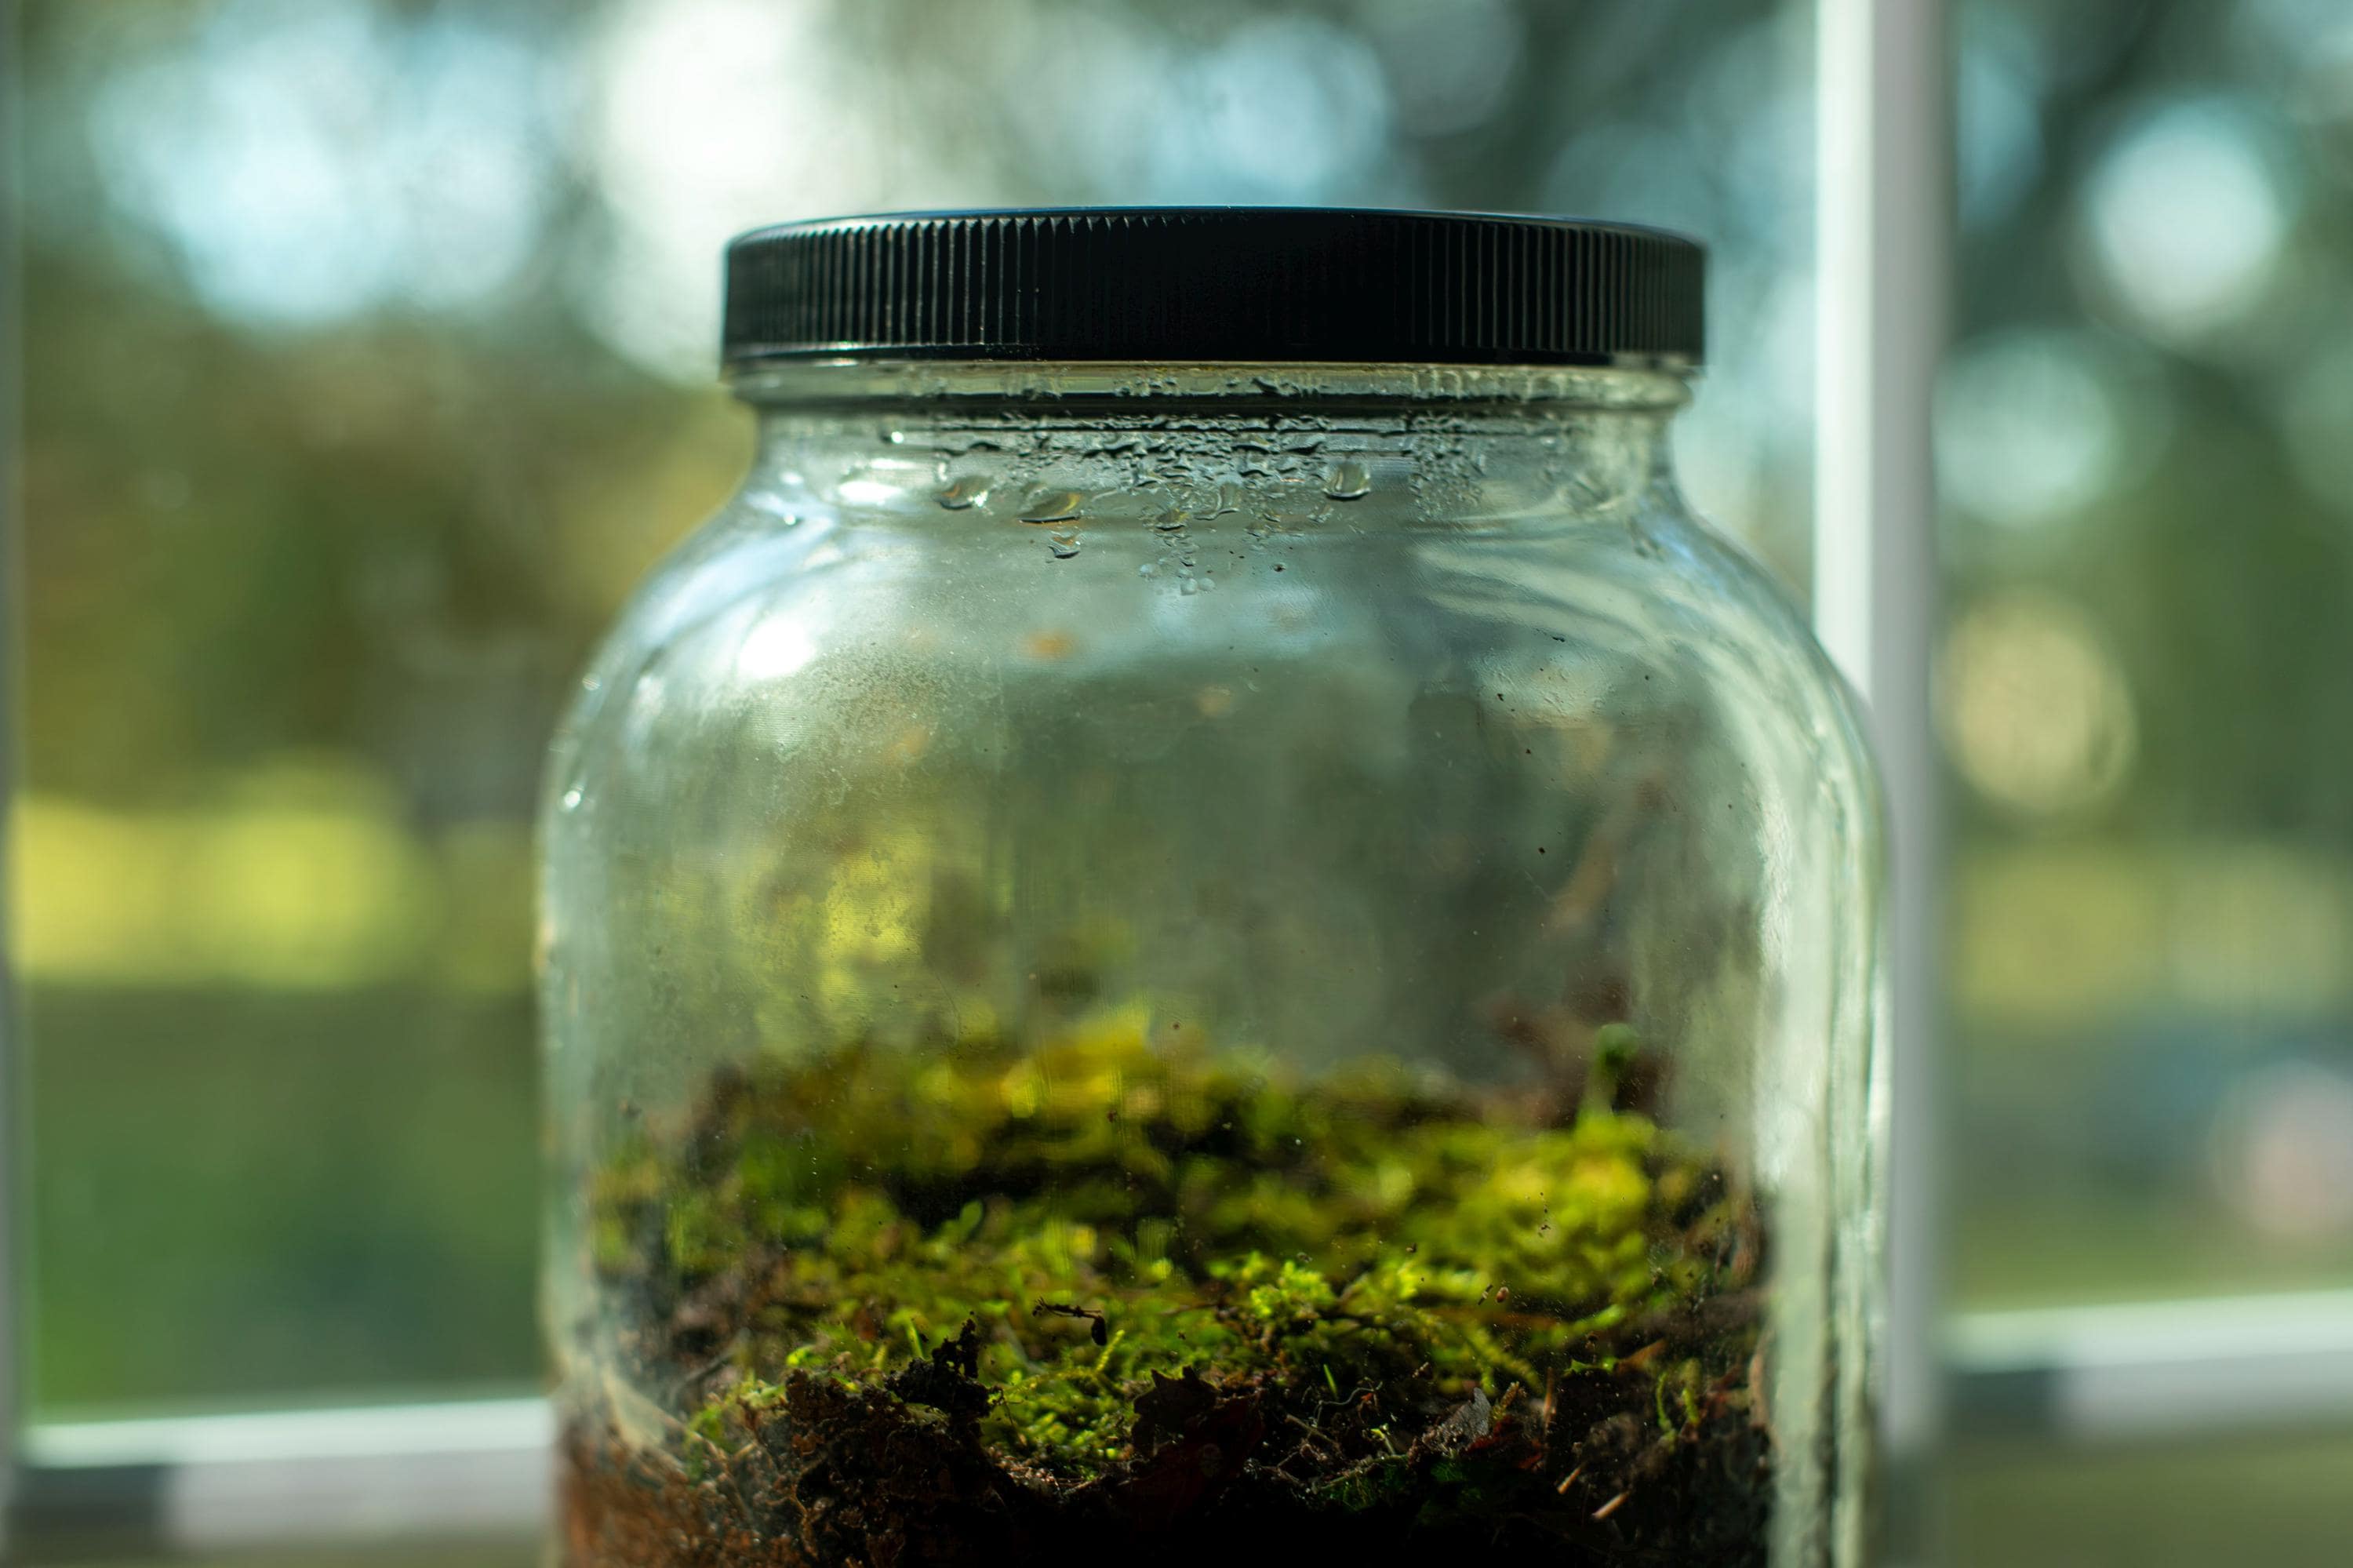
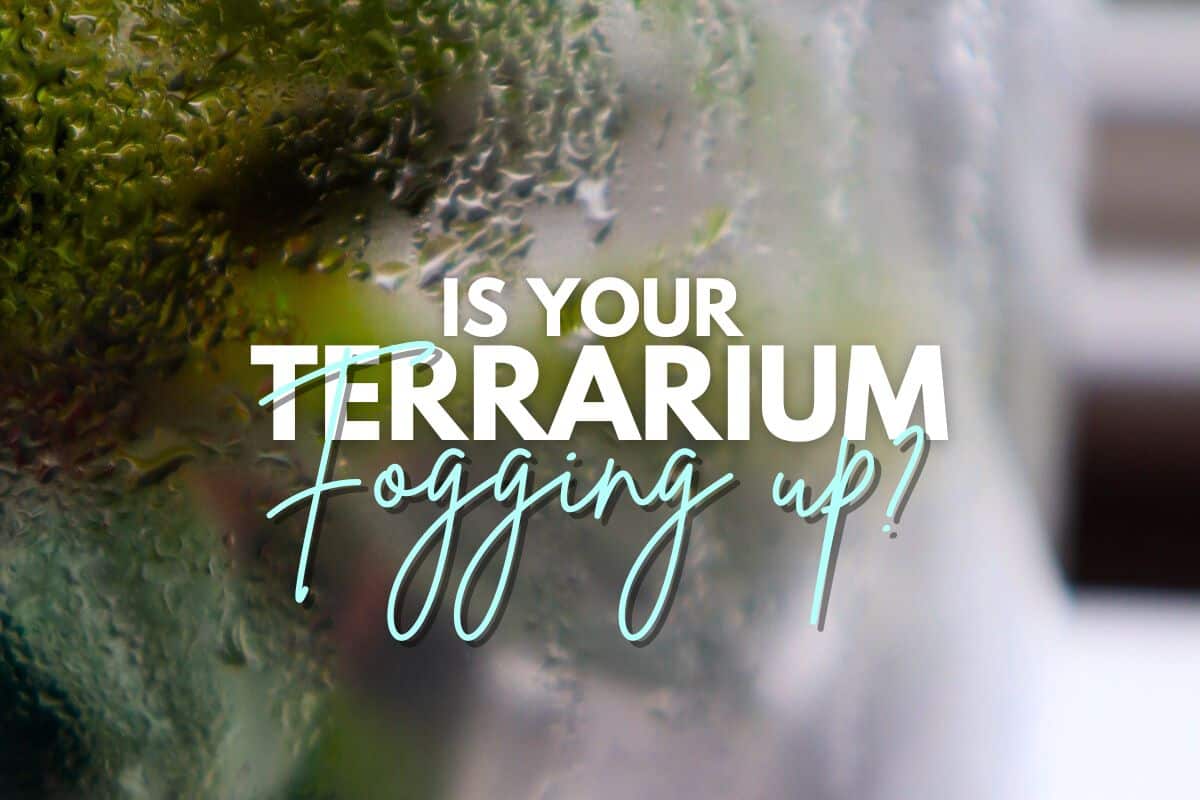
Read the condensation
Condensation is not automatically a problem. It is a signal.
What you want to see
- Mornings: light fog or a few droplets is normal.
- Midday: glass mostly clears, with only a hint of moisture.
- Evenings: a little return of condensation is fine.
Too wet
- Heavy fog all day.
- Big droplets constantly running down the glass.
- Soil surface looks shiny or soupy.
- A swampy smell.
Fix: open the lid and let it breathe until the glass clears and the soil surface looks more matte than glossy. Sometimes that is a couple hours. If it is truly saturated, prop the lid slightly ajar for a day or two, checking that plants do not wilt.
Too dry
- No condensation at any time for several days.
- Moss turns pale and crispy.
- Fittonia droops and does not perk up overnight.
Fix: add a small amount of water to the soil (not a full drench), seal, and observe over the next 24 to 48 hours.
Open or seal?
Keep it sealed when
- Condensation follows the gentle daily cycle (some in the morning, mostly clear later).
- Plants look perky, compact, and richly colored.
- No off smells and no fuzzy growth.
Open it when
- Glass stays foggy all day (too wet).
- You see mold (act quickly).
- You just planted it and want the first-day dry down.
- You trimmed heavily and want fresh airflow for 12 to 24 hours.
Opening your terrarium is not “failing.” It is maintenance. Even the healthiest closed setups benefit from occasional airing out, especially in humid seasons.
First 2 weeks routine
New terrariums are the moodiest. The goal is to gently steer the moisture level into that morning-fog, midday-clear rhythm.
- Day 1: leave the lid off 12 to 24 hours after planting.
- Days 2 to 7: seal it, then check daily. If the glass is foggy all day, crack the lid for an hour or two.
- Week 2: do quick “burp” sessions only if needed (persistent fog, sour smell, or visible fuzz). Otherwise, leave it alone.
What is normal: a little cloudiness and a tiny bit of fungus on wood or leaf litter can happen early on. It usually settles down once moisture and cleanup habits stabilize.
Leggy growth
If plants stretch toward light, develop long internodes, or look sparse, that is etiolation. In a terrarium, it happens fast because plants are competing for the brightest spot.
Signs
- Long, weak stems leaning hard in one direction.
- Leaves spaced far apart.
- New leaves smaller and paler than older leaves.
Fixes
- Increase light: move closer to a bright window (no direct sun) or add a grow light.
- Rotate weekly so growth stays even.
- Prune and replant cuttings to regain a compact look.
Watch the heat: more light should not mean more temperature spikes. If the jar feels warm to the touch, back it up from the window or reduce grow-light intensity.
Mold: what to do
Mold is common in new terrariums because everything is freshly disturbed and moist. The good news: most mold outbreaks are fixable without tearing the whole thing apart.
What it looks like
- White fuzz on soil, wood, or leaf litter.
- Gray webby patches on decaying leaves.
- Mushrooms popping up (usually harmless to plants but a sign the system is very moist and rich).
Step-by-step rescue
- Open the lid and let the terrarium air out for several hours.
- Remove decaying material: dead leaves, rotting stems, moldy leaf litter. Use tweezers for precision.
- Spot clean: scoop off the top 1/4 inch of moldy soil and replace with fresh, slightly damp substrate.
- Dry the surface slightly: leave open until the glass clears and the soil surface looks matte, not glossy.
- Adjust long-term moisture: reseal and aim for the light morning condensation cycle.
Hydrogen peroxide?
A very diluted hydrogen peroxide solution can help as a spot treatment, but it is not my first move because it can stress sensitive mosses and delicate roots. I prefer airflow, removal of decaying bits, and moisture correction first.
If you do choose it, keep it gentle: mix 1 part 3% hydrogen peroxide with 3 parts water, test on a tiny area, avoid soaking plants, and improve ventilation afterwards.
Best prevention
- Do not overwater at setup.
- Rinse hardscape and drainage materials.
- Remove dying leaves quickly (they are mold snacks).
- Give new builds a few brief burp sessions in the first two weeks if they stay foggy.

Cleanup crew (optional)
If you want the terrarium equivalent of a tidy little maintenance team, consider a cleanup crew. They help process mold spores, decaying leaves, and general “tiny forest” debris.
- Springtails: the classic choice for closed terrariums. Small, low-drama, and excellent at keeping fungus in check.
- Isopods: cute, effective, and hungrier. Best in larger terrariums with deeper leaf litter and more space.
Note: A cleanup crew helps, but it does not replace moisture control. If your terrarium is a swamp, they will not save it.
Fungus gnats
If you see little black gnats flitting near the glass, they are usually fungus gnats. They love consistently moist soil because their larvae feed on fungi and organic matter.
How to confirm
- Adults look like tiny dark mosquitoes.
- You may see them scuttle on the glass or soil surface.
Control plan
- Dry the surface: open the terrarium to let the top layer dry a bit. Gnats need moisture to thrive.
- Remove decaying material: dead leaves and mushy stems feed the problem.
- Use yellow sticky traps outside the terrarium nearby to catch adults (avoid sticking traps inside where they look messy and can touch plants).
- Consider BTI (Mosquito Bits or similar) if gnats persist: use in a very controlled way, with minimal added water, and monitor carefully.
Note: If your terrarium is tiny, the best gnat fix is often the simplest: open it, let it dry slightly, and stop adding water for a while.
Pruning and upkeep
Closed terrariums are not “set it and forget it.” They are more like tiny bonsai gardens: a little trim here, a little tidy there.
Monthly quick check
- Remove yellowing leaves.
- Trim anything pressing hard against the glass.
- Wipe interior glass if algae film appears (a sign of lots of light plus moisture).
- Sniff test: it should smell like clean forest soil, not sour.
Seasonal shifts
- Winter: indoor heat dries air, but your terrarium may still stay wet if light is low and evaporation slows. Watch for persistent fog.
- Summer: warmth increases evaporation and plant growth. You may see more condensation and faster crowding. Prune more often and avoid sunbeams.
Troubleshooting
Cloudy glass all day
- Cause: too much water, too much heat, or both.
- Fix: open lid until the glass clears, move away from heat and sun, reseal when the daily condensation cycle returns.
No condensation ever
- Cause: too dry, lid not sealing, or a very warm bright spot.
- Fix: add a small amount of water to the soil, check lid fit, monitor for 48 hours.
Mold keeps returning
- Cause: decaying matter left in place, saturated substrate, low airflow.
- Fix: remove debris, replace top soil, longer airing schedule for a week, then reseal.
Plants look pale and stretched
- Cause: not enough light.
- Fix: brighter indirect light or a grow light; prune and replant cuttings.
Leaves melting or turning mushy
- Cause: too wet, heat spikes, or a plant unsuited to closed humidity.
- Fix: open and dry down; remove affected tissue; consider swapping to a better-suited plant.
Balance over perfection
If you take one thing from this page, let it be this: a happy closed terrarium is about balance. Not constant misting, not constant tinkering, and definitely not panic when you see a little morning fog.
Build a good foundation with airy soil and smart layers, choose humidity-loving plants, and then practice the calmest skill in gardening: waiting and observing. Your terrarium will tell you what it needs, right there on the glass.