Clematis Vine Care for Strong Growth
Clematis has a reputation for being fussy, but most “clematis problems” come down to a few basics: the crown planted correctly, the roots kept cool, and the soil kept evenly moist. Do those three things and your vine can settle in, climb confidently, and flower like it means it.
This page focuses on establishment and ongoing care. If you are looking for when and how to cut your vine back, head to our clematis pruning groups article because pruning depends on the type you grow.

Start strong: choosing a spot and support
Clematis wants its face in the sun and its feet in the shade. In practical terms, that means bright light on the top growth and a cool, protected root zone.
- Light: Many clematis bloom best with 6 hours of sun, but plenty do well with morning sun and afternoon shade, especially in hot climates.
- Airflow: Good airflow helps reduce foliar disease. Avoid cramming the vine into a tight corner with no breeze.
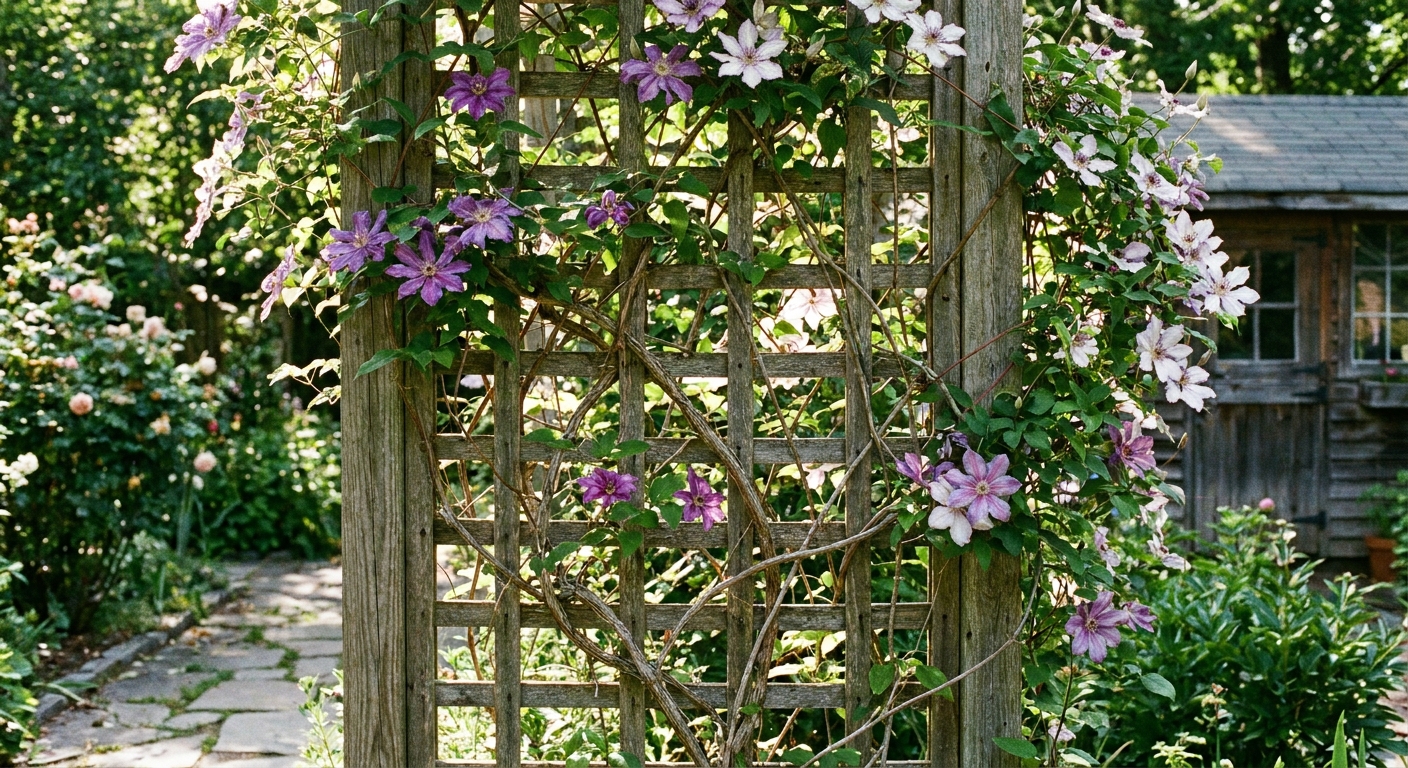
- Support: Clematis climbs by wrapping leaf stems around thin supports. Give it something it can grab like a trellis, taut wires, netting, or twiggy branches. Thick posts alone are frustrating for it, so add a wire grid or garden twine to give it handholds.
- Soil: Rich, well-draining soil is the goal. Clematis hates sitting in water but also hates drying out.
If you are planting against a wall or fence, set the vine a little away from it so rain can reach the root zone and so heat does not bake the base.
Planting depth: the quiet secret to resilience
If you only remember one clematis tip, make it this: for most deciduous, large-flowered hybrids, plant the crown a bit deeper than it sat in its pot. That extra depth encourages new shoots from below the soil line and helps the plant recover if the top growth gets damaged.
Important caveat: This deeper planting advice is not universal. Many species clematis (like C. montana) are often planted at the same level they grew in the pot. Some evergreen or tender types (like C. armandii) may also prefer planting at or close to nursery depth. When in doubt, follow your plant tag or nursery guidance.
How deep to plant clematis
- In the ground (most large-flowered deciduous hybrids): Set the plant so the crown and the first set of strong buds are about 2 to 4 inches below the finished soil level.
- In the ground (many species types like C. montana): Plant level with the soil at the same depth it was in the nursery pot, unless your tag says otherwise.
- In containers: You can still plant slightly deep, but do not bury the crown dramatically in a pot where drainage is more variable. Aim for about 1 to 2 inches deeper than it was in the nursery pot and use a container with excellent drainage.
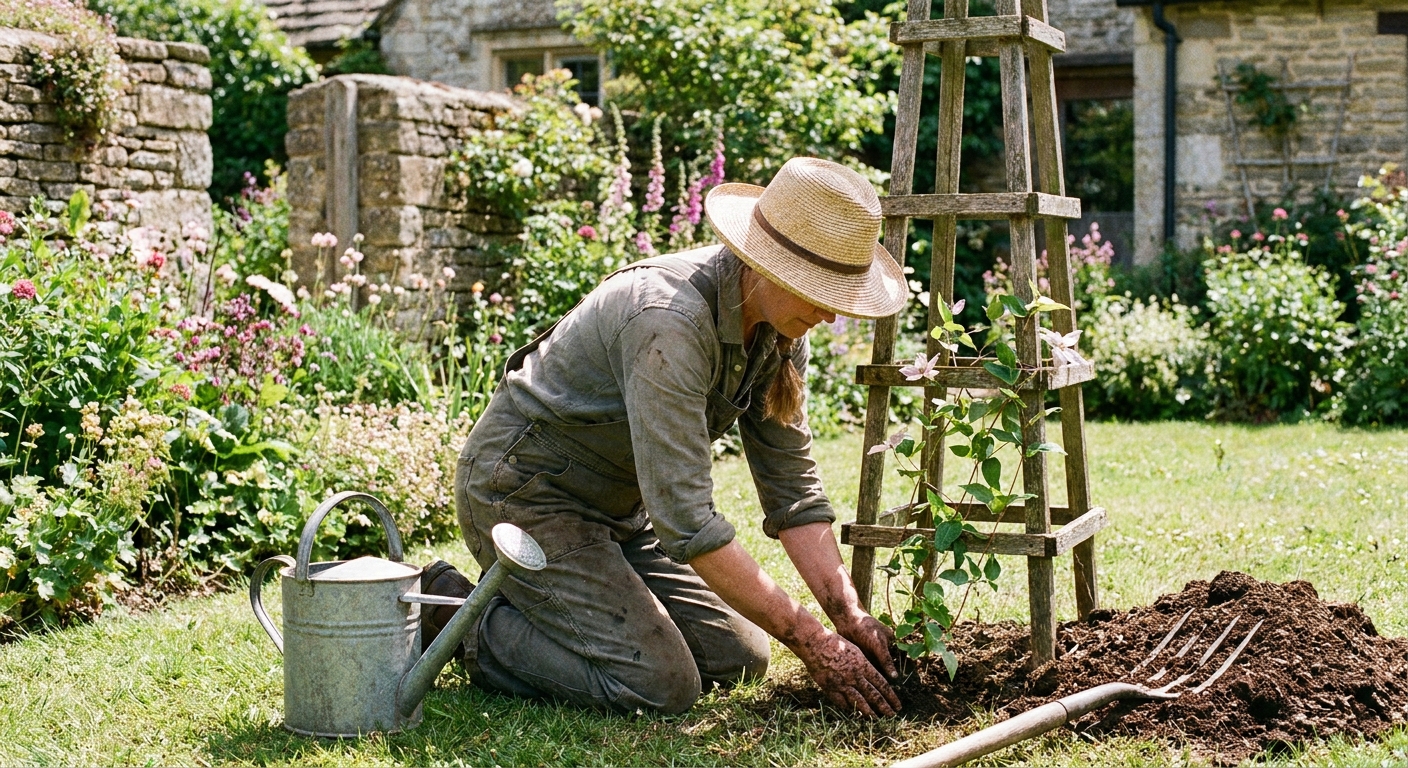
Step-by-step planting (the no-drama method)
- Soak the root ball for 10 to 20 minutes if the pot is dry.
- Dig wide, not just deep. Loosen the surrounding soil so roots can run.
- Amend lightly. Mix in compost. Skip heavy doses of fertilizer in the planting hole.
- Position the vine. Tilt it slightly toward its support and plant at the depth noted above.
- Backfill and water slowly to settle soil around roots.
- Mulch after watering to lock in moisture and keep roots cool.
Why deep planting matters for clematis wilt: Clematis wilt is the dreaded, highly searched problem where a healthy-looking vine suddenly collapses, often right as it is gearing up to bloom. Planting deeper (when appropriate for your type) is one of the best defenses because it encourages underground buds that can resprout if the top growth is lost.
Note on grafted plants: Some clematis are grafted. If yours is, plant so the graft union is below the soil line (again, when appropriate for the variety) so the desired cultivar can root and regrow true if it gets knocked back.
Cool roots: mulch and shade that work
Clematis roots are happiest in cool, evenly moist soil. Hot, exposed soil can cause stress that shows up as weak growth, fewer flowers, and faster wilting during summer heat.
Mulch options I trust
- Shredded bark: Long-lasting and great for temperature moderation.
- Leaf mold or chopped leaves: My favorite for soil life and moisture retention.
- Compost: Nourishing, but it can form a dry cap in summer. Top it with bark or leaves so moisture stays more even.
- Pine needles: A light, airy mulch that helps moderate temperature and reduces surface crusting. (They do not “fix” drainage, but they are a nice top layer.)
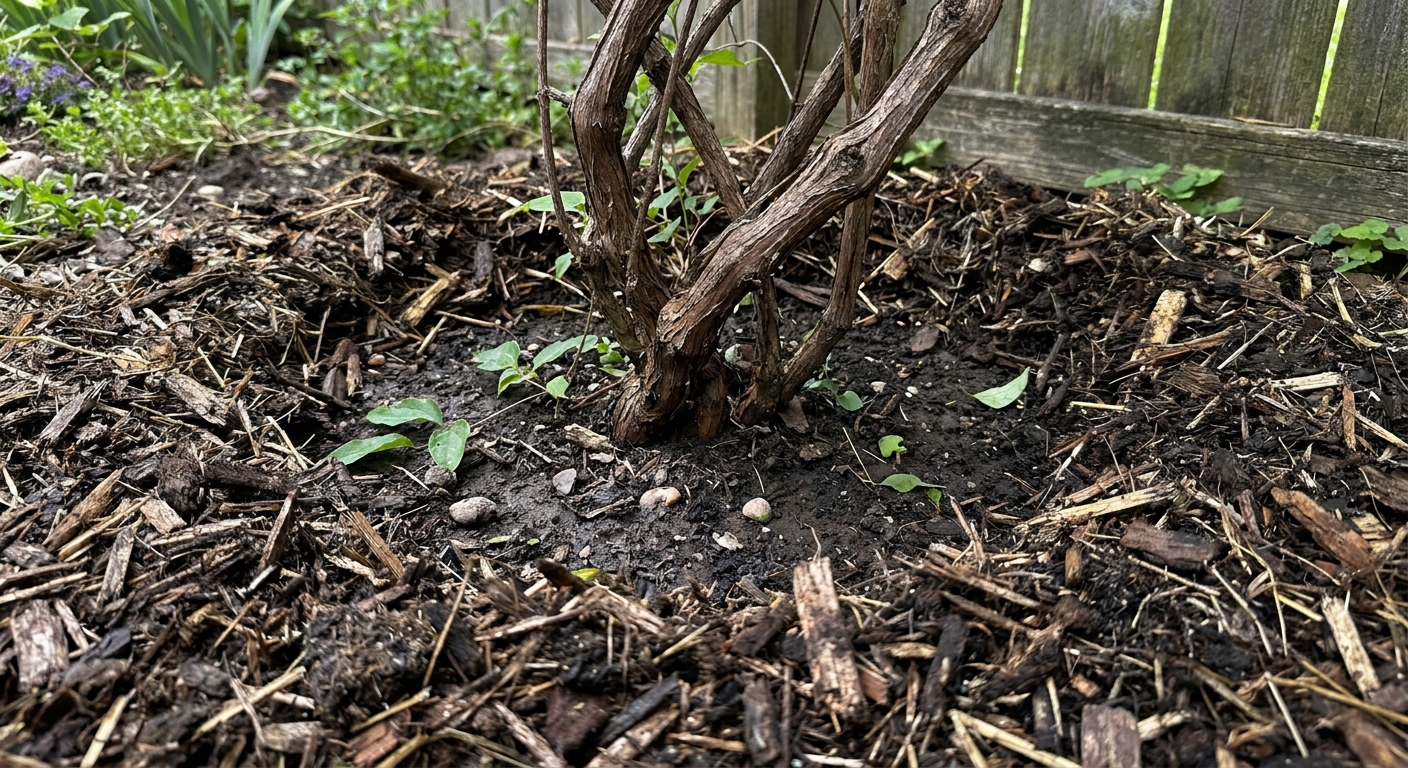
How much mulch and how close
Apply 2 to 4 inches of mulch over the root zone, but keep it pulled back an inch or two from the stems to discourage rot and pests. Think of a mulch doughnut, not a mulch volcano.
Shade for the “feet”
If you want to get charming about it, you can shade the base with a small companion plant. Choose something with shallow roots that will not compete aggressively.
- Low sedums
- Heuchera
- Sweet alyssum
- Small hosta in partial shade climates
Another simple trick in hot, bright gardens is a flat stone near the base to shade the soil surface. Keep it slightly off the crown and do not seal the ground so tightly that water cannot soak in.
Watering: consistent moisture, no swamp
Clematis is not a desert plant, and drought stress can set it back quickly, especially while it is establishing. Your goal is soil that feels like a wrung-out sponge.
The first year watering rhythm
- Weeks 1 to 4: Water deeply 2 to 3 times per week, depending on heat and rainfall.
- Months 2 to 6: Deep water about once per week, adjusting for weather and soil type.
- After establishment: Water during dry spells and heat waves before the vine shows stress.
Adjust for your soil: Sandy soil drains fast and usually needs more frequent watering. Clay holds moisture longer and often needs less frequent, slower soaking to avoid waterlogging.
How to tell if it needs water
- Check moisture 3 to 4 inches down. If it is dry there, it is time to water.
- Wilting in midday heat can be normal, but wilting in the morning often means the plant is truly thirsty.
- Leaves that crisp at the edges and buds that drop can signal inconsistent moisture.
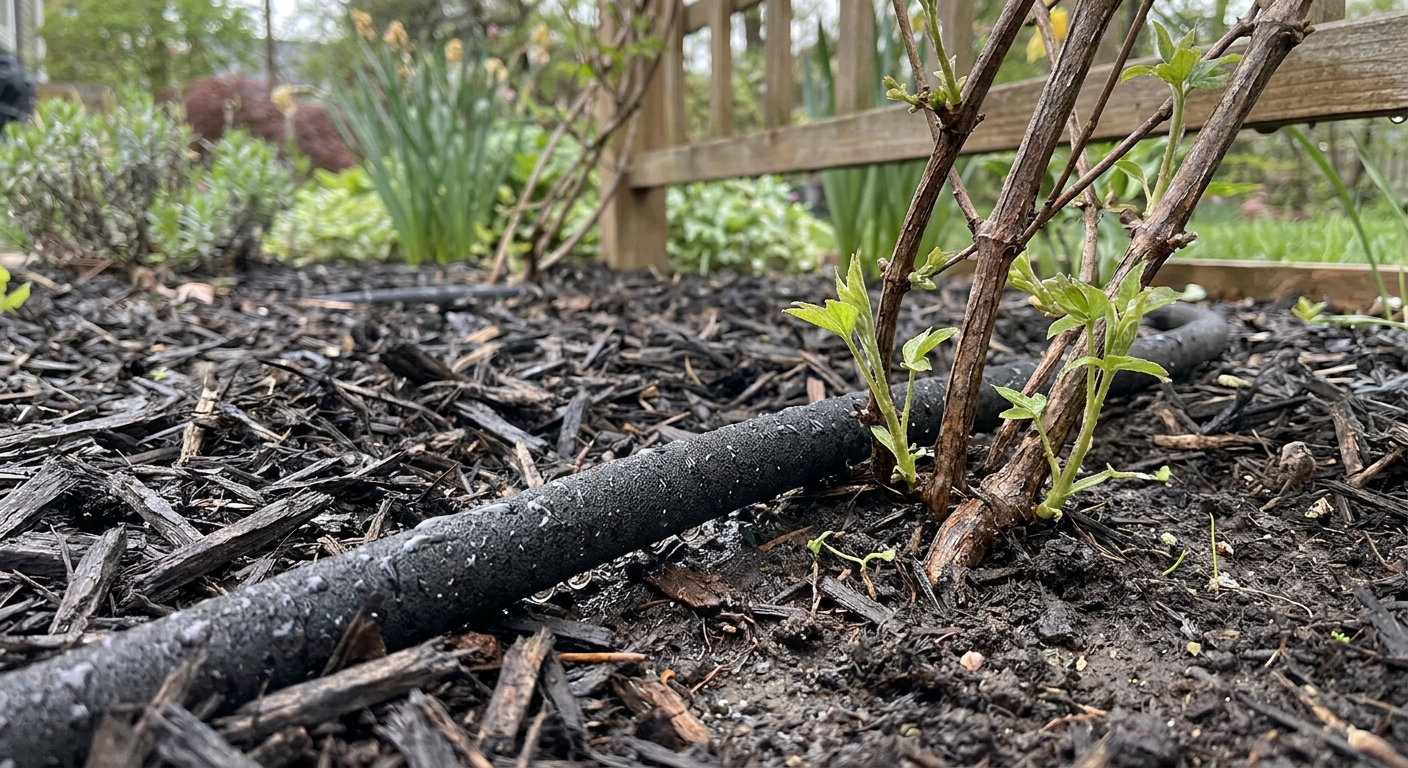
Best watering habits
- Water at the base rather than over the foliage when possible.
- Go slow and deep. A long soak beats a quick sprinkle.
- Use drip or a soaker hose under mulch for the most steady results.
Container clematis: Pots dry faster, especially in wind and sun. In midsummer, daily checks are normal and watering can be needed every day or two.
Quick container tip: Use a pot at least 18 to 24 inches wide and deep (bigger is better), with excellent drainage. In cold climates, containers can freeze solid, so give the pot some winter protection or move it to a sheltered spot.
Feeding: gentle nutrition, better blooms
Clematis can be a strong grower, but it does not need aggressive feeding. Over-fertilizing often creates lots of soft green growth and fewer flowers, and it can stress the plant during heat.
The safe, simple feeding plan
- At planting: Compost mixed into the backfill is usually enough. Avoid putting strong fertilizer in the hole.
- Spring: Top-dress with compost plus a slow-release, balanced organic fertilizer.
- After the first flush of growth or bloom: A light follow-up feeding can help, especially for repeat bloomers.
- Late summer: Ease off high nitrogen. Let the plant slow down naturally toward fall.
What fertilizer to choose
If you want one easy option, pick a balanced slow-release fertilizer or an organic rose and flower fertilizer and apply at label rates. Organic options are forgiving and support soil life, which clematis appreciates.
Feeding tips that prevent problems
- Water first, fertilize second if the soil is dry.
- Keep fertilizer off the crown and away from direct stem contact.
- Do not stack products. If you used slow-release granules, skip frequent liquid feeding unless the plant truly needs it.
If your clematis looks healthy but is not blooming well, it is often light, pruning group timing, or moisture consistency, not a lack of fertilizer.
Wilt, pests, and quick fixes
Clematis wilt
Clematis wilt can look dramatic: one day the vine is fine, the next day a whole stem or the entire top flops over as if someone unplugged it.
- What to do: Cut affected stems back to healthy tissue (sometimes this means cutting to near ground level). Dispose of the cuttings, do not compost them.
- Keep it steady: Water consistently and keep the root zone cool so the plant can push new shoots.
- Clean tools: Disinfect pruners between cuts.
- Why deep planting helps: When appropriate for your type, deeper planting means more buds below soil line, so recovery is much more likely.
Common pests
- Slugs and snails: They love tender new shoots. Hand-pick at night, use traps, or protect young growth early in the season.
- Aphids: A strong spray of water often knocks them back. If they keep returning, check for ants farming them.
Powdery mildew
If you see a white, dusty coating on leaves, it is often powdery mildew. It tends to show up when plants are stressed and airflow is poor. Give the vine room, water at the base, and avoid letting it cycle between bone-dry and soaked.
Common care mistakes (and kinder fixes)
Mistake: planting too shallow
Fix: If the plant is a large-flowered hybrid and it is new enough that you can lift it safely, replant deeper. Otherwise, you can gently add soil and compost around the base over time, then mulch. Do not bury leaves or smother stems. If you are growing a species clematis or an evergreen type, check your tag first because deeper is not always better.
Mistake: letting the root zone bake
Fix: Add 2 to 4 inches of mulch and shade the base. This is the fastest quality-of-life upgrade for clematis.
Mistake: inconsistent watering
Fix: Use a weekly deep soak as your baseline, then adjust. A simple reminder on your phone plus a quick finger-in-the-soil test works wonders.
Mistake: fertilizing hard and often
Fix: Step back. Compost plus a slow-release organic feed in spring is usually enough. Strong liquid feed every week is rarely needed.
Quick checklist: clematis care every year
- Spring: Refresh mulch, top-dress with compost, begin consistent watering as growth starts.
- Early summer: Keep the root zone shaded and evenly moist, feed lightly if needed.
- Mid to late summer: Prioritize deep watering during heat, avoid high nitrogen, watch for drought stress.
- Fall: Keep watering during dry autumn weeks so the plant goes into winter hydrated.
- Winter: Mulch helps buffer freeze and thaw cycles. Check that the crown is not sitting in pooled water.
If you are feeling nervous, remember this: clematis is not delicate. It just wants steady conditions. Give it cool roots, consistent moisture, and gentle nutrition, and it will do the climbing and blooming part all on its own.