Camellia Care: Fertilizer, Pruning, and Bud Drop
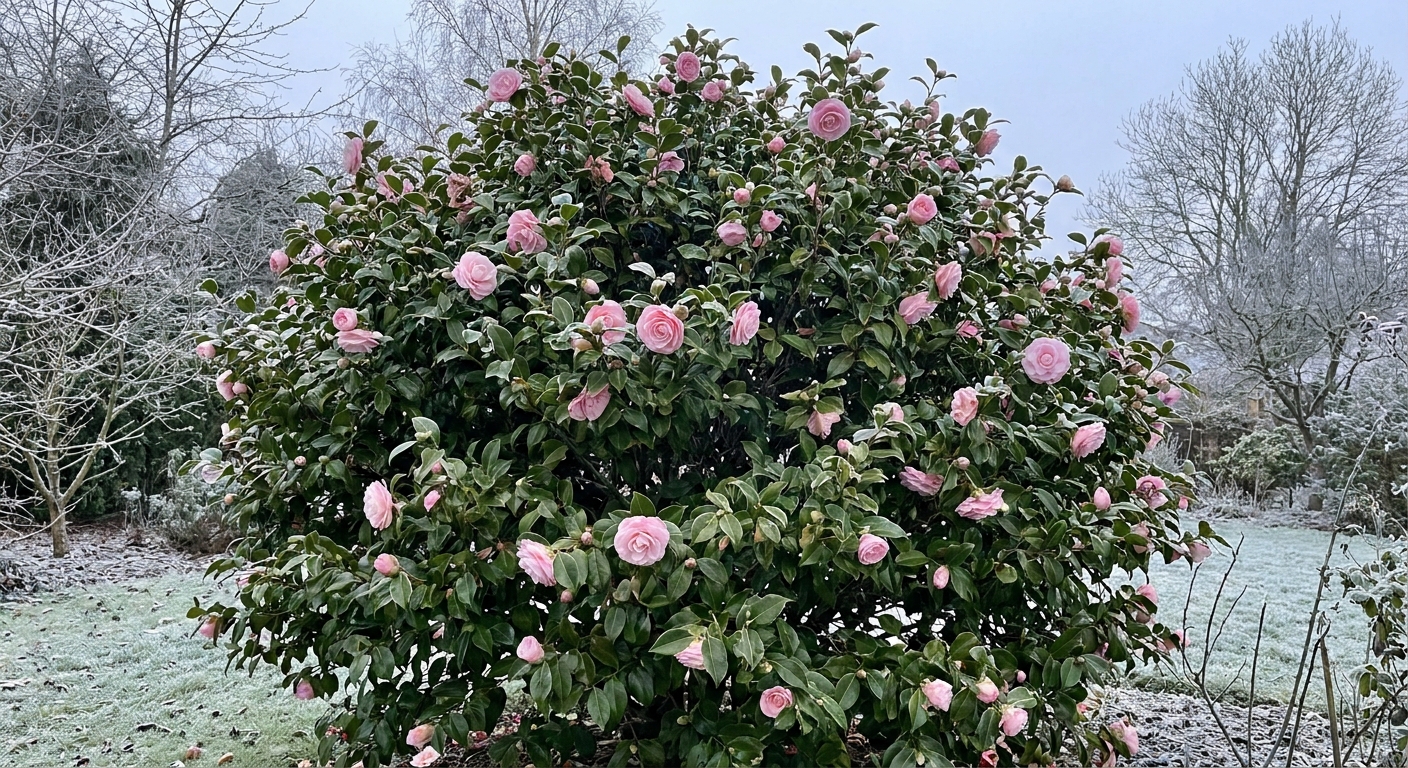
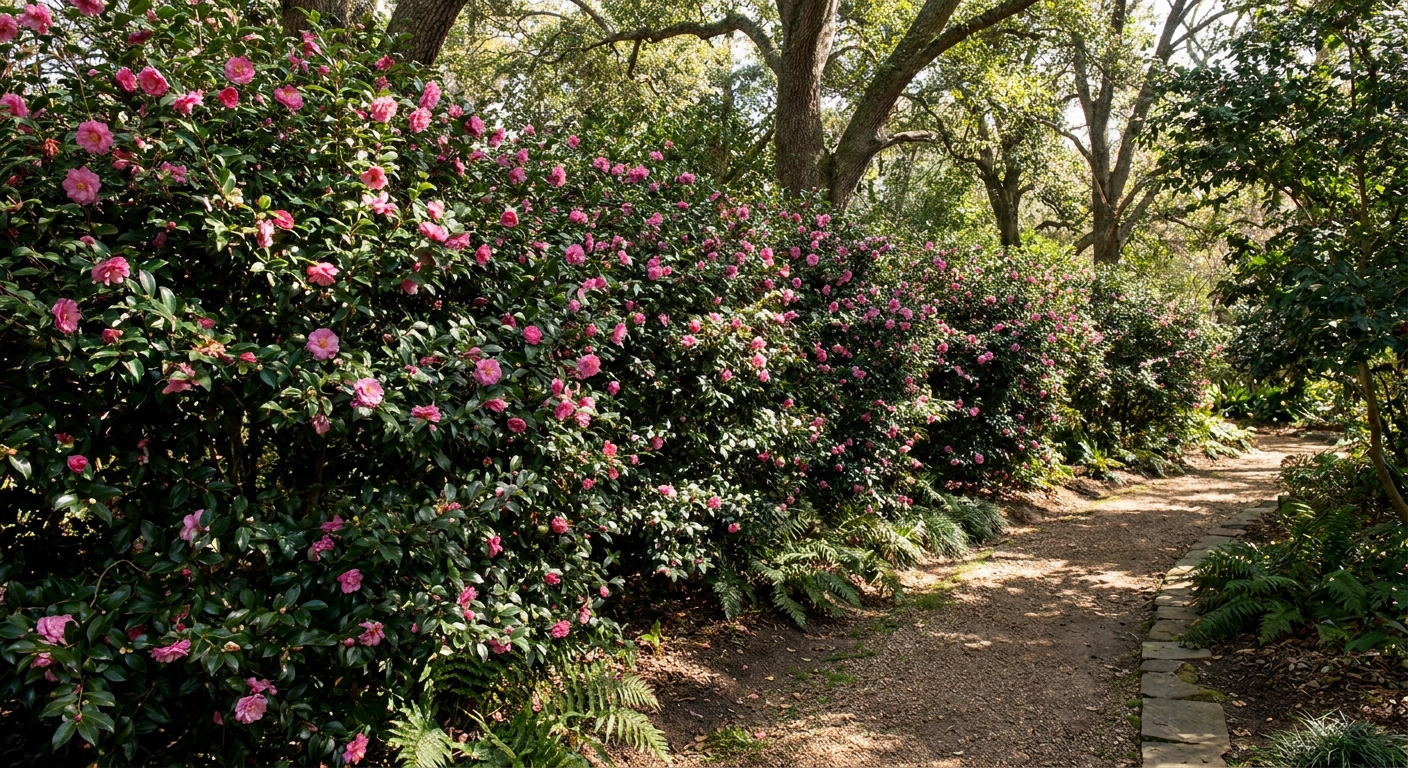
Camellias are the kind of evergreen that make you feel like you live in a storybook. Glossy leaves, waxy blooms, and that magic trick of flowering when the rest of the garden is still half asleep. They are not fussy, exactly, but they are particular. Give them steady moisture, acidic soil, and a gentle hand with fertilizer and pruning, and they will reward you for decades.

Start with the basics: light, soil, and placement
Most camellia drama comes down to two things: roots that swing between soggy and bone dry, or plants pushed into tender new growth at the wrong time. Before we talk fertilizer and pruning, set the stage.
Light
- Best: bright shade or morning sun with afternoon shade.
- Too much hot sun: scorched leaves, faster drying, and buds that can abort during heat spells.
- Too much deep shade: fewer blooms and leggy growth.
Soil: acidic, airy, and rich
Camellias prefer acidic soil, generally about pH 5.5 to 6.5 , with best performance often closer to 5.5 to 6.0. They also want oxygen around their roots, so heavy clay needs help.
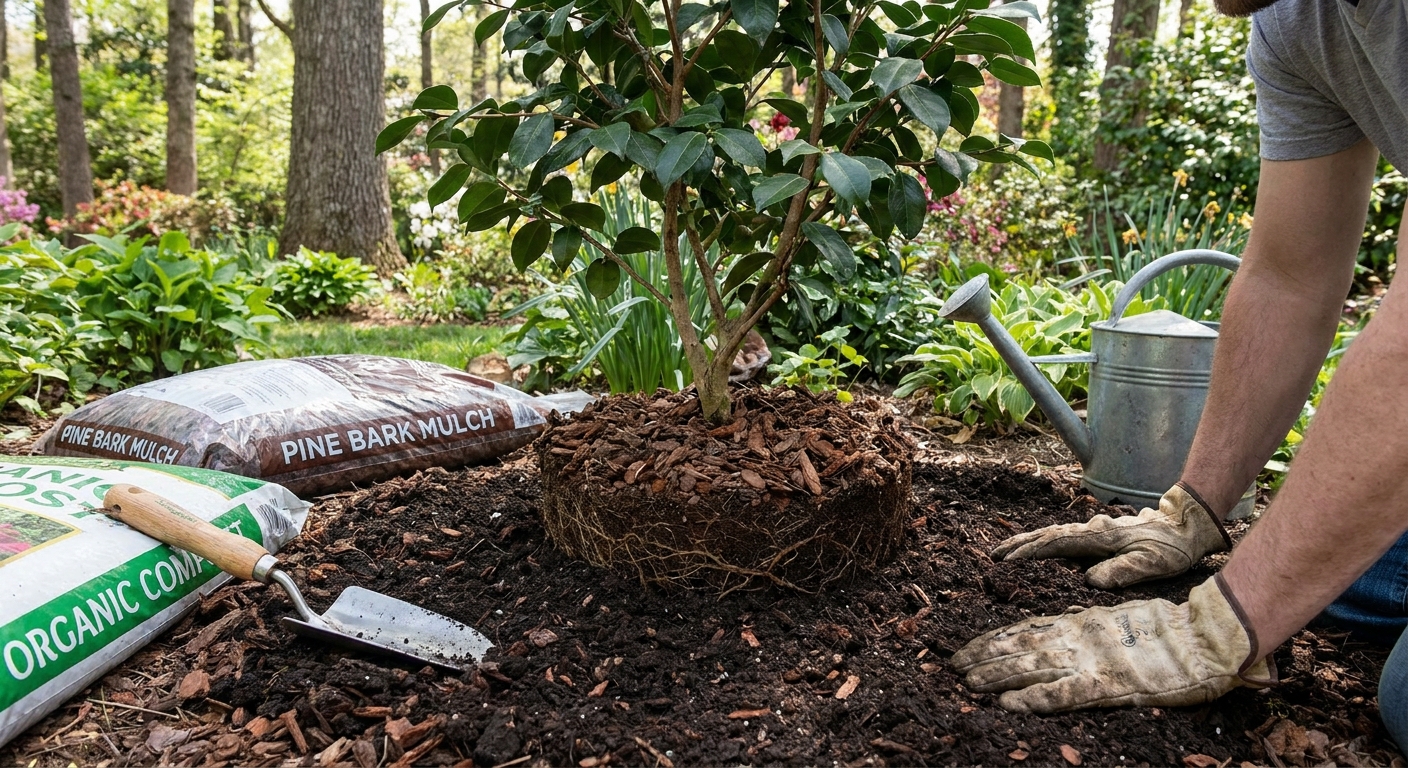
- If your soil is heavy: plant slightly high and mound with composted pine bark and leaf mold. Avoid burying the crown or root flare.
- If your soil is sandy: build organic matter with compost and keep a thicker mulch layer.
- Avoid: fresh manure, high-salt synthetic fertilizers, and planting in a low spot where water pools.
If you are not sure about your pH, a simple soil test is worth it. Guessing often leads to overcorrecting with sulfur or the wrong fertilizer.
Planting tips that prevent problems later
- Depth matters: set the root ball so the top sits slightly above the surrounding soil. Camellias hate being planted too deep.
- Fix circling roots: if the plant is pot-bound, gently tease out or slice a few circling roots so they grow outward.
- Give them breathing room: space plants so air can move through the canopy. It helps with leaf spot and makes bloom time prettier, too.
Watering and mulch: your bud insurance policy
If I had to pick one camellia care habit that prevents the most heartbreak, it would be consistent moisture from late summer through bloom time. Buds are forming and sizing up during that stretch, and stress shows up later as bud drop.
How to water (in-ground)
- Deep and steady: aim to moisten the root zone, not just the surface.
- Frequency: in warm months, many gardens need a deep soak once or twice a week, more during heat waves or in sandy soil.
- Check before watering: feel the soil 2 to 3 inches down. If it is barely damp, it is time.
- Newly planted shrubs: check more often for the first growing season. Their roots are still settling in.
- Keep blooms dry when possible: water at the base to reduce petal blight risk during flowering.
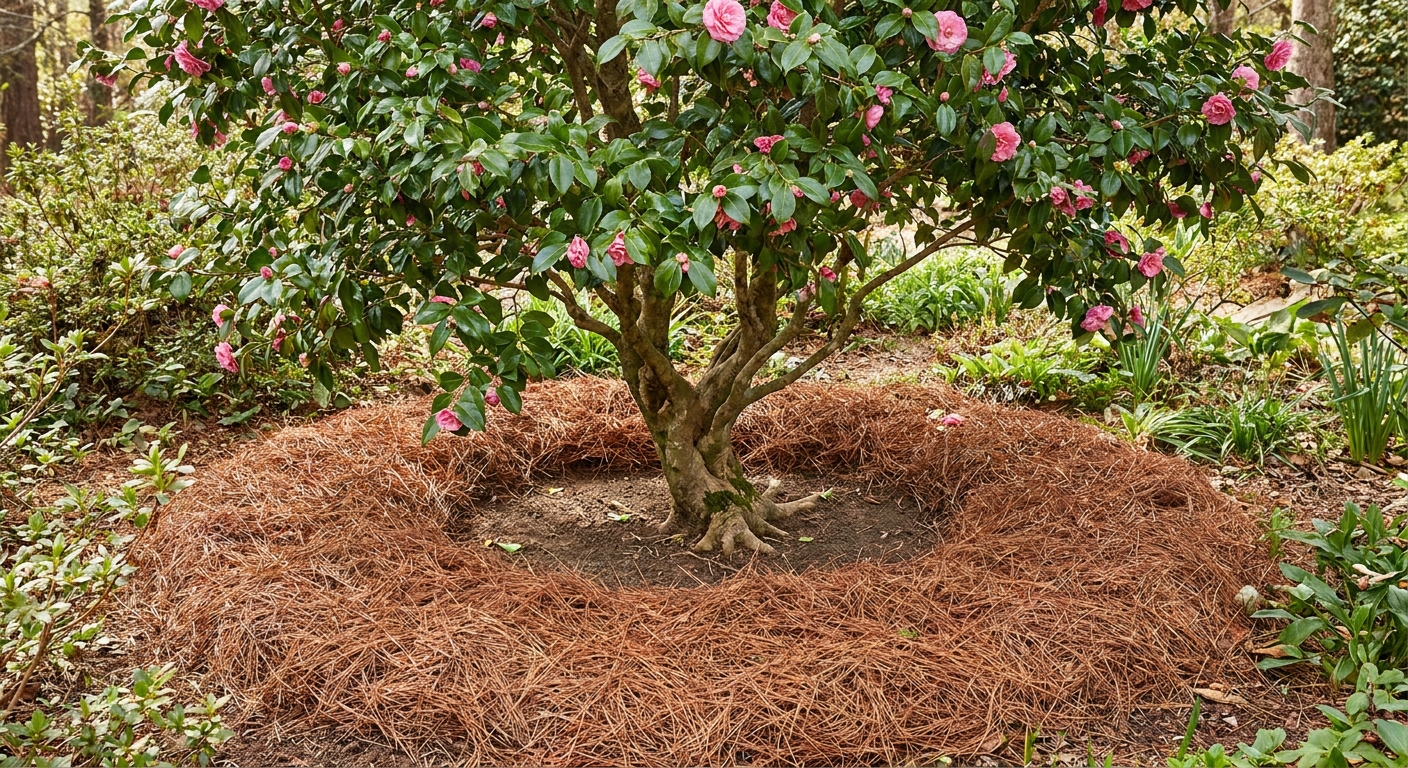
Mulch like you mean it
Mulch moderates temperature swings and keeps the root zone evenly moist, which camellias love.
- Best mulches: pine bark, pine needles, shredded leaves, or fine wood chips.
- Depth: 2 to 4 inches, refreshed as it breaks down.
- Important: keep mulch a few inches away from the trunk to prevent rot and pests.
Fertilizer timing: when to feed (and when to stop)
Camellias do not need heavy feeding. Over-fertilizing, especially with high nitrogen, can push soft growth at the wrong time and contribute to bud drop. Think of fertilizer as a gentle nudge, not a meal plan.
Best time to fertilize
- After flowering: this is the classic window for Camellia japonica and many mid to late bloomers. Feed once blooms fade and new growth begins.
- Late spring to early summer: a second light feeding can be helpful if your soil is lean, but keep it modest.
- Stop by mid-summer: in many temperate regions, late July is a good cutoff. In warmer, long-season climates, you may be able to feed a bit later, but the principle holds: do not push late, tender growth.
Feeding and buds (the nuance)
Camellias typically initiate next season’s buds in the warm season. If you feed too late, you can accidentally encourage leafy growth instead of bud development. If you feed too early and too hard, you can get lush growth that needs extra water and drops buds when the weather turns.
My practical rule: fertilize right after bloom and stop by mid-summer. Adjust the exact cutoff to your climate and first frost timing, but keep the intent the same.
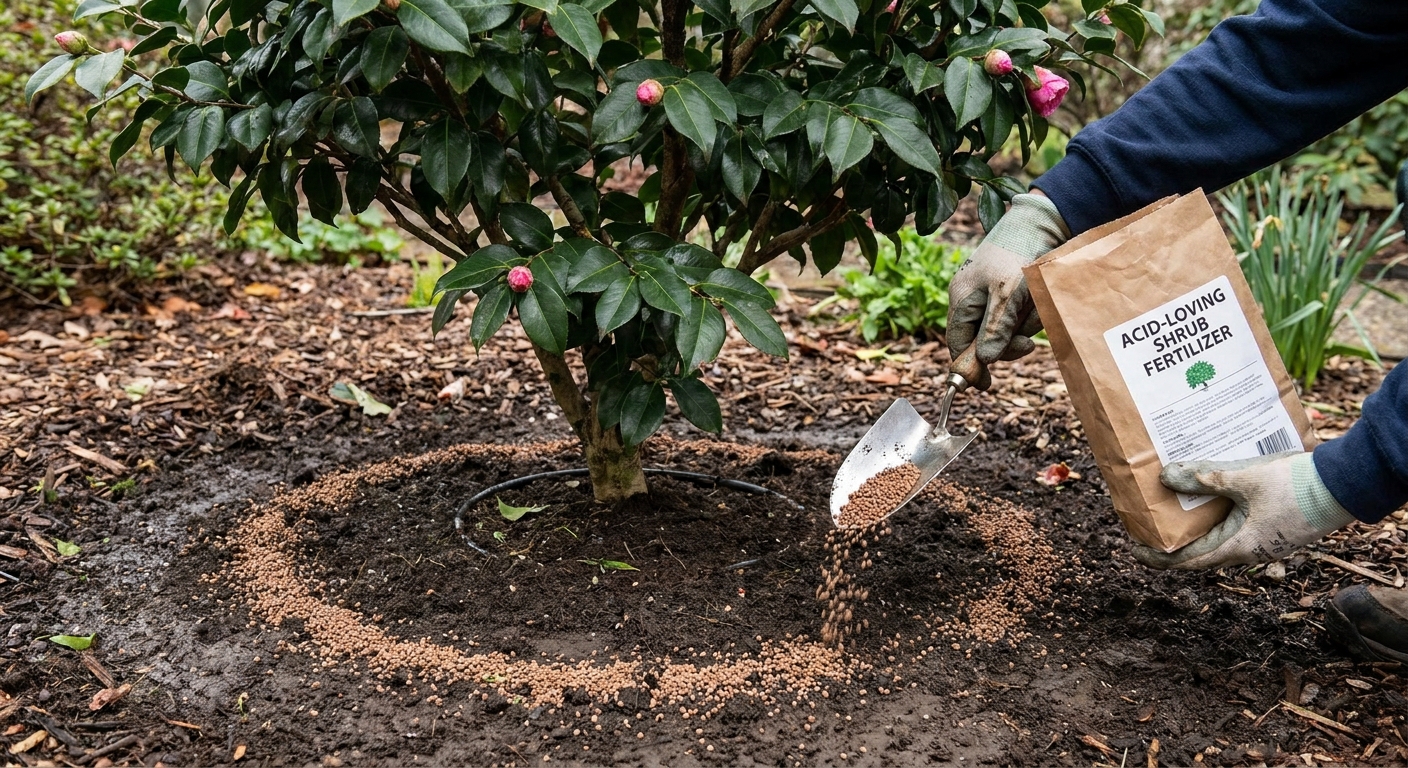
What to use
- Look for: an acid-forming fertilizer labeled for azaleas, camellias, or rhododendrons.
- Organic options: cottonseed meal, composted pine bark, fish-based fertilizers, or slow-release organic blends designed for acid lovers.
- Micronutrients: if leaves look pale between the veins, you may be seeing chlorosis from high pH. Fixing pH and adding chelated iron can help, but do not treat symptoms without checking soil conditions.
How to apply without burning roots
- Water the plant the day before if the soil is dry.
- Apply fertilizer to the drip line area, not piled at the trunk.
- Follow label rates and err on the light side, especially for young plants.
- Water in gently after applying.
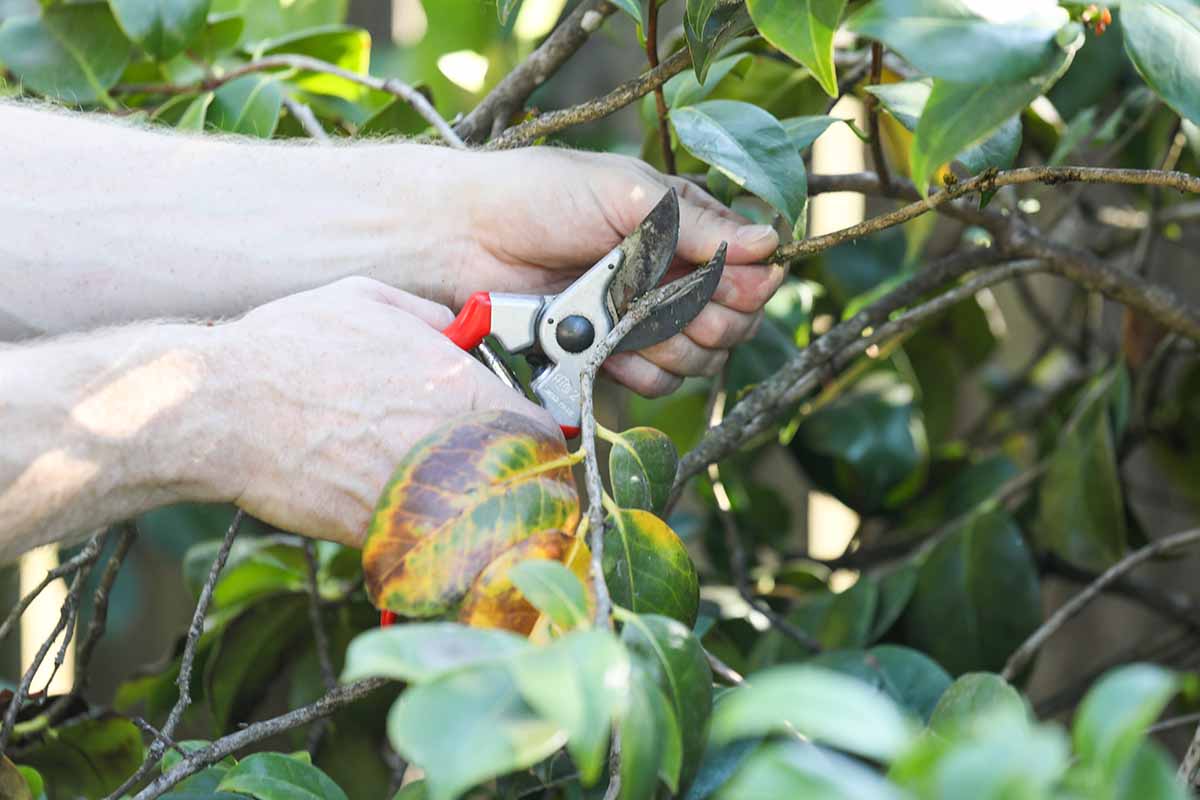
Pruning: minimal, strategic, and timed for blooms
Camellias are naturally graceful. Most of the time, pruning is simply shaping, thinning for airflow, and removing dead or awkward branches. Heavy pruning can reduce flowering for a season or two, so keep it light unless you are renovating an old shrub.
When to prune
- Right after flowering: the safest time for most camellias because you are less likely to remove next season’s buds.
- Avoid late summer through winter: you risk cutting off flower buds or triggering tender growth that gets damaged by cold.
How to prune (simple steps)
- Start with sanitation: remove dead, damaged, or diseased wood.
- Thin, do not shear: remove a few interior branches back to their point of origin to let light and air in.
- Shape gently: shorten a branch back to a leaf node to keep the plant balanced.
- Step back often: camellias look best when you preserve their natural form.
If you need to reduce size
For an overgrown camellia, spread renovation pruning over 2 to 3 years. Each year after bloom, remove a portion of the oldest stems low in the plant to encourage fresh growth, rather than hacking everything at once.
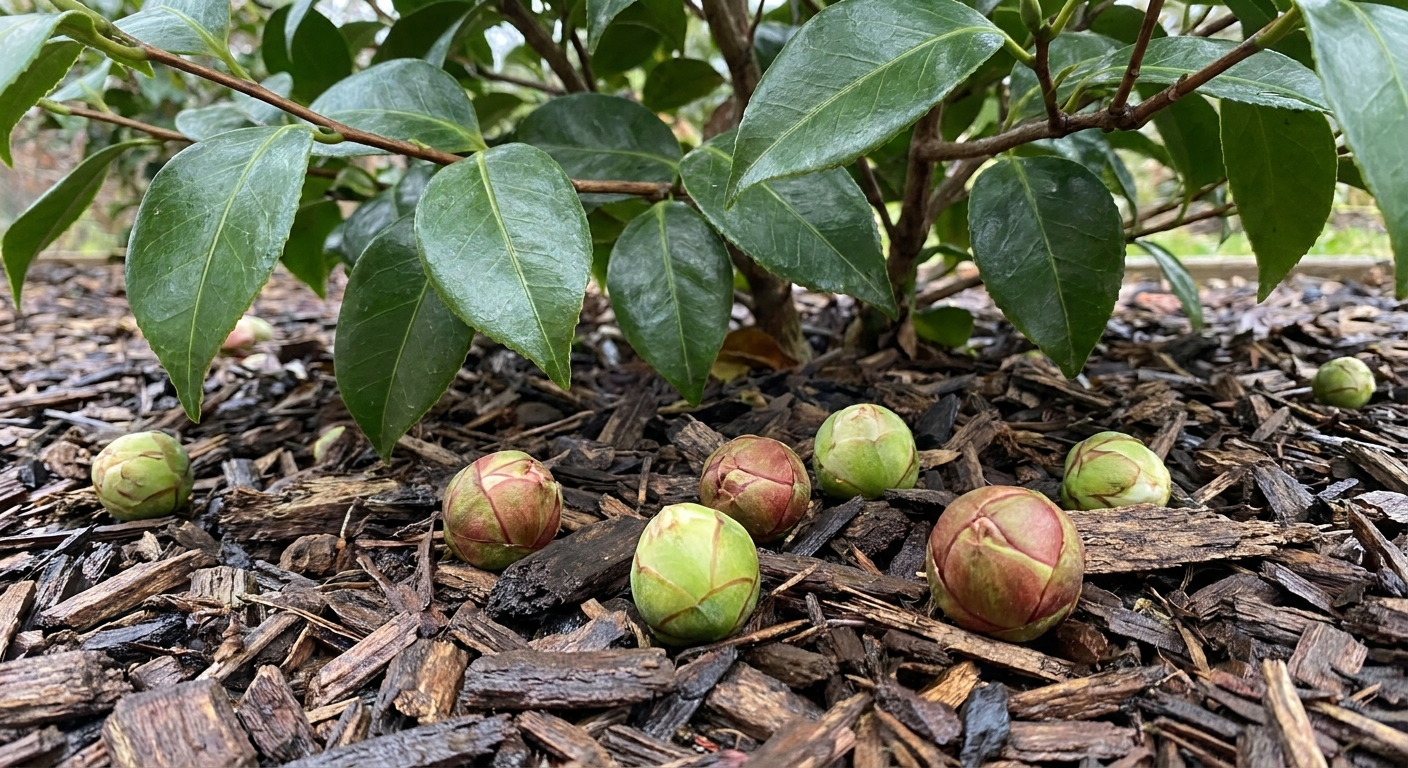
Bud drop and flower drop: why it happens and what to do
Watching buds swell and then fall is the classic camellia heartbreak. The tricky part is that bud drop usually reflects stress that happened weeks earlier. Here are the most common culprits, plus the fixes that actually work.
1) Water stress (most common)
Camellias can drop buds if they go dry while buds are forming or sizing. They can also drop buds if roots sit in soggy soil and start to suffocate.
- Fix: consistent deep watering, improved drainage, and mulch. If drainage is poor, consider planting higher or relocating.
2) Cold snaps and temperature swings
A sudden hard freeze, icy wind, or rapid temperature swings can cause buds to brown and fall, especially on exposed plants.
- Fix: plant in a sheltered spot, avoid late-season nitrogen, and use frost cloth during extreme events. Even a temporary windbreak can help.
3) Too much fertilizer or the wrong timing
High nitrogen late in the season can encourage soft growth that competes with bud development. Salt buildup from overfeeding can also stress roots.
- Fix: feed lightly, stop by mid-summer for your region, and water deeply after fertilizing. If you suspect salt buildup, flush the root zone with a slow, deep watering.
4) Pests (especially tea scale and bud mites)
Not every camellia problem is pests, but a few do target them.
- Tea scale: yellow mottling on top of leaves and fuzzy brown or white scale underneath. Fix: horticultural oil applied thoroughly to leaf undersides, timed to label directions.
- Aphids: sticky honeydew and distorted new growth. Fix: strong water spray, insecticidal soap if needed, and encourage beneficial insects.
- Bud mites (harder to confirm): distorted, dry buds that fail to open. Symptoms can overlap with cold damage and moisture stress. Fix: remove and discard affected buds, improve plant vigor, and consult local extension guidance for miticide options if severe.
5) Too much sun or heat stress
Hot afternoon sun can dry buds and soil quickly, especially for many japonicas.
- Fix: add afternoon shade, increase mulch depth, and water earlier in the day during heat waves.
6) Normal “self-thinning”
Sometimes a camellia sets more buds than it can support, especially after a big growth year. A small amount of bud drop can be normal.
- Fix: none needed. Focus on steady care rather than chasing perfection.
Common diseases to know
You can grow camellias for years without major disease issues, but a couple are worth recognizing early. The goal is not panic. It is smart prevention and quick cleanup.
Petal blight
- What it looks like: brown spots on petals that spread quickly, turning whole blooms mushy. Flowers often drop early.
- What helps: remove and discard fallen blooms, clean up old petals under the plant, and avoid overhead watering during bloom so flowers stay as dry as possible.
Root rot (often Phytophthora)
- What it looks like: wilting despite moisture, yellowing leaves, poor growth, and dieback. It is most common where soil stays wet.
- What helps: fix drainage first. Plant high, avoid overwatering, and do not smother roots with heavy, soggy mulch piled to the trunk. In severe cases, relocation to a better-drained spot is the real solution.
Japonica vs sasanqua: practical differences
If you remember nothing else, remember this: japonicas typically tend to be more shade-loving and later blooming, while sasanquas typically handle more sun and bloom earlier. Cultivars vary, but that one detail changes how you water, prune, and protect buds.
Camellia japonica
- Bloom time: typically winter to spring, depending on cultivar and climate.
- Light: appreciates protection from hot afternoon sun.
- Growth habit: often denser and more upright, with larger blooms.
- Bud sensitivity: can be more prone to bud drop from cold snaps and drying winds.
- Care tip: keep moisture steady from late summer onward and prioritize a sheltered site.
Camellia sasanqua
- Bloom time: typically fall into early winter.
- Light: generally more sun-tolerant than japonica, especially with adequate moisture.
- Growth habit: often looser, sometimes more spreading, excellent for hedges and espaliers.
- Bud sensitivity: still dislikes drought, but often copes better with brighter conditions.
- Care tip: because sasanquas bloom earlier, do any shaping right after flowering so you do not remove next season’s buds.
Containers: quick pot guide
Camellias can be excellent container shrubs, especially where garden soil is alkaline or space is tight. The tradeoff is that pots dry faster and roots see more temperature swings.
- Potting mix: use a high-quality mix for acid-loving shrubs, or a bark-forward mix that drains well but holds moisture.
- Water: check often in warm weather. Container camellias rarely forgive a full dry-out during bud set.
- Fertilizer: go lighter than you would in-ground. Slow-release, acid-forming formulas are usually easiest to manage.
- Winter protection: in cold zones, move pots out of wind and protect the container itself (roots are less insulated than in-ground plants).
Climate and hardiness
Camellia hardiness depends on species and cultivar. As a broad guideline, many sasanquas do well in USDA zones 7 to 9, and many japonicas in zones 7 to 9 (sometimes 6 with protection). If you are on the edge of those ranges, choose cultivars bred for cold tolerance and plant in a sheltered microclimate.
Quick seasonal checklist
Late winter to spring (after bloom)
- Light prune for shape and airflow
- Fertilize lightly with an acid-loving formula
- Refresh mulch
Late spring to mid-summer
- Optional second light feeding if needed
- Watch watering as temperatures climb
- Stop fertilizing by mid-summer for your climate
Late summer to winter (bud time)
- Keep soil evenly moist
- Protect from extreme cold snaps if exposed
- Skip pruning unless you are removing damaged wood
If your camellia is struggling, start here
When someone tells me their camellia is dropping buds, I ask three questions:
- Has it had consistent water since late summer?
- Was it fertilized late or heavily?
- Did it experience a cold snap or harsh wind while buds were swelling?
Nine times out of ten, the fix is not fancy. It is steady moisture, a simple mulch routine, and fertilizer restraint. The rest is patience. Camellias are long-lived shrubs, and they respond beautifully when you give them calm, consistent care.