Calla Lily Care in Pots and the Landscape
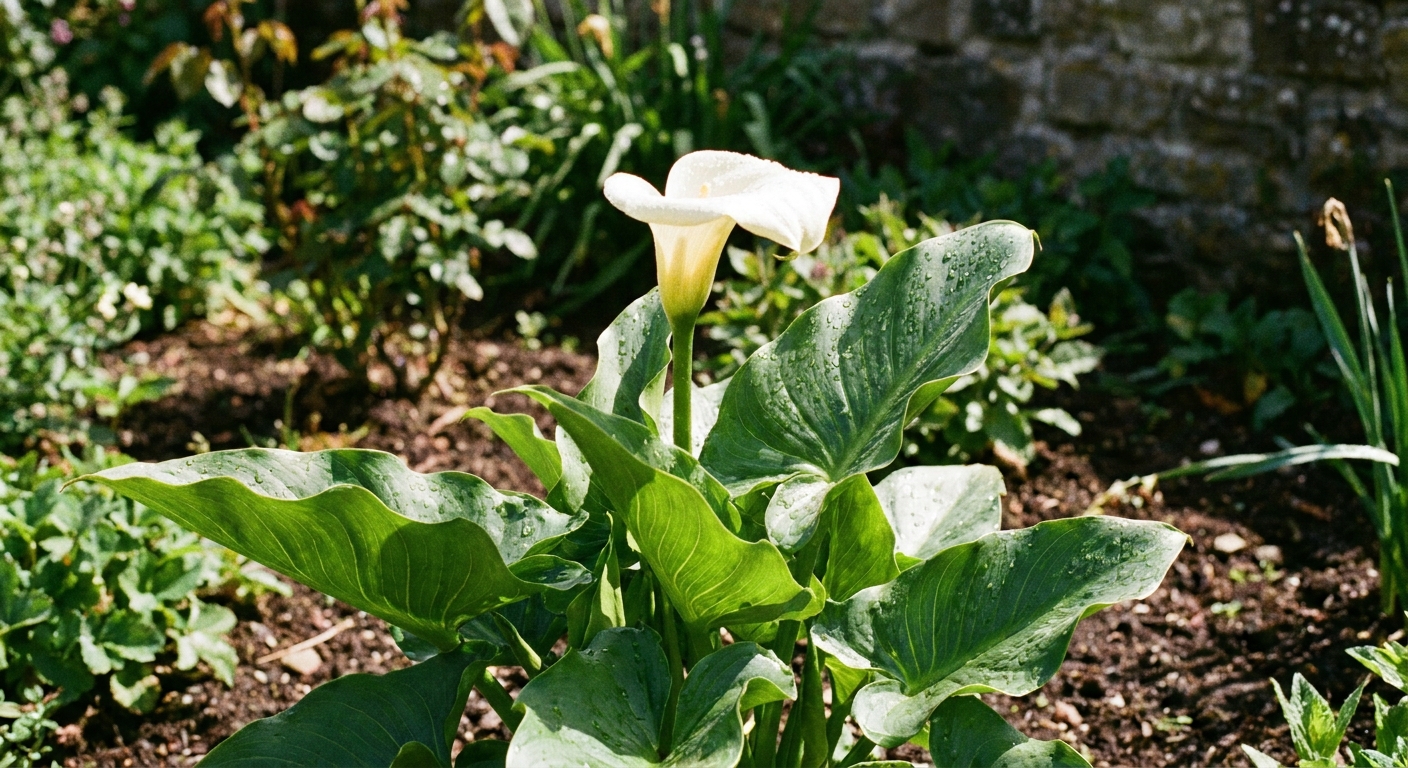
Calla lilies make me want to tidy my garden just so they can be the star of the show. Those smooth, sculptural “flowers” (they are actually a spathe wrapped around a central spadix) look fancy, but the plant itself is refreshingly doable once you understand one big truth: callas have seasons. They grow, they bloom, they rest. If you work with that rhythm instead of fighting it, you will feel like a plant whisperer.

Calla lily basics
Botanical name: Zantedeschia
Common name: Calla lily (not a true lily)
Growth: From fleshy underground storage organs, with arrow-shaped leaves and upright flower stalks
Bloom time: Usually late spring through summer, depending on species, cultivar, and climate
Toxicity note: Calla lilies contain insoluble calcium oxalates. Keep away from pets and kids who like to nibble plants.
Callas often get lumped in with peace lilies because of the similar “flower” shape, but their care is more like a bulb plant with a rest period than a typical houseplant.
Seasonal rhythm
If you want the whole care guide in one simple loop, it is this:
- Plant: Rhizome or tuber goes in.
- Grow: Leaves appear, then stalks follow.
- Bloom: Best color and longest-lasting blooms happen with steady moisture and good light.
- Yellow: Leaves fade as the plant banks energy underground.
- Rest: Drier soil, no feeding, and patience.
- Restart: New shoots mean it is time to water and feed again.
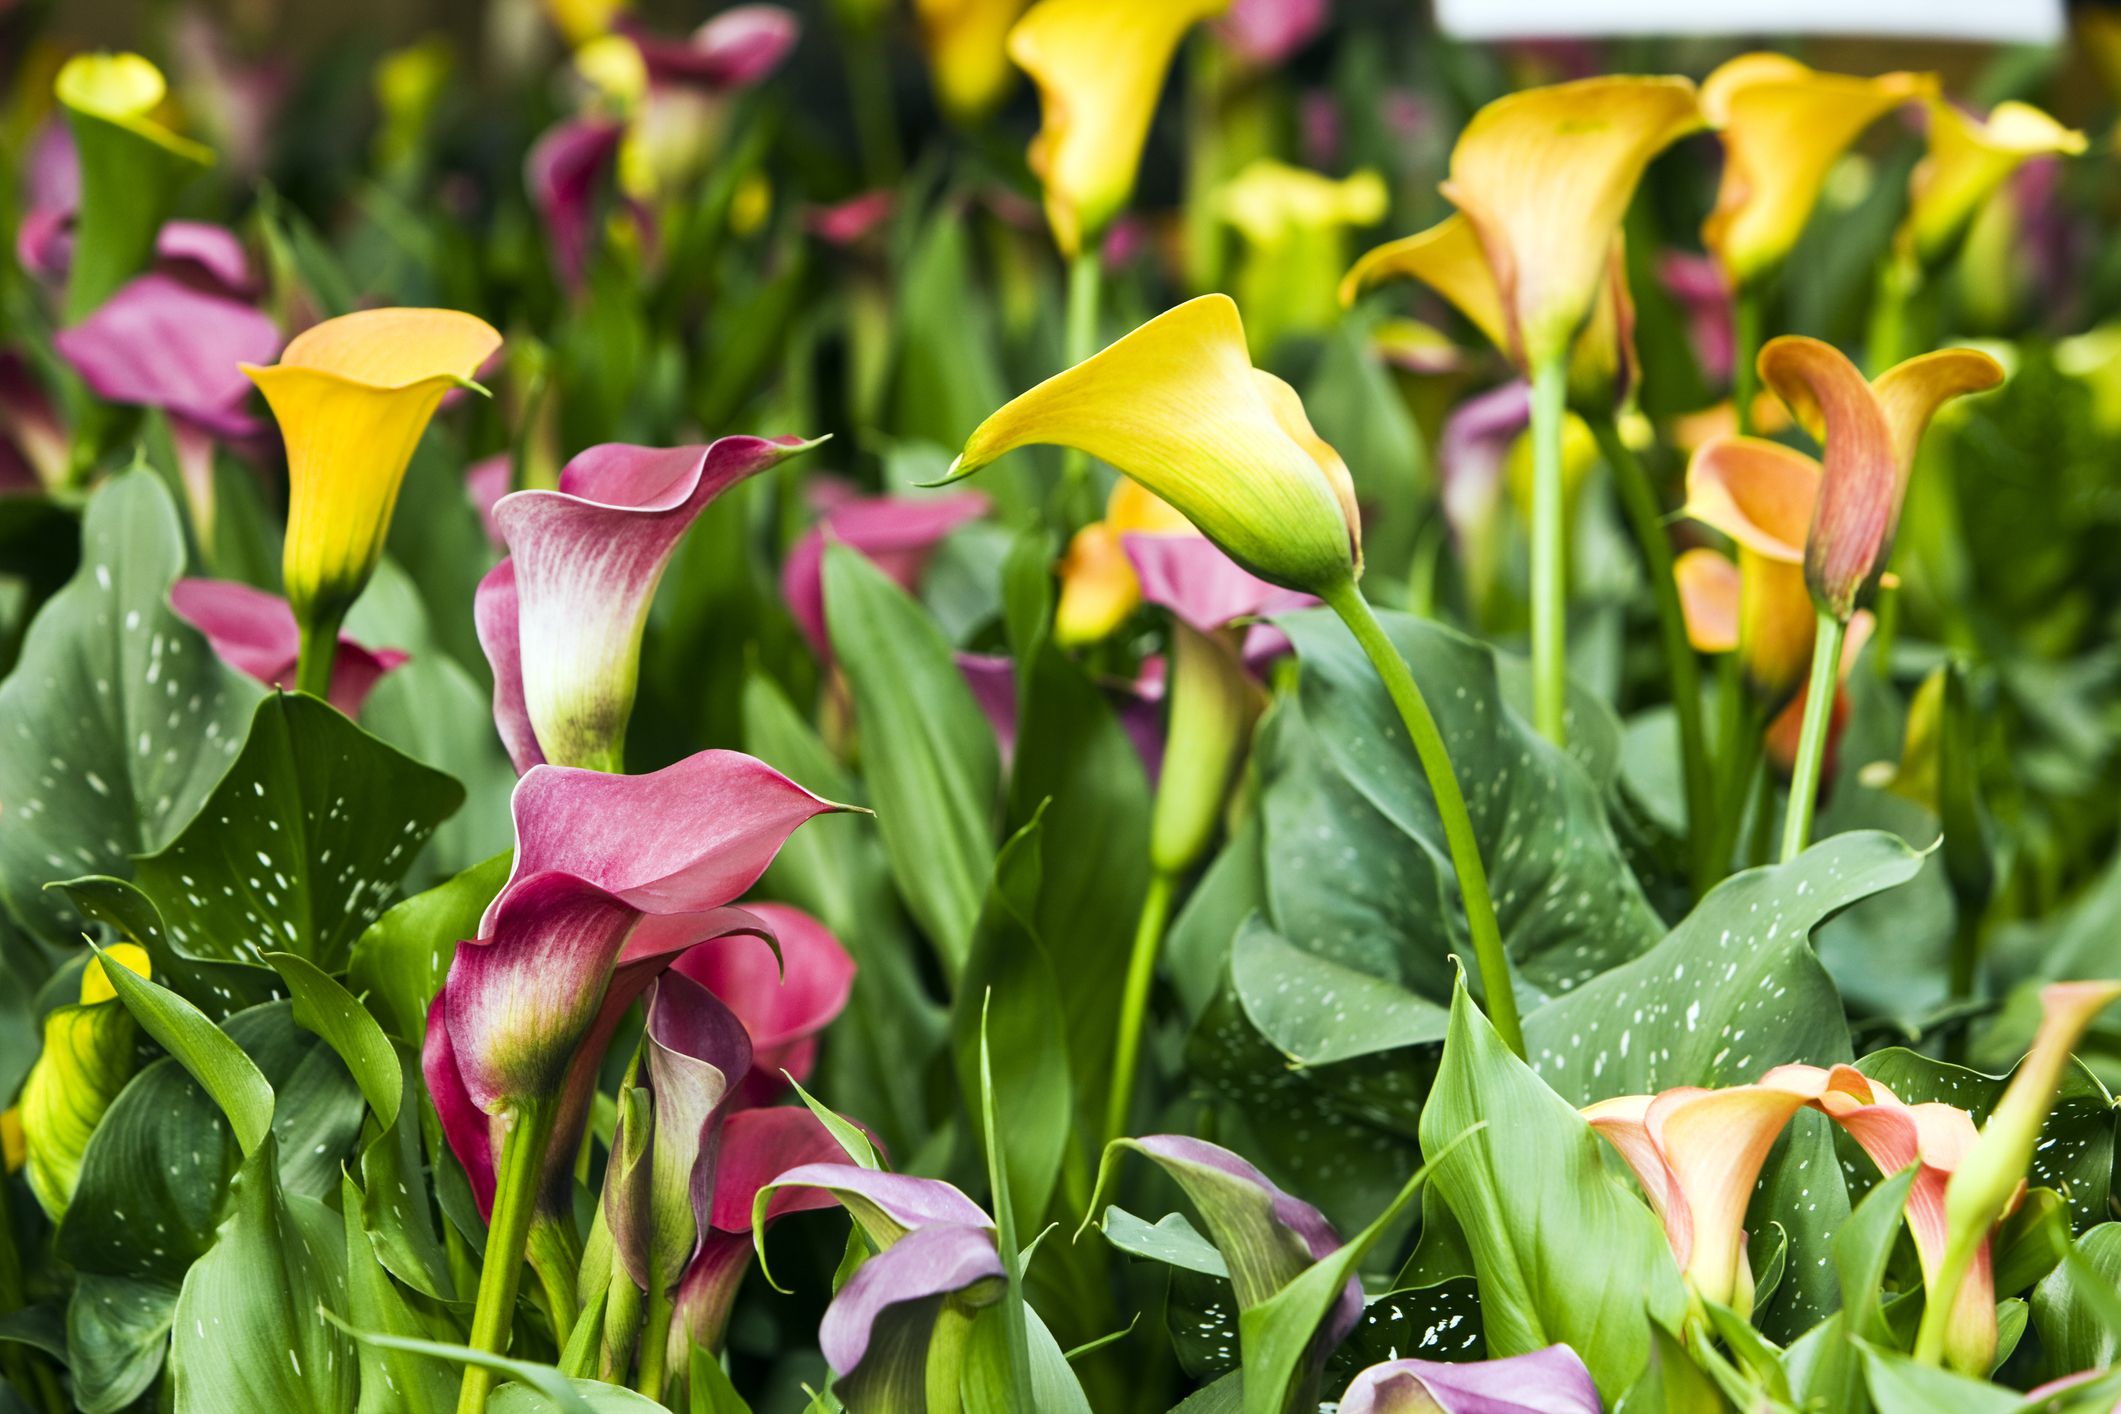
Quick species clue: White calla (Z. aethiopica) often stays greener in mild winters and may rest in summer heat or drought. Many colored callas (hybrids from Z. elliottiana, Z. rehmannii, and others) typically grow and bloom in spring to summer, then rest as days shorten or after cold hits.
Rhizome vs tuber types
Garden centers and online listings can be confusing because people use “bulb,” “tuber,” and “rhizome” loosely. Labels vary, and you will even see the same calla described two different ways. Here is the practical, gardener-friendly takeaway.
White calla lilies (often Zantedeschia aethiopica)
- Storage organ: Commonly described as a rhizome (a thickened, creeping stem).
- Moisture preference: More tolerant of consistently moist soil and even boggy spots once established.
- Hardiness: Often perennial in mild climates (commonly around USDA Zones 8 to 10, depending on cultivar and conditions). Always check your plant tag if you have it.
Colored calla lilies (many hybrids)
- Storage organ: Often sold as tubers (and sometimes described as rhizomes, depending on the grower).
- Moisture preference: Likes moisture during growth, but hates soggy soil, especially when cool.
- Hardiness: Typically more tender than the white types. Many gardeners treat them as summer bulbs and lift them where winters freeze.
Either way, your goal is the same: fast drainage during cool weather (especially in pots and heavy soils), and steady moisture during active growth.
Light and temperature
Callas are happiest when they get good light without being cooked.
- In cooler climates: Full sun to part sun is great.
- In hot climates: Morning sun with afternoon shade helps prevent leaf scorch and extends bloom life.
- Ideal temperatures: Many callas grow best with days in the 60s to 80s F and cooler nights.
If your calla looks lush but the blooms seem to melt quickly, it is often heat plus harsh afternoon sun.
Soil and drainage
Think “rich compost” plus “no standing water.” In the ground, callas appreciate fertile soil with plenty of organic matter. In pots, drainage is everything.
In-ground soil
- Amend with compost before planting.
- If you have heavy clay, mound the planting area a few inches higher or mix in pine bark fines and compost to loosen it.
Potting mix
- Use a high-quality potting mix with extra perlite or pumice for airflow around the roots.
- Avoid garden soil in containers. It compacts, stays wet, and encourages rot.
If you only remember one sentence from this page, let it be this: callas rot in cold, wet conditions.
Planting depth and spacing
Planting depth is directly tied to bloom success. Too deep is a very common reason callas sulk.
How deep to plant
- General rule: Cover with about 2 inches of soil. You can go a bit deeper (up to 4 inches) for very large pieces or in hot, dry sites where soil dries quickly.
- In pots: I lean shallow, around 1 to 2 inches of mix over the top, because containers stay wetter and cooler at the center.
Which side goes up?
Look for small bumps or “eyes” on tubers. Those are the growth points and should face up. Rhizomes can be a bit irregular, so place them horizontally and gently, and do not overthink it.
Spacing
- In beds: About 12 inches apart for most varieties.
- In pots: You can plant closer for a fuller look, but expect to water and feed a bit more often.
Watering
This is where calla care really splits into two personalities. Containers dry out faster in summer, but they also stay colder and wetter longer in spring or during rainy spells.
Pots
- Do: Water once after planting to settle the mix, then wait until the top inch or two feels dry before watering again. Slightly drier is safer until you see active growth.
- Do: During active growth and bloom, water deeply when the top 1 to 2 inches are dry. In warm weather, that might be every few days.
- Do not: Let the pot sit in a saucer of water unless you are intentionally growing a moisture-loving white calla type and it is warm.
In-ground
- Do: Water regularly the first few weeks after planting so roots can get going.
- Do: Aim for evenly moist soil during growth, especially in bloom season.
- Do: During dormancy, back off. Let nature do most of the work unless your soil is bone-dry for long stretches.
My quick test: If you can pinch a little soil and it holds together like a brownie, it is moist enough. If it smears like pudding, it is too wet. If it falls apart like dusty sand, it is time to water. (Soil texture matters here. Clay holds together longer, sandy soil falls apart faster, so use it as a feel-check, not a science project.)
Feeding for blooms
Callas are moderate feeders. Too much nitrogen can make them leaf factories with fewer flowers.
- At planting: Mix compost into the soil or potting mix.
- When leaves are 4 to 6 inches tall: Use a balanced or slightly bloom-leaning fertilizer (something like 5-10-10 or 10-10-10) at label rates.
- During bloom: Feed lightly every 3 to 4 weeks in pots, or once or twice through the season in the ground.
- Stop feeding when foliage starts yellowing and the plant is heading into rest.
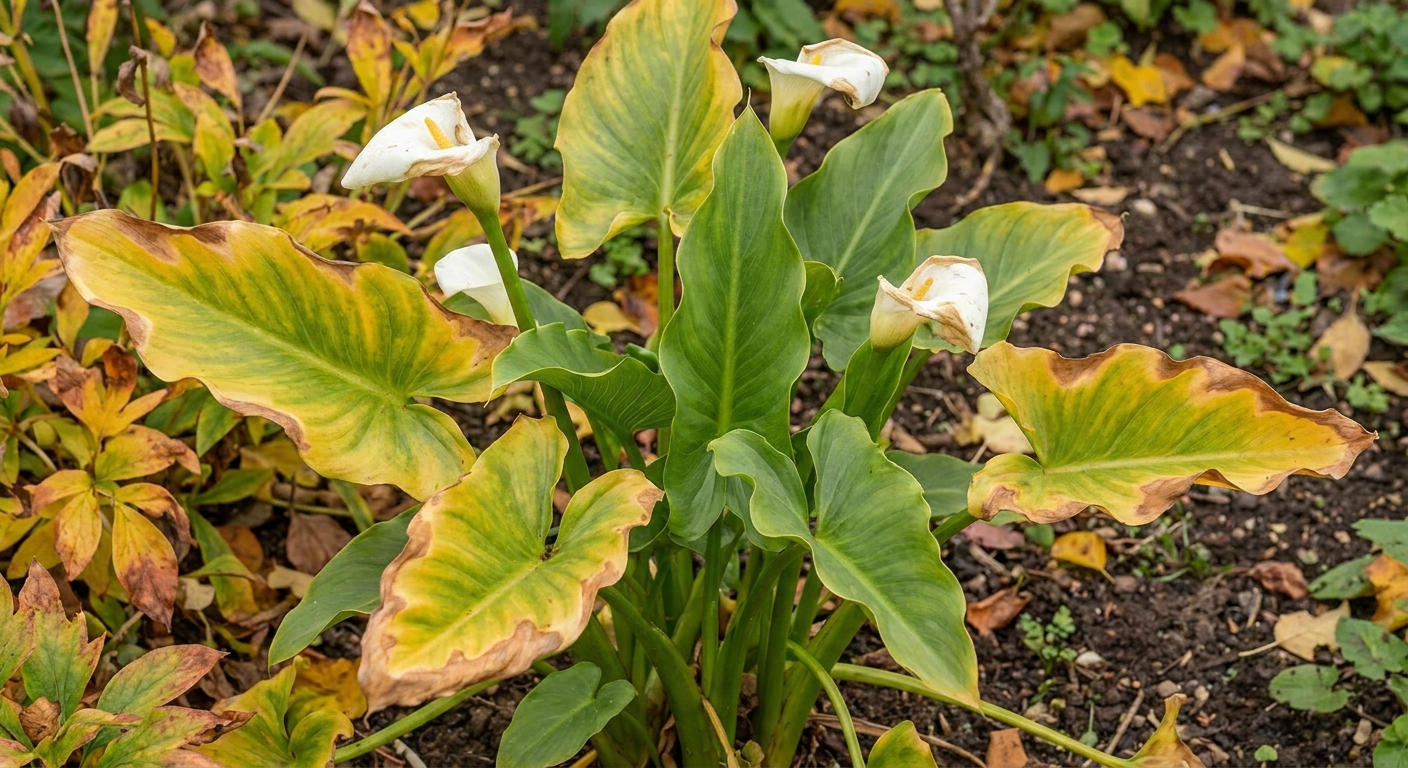
Dormancy
Dormancy is not failure. It is your calla lily doing exactly what it was built to do: storing energy underground for the next round.
What it looks like
- Leaves yellow from the outside in.
- Flowering slows or stops.
- The whole plant looks tired even if you water it.
What to do
- Reduce watering gradually. Do not keep the soil soggy “to help it recover.” That is how rot starts.
- Let foliage die back naturally if possible. Those fading leaves are still sending energy to the rhizome or tuber.
- Once fully yellow and dry: Trim foliage and keep the plant on the dry side.
Some callas rest in summer and some rest in winter, and some will shift their schedule based on your climate and how they were grown before you bought them. If you are unsure, follow the plant’s cues, and prioritize drainage when things are cool.
Pests and diseases
Callas are not usually drama magnets, but a few repeat offenders show up often enough to deserve a quick head check.
Common pests
- Aphids: Cluster on new growth and flower stalks. Rinse with a strong spray of water, or use insecticidal soap if needed.
- Spider mites: More common on indoor plants or during hot, dry weather. Look for stippling and fine webbing. Increase humidity, rinse the plant, and treat with soap or horticultural oil.
- Slugs and snails: Especially outdoors in damp gardens. They chew leaves and flowers overnight.
Disease to watch
- Bacterial soft rot: The classic calla nightmare. It shows up as mushy, smelly tissue, collapsing stems, and a tuber or rhizome that feels soft instead of firm. It is strongly linked to warm, wet conditions and poor airflow.
Prevention that actually works: Keep soil moist, not soggy, avoid splashy late-day overhead watering, and sanitize tools when dividing. If you find soft rot, cut back to firm tissue with a clean blade and replant only if what remains is solid and healthy.
Repotting and dividing
Callas in pots eventually turn into a crowded little family reunion. Crowding can reduce blooms and increases the risk of rot if the center stays wet.
When to repot
- Best time: During dormancy or just as new growth begins.
- Signs you need to repot: Roots circling the pot, soil drying extremely fast, smaller leaves and fewer blooms, or the tuber mass pushing up.
How to repot
- Let the pot dry slightly so the root ball slides out cleanly.
- Gently remove old mix and inspect for soft or smelly spots. Trim any rot with clean scissors.
- Separate offsets if you want more plants. Each division should have at least one clear growing point.
- Replant at the right depth in fresh, well-draining potting mix.
- Water lightly until you see strong growth, then resume normal watering.
If you do nothing else, simply refreshing the potting mix every year or two can dramatically improve performance.
Winter care and storage
If you garden where the ground freezes, you have two good options: treat callas as seasonal plants, or lift and store them like dahlias.
Can they stay outside?
Hardiness varies by species and cultivar. White calla (Z. aethiopica) is often perennial in mild areas (commonly USDA Zones 8 to 10). Many colored callas are more tender and are often lifted where winters freeze. When in doubt, check your cultivar label and plan to protect or store them.
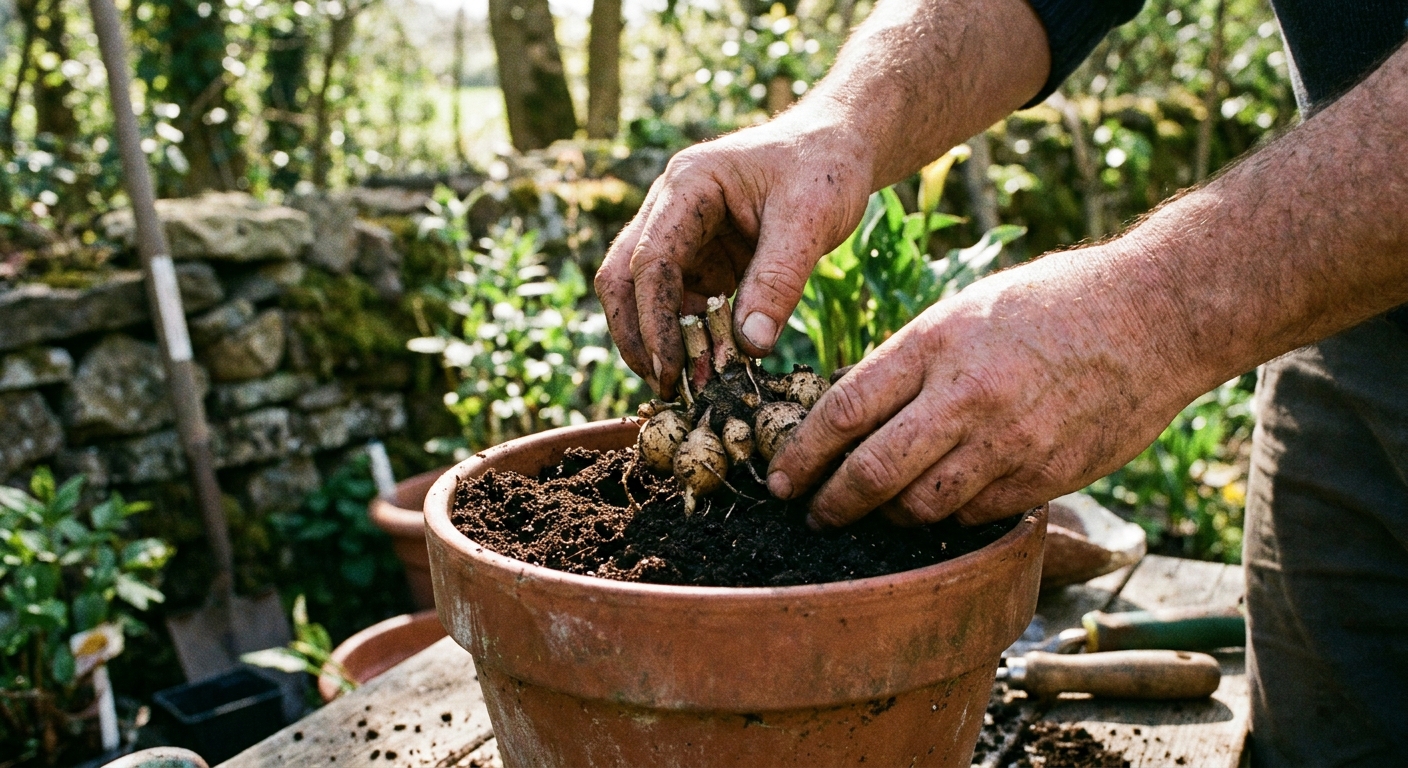
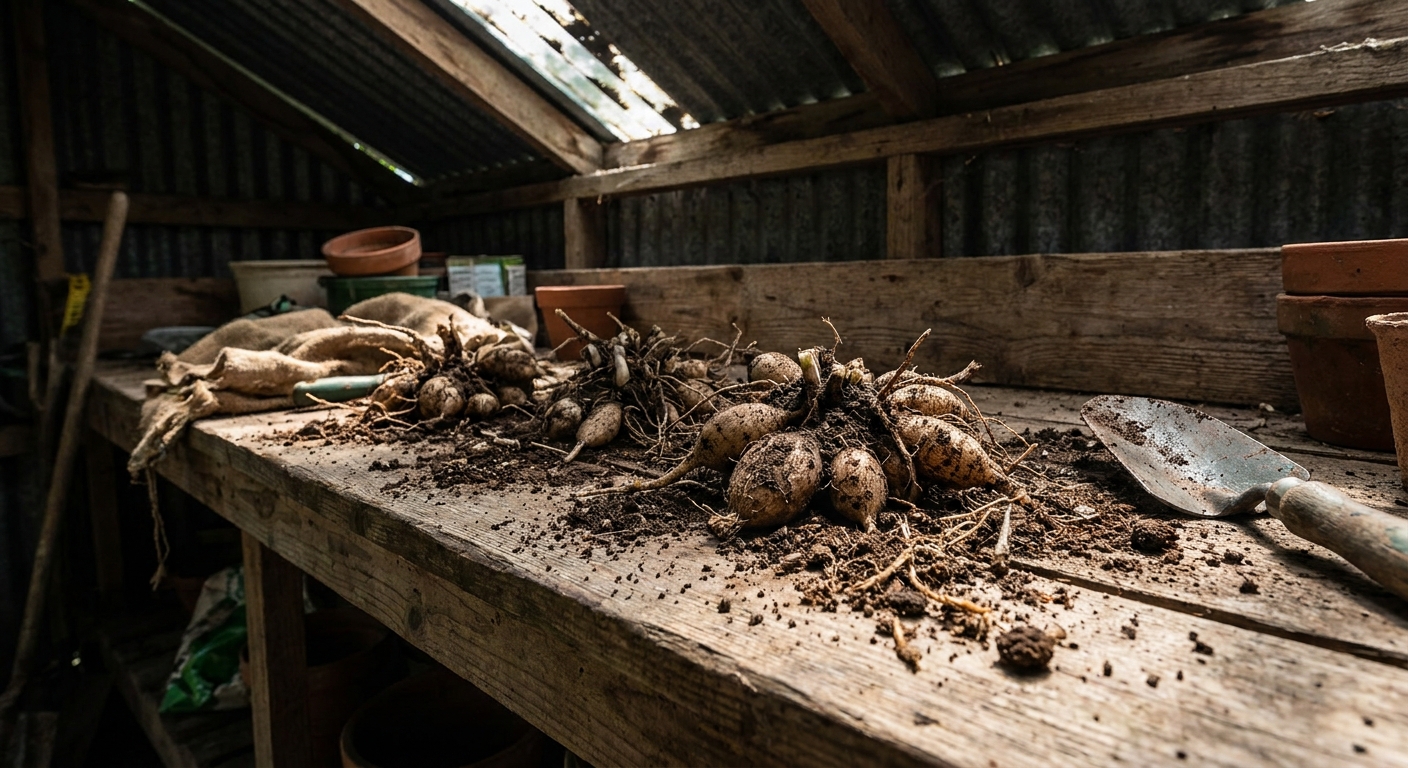
How to lift and store
- Wait for dieback: After foliage yellows and collapses, stop watering and let the soil dry a bit.
- Dig carefully: Use a fork or shovel and lift from a few inches away to avoid slicing the tubers.
- Clean and cure: Shake off soil and let them dry in a warm, airy spot out of direct sun for a few days.
- Store: Place in a breathable container (paper bag, cardboard box) with dry peat moss, vermiculite, or shredded paper to prevent shriveling.
- Temperature: Cool and dry is ideal, roughly 50 to 60 F. Do not freeze them.
- Check monthly: Remove any pieces that soften or mold. If they are shriveling badly, add a bit more packing material around them, not moisture.
Overwintering in pots
You can also bring the whole pot into an unheated garage or basement once it goes dormant. Keep it barely dry, like a sleeping plant, not a thriving one.
Indoor calla care
If you got a calla as a gift plant, you are not alone. Indoor callas can bloom beautifully, then confuse everyone by fading fast.
- Light: Bright light near a sunny window is best. A few hours of gentle sun is great.
- Water: Keep evenly moist while actively growing, but do not leave the pot waterlogged.
- After bloom: When flowers finish, keep the plant growing for a while so it can recharge. Once leaves start yellowing, reduce watering and let it rest.
- Rest period: Give it a dry-ish dormancy window (often 6 to 10 weeks). Then resume watering when you see new shoots.
Indoor tip: Spider mites love heated, dry rooms. If your calla is inside, add “check the undersides of leaves” to your weekly plant scan.
Why it is not blooming
If your calla is all leaves and no flowers, it is usually one of a handful of fixable issues. Here are the most common culprits I see in real gardens.
1) No real rest
Callas often need that reset to bloom well. If you kept watering and fertilizing through the yellowing phase, or you grew it indoors continuously, it may stay stuck in a leafy loop.
- Fix: Let it follow dormancy. Reduce watering as leaves fade, stop feeding, and give it a dry rest for 6 to 10 weeks. Then resume water and light when you see new growth.
2) Planted too deep
This one is sneaky because the plant may still leaf out, but flowering is delayed or absent.
- Fix: Lift and replant shallower, aiming for about 2 inches of soil over the tuber or rhizome. In containers, err on the shallow side.
3) Not enough light
Bright shade can grow decent foliage, but blooms often need more sun.
- Fix: Move pots to a brighter spot. In-ground plants may need thinning of nearby shrubs or a new location with morning sun.
4) Too much nitrogen
High-nitrogen lawn fertilizer drifting into your bed can create gorgeous leaves and few flowers.
- Fix: Switch to a balanced or bloom-leaning fertilizer and avoid feeding nearby turf heavily.
5) Soggy soil or rot
Damaged tubers focus on survival, not blooming.
- Fix: Improve drainage, repot into fresh mix, and cut away any soft tissue. Going forward, keep soil moist, not wet, especially when temperatures are cool.
Design tips
Callas are natural scene-stealers. I like to treat them like living sculpture and give them a calm backdrop.
In containers
- Choose a pot with drainage holes and enough depth for steady moisture without waterlogging.
- Pair with trailing plants that will not hog water, like sweet potato vine or bacopa, if your light levels match.
- Use darker pots to make white callas glow, or neutral clay to make bright colored cultivars pop.
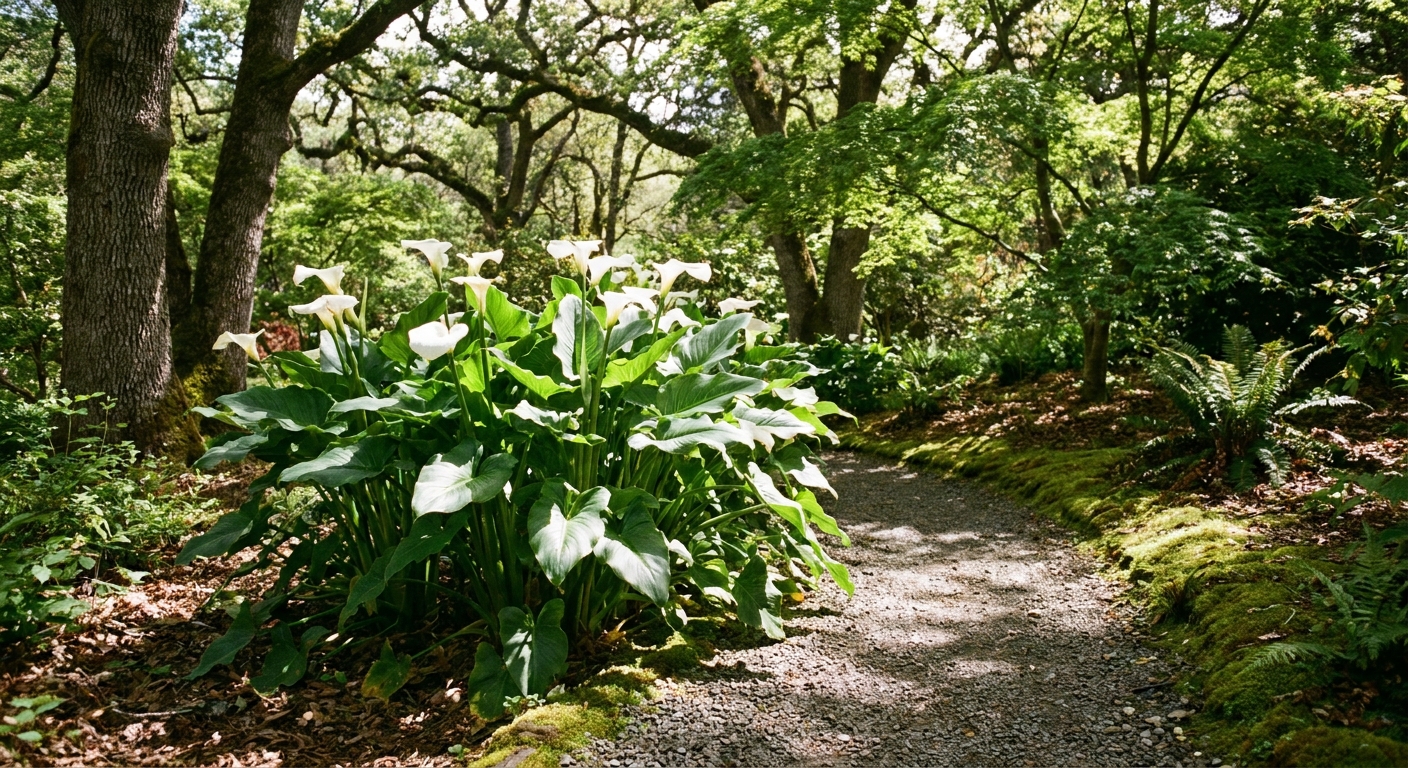
In the ground
- Plant in drifts for impact, especially the white types in part shade.
- Combine with ferns, hostas, or ornamental grasses for contrasting texture.
- Give colored callas slightly sharper drainage and a bit more sun than white types, especially in cooler climates.
Quick care checklist
- Light: Sun to part shade, protect from harsh afternoon heat in hot climates
- Soil: Rich, well-draining, compost-amended
- Water: Even moisture during growth, reduce during dormancy, avoid cool sogginess
- Planting depth: About 2 inches of cover (shallower in pots, deeper only for large pieces or hot, dry sites)
- Fertilizer: Moderate feeding, avoid high nitrogen
- Dormancy: Allow it, it supports future blooms
- Cold winters: Lift and store, or overwinter dormant pots in a cool, dry place
- Pests and rot: Watch for aphids, spider mites, and bacterial soft rot