Bromeliad Care for Beginners
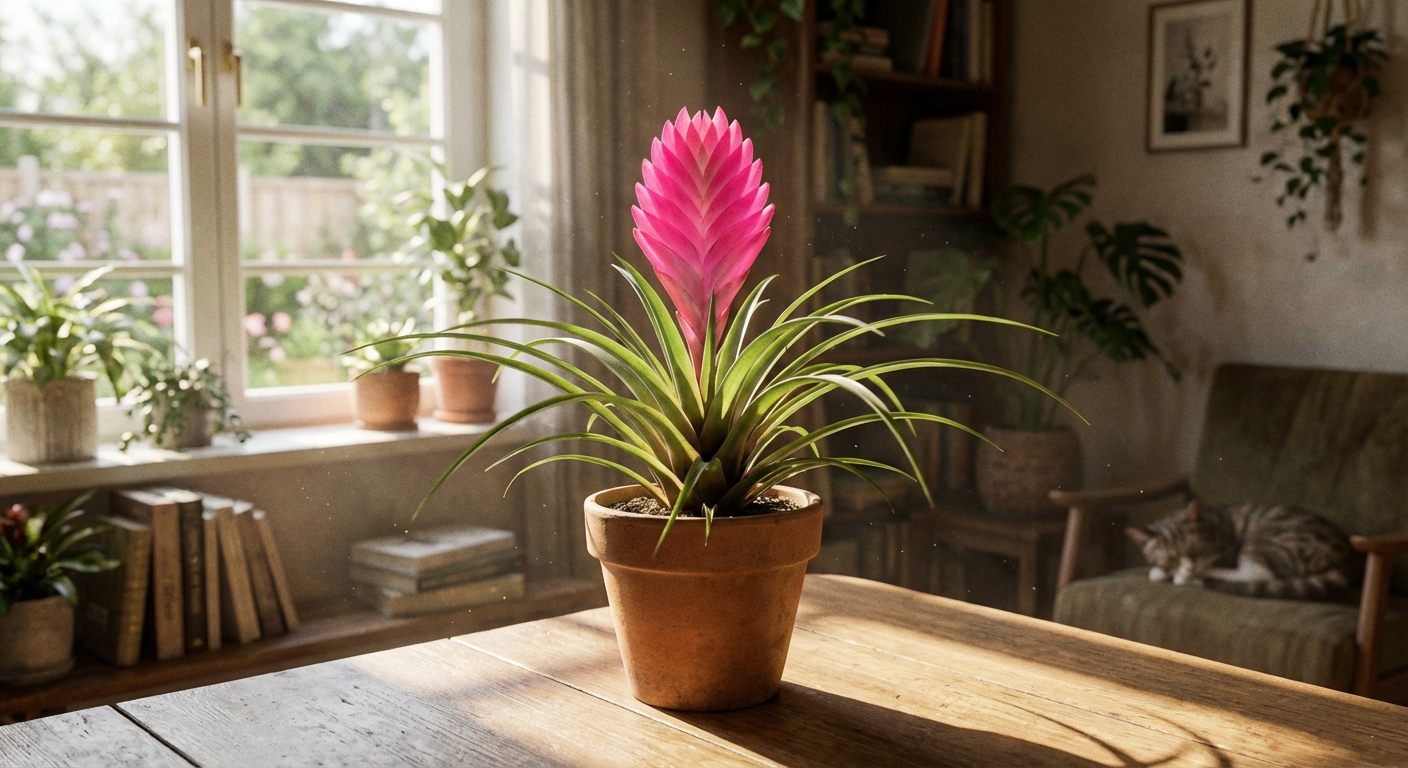
Bromeliads are the houseplants that make you feel like you live somewhere tropical, even if your “jungle” is a windowsill next to a radiator. Their biggest trick is also what confuses beginners most: many bromeliads do not drink from the soil the way typical houseplants do. They sip from a little reservoir in the middle of the plant called the central cup.
If you’ve ever stared at your bromeliad wondering, “Do I water the leaves, the soil, or… the vibes?” you’re in the right place. Let’s get you confidently caring for it with a simple routine that matches how many common bromeliads grow in nature.
Quick note before we start: This guide focuses on the most common tank bromeliads sold in pots (like Guzmania, Vriesea, Aechmea, and Neoregelia). Some bromeliads don’t use a tank at all, like Cryptanthus (Earth Stars) and many other more terrestrial types. And Tillandsia (air plants) have their own watering routine. If your plant doesn’t have a clear center “cup,” skip the cup-watering advice and water more like a standard houseplant (still lightly, still fast-draining).
Meet Your Bromeliad
“Bromeliad” is a big family (Bromeliaceae), and care can vary depending on what you have. Common indoor tank types include:
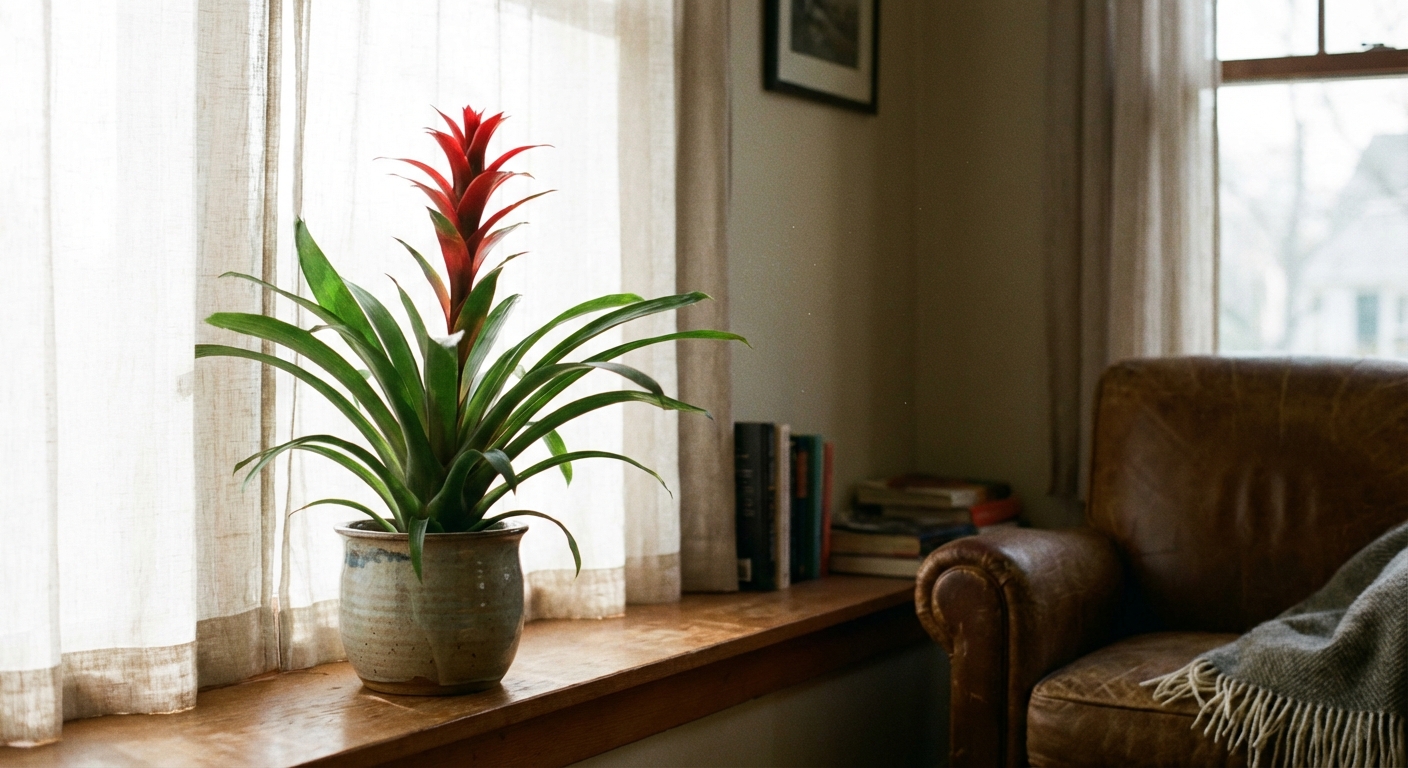
- Guzmania: glossy green leaves, colorful bracts, prefers brighter light and steadier warmth.
- Vriesea: often has a “flaming sword” bloom, likes bright indirect light.
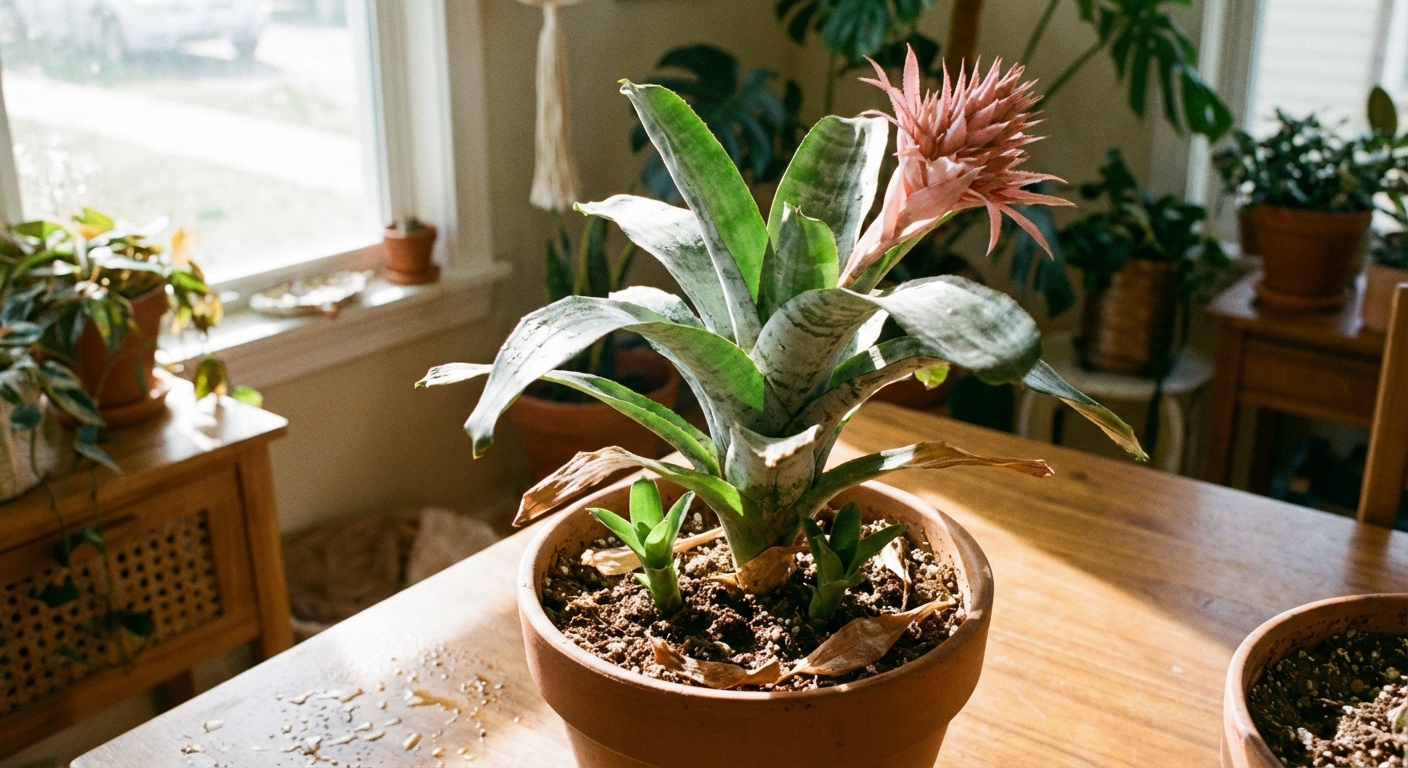
- Aechmea: tougher and more tolerant, often with silver banding on leaves.
- Neoregelia: grown for colorful foliage, can blush red or pink in good light.
Many of these are epiphytes, meaning they naturally grow perched on tree branches or tucked into bark crevices, not rooted in deep soil. Their roots act primarily as anchors, although in a pot they can still take up some moisture and nutrients. That’s why both the cup and the potting mix matter, just in different ways.
Cup Watering (The Bromeliad Secret)
Most indoor tank bromeliads form a rosette of leaves that funnels water into the middle. That middle “tank” is the cup. In nature, rain and leaf litter collect there, and the plant absorbs moisture through specialized leaf tissues.
How to water a tank bromeliad
- Check the cup first. Peek into the center. If it’s empty or nearly empty, it’s time to add water.
- Use room-temperature water. Rainwater, filtered water, or dechlorinated tap water is ideal. Avoid softened water (it can contain sodium). If your tap water is very hard, you may see mineral crust over time.
- Keep a small amount of clean water in the cup. Indoors, I like a conservative approach to avoid rot: fill the cup about 1/4 to 1/2 full in average home conditions. In brighter, warmer rooms with good airflow, you can keep a bit more in the cup, as long as you flush it regularly.
- Flush the cup regularly. About once every 1 to 2 weeks, pour the old water out (tip the plant gently or use a turkey baster), then refill with fresh water. The goal isn’t “never water in the cup,” it’s “don’t let it get stale.”
- Water the potting mix sparingly. Give the mix a small drink only when it’s mostly dry. Think “quick rinse and drain,” not “keep it barely moist.” Soggy mix is where bromeliads get into trouble.
How often should you fill the cup?
There’s no one calendar that works in every home, but here’s a beginner-friendly rhythm:
- Warm months or heated homes: check the cup every 4 to 7 days.
- Cooler months: check every 7 to 14 days.
If your home is cool and dim, the plant uses water slowly. If it’s bright and warm, it drinks faster.
Stagnant water is the real problem
Tank bromeliads can hold water in the cup, but stagnant water plus low light, cool temperatures, or poor airflow can invite rot. If your plant lives in a darker spot or your home runs cool, keep the cup only lightly filled and flush more often.
Reality check: If the very center (the growing point) turns mushy and smells foul, that main rosette may not recover. The good news is pups can still survive, so focus on improving conditions and caring for any offsets.

Light (Bright, Not Blazing)
Indoors, bromeliads do best with bright indirect light. Think: near a sunny window where the light is strong but softened.
Best window spots
- East-facing: gentle morning sun is usually perfect.
- South or west-facing: great if filtered through a sheer curtain or set a few feet back.
- North-facing: often too dim for colorful bromeliads, though some will survive.
Signs your light is off
- Too much sun: bleached patches, crispy tips, dulling color.
- Too little light: slow growth, fewer pups, fading leaf color, bloom bracts losing vibrancy faster.
If you want those jewel tones to last, light is your best friend. Just avoid harsh midday sun directly on the leaves.
Humidity and Temp
Bromeliads like the same vibes most of us prefer: warm, steady, and not bone-dry.
Ideal ranges
- Humidity: 40% to 60% is comfortable for many types. More is welcome if airflow is decent.
- Temperature: 65 to 80°F (18 to 27°C) is the sweet spot.
Easy ways to boost humidity
- Group plants together so they share a humid microclimate.
- Run a small humidifier nearby.
- Use a pebble tray (pot on pebbles, water below the pot base).
I’m cautious about misting: it can help a little, but it’s not a substitute for real humidity. If you do mist, do it in the morning and make sure the plant has airflow so water doesn’t sit on leaves all day.
Also, if your bromeliad is parked right next to a heater or radiator, scoot it a bit away. Hot, dry blasts can crisp tips fast and dry the cup out unpredictably.
Potting Mix
This is the second big beginner stumbling block. If your bromeliad is an epiphyte, it wants a potting mix that dries relatively quickly and holds lots of air. Heavy, water-retentive soil can suffocate roots and invite rot.
A simple bromeliad mix
Look for (or mix) something chunky and fast-draining:
- 50% orchid bark
- 25% coco coir or peat moss
- 25% perlite or pumice
You can also use a quality orchid mix and lighten it with extra perlite. The goal is a mix that feels springy and airy in your hand.
Do bromeliads need big pots?
No. Most prefer being slightly snug. Choose a pot just big enough to keep the plant stable. A heavy pot (ceramic or terracotta) helps prevent top-heavy rosettes from tipping.
Drainage is non-negotiable
Always use a pot with a drainage hole. If the mix stays wet for days, the roots won’t be happy, even if the leaves look fine at first.
Fertilizer
Bromeliads are light feeders. Overfertilizing can burn leaves and make the plant grow fast but weak.
Beginner-safe approach
- Use a balanced houseplant fertilizer at 1/4 strength.
- Feed monthly in spring and summer.
- Skip feeding in winter if growth slows.
You can fertilize the potting mix (easy and low-risk), and some growers also feed very dilute fertilizer into the cup or as a light foliar feed. Either method can work, but go gentle, and if you feed the cup, flush it regularly to avoid buildup.
After Blooming
This part surprises people, so I like to say it plainly: most tank bromeliads bloom once. The colorful “flower” you love is often a bract (modified leaves) that can last weeks to months, but after the bloom cycle finishes, the main rosette gradually declines.
That doesn’t mean your plant is dying in a tragic way. It’s completing its natural life cycle and putting energy into making babies, called pups.
What to do when the bloom fades
- Snip the spent flower stalk or bract with clean scissors if it turns brown.
- Keep providing good light, a clean cup, and light watering.
- Watch for pups forming at the base.
Pup Propagation
Pups are the easiest way to keep your bromeliad family going. Depending on the type, pups may appear during bloom or after, and they slowly size up over a few months.
When to separate pups
Wait until a pup is about 1/3 to 1/2 the size of the mother plant. Bigger pups have more stored energy and a better chance of rooting well.
How to separate and pot pups
- Gather supplies: clean knife or pruners, small pot with drainage, airy bromeliad mix.
- Remove the plant from its pot and gently brush away mix around the base.
- Find the pup’s attachment point. You want to cut as close to the mother as possible without mangling the pup.
- Cut cleanly and keep any little root nubs the pup already has.
- Pot the pup in slightly moist, airy mix. Plant it just deep enough to stand upright.
- Stabilize if needed. A chopstick stake can help if it wobbles.
- Water lightly and keep in bright indirect light.
For the first few weeks, think “light moisture and patience.” A pup may sit there looking unimpressed for a while, then suddenly start growing once it settles in.
Reblooming
Because the original rosette usually blooms once, “reblooming” typically means getting a pup to mature and bloom. That can take 1 to 3 years depending on the species and your indoor conditions.
Keys to blooming pups
- Bright indirect light consistently.
- Warm temperatures and steady care.
- Light feeding during active growth.
- Don’t overpot. Too much wet mix slows them down.
The apple-bag trick (optional)
Some bromeliads respond to ethylene gas, which is released by ripening fruit. If you have a healthy, mature pup that seems stalled and it’s in good light, you can try this:
- Place the plant (pot and all) in a clear plastic bag.
- Add an apple or a ripe banana.
- Seal loosely and keep in bright indirect light for 7 to 10 days.
- Remove the bag and resume normal care.
Two cautions: Don’t do this on a stressed plant, and keep an eye on heat and condensation. If the bag is dripping wet or the plant is getting warm, open it up for airflow.
Common Problems
Brown leaf tips
- Most likely: low humidity, mineral-heavy water, hot dry air, or inconsistent moisture.
- Try: use filtered water, boost humidity, move it away from vents, trim brown tips with clean scissors following the leaf’s natural shape.
Mushy center or foul smell
- Most likely: rot from stale cup water in low light or cool conditions.
- Try: empty and flush the cup, move to brighter light, increase airflow, keep the cup less full while it recovers. If the center is gone, focus on saving pups.
Leaves turning pale
- Most likely: too much direct sun or nutrient issues.
- Try: back it away from harsh sun, feed lightly in growing season.
No pups after blooming
- Most likely: low light or the plant’s just on its own timeline.
- Try: increase light, keep care steady, and give it time. Some bromeliads are simply slow to pup.
Little cottony spots in leaf joints
- Most likely: mealybugs. (Scale is more often hard bumps, though it can cluster in crevices.)
- Try: dab pests with isopropyl alcohol on a cotton swab, then wipe and rinse leaves. Repeat weekly until gone.
Simple Weekly Routine
If you want a no-fuss checklist, here’s the one I use (and yes, I chat with my plants while I do it).
- Once a week: check the cup level, top up if needed.
- Every 1 to 2 weeks: flush the cup and refill with fresh water.
- Every 1 to 2 weeks: check the potting mix and water only if it’s mostly dry.
- Monthly (spring and summer): fertilize at 1/4 strength.
- Anytime: rotate the pot for even light and wipe dust off leaves.
Do those basics and your bromeliad will reward you with clean, architectural foliage, long-lasting color, and a little parade of pups that makes you feel like a plant wizard.