Boxwood Care: Planting, Pruning, and Common Problems
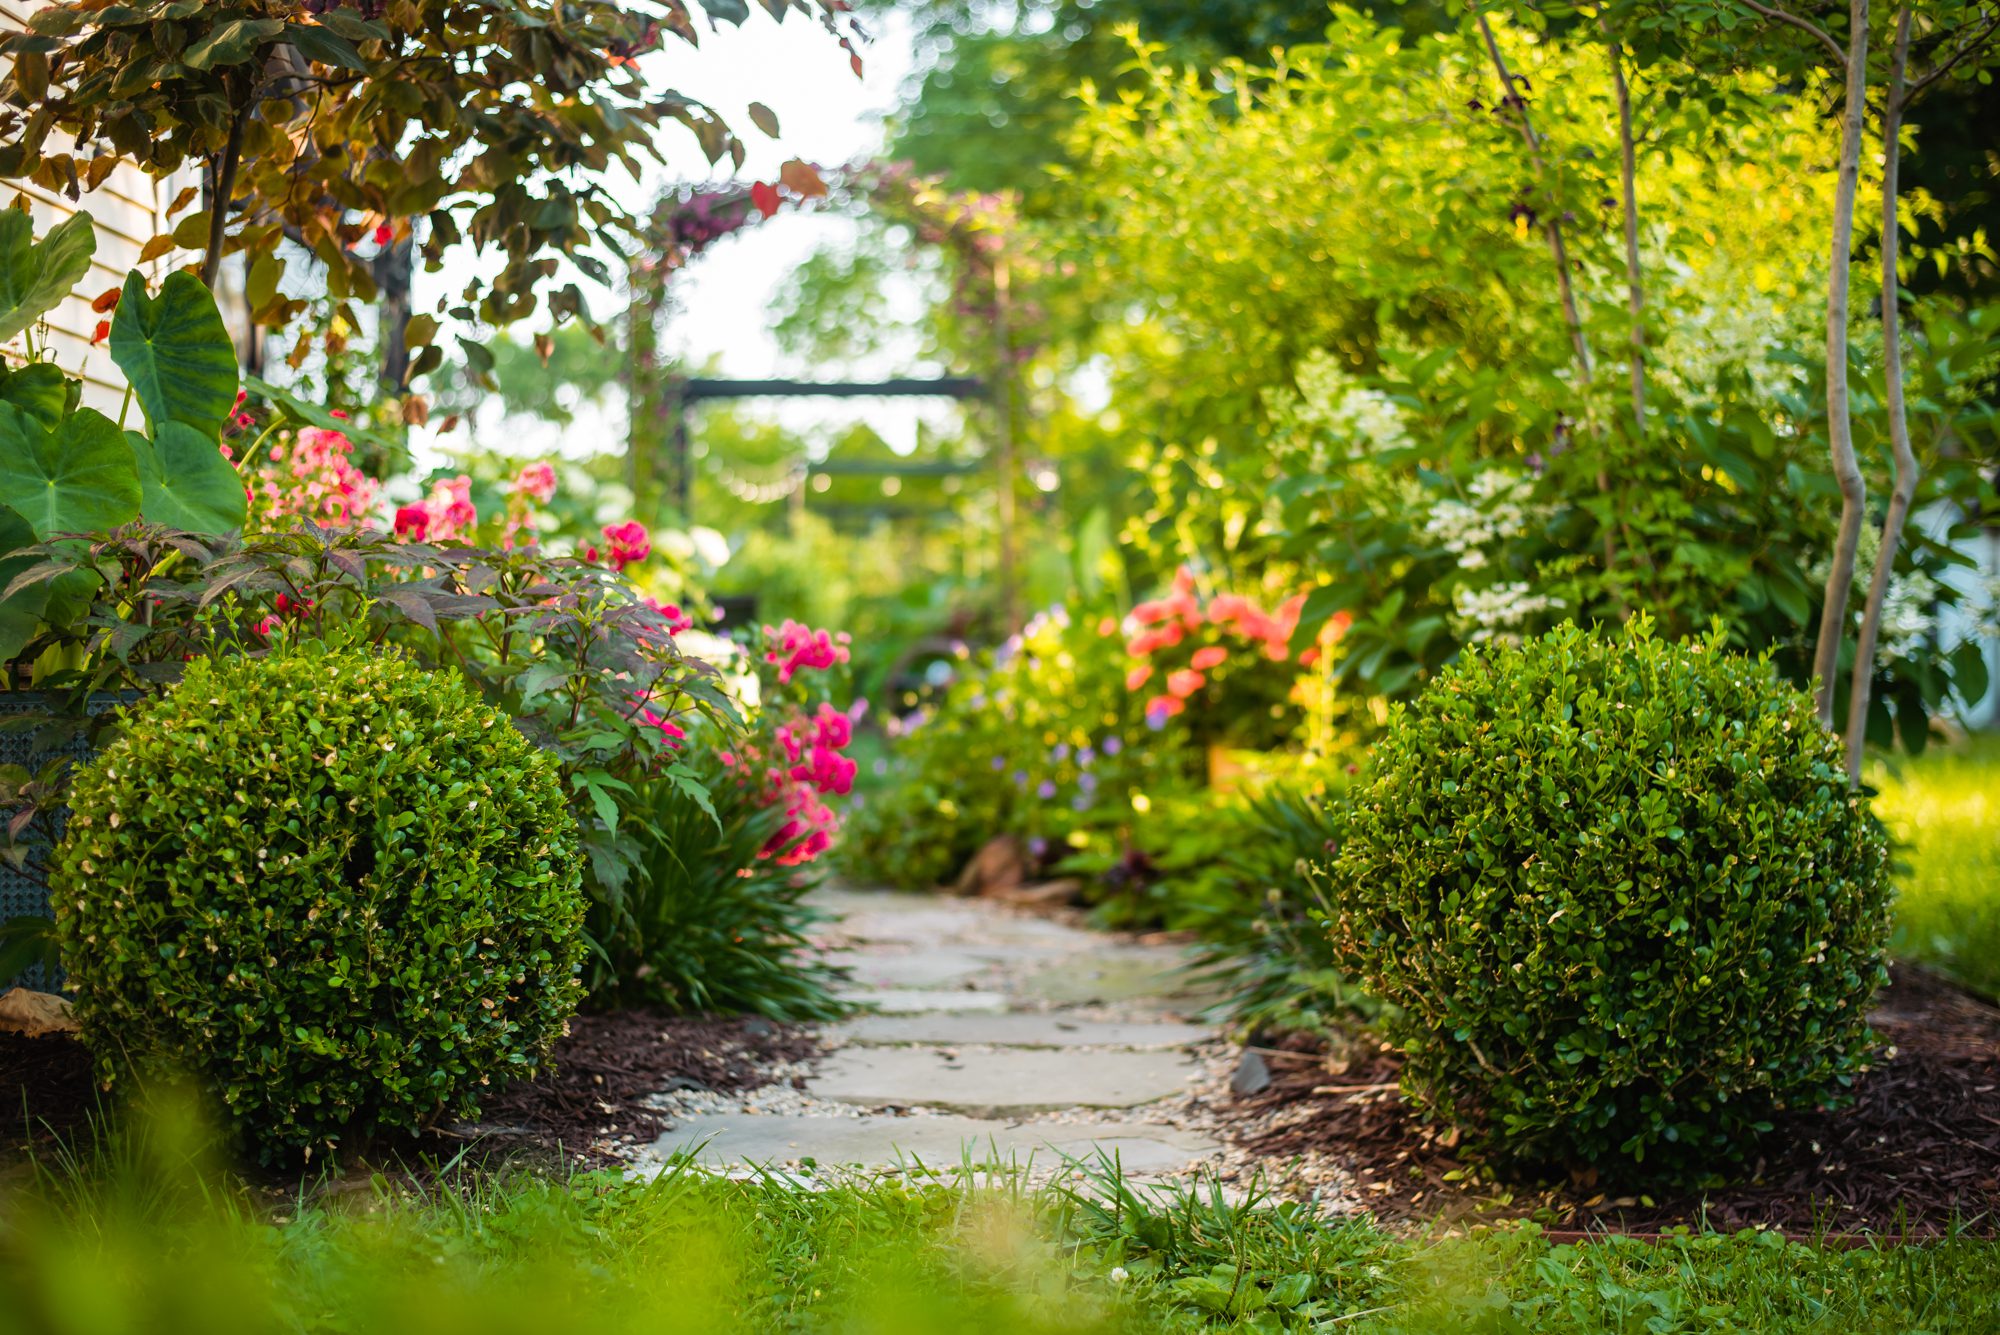
Boxwoods are the little black dress of the landscape. They go with everything, they look polished when you want them to, and they quietly do their job year after year. But they are not indestructible, and most “boxwood problems” come down to a few fixable things: too little airflow, soggy roots, harsh winter exposure, hungry critters, or pruning at the wrong time.
If you have ever looked at a boxwood hedge and thought, “Why does yours look like a plush green cloud and mine looks like a stressed-out pincushion?” you are in the right place. Let’s get your shrubs back to calm, dense, healthy growth with simple, homeowner-level care.

Know your boxwood basics
Boxwoods (Buxus spp.) are evergreen shrubs grown for structure: hedges, foundation plantings, topiary shapes, and tidy borders. They grow slowly to moderately, which is part of their charm and part of why mistakes can feel like they take forever to grow out.
- Best feature: year-round greenery and a naturally dense habit
- Main needs: good drainage, steady moisture (not wet feet), airflow, and protection from drying winter winds
- Common pitfalls: planting too deep, over-shearing, and letting fallen leaves and mulch pile up against the stems
- Quick zone note: cold hardiness and winter bronzing vary by cultivar and exposure. A sheltered spot can make a “meh” boxwood look amazing, even with the same winter temperatures.
Where to plant: sun, soil, and spacing
Sun exposure
Boxwoods are happiest in part sun to part shade. In many regions, morning sun with afternoon shade is the sweet spot because it reduces winter burn and summer stress.
- Too much shade: slower growth, thinner foliage, and more humidity in the canopy
- Hot, full sun all day: higher risk of leaf scorch and drought stress, especially on reflective sites near sidewalks and south-facing walls
Soil and drainage
Boxwoods want even moisture but they hate sitting in water. If your soil stays wet after rain, fix drainage before you plant.
- Backfill mostly with native soil. Boxwoods root best into what they will actually live in.
- Use compost strategically: if you are improving the whole bed, mix compost broadly into the planting area. If you are not reworking the bed, skip heavy amendments in the hole and topdress with compost under mulch instead.
- Avoid the “bathtub” effect: a rich, amended hole in clay can hold water like a bowl.
- Mulch to protect roots, but keep mulch off the stems.
Spacing for airflow
Spacing is not just about looks. It is one of your best defenses against disease because it improves airflow and helps leaves dry faster after rain.
- Hedges: spacing depends on your variety’s mature width and the look you want. For a dense, formal hedge, many people plant at about 1/2 to 2/3 of the mature width. Example: a 3-foot-wide variety often lands around 18 to 24 inches for a tight hedge, or 24 to 36 inches for a looser hedge with more airflow.
- Foundation shrubs: give them enough room so foliage is not pressed against siding.
- Between plants and hardscape: leave breathing room so you can water and inspect easily.
How to plant boxwood the right way
I am going to say the unglamorous part out loud: planting depth matters more than fertilizer for boxwoods. A boxwood planted too deep is a boxwood that struggles.
Step-by-step planting
- Dig wide, not deep. Make the hole about 2 to 3 times as wide as the root ball, but no deeper than the root ball height.
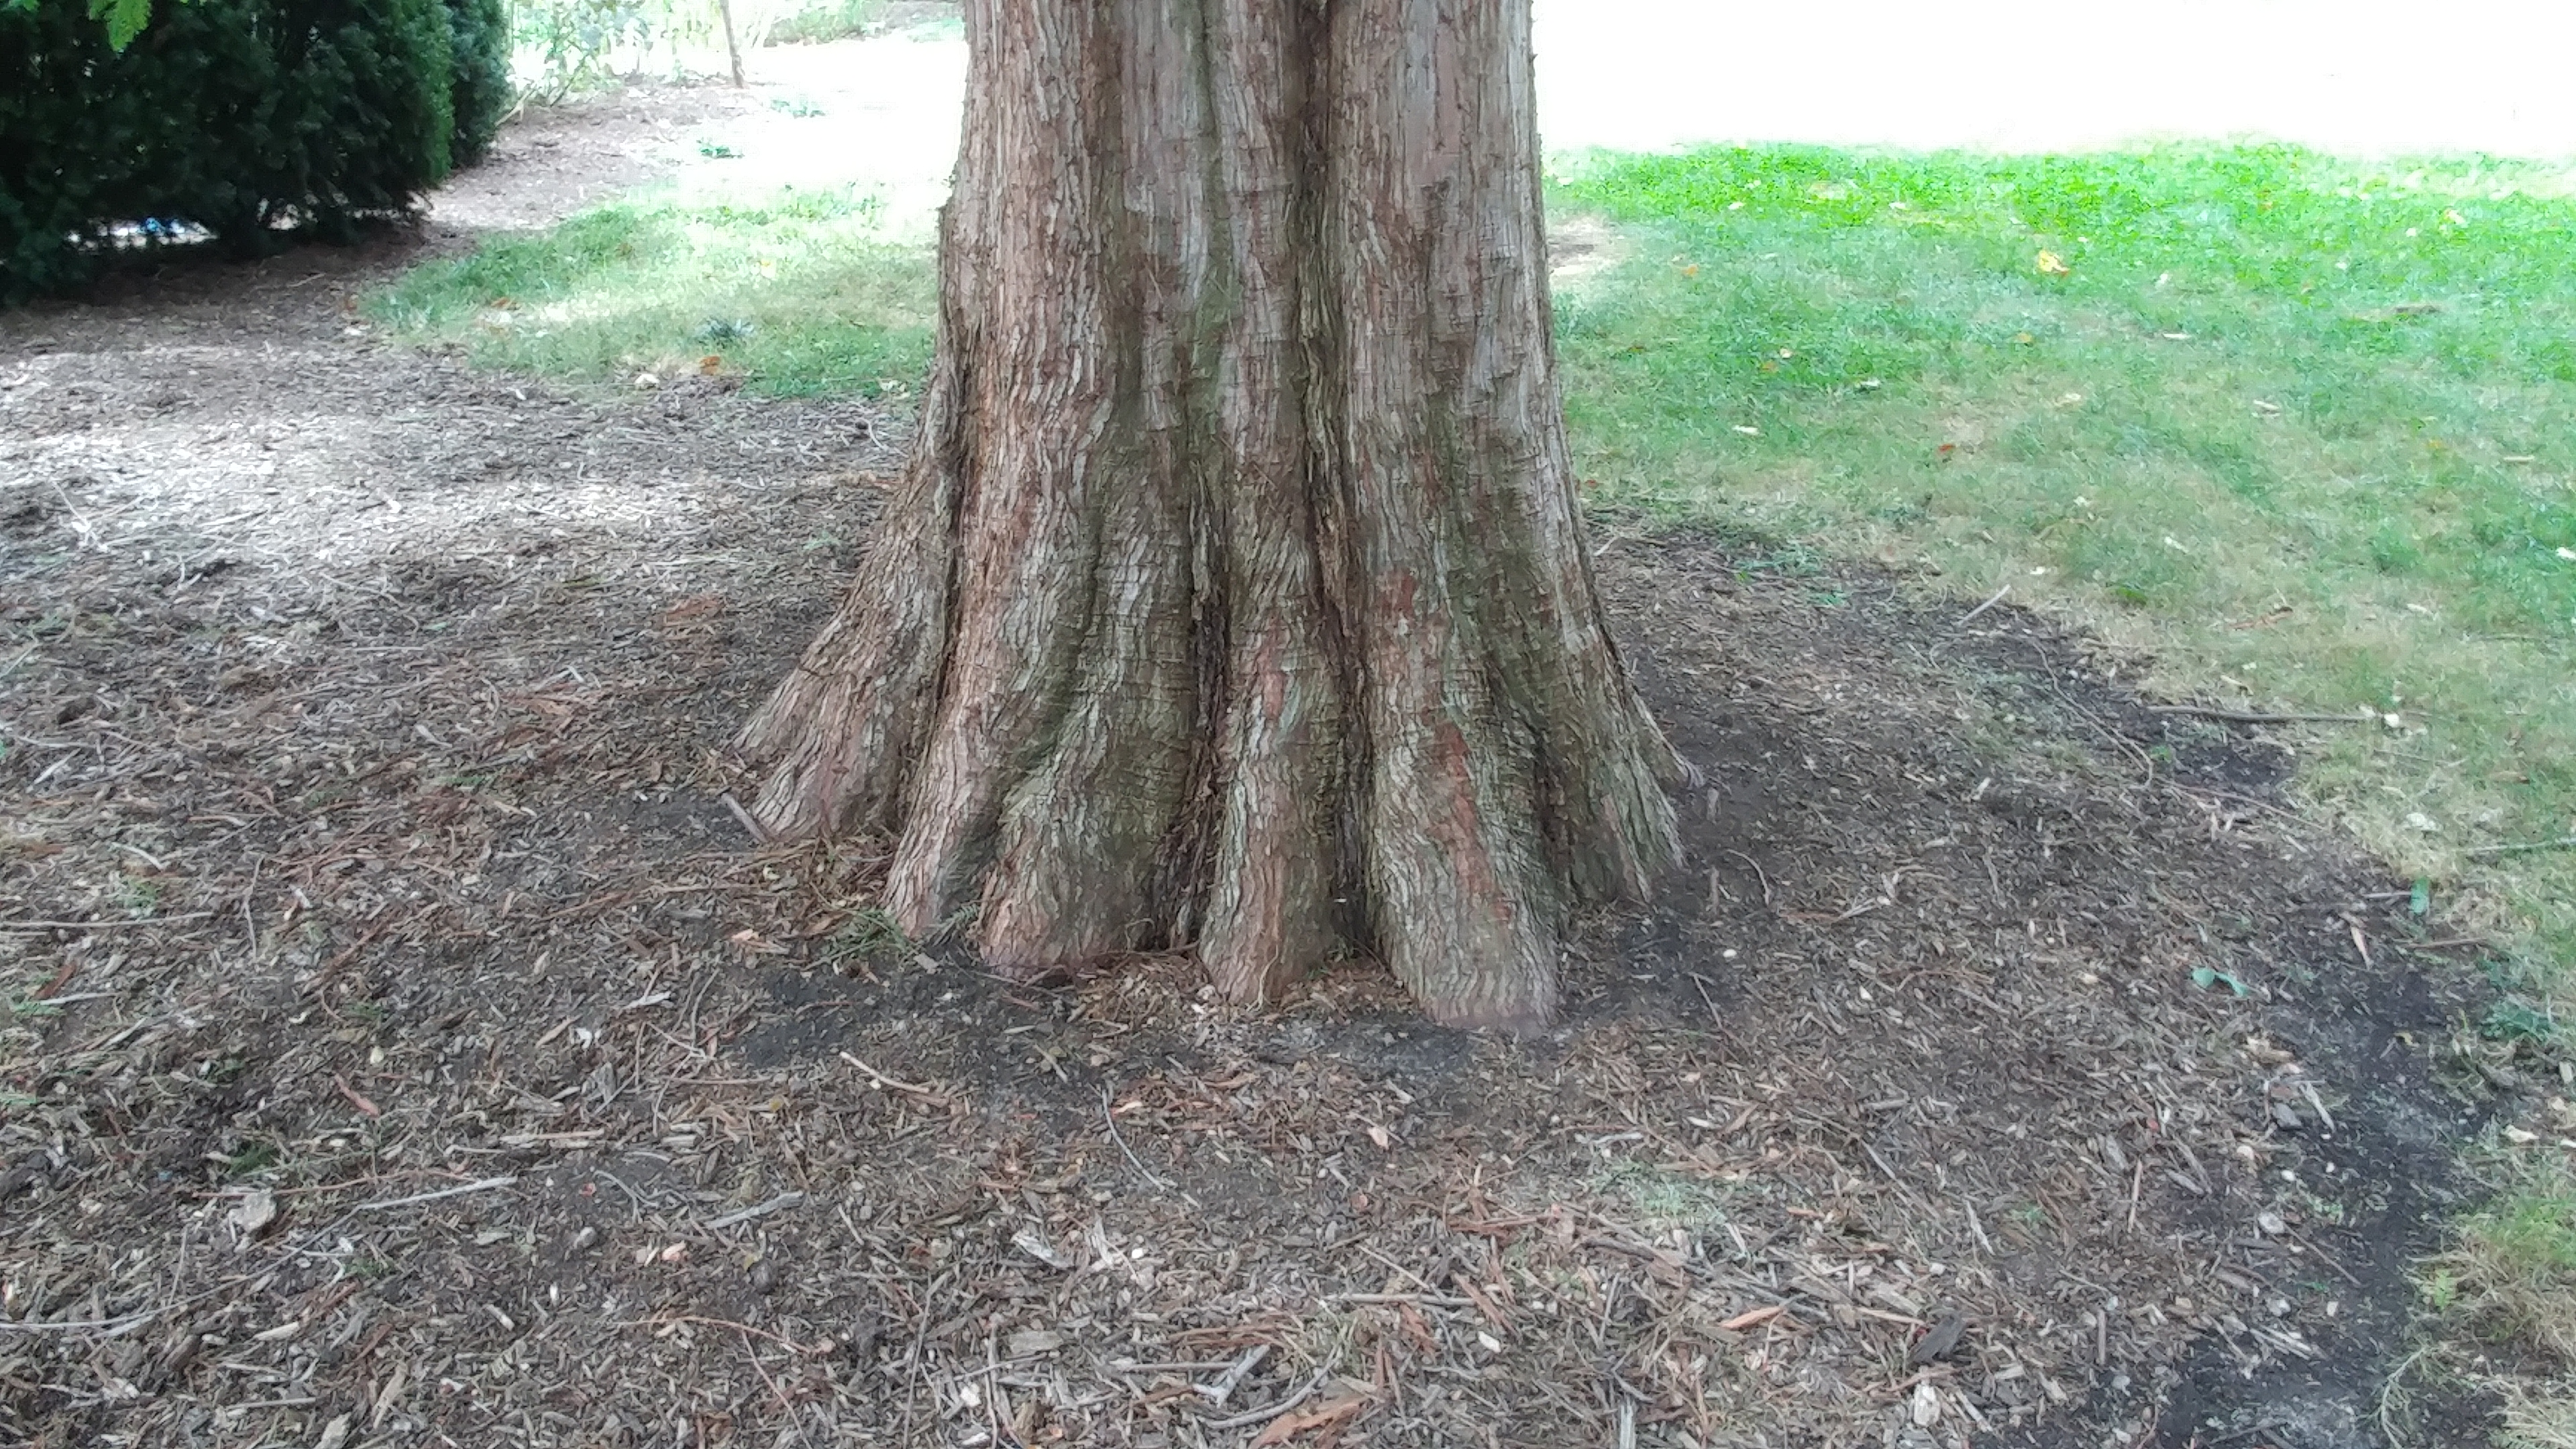
- Find the root flare. That slight widening where the trunk transitions to roots should be at or slightly above soil level.
- Loosen circling roots. If roots are wrapped around the pot shape, gently tease them out.
- Set the plant, then backfill. Use mostly native soil.
- Water slowly and deeply. This settles soil around roots without packing it tight.
- Mulch 2 inches. In hotter, drier sites you can go up to 3 inches, but keep mulch 3 to 6 inches away from the stems. No mulch volcanoes.
Watering the first year
New boxwoods need consistent moisture while roots expand.
- Water deeply 1 to 2 times per week in dry weather, adjusting for rainfall.
- A simple rule: let the top inch of soil dry between waterings. Damp is good. Soggy is not.
- Avoid frequent shallow sprinkling, which encourages shallow roots and stress later.
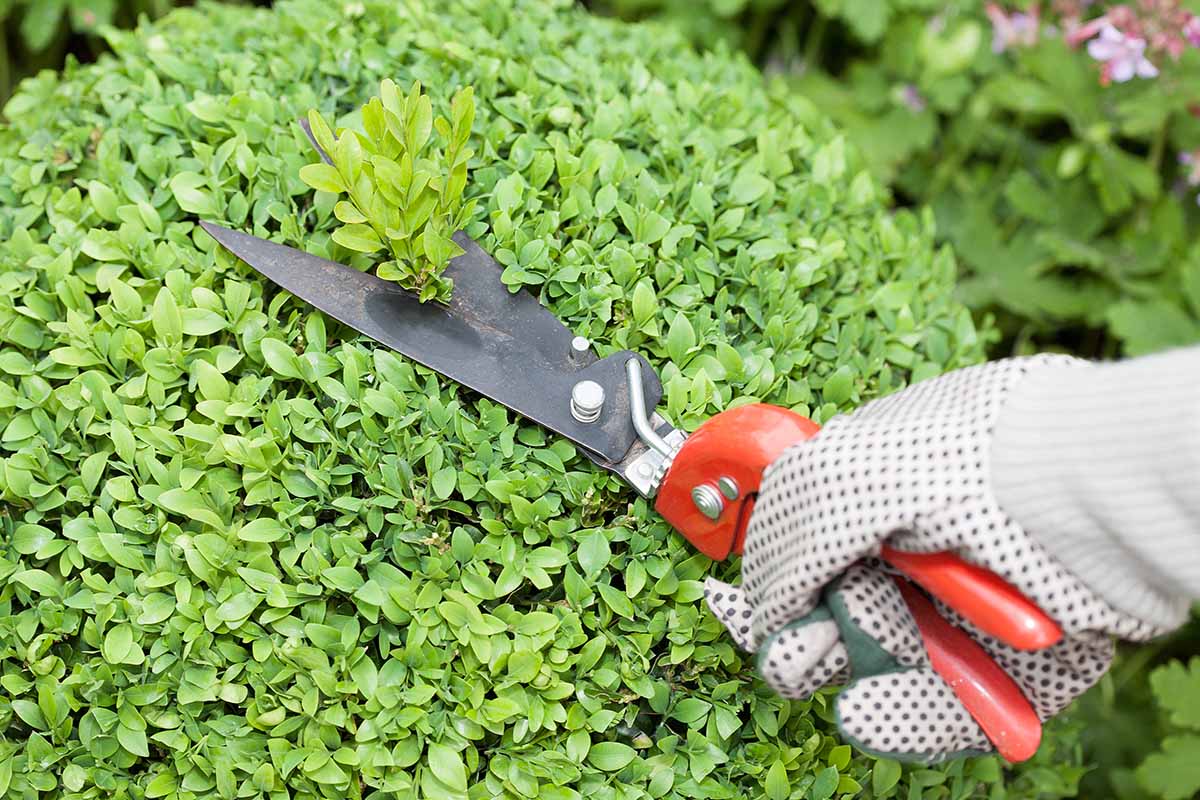
Pruning: shearing vs hand pruning
Boxwoods can be pruned into crisp hedges or left in soft natural mounds. The method you use affects both the look and the long-term health.
Shearing
Shearing creates that classic “formal hedge” look quickly. The downside is that repeated shearing can build a dense outer shell that shades the interior, leading to bare stems inside.
- Best for: formal hedges and topiary, when done thoughtfully
- Watch out for: thinning interior growth and increased humidity inside the plant
- Tip: keep the top slightly narrower than the base so sunlight reaches lower branches
Hand pruning
Hand pruning means selectively cutting individual stems back to a leaf junction. It encourages branching throughout the shrub and keeps light moving into the interior.
- Best for: natural shapes, recovering thin shrubs, and long-term density
- My favorite approach: light shearing for shape, then hand thinning in a few spots so the plant can breathe
When to prune
Best timing
- Late winter to early spring: great for structural pruning before growth begins.
- Late spring to early summer: ideal for shaping after the main flush of growth.
When to avoid pruning
Avoid heavy pruning in late summer and fall. It can push tender new growth that does not harden off before winter, increasing the chance of winter burn.
Hygiene basics
- Do not prune when foliage is wet, especially if blight is a concern.
- Sanitize tools between plants when disease is suspected. Wipe blades with 70% isopropyl alcohol, or use a labeled disinfectant. If you use a bleach solution, follow label guidance and allow proper contact time, then rinse and oil tools to prevent corrosion.
Need to shrink or thicken a stressed hedge? Jump to Recovery pruning below for a simple plan.
Winter protection
Most winter boxwood damage is not “freezing” so much as drying. Evergreen leaves lose moisture all winter, and when the ground is frozen, roots cannot replace it. Wind and sun make it worse, especially on exposed corners and south-facing sites.
How to prevent winter burn
- Water deeply before the ground freezes. Going into winter hydrated is one of the most important factors for spring color.
- Mulch lightly over the root zone. Think 2 inches, not a mulch volcano.
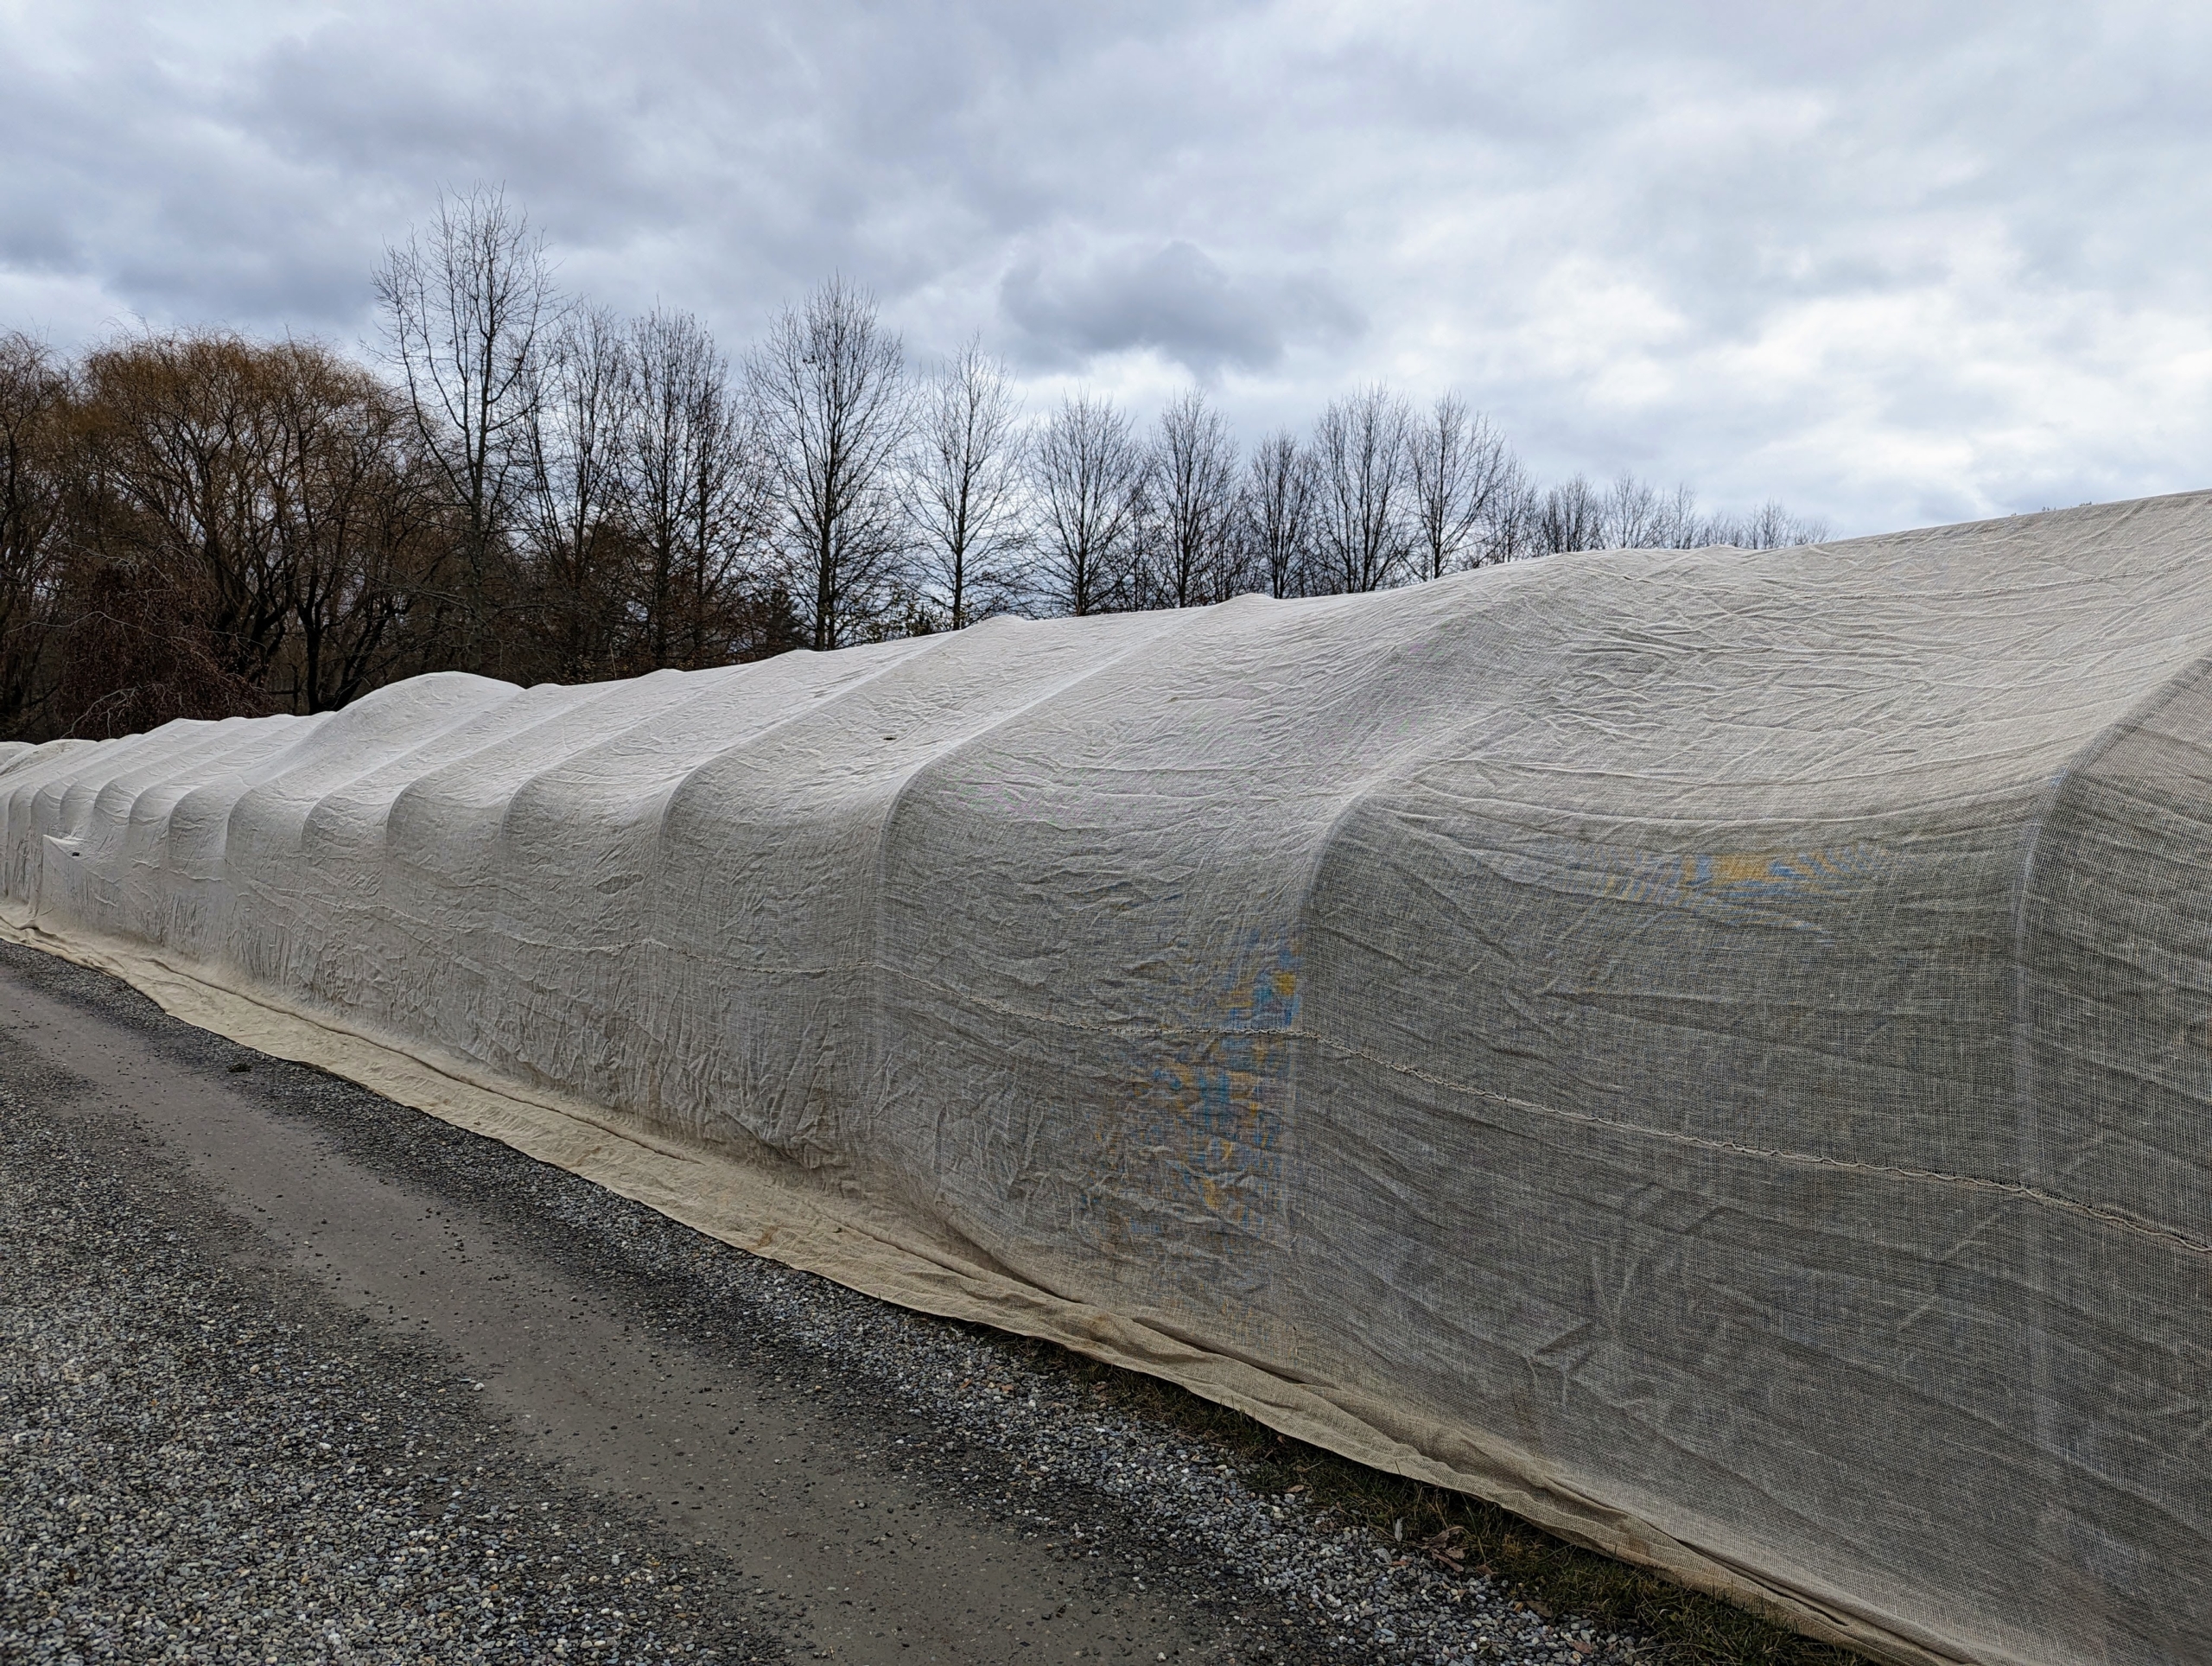
- Shield from wind. Burlap screens on stakes can help in very exposed locations.
- Brush off heavy snow. Gently, with a broom, so branches do not splay and break.
- Avoid de-icing salt spray. Use pet-safe products and rinse adjacent soil in early spring if salt exposure is likely.
Common problems
Let’s keep this practical. You do not need a lab to make smart decisions, but you do need to know what the red flags look like. Also, pests and diseases are regional. When in doubt, your local extension office is your best shortcut.
Quick diagnosis
- Yellowing + wet soil: likely drainage or root stress
- Crispy tan patches after winter: winter burn and desiccation
- Blistered leaves you can see through when backlit: leafminer
- Rapid leaf drop + dark spots + black streaks on stems: possible boxwood blight
- Sudden defoliation with webbing and green caterpillars: box tree moth
- Chewed bark near the base after winter: vole damage
Boxwood blight
Boxwood blight is a serious fungal disease that can defoliate plants quickly, especially in warm, wet conditions with poor airflow.
Common signs:
- Dark leaf spots that expand, followed by leaf drop
- Black streaking on stems
- Rapid thinning that seems to move through the plant
What to do now:
- Do not compost fallen boxwood leaves. Bag and dispose of them according to local guidelines.
- Stop overhead watering. Water at the soil level to keep foliage dry.
- Improve airflow. Thin crowded plants and keep hedges from becoming a solid wall of humidity.
- Sanitize tools between plants if you suspect disease.
- Know this: blight spores can persist in leaf litter and soil for years. In severe cases, removing the plant and carefully cleaning up debris is sometimes the most realistic option.
- Call your local extension office if you need confirmation. It is worth doing with blight.
Planting tip: If blight is common in your area, ask nurseries about more resistant boxwood varieties or consider alternative shrubs for formal structure.
Box tree moth
This is the one homeowners are suddenly seeing in headlines for a reason. Box tree moth (Cydalima perspectalis) is an invasive pest that can strip a boxwood fast.
Signs:
- Chewed leaves and sudden defoliation
- Webbing in the shrub and pellet-like frass (insect droppings)
- Green caterpillars with dark striping, often hiding deeper in the plant
What to do:
- Inspect regularly, especially the interior of the shrub.
- Hand-pick caterpillars on small plants.
- Get local timing help: management depends on life stage and local activity windows. Your extension office can tell you what is currently recommended in your region.
Boxwood leafminer
Leafminer is a tiny insect whose larvae feed inside boxwood leaves.
Signs:
- Blistered, swollen, or puckered leaves
- Yellowing or bronzing, especially on new growth
- A great ID trick: hold leaves up to the light to see the mines and larvae inside
Homeowner actions:
- For light, localized infestations, prune out the worst shoots and dispose of them.
- Keep plants vigorous with proper watering and mulch.
- If damage is severe year after year, consult local extension guidance on timing-specific controls. Effectiveness depends heavily on the insect life cycle in your region.
Winter burn and bronzing
Bronze or tan foliage after winter is common. Some varieties bronze naturally in cold weather, but crispy, bleached patches often signal wind and sun stress.
- Wait until spring growth begins to assess true damage.
- Then prune out dead tips and lightly shape.
- Support recovery with steady moisture and a thin layer of compost under the mulch.
Root stress
If a boxwood looks dull, sparse, and slow, check the basics before you chase fancy solutions.
- Too wet: yellowing leaves, leaf drop, poor vigor. Improve drainage and avoid frequent watering.
- Too dry: leaf curl, brittle foliage, dieback on outer tips. Water deeply and mulch.
- Too deep: chronic decline. Gently pull mulch and soil back from the base to expose the root flare.
Voles
If your boxwood declines “mysteriously” after winter, check for voles. They love cozy cover and they can girdle boxwood stems near the soil line, which can mimic root decline.
- Pull mulch back a few inches from the base going into winter and keep leaf litter cleaned up.
- Look for gnawing on bark at the base, especially under snow cover.
- If damage is fresh and partial, plants can sometimes recover. If the stem is fully girdled, replacement may be the only path.
Other issues you may see
- Boxwood psyllid: cupped leaves on new growth, usually cosmetic.
- Spider mites: stippled, dull foliage in hot, dry weather.
- Volutella blight: patchy dieback and leaf drop, often tied to stress and poor airflow.
Recovery pruning
If your boxwood has a hollow center or looks like it has a dense green “helmet” with bare stems underneath, it can be fixed. It just takes patience.
Option 1: Gentle recovery
- In early spring, hand prune by cutting select long stems back 3 to 6 inches into the plant.
- Remove a few congested branches from the interior to let in light.
- Repeat lightly after the spring flush if needed.
Option 2: Renovation pruning
For very overgrown boxwoods, you can reduce size more significantly in late winter or early spring. Do it in stages if you feel nervous.
- Reduce by up to about one-third at a time, focusing on restoring a natural outline and light access.
- Prioritize removing dead wood and crossing branches first.
- Expect the plant to look a bit awkward for a season while it re-fills.
Aftercare for recovery: Water consistently during dry spells, avoid heavy nitrogen fertilizer, and keep mulch modest. Recovery is about steady, low-stress growth.
Everyday care checklist
- Mulch: about 2 inches (up to 3 in hot, dry sites), kept away from stems
- Water: deep watering during drought, especially in the first year and before winter freeze
- Prune: shape in late spring, avoid heavy fall pruning, do not prune when foliage is wet
- Airflow: give plants space, thin occasionally, clean up leaf litter
- Inspect: look for leaf spots, stem streaking, blistered leaves, webbing, and sudden thinning
If you take nothing else from this page, take this: boxwoods love consistency. Consistent moisture, consistent airflow, and consistent, gentle pruning will do more than any miracle product on a garden center shelf.
Quick FAQ
Should I fertilize my boxwoods?
Only if they need it. A soil test is the gold standard if you are unsure. In many home landscapes, a thin layer of compost under the mulch in spring is plenty. Avoid heavy nitrogen, especially late in the season, since it can push soft growth that is more prone to stress.
Why are the leaves turning yellow?
Yellowing can come from wet roots, drought stress, or general decline from planting too deep. Check soil moisture and drainage first, then inspect for pests and spotting.
Can a boxwood come back after severe pruning?
Often, yes. Boxwoods can push new growth from older wood, but recovery is slower than many shrubs. Renovate in early spring, then be patient and supportive with watering and light hand pruning.