Bottom-Watering Indoor Plants
Bottom-watering is one of those small, quiet changes that can make your whole indoor jungle feel calmer. Instead of pouring water onto the top of the soil, you let the plant drink from below through the drainage holes. The roots do the work, the top layer stays drier, and two common headaches often become easier to manage: fungus gnats and root rot risk.
If you've ever watered a plant and immediately watched gnats pop up like they were invited to a party, this method is for you. I also love it for anyone who tends to overwater out of kindness. Your plants can still get a deep, satisfying soak, just with better boundaries.
Why bottom-watering helps with fungus gnats and root rot
Fungus gnats
Fungus gnat adults are mostly annoying, but their larvae tend to hang out in the damp upper layer of potting mix (often the top couple inches, though they can creep deeper if the pot stays wet). They thrive when the surface stays consistently moist. Bottom-watering keeps that top layer drier more of the time, which makes the environment less friendly for eggs and larvae.
It's not a magic switch if you already have an infestation, but it's strong, steady pressure in the right direction.
Root rot
Root rot isn't a single disease as much as a pattern: roots sitting in waterlogged soil for too long, oxygen gets pushed out, and opportunistic fungi and bacteria move in. Bottom-watering can help reduce the risk, but only when it's paired with proper drainage, a breathable mix, and enough dry-down time between waterings.
It helps because:
- You're more likely to water only when the plant actually needs it, since you'll notice whether the soil is still holding moisture.
- The root ball often hydrates more evenly, which can reduce dry pockets (though very chunky mixes or super-dry, peat-heavy soil can wick unevenly).
- You can remove the plant from water after a set time, so it doesn't sit in a permanently wet saucer.
The key is still drainage and timing. Bottom-watering is a technique, not permission to keep roots submerged.
Plants that love bottom-watering (and a few that don't)
Usually great candidates
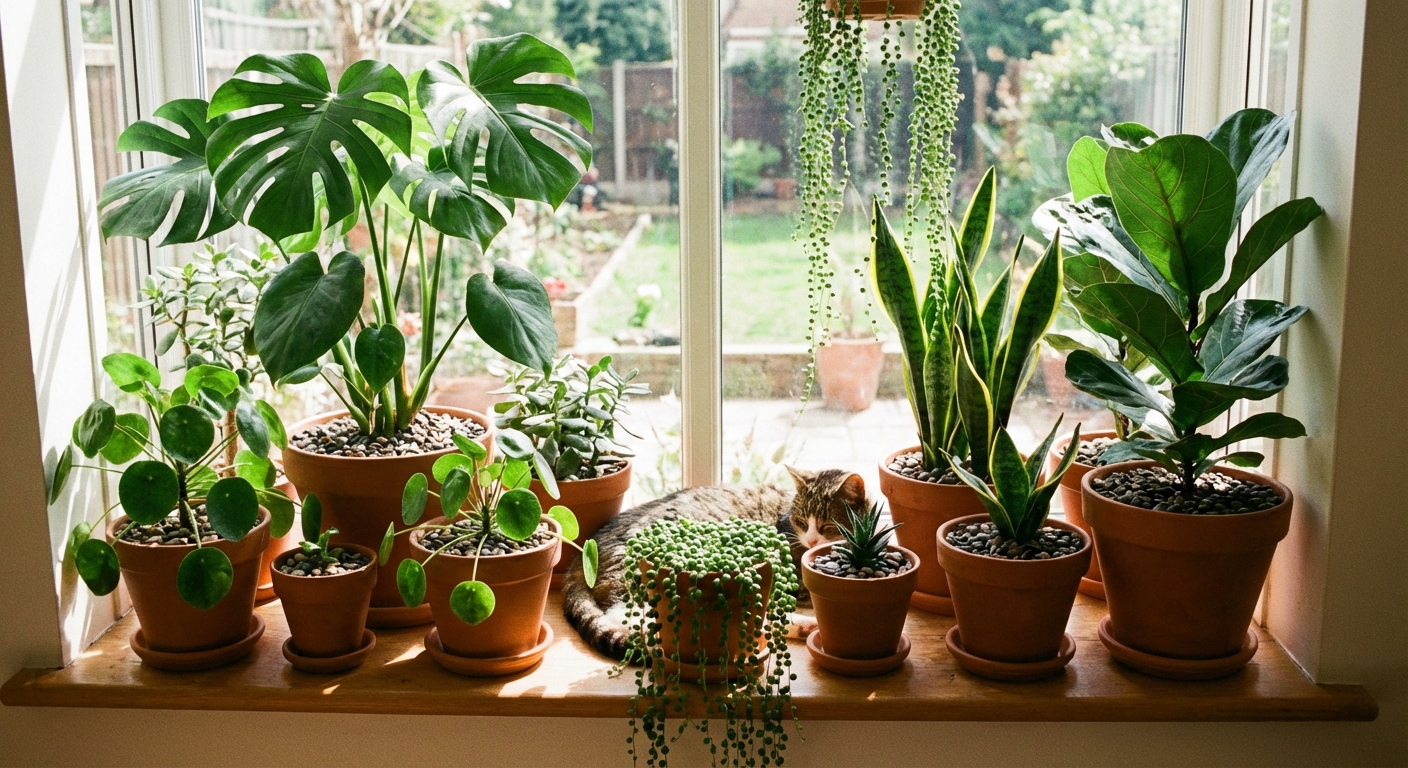
- Pothos, philodendron, monstera
- Spider plants
- Peace lily (especially if it's prone to dry pockets)
- African violets (keeps water off fuzzy leaves)
- Hoyas (as long as you let them dry appropriately between waterings)
- Herbs in small pots that dry fast, like basil and mint
Use extra caution
- Succulents and cacti: bottom-watering can work, but only if you're strict about letting the mix dry out completely first. Use a gritty mix and shorter soak times.
- Plants in very large pots: they can take a long time to wick water up. You may need a longer soak or a hybrid approach.
- Pots without drainage holes: don't bottom-water these. If water can't move in and out properly, you're guessing, and guessing is where root rot lives.
When to skip it
- Newly repotted plants: a gentle top-water can help settle the mix and eliminate large air pockets. After that, you can go back to bottom-watering.
- Any plant in dense, slow-draining soil: watering method won't fix a soil problem. If the mix stays wet for ages, adjust the mix or pot first.
What you need
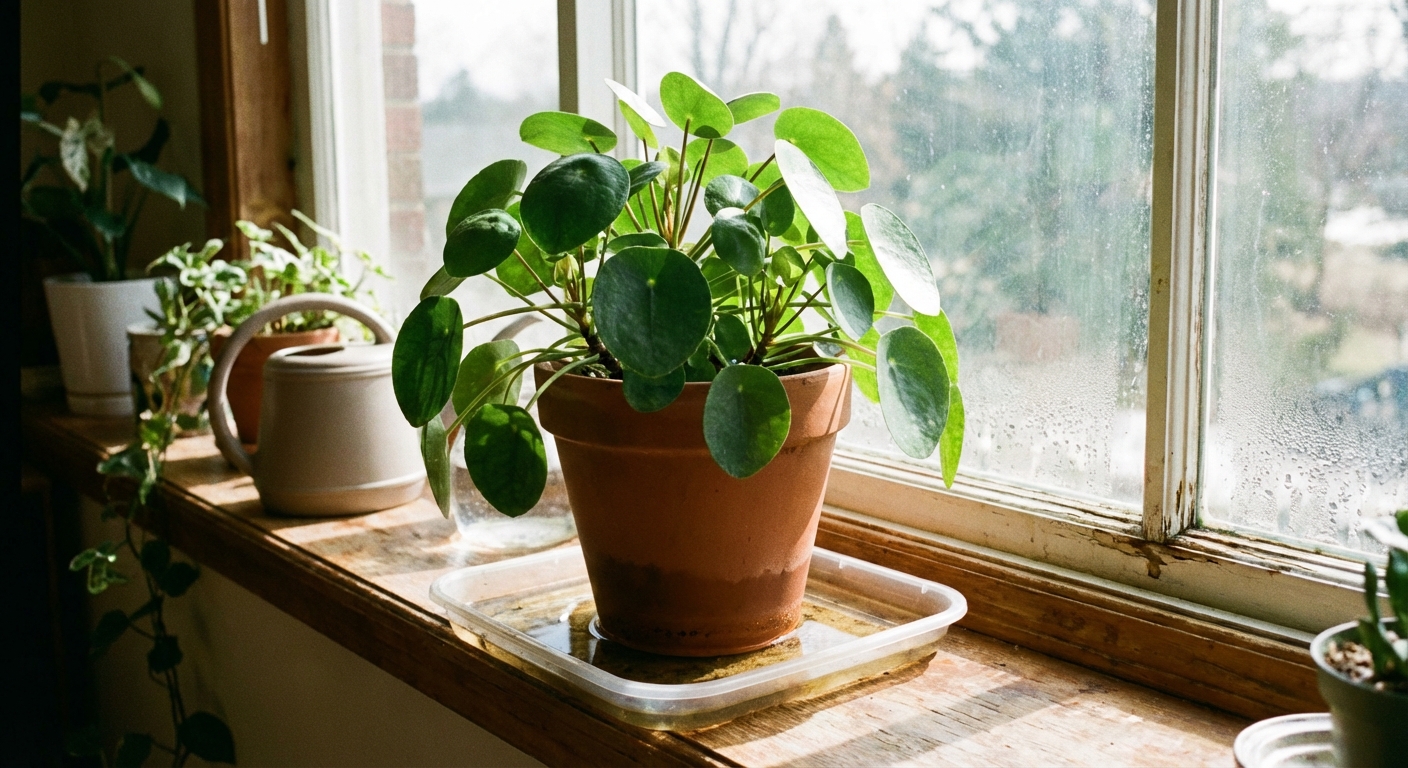
- A pot with drainage holes (nursery pot inside a cachepot is perfect)
- A tray, saucer, baking dish, or shallow storage bin large enough to hold the pot
- Room-temperature water
- Optional but helpful: a moisture meter, a chopstick or skewer, and sticky traps if you're battling gnats
I keep one slightly battered dishpan under my sink that's officially the “plant spa.” It's not pretty, but it's wildly useful.
If you use a cachepot (a decorative pot with no drainage), lift the nursery pot out to water. Don't soak the whole cachepot. It's too easy to forget a hidden puddle at the bottom.
Step-by-step: how to bottom-water indoor plants
1) Check if the plant actually needs water
Bottom-watering works best when you do it intentionally, not on autopilot.
- Finger test: stick your finger in the soil. Many common houseplants like watering when the top 1 to 2 inches are dry.
- Skewer test: insert a wooden skewer. If it comes out dark and damp, wait.
- Lift test: the pot feels noticeably lighter when it needs water.
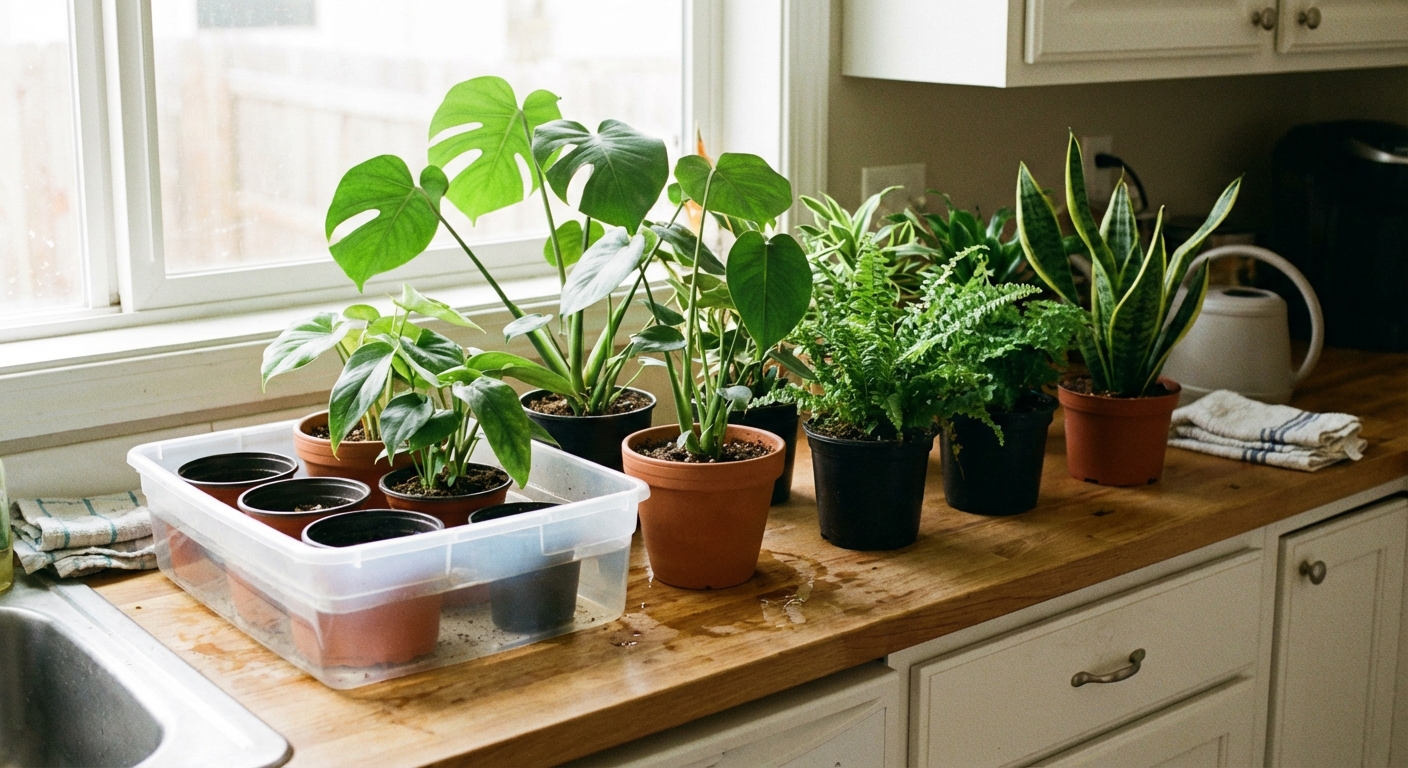
2) Add water to the tray
Pour room-temperature water into your tray or bin. For most small to medium pots, start with about 1 to 2 inches of water. You can always add more if the plant drinks it quickly.
3) Set the pot in the water and let it wick
Place the pot in the tray. Now you wait while the soil pulls water upward through capillary action.
Typical soak time (use as a starting point):
- Small pots (2 to 4 inch): 10 to 20 minutes
- Medium pots (5 to 8 inch): 20 to 40 minutes
- Larger pots (10 inch+): 40 to 60 minutes, sometimes longer
Soak time varies a lot based on soil type, how dry the mix is, root density, and even pot material (terracotta can behave differently than plastic). You're not looking for a perfect number. You're looking for even moisture.
There are a few simple tells:
- The surface of the soil may darken and feel cool as moisture reaches the top (this cue can be subtle if your soil is already dark or you have a top dressing).
- The pot feels heavier when you lift it.
- The drainage holes look damp, and you can feel moisture when you check near the bottom of the mix with a skewer.
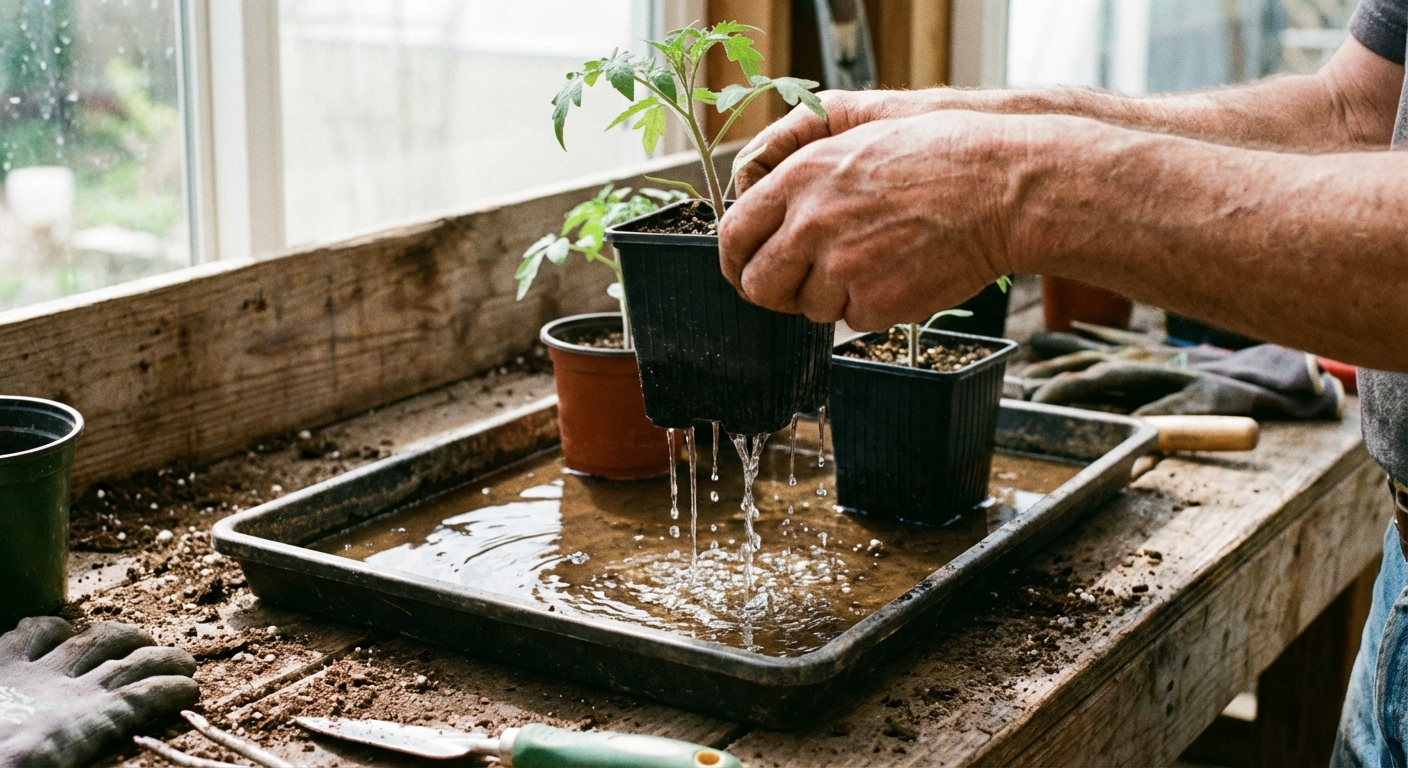
4) Remove, drain, and don't let it sit in a puddle
Lift the pot out and let it drip for a minute or two. Then return it to its saucer or cachepot.
If your plant sits inside a decorative pot, make sure there's no standing water at the bottom. I like to tip the cachepot slightly and pour off any excess.
5) Do a quick top-of-soil tidy (optional but helpful)
If you're dealing with fungus gnats, this is a good moment to:
- Remove fallen leaves
- Gently break any algae crust on the surface
- Add a thin layer of coarse sand or horticultural grit if you like that method (not required, but it can discourage egg-laying)
Bottom-watering tips that work
Use it to rehydrate dry, stubborn soil
If potting mix has dried into a water-repellent brick, top-watering often sends water racing down the sides and out the drainage holes. Bottom-watering gives the soil time to absorb more evenly. For very dry plants, do two rounds: a 20-minute soak, drain, then another 10 minutes.
Adjust for soil type
- Peat-heavy mixes wick well, but can stay wet too long. Be strict about letting the plant dry appropriately between waterings.
- Chunky aroid mixes (bark, perlite, coco chunks) may wick more slowly or unevenly. A longer soak is normal, and a quick splash of top-water can help “start” the wicking if needed.
- Gritty cactus mixes wick quickly and drain quickly. Short soaks are best.
Yes, you can fertilize this way (with a couple rules)
You can add diluted liquid fertilizer to your bottom-watering tray sometimes, and many people do. A few guidelines that keep things tidy and safe:
- Use a weak mix (follow the label, and when in doubt, go lighter).
- Don't let pots soak for hours in fertilizer water. Use your normal soak time, then drain well.
- Flush periodically: even if you fertilize from the bottom, top-water thoroughly in the sink or tub now and then to rinse out built-up salts.
- Skip fertilizer on stressed plants (recently repotted, pest issues, very dry, or actively wilting). Water first, feed later.
Don't bottom-water forever if salts build up
If you use tap water or fertilize regularly, minerals can accumulate in the soil. Because bottom-watering doesn't flush from the top as much, it's smart to top-water thoroughly periodically (often about once a month, depending on your water hardness, fertilizer routine, and plant sensitivity) to rinse the mix. Let it drain well afterward.
Make it a gentle habit, not a rigid rule
I bottom-water most of my houseplants most of the time, but I still top-water when I want to flush fertilizer, when I'm applying a soil drench treatment, or when a plant simply needs a quick drink. You're allowed to be flexible.
Bottom-watering for fungus gnat control
If you already have fungus gnats, bottom-watering is your foundation, but you'll get faster results if you pair it with a couple of targeted steps:
- Let the top 1 to 2 inches dry between waterings for most plants.
- Yellow sticky traps to catch adults and monitor progress.
- BTI (mosquito bits or dunks) steeped in water, then used for bottom-watering. BTI targets larvae (not the flying adults). Follow label directions and reapply on schedule, often weekly for a few cycles, to break the life cycle.
- Clean up decaying matter on the soil surface, since larvae love it.
Expect improvement in 1 to 3 weeks. The goal is to break the life cycle, not to win a single dramatic battle overnight.
Common bottom-watering mistakes
Leaving the pot in water for hours
A long soak now and then isn't the end of the world, but routinely leaving pots sitting in water turns “bottom-watering” into “wet feet.” Set a timer. Your roots will thank you.
Bottom-watering a pot with poor drainage
If your plant is in dense soil or the pot has clogged holes, it'll stay wet too long no matter how you water. Root rot is often a drainage problem first.
Assuming the top is dry means the plant is dry
The whole point is even moisture through the root zone. Learn your plant's rhythm and check deeper when you're unsure.
Watering on a schedule
Plants don't read calendars. Light, temperature, pot size, and season change water needs dramatically. Bottom-watering works best when you respond to the plant, not the date.
Quick troubleshooting
The soil never seems to wick up
- Soil may be extremely dry and hydrophobic. Do a longer soak (45 to 60 minutes) and repeat if needed.
- The potting mix may be very chunky. Extend soak time or briefly top-water first to start the wicking.
- Roots may be extremely tight (rootbound). Consider repotting.
The top stays dry but the plant still wilts
- Check for rootbound roots that can't absorb well.
- Check for root rot. If roots are mushy or smell sour, you may need to trim and repot into fresh mix.
- Check the light and heat. A thirsty plant in bright light may need more frequent watering, even if the surface looks okay.
I'm still seeing gnats
- Use sticky traps and BTI to target both adults and larvae.
- Confirm you aren't keeping the soil constantly moist.
- Inspect other pots nearby. One “gnat factory” can repopulate the whole room.
A simple routine you can steal
If you want an easy rhythm, here's what I do for most foliage houseplants:
- Check soil moisture twice a week.
- Bottom-water only the ones that need it.
- Soak 20 to 40 minutes, then drain well.
- Periodically (often monthly), top-water in the sink to flush salts, then drain thoroughly.
And if you mess it up once, you didn't fail. You just gathered data. Plants are forgiving when we pay attention, and bottom-watering is one of the gentlest ways to start.