
Black-Eyed Susan Care and Division

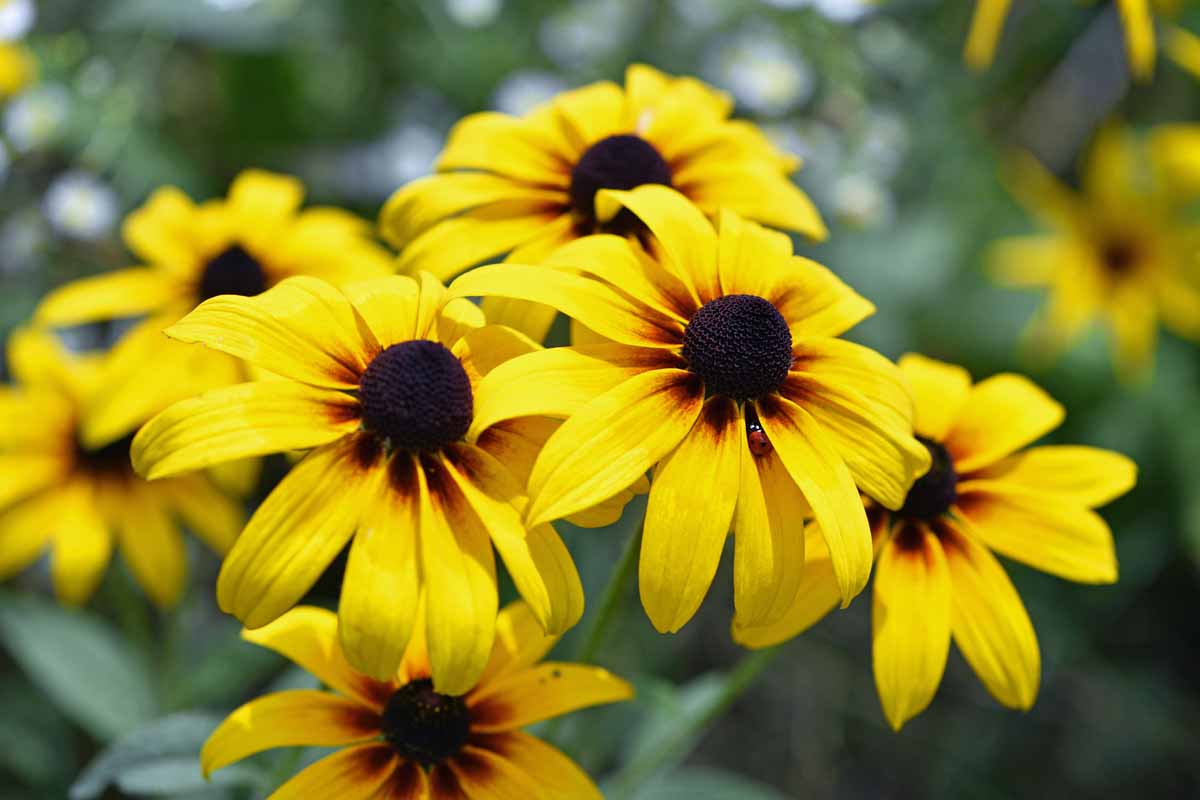
Black-eyed Susans are the kind of plant that makes you feel like you know what you are doing, even on the weeks when the weeds are winning. That golden yellow daisy face with the dark center is pure summer. But “black-eyed Susan” is a common name that gets used for several Rudbeckia species and cultivars in home gardens, and how you care for them depends on which one you have.
- Rudbeckia hirta is often grown as an annual or short-lived perennial. It blooms fast, often flowers its heart out for a year or two, and then politely bows out. It does not always come back from the same clump, although some cultivars and some climates let it overwinter and return. What it does very well is self-seed.
- Perennial rudbeckias like Rudbeckia fulgida (including ‘Goldsturm’) and Rudbeckia laciniata return from the same crown and can be divided as they expand.
- Rudbeckia triloba is its own personality. It can live a few years, but it often behaves like a short-lived perennial or biennial that persists mostly by enthusiastic self-seeding.
If you are not sure which you have, do not worry. I will give you clues along the way so you can adjust without guessing.

Sun and soil basics
Light
Black-eyed Susans are happiest in full sun, meaning 6 or more hours of direct light. They will tolerate part sun, but you will usually see:
- taller, floppier stems
- fewer blooms
- more leaf disease from slower drying foliage and reduced airflow
If your plants keep leaning like they are trying to eavesdrop on the neighbors, that is often a light issue first, and a rich soil issue second.
Soil
Rudbeckias are not fussy, but they do have two strong opinions:
- Drainage matters. They dislike sitting in soggy soil, especially over winter.
- Moderate fertility is perfect. Overly rich, heavily fertilized beds can push lush leaves and fewer flowers.
Aim for a loamy garden soil amended with compost. If you have heavy clay, mix in compost yearly and consider planting on a slight berm or raised bed to keep crowns from staying wet.
Spacing
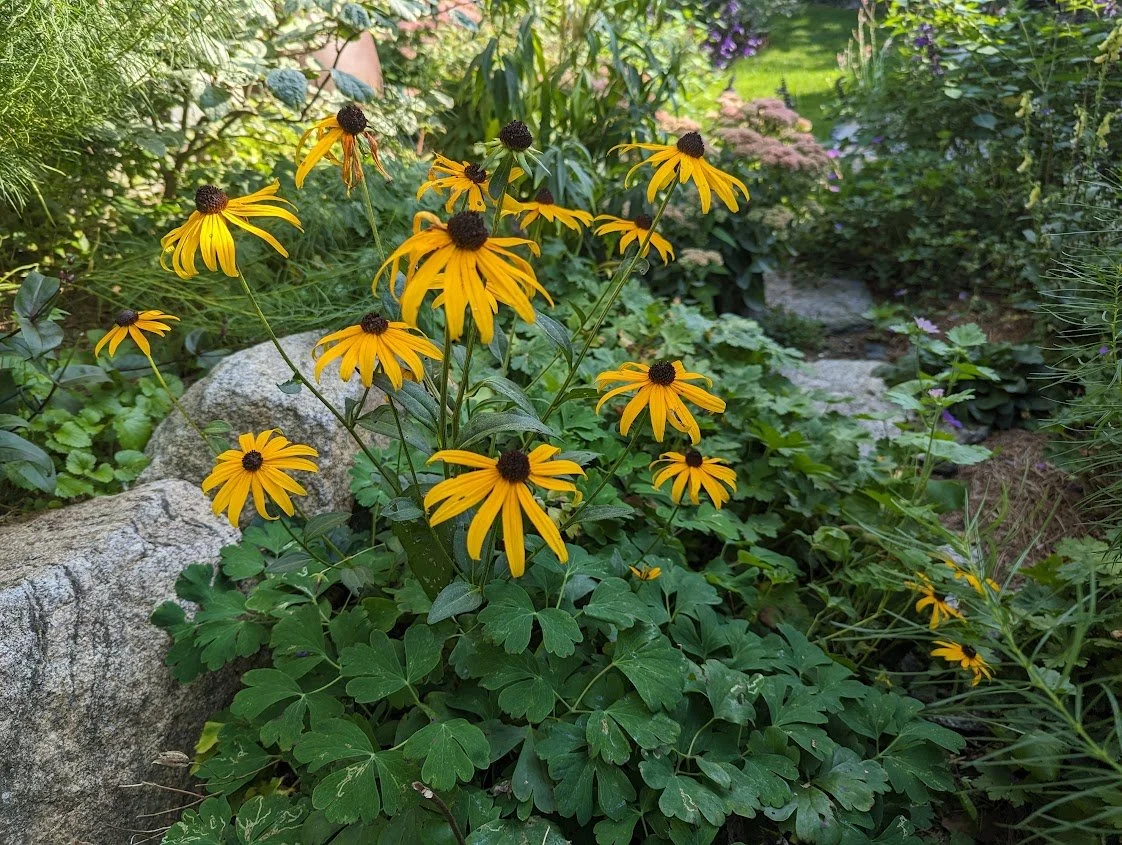
If you only do one “grown-up gardening” thing for rudbeckias, make it spacing. Most black-eyed Susans do best with about 12 to 18 inches between plants, and larger types may want 18 to 24 inches. More breathing room means sturdier stems, more blooms, and fewer mildew issues.
Watering
Once established, black-eyed Susans are fairly drought tolerant. The tricky part is the first few weeks after planting and the first full growing season.
Newly planted (first 3 to 6 weeks)
- Water deeply right after planting to settle soil around the roots.
- Then water when the top 1 to 2 inches of soil feel dry.
- In hot weather, that might mean 2 to 3 times per week for a bit, especially in sandy soil or containers.
First season
Give them a steady routine while roots expand:
- About 1 inch per week total (rain plus irrigation) is a solid goal.
- Water at the base when possible. It keeps foliage cleaner and helps reduce splash and stress, even though powdery mildew is more about airflow than wet leaves.
Established plants
After a season in the ground, they usually only need supplemental watering during extended dry spells. If you see midday drooping that does not bounce back in the evening, that is your cue to water deeply.
Container note: Rudbeckia hirta is common in pots and porch planters. Containers dry out faster, so check soil moisture often. A pot that gets afternoon sun can need water daily in peak summer.
Deadheading
Deadheading is one of those garden tasks that feels fussy until you see how much longer the bloom show lasts.
If you want more flowers
Snip spent blooms regularly.
- Cut the flower stem back to the next set of leaves or a side bud.
- Do a bigger “tidy cut” every week or two, especially during peak bloom.
This is particularly helpful for Rudbeckia hirta, which can keep producing if you stay ahead of the fading flowers.
If you want self-seeding
Let some flowers mature into seedheads late in the season. This is how Rudbeckia hirta often returns, and how Rudbeckia triloba keeps itself in the conversation. You can do a balanced approach:
- Deadhead most of the summer for continuous bloom.
- Stop deadheading in late summer so a few seedheads can ripen.
If you want winter interest and birds
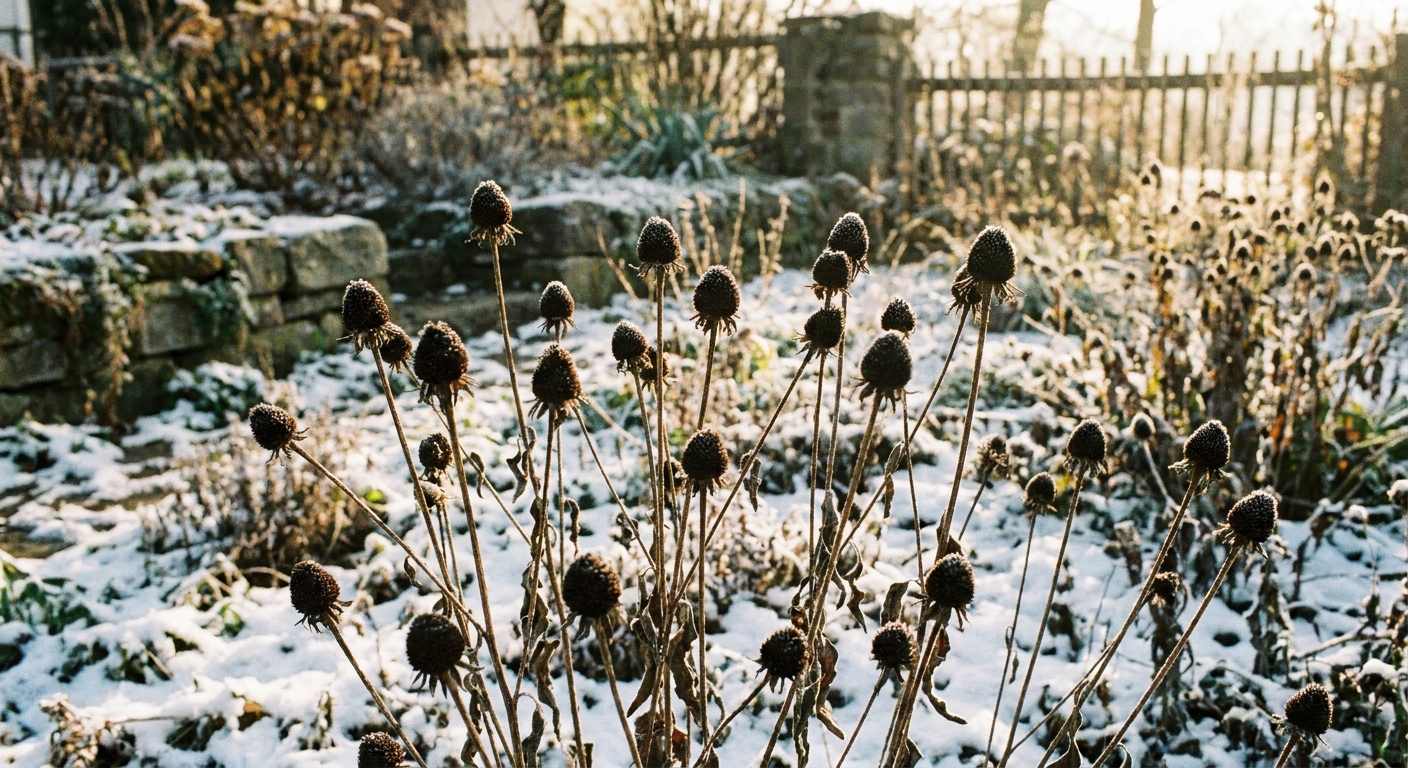
Leave the seedheads standing. Goldfinches and other small birds will pick at them, and the dried stems add texture in winter light.
Fertilizing
Rudbeckias are not heavy feeders, and they are a little too willing to turn extra nitrogen into floppy stems and fewer blooms.
- Best simple plan: top-dress with compost in spring.
- If you fertilize, choose something balanced and gentle, and skip high-nitrogen lawn-type products near the bed.
- If plants are tall and lush but not blooming much, back off feeding and make sure they have enough sun.
Division
Division is for the perennial types that grow from a long-lived crown and spread into a clump, especially Rudbeckia fulgida and many cultivars. Division is not usually worthwhile for Rudbeckia hirta because it tends to be short-lived and often behaves like an annual. Rudbeckia triloba is also more likely to renew itself from seed than from division.
Signs your clump is crowded
- fewer or smaller blooms than usual
- a bare, woody, or thin center with growth around the edges
- more powdery mildew due to poor airflow
- plants flopping from being too tall and dense
Best time to divide
- Early spring as new growth emerges is ideal in many climates.
- Early fall can also work if you divide at least 4 to 6 weeks before hard frost, so roots can re-establish.
Avoid dividing during peak heat or when the plant is in full bloom. It is not dangerous, it is just stressful for the plant and more work for you.
Step-by-step division
- Water the day before. Hydrated roots handle division better.
- Cut stems back to 6 to 10 inches if the plant is tall. It makes everything easier to handle.
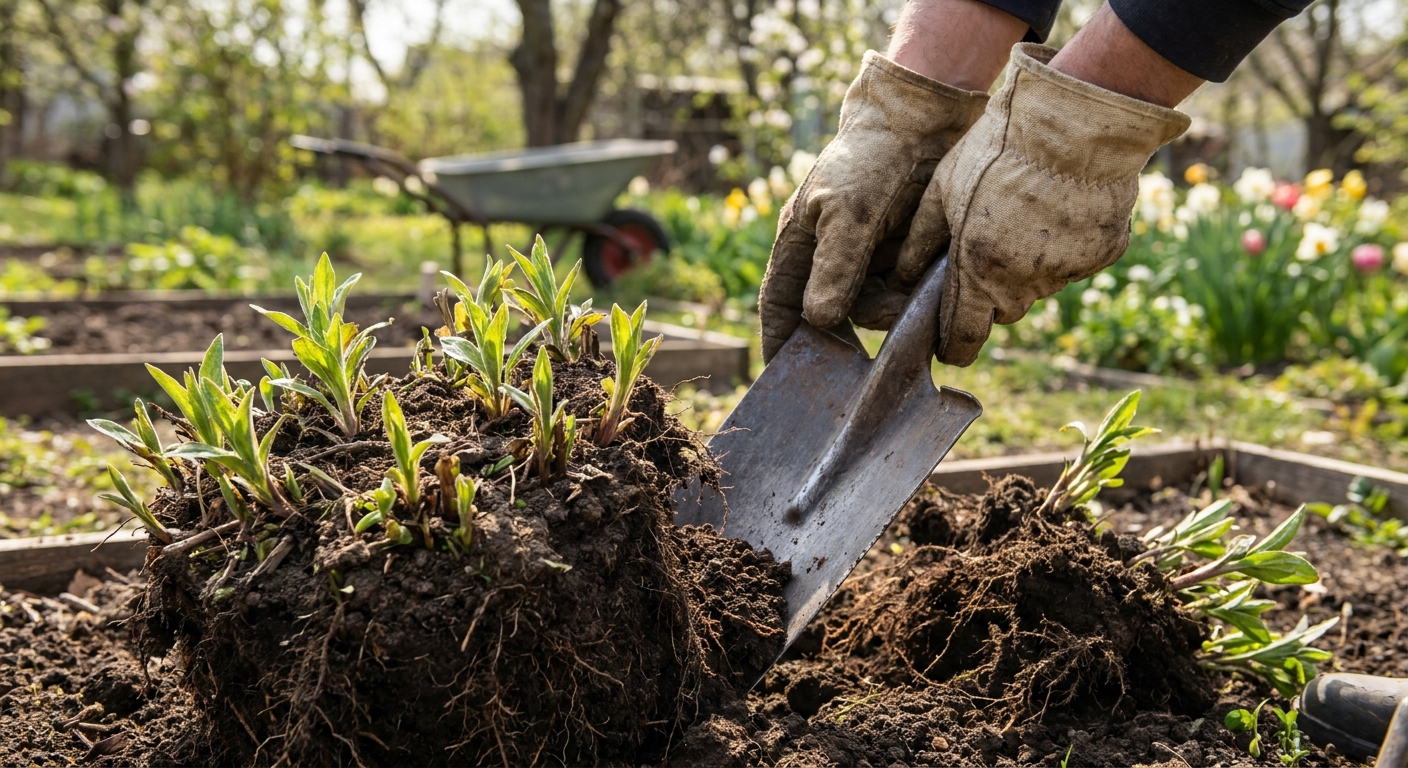
- Lift the clump. Use a spade and slice a circle a few inches out from the crown, then lever it up.
- Shake or rinse off some soil so you can see where the crowns and roots naturally separate.
- Split into sections. Use your hands for loose clumps, or a clean knife or spade for dense ones. Each division should have several healthy shoots (or visible buds) and a solid root mass.
- Replant immediately. Plant divisions at the same depth they were growing before.
- Water deeply. Keep evenly moist for a couple of weeks while they re-root.
How often? Many gardeners divide perennial rudbeckias every 3 to 5 years. If your clumps still bloom like fireworks and stay healthy, you can wait longer.
Self-seeding
Rudbeckias are generous. Sometimes a little too generous. The good news is that black-eyed Susan seedlings are easy to recognize and easy to move.
How self-seeding works
Seeds drop in late summer and fall, then germinate the following spring. This is especially common with Rudbeckia hirta and Rudbeckia triloba.
If you want more plants
- Leave a few seedheads to mature.
- In spring, thin seedlings so plants have breathing room. Crowding invites mildew.
- Transplant small seedlings when they have a few true leaves and the soil is moist. Water them in well.
If you want to limit spread
- Deadhead before seeds ripen. This is the most effective method.
- Pull unwanted seedlings in spring when the soil is soft.
- Mulch lightly after you remove seedlings. A 1 to 2 inch layer can reduce germination, but avoid burying the crown of established plants.
A gentle heads-up: Named cultivars may not come true from seed. If you love a specific look, division is the way to clone it. Seedlings may vary in height, bloom size, and color tone.
Powdery mildew
Powdery mildew looks like someone dusted your leaves with flour. It is common on rudbeckias in humid weather or when plants are crowded. The good news is that it is usually more of a cosmetic issue than a death sentence.
What helps most
- Increase airflow. Give plants proper spacing, thin crowded stems, divide dense clumps, and keep weeds down around the base.
- Full sun. Mildew loves shade and still air.
- Avoid excess nitrogen. Soft, lush growth is more mildew-prone.
- Water smart. Powdery mildew does not require wet leaves the way some diseases do, but watering at soil level and watering in the morning can reduce plant stress and help foliage dry faster after dew or rain.
Sanitation
- Remove heavily infected leaves if the plant can spare them.
- Clean up fallen leaves around the base.
- At the end of the season, remove diseased foliage rather than composting it at home if your pile does not get hot.
Low-impact spray options
If cultural fixes are not enough, you can use an organic-minded approach. Always follow label directions and test on a small area first.
- Potassium bicarbonate products can help stop mildew from spreading.
- Horticultural oil or neem oil can help as a protectant when applied correctly. Avoid spraying during high heat or full sun to reduce leaf burn risk.
Sprays work best when you catch mildew early. If the plant is already coated, focus on airflow and accept that late-season foliage may look tired while blooms still shine.
Aster yellows
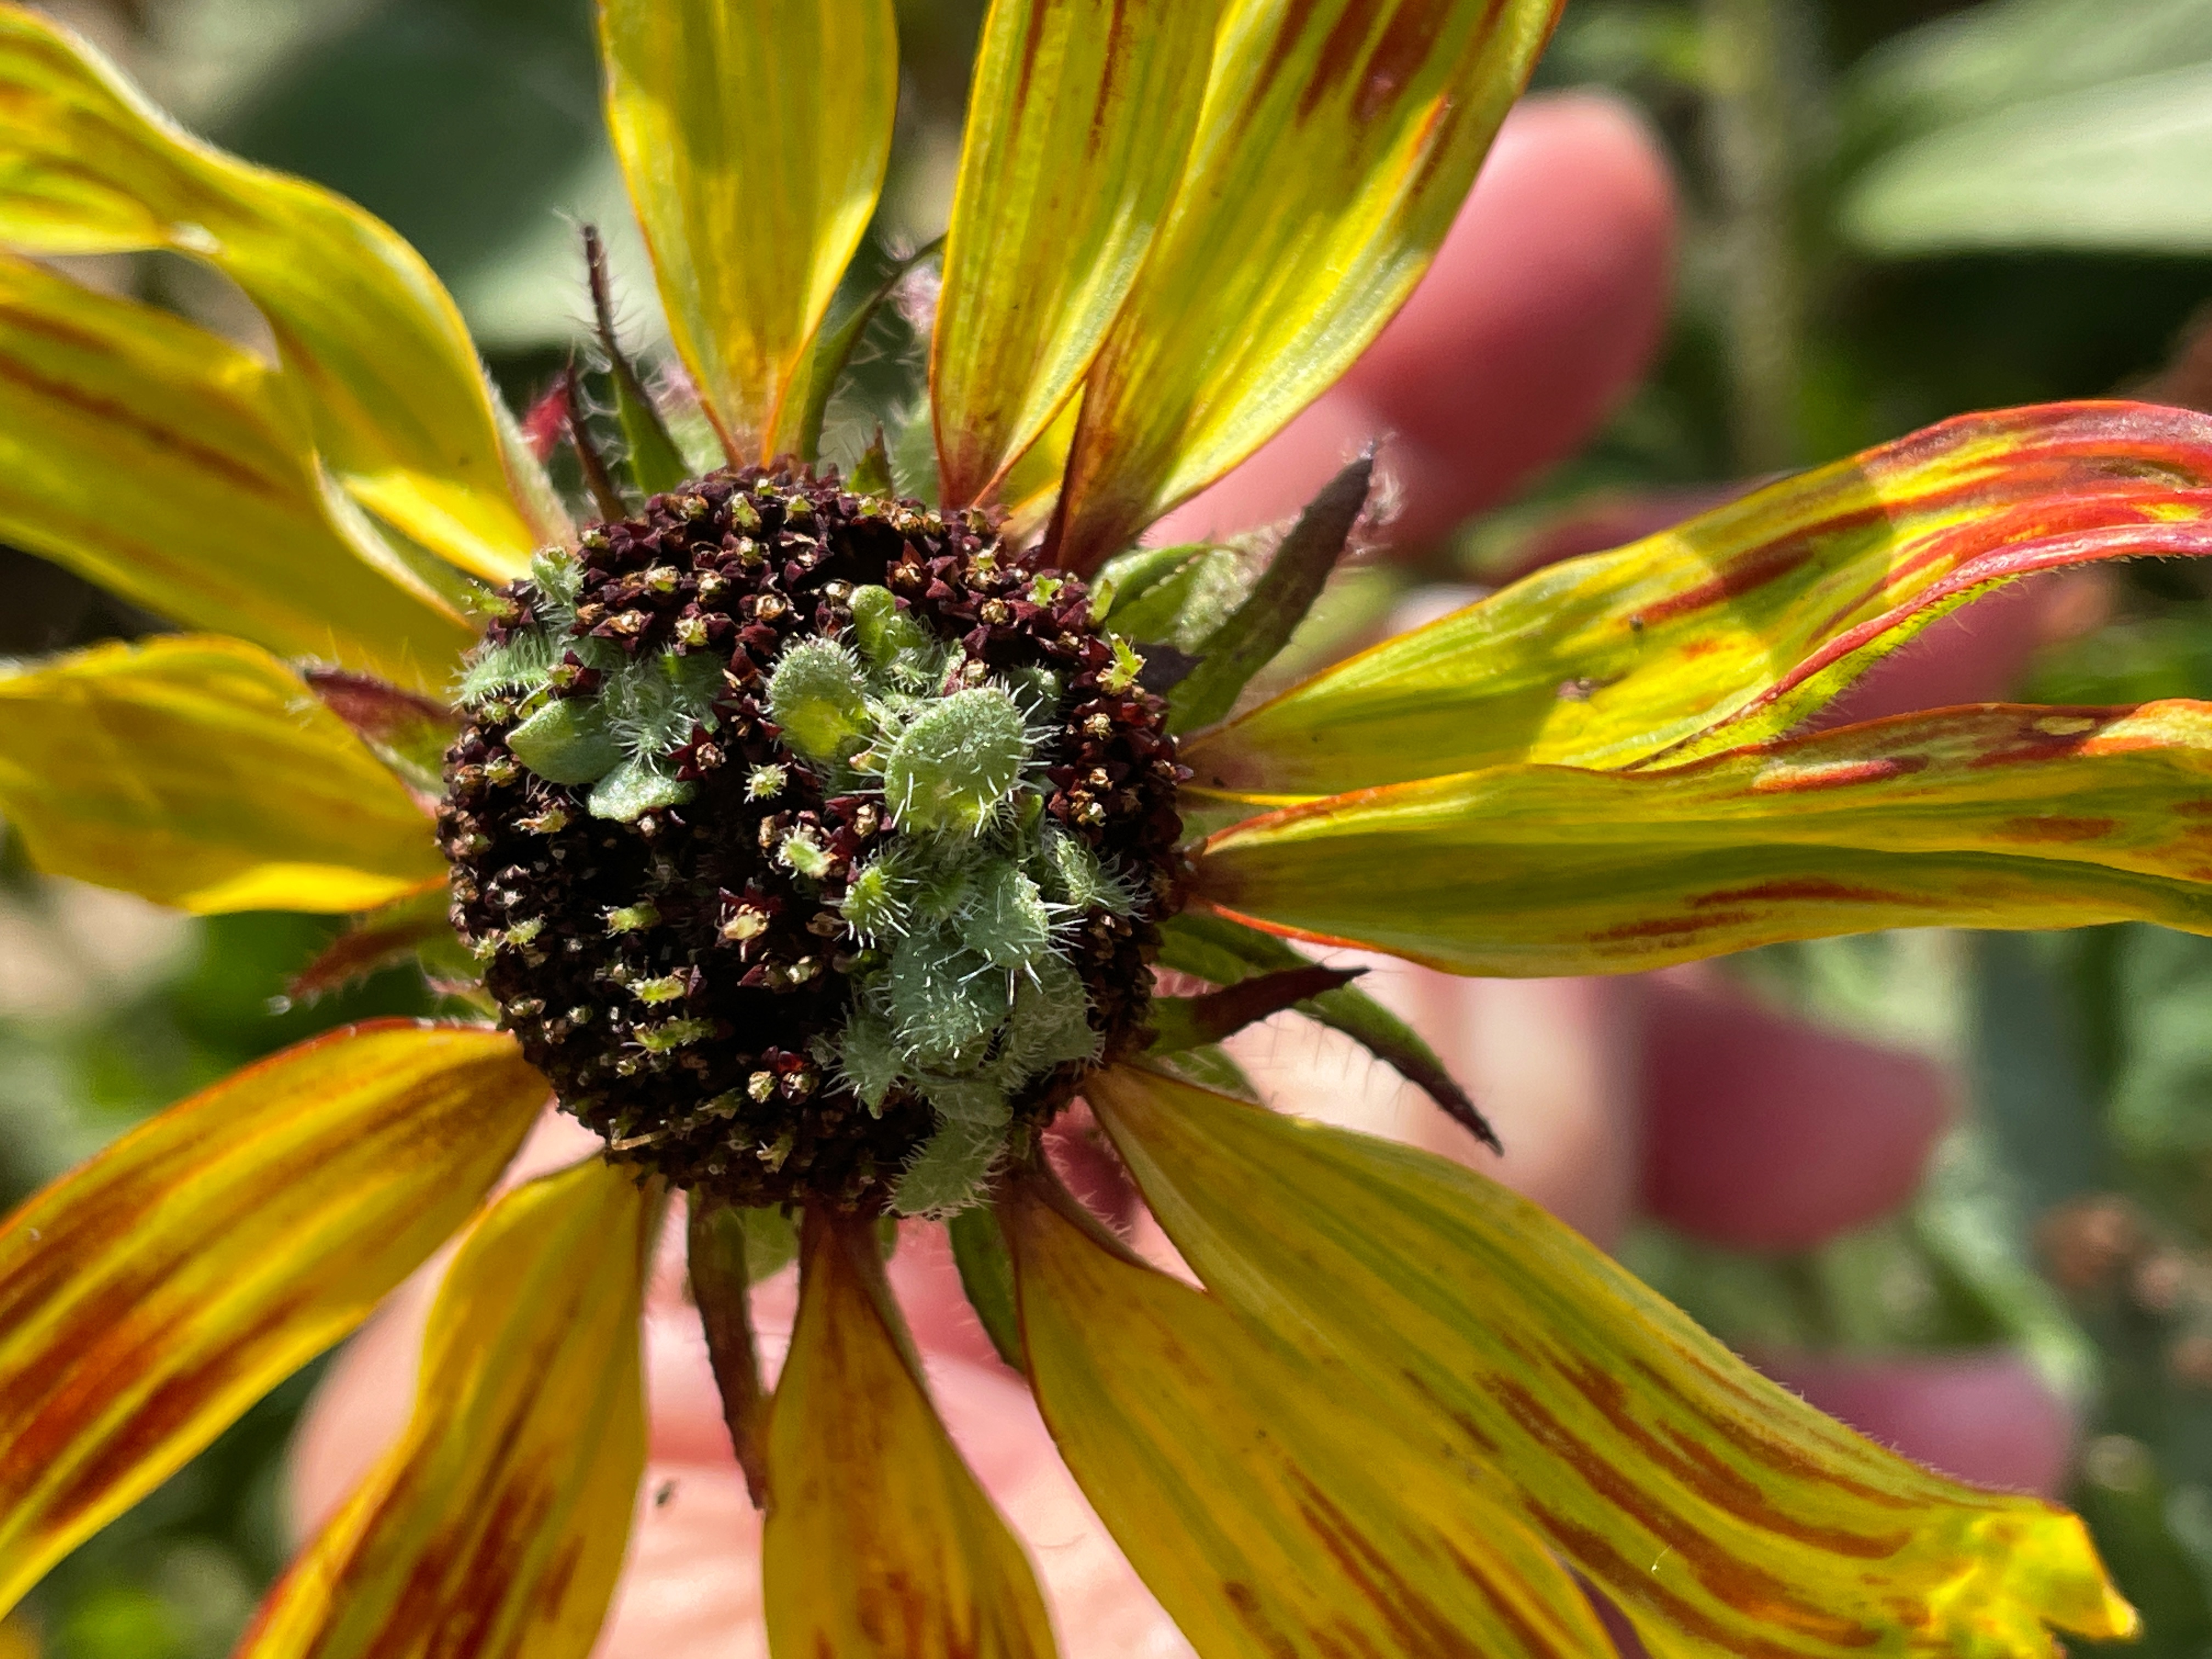
Aster yellows is the one issue I do not try to “treat,” because it is caused by a phytoplasma (spread by leafhoppers), and infected plants do not recover. It can affect many members of the aster family, including rudbeckia, echinacea, asters, and more.
Common symptoms on black-eyed Susan
- green, misshapen flowers or flowers that never form properly
- tufted, leafy growth in the flower head (sometimes called witches’ broom)
- stunted plants with odd branching
- yellowing that is not explained by drought or nutrient issues
These symptoms can be confused with herbicide damage or general stress. The biggest clue is deformed blooms with leafy, green parts where petals should be.
What to do (home garden level)
- Remove the entire plant, roots and all, as soon as you suspect aster yellows.
- Bag it and trash it. Do not compost.
- Watch nearby plants in the aster family for similar bloom deformities.
How to reduce future risk
- Keep weeds down. Leafhoppers can feed on many weed hosts.
- Favor plant diversity rather than big single-species drifts, which can make spread easier.
- Do not over-fertilize. Tender, lush growth can attract more sap-feeding insects.
I know it feels harsh to pull a plant that is still alive. But removing infected plants is the kindest thing you can do for the rest of your bed.
Quick seasonal checklist
Spring
- Divide perennial clumps if crowded.
- Thin self-seeded seedlings.
- Top-dress with compost and refresh mulch lightly.
- If stems flopped last year, plan for more sun, wider spacing, or light support.
Summer
- Water deeply during dry spells, especially new plantings.
- Deadhead for more bloom, or leave some seedheads if you want volunteers.
- Scout for powdery mildew and improve airflow early.
- If plants are top-heavy, use a discreet ring support or a few stakes before they fall over.
Fall
- Leave seedheads for birds if you like, or cut back for a tidier bed.
- Remove and trash any plants with suspected aster yellows.
- If you cut back, leave a few inches of stems as a marker so you do not accidentally dig the crown later.
Winter
- Stems can stand for habitat and winter interest, especially in naturalistic plantings. Many beneficial insects use hollow stems and leaf litter as shelter.
- Do major cleanup in late winter or early spring if you prefer a tidier look.
- Plan where you want volunteers next year. Future you will appreciate it.
Troubleshooting
My black-eyed Susan came back, but blooms less
- It may be a crowded perennial clump that needs division.
- It may be getting less sun due to tree growth or nearby plants shading it.
- Too much nitrogen can push leaves over flowers. Skip high-nitrogen fertilizer.
My plant disappeared after winter
- If it was Rudbeckia hirta, it may have been short-lived in your conditions. Look for seedlings in spring.
- In wet soil, crowns can rot. Improve drainage or plant on a slight mound.
Stems are flopping
- Check sun first. Part shade encourages stretch.
- Back off rich fertilizer and high-nitrogen products.
- Try a ring support early, or tuck plants among sturdier neighbors for a natural “living stake.”
Leaves look rough, but flowers are still great
That is classic rudbeckia late summer energy. Keep the plant watered during drought, tidy the worst foliage if needed, and let those blooms carry the show.