Amaryllis Flower
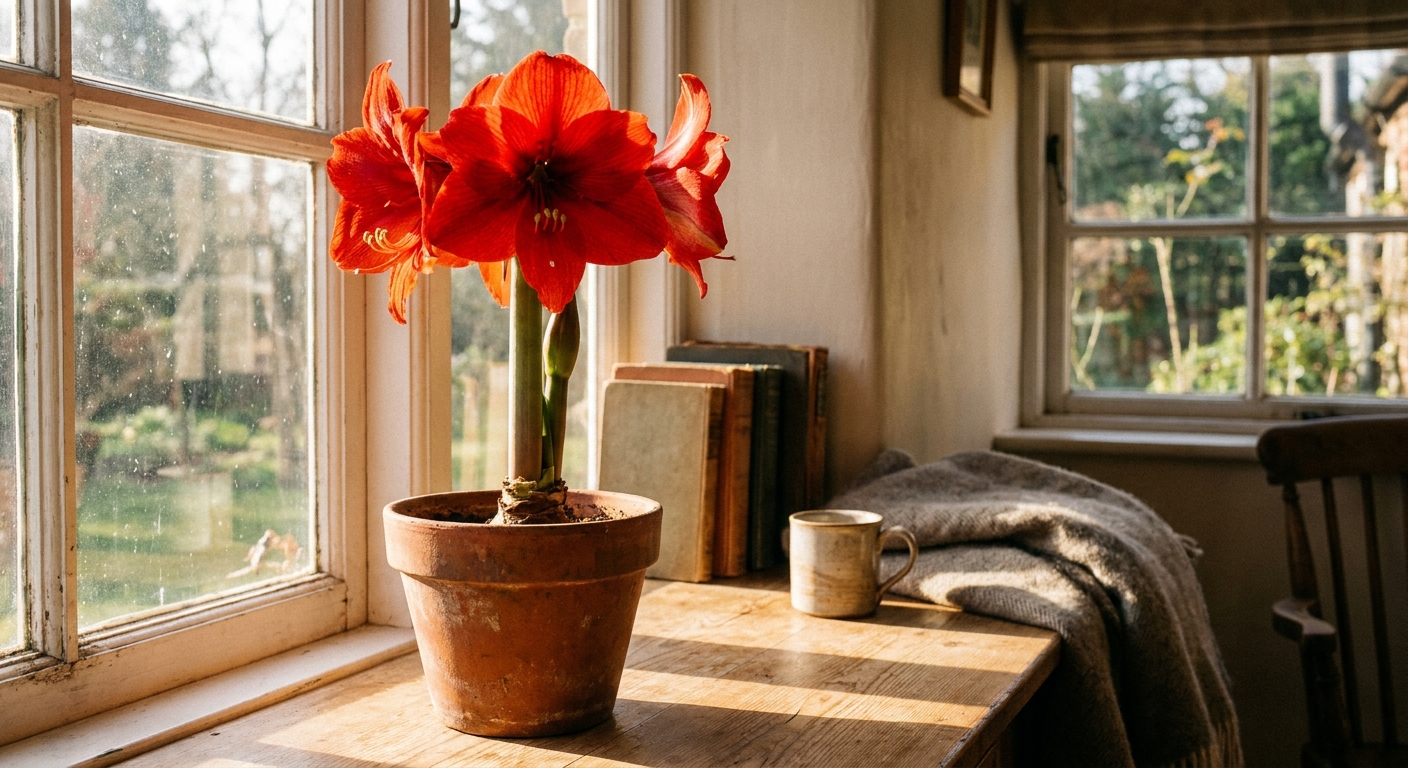
Amaryllis is my favorite kind of “instant garden magic.” One chunky bulb, one bright windowsill, and suddenly you have these trumpet blooms that look almost too dramatic to be real. If you have ever stared at a boxed bulb in December and thought, I am going to mess this up, I promise you: amaryllis is far more forgiving than its diva-level flowers suggest.

What it is and what to expect
Most “amaryllis” sold as holiday bulbs are actually Hippeastrum hybrids. True amaryllis (Amaryllis belladonna) is a different plant, typically grown outdoors in warm climates. The care advice you see online can get muddled because of that name swap, so here is the practical takeaway:
- Indoor holiday amaryllis (Hippeastrum) blooms indoors in winter with minimal fuss.
- It usually sends up 1 to 2 thick flower stalks, each carrying 2 to 6 blooms (often 3 to 4), depending on bulb size and variety.
- From planting to bloom is often about 6 to 10 weeks, but it can be as quick as 4 weeks or as long as 12+ weeks depending on variety, temperature, and light.
Some bulbs bloom even if you do almost nothing. But if you want sturdy stems, longer-lasting flowers, and a shot at reblooming next year, the details matter.
Choosing a bulb that performs
If you are shopping for the best odds, start with the bulb. Bigger bulbs have more stored energy, which usually means more blooms.
- Pick a heavy, firm bulb with dry, papery outer skin.
- Avoid bulbs with soft spots, mold, or a sour smell.
- Look for a short, sturdy neck and healthy (not mushy) roots at the base.
- Varieties labeled “giant” or “jumbo” tend to produce more impressive stalks, but any healthy bulb can shine.

How to plant in a pot
Pot size and stability
Amaryllis likes a snug pot. Too much extra soil stays wet longer and increases rot risk.
- Choose a pot that leaves about 1 to 2 inches of space around the bulb.
- Use a pot with drainage holes.
- Heavier pots (ceramic or clay) help prevent toppling once the stalks stretch.
Soil mix
Any quality potting mix works, but I like to lighten it a bit so water moves through cleanly.
- Use standard potting soil, optionally mixed with perlite or fine bark for drainage.
- Avoid garden soil indoors. It compacts and holds water unevenly.
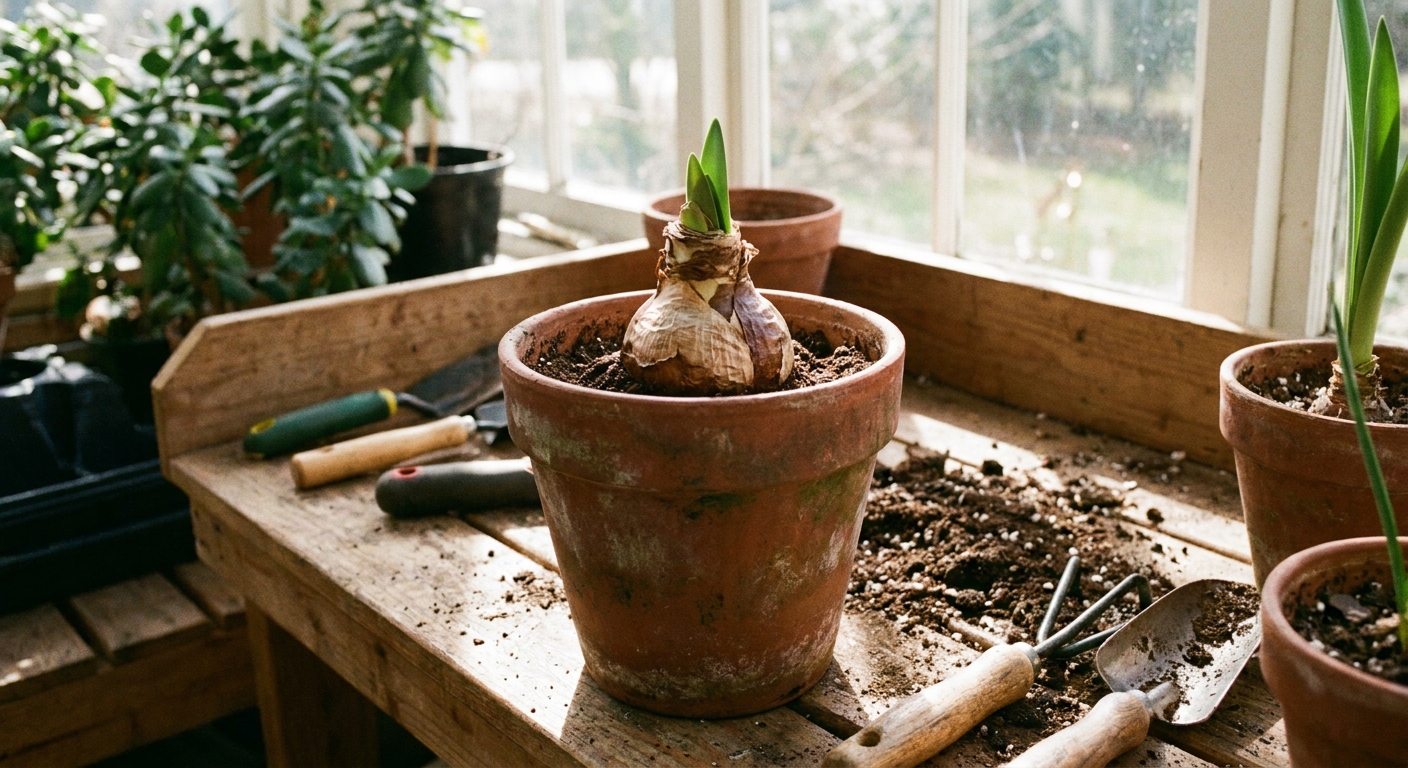
Planting depth (the big one)
Here is the rule that keeps bulbs happy: leave the top third of the bulb above the soil line.
- Add soil to the pot so the bulb sits with its shoulders exposed.
- Position the bulb, spread roots gently if they are present.
- Backfill and firm the soil lightly.
- Water once to settle the mix, then pause until growth begins.
Two small but important notes: Do not bury the bulb neck, and avoid letting water sit in the bulb “crown” (the top where leaves and stalks emerge). Water the soil, not the center of the bulb.
Light and temperature
If amaryllis has one common “problem,” it is getting floppy. That is usually a light issue, although warm rooms and a naturally tall cultivar can contribute, too.
- Best light: bright, indirect light, or several hours of gentle sun near a south or west window.
- Rotate the pot a quarter turn every few days so stems grow straight.
- Cooler temps help: around 65 to 70°F (18 to 21°C) is ideal. Very warm rooms can encourage faster, leggier growth.
If your home is dim in winter, a small grow light positioned above the plant can be a total game-changer for sturdiness.
Watering, feeding, and care
Watering without rot
Amaryllis bulbs hate sitting in soggy soil. Treat them more like a succulent than a fern (meaning: let the soil dry slightly between waterings).
- After planting, water once, then wait to water again until you see growth and the top inch of soil is dry.
- When actively growing, water thoroughly, then let excess drain away.
- Never leave the pot in standing water in a saucer.
When to fertilize
If you bought a pre-potted kit, you can often wait until you see green growth. Once leaves are growing, feeding helps rebuild the bulb for next year.
- Use a balanced fertilizer (for example, 10-10-10 or similar) at half strength every 2 to 4 weeks.
- Pause feeding during dormancy.
Staking
Some varieties are naturally tall, and indoor light can make stems stretch. If a stalk leans, stake early so you are supporting rather than “correcting.”
- Use a thin bamboo stake and soft ties.
- Keep ties loose so you do not pinch the stem.
A quick cultivar note
Miniature varieties often stay steadier. Standard and “giant” types may need a stake, especially in low winter light. Double-flowered types can be heavier on top, so do not be shy about extra support.
Bloom time
Those huge blooms can last a surprisingly long time if you keep them cool and out of harsh sun.
- Move the pot to a slightly cooler spot at night if possible.
- Keep away from heat vents, fireplaces, and dehydrating drafts.
- Snip spent individual flowers off the stalk as they fade.
Once all blooms on a stalk are finished, cut the stalk down to about 1 to 2 inches above the bulb. Leave the leaves alone. The leaves are the bulb’s solar panels for next year. If the stalk is hollow and a little sap oozes after you cut it, that is normal.
How to rebloom next year
Reblooming is the part people hear is “hard,” but it is really just a rhythm. Your job is to help the bulb store energy after flowering, then give it a proper rest. Many Hippeastrum rebloom best with a rest period, although a strong, well-grown bulb can sometimes rebloom without a fully forced, dry dormancy.
Step 1: After flowering
- Keep the plant in bright light.
- Water when the top inch dries.
- Fertilize every 2 to 4 weeks through spring and summer.
Step 2: Summer outdoors (optional)
After frost risk has passed, you can place the pot outdoors in bright shade or morning sun. Ease it into brighter light over a week to prevent sunburn.
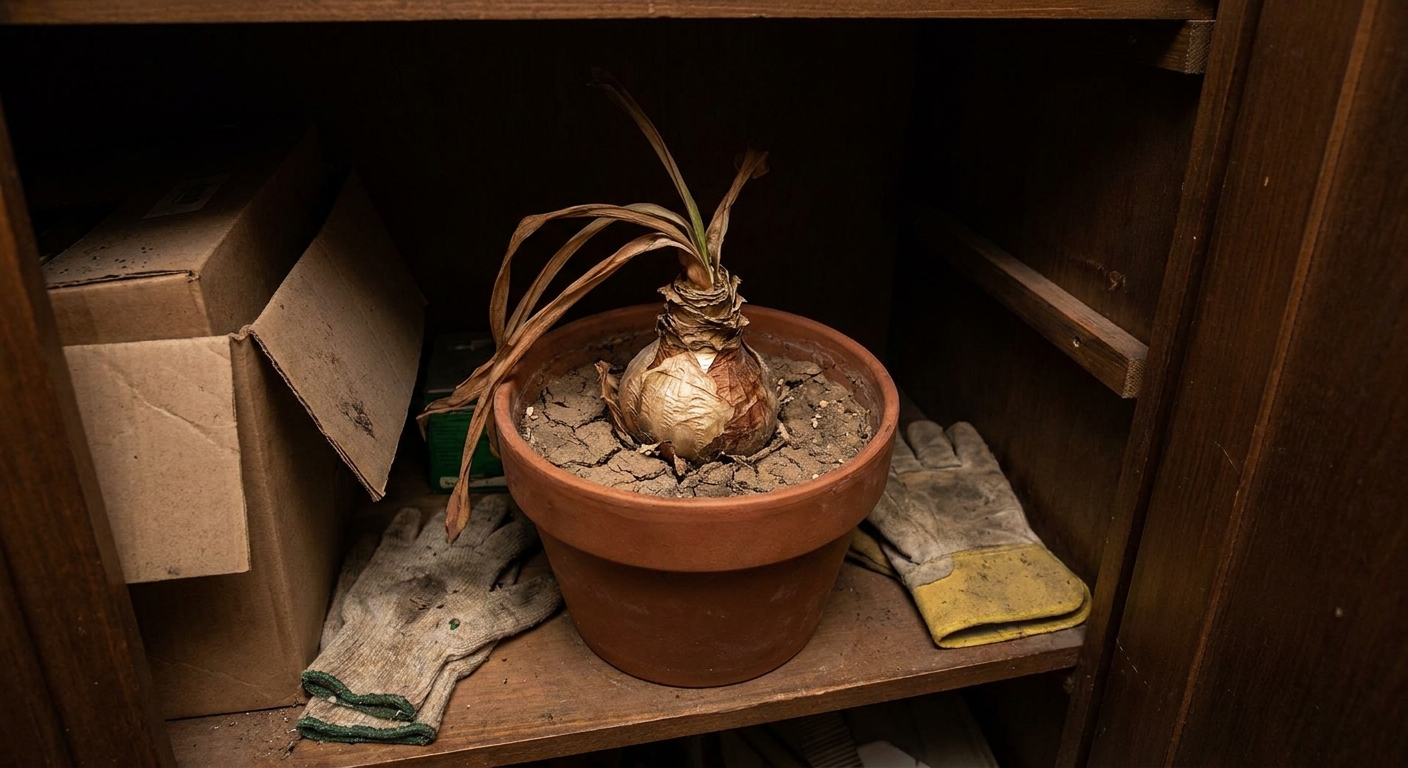
Step 3: Trigger rest in fall
To bloom again on cue, most Hippeastrum types respond well to a rest period.
- About 8 to 12 weeks before you want blooms, stop fertilizing and gradually reduce watering.
- Let leaves yellow naturally, then cut them back.
- Move the pot to a cool, dark area around 50 to 60°F (10 to 16°C).
Step 4: Wake it up
- Bring the pot back to warmth and bright light.
- If the mix is old, consider a simple refresh: scrape off and replace the top inch of soil, or repot into fresh potting mix (many people repot every 1 to 2 years).
- Water lightly at first.
- Resume normal watering once growth is obvious.
With luck and good leaf growth, you will see a flower stalk before long. Sometimes a bulb produces leaves first and flowers later. That is still normal.
Common problems
No flowers, only leaves
- Likely cause: not enough light or not enough feeding after the last bloom (or the bulb skipped a real rest).
- Fix: brighter window or grow light, regular fertilizer during the leaf-growing months, and a consistent rest period if you want predictable blooms.
Floppy stems
- Likely cause: low light, too-warm conditions, or a tall cultivar.
- Fix: brighter light, rotate the pot, keep temperatures moderate, stake if needed.
Bulb rot
- Likely cause: overwatering or poor drainage.
- Fix: let soil dry more between waterings, repot into fresh mix, ensure drainage holes, keep the bulb shoulders above the soil, and avoid water sitting in the crown.
Red blotch
This can be associated with a fungal issue often called red blotch or leaf scorch (commonly linked to Stagonospora curtisii). It is easiest to manage early.
- Isolate the plant, improve airflow, avoid wetting the leaves.
- Remove badly affected tissue with clean tools.
- In persistent cases, consider a fungicide labeled for ornamentals and follow the label exactly.
- If the bulb is severely affected and keeps declining, it may be best to discard it so it does not spread trouble to your other plants.
Pests
Indoors, watch for mealybugs and spider mites.
- Wipe leaves with a damp cloth.
- Use insecticidal soap if needed, repeating per label instructions.
Pets and safety
Amaryllis (Hippeastrum) bulbs and leaves contain compounds (including lycorine) that are toxic to cats, dogs, and humans if eaten. If you have a nibbling cat, keep the plant up high or in a room with a closed door. I am all for sharing our homes with plants, but I prefer everyone keeps their taste-testing to salads.
Simple timeline
- Planting: about 6 to 10 weeks before you want flowers (sometimes shorter or longer).
- Active growth: bright light, moderate watering, rotate pot.
- Bloom: keep cooler for longer-lasting flowers.
- After bloom: grow leaves for months, fertilize regularly.
- Rest period: about 8 to 12 weeks cool and dry-ish, then wake and repeat.
If your first season is not perfect, you are not failing. You are learning your home’s light, your watering habits, and your bulb’s personality. Gardening is a relationship, and amaryllis is surprisingly willing to meet you halfway.