Amaryllis Care
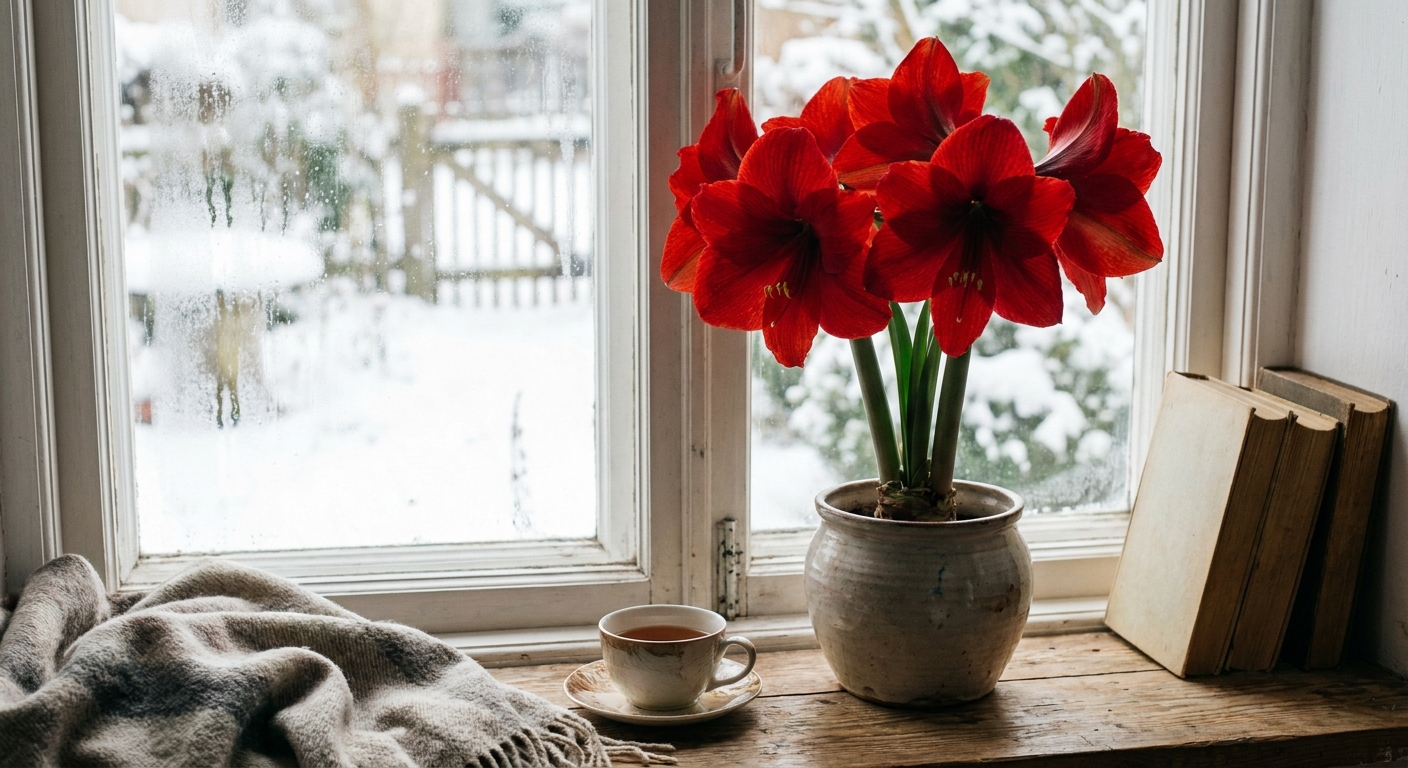
Amaryllis is the plant I recommend when someone tells me they have a “black thumb” but want a guaranteed burst of joy in the darkest months. Those big trumpet blooms feel almost unreal, like the bulb is keeping a secret and then blurting it out all at once.
Most “amaryllis” sold as holiday bulbs are Hippeastrum hybrids (true amaryllis is a different plant, Amaryllis belladonna). The good news is that this guide matches what most people mean by indoor amaryllis care: Hippeastrum grown in pots. If you are growing true amaryllis outdoors in a mild climate, its seasonal rhythm is different.

Quick care basics
- Light: Bright light, a few hours of sun is ideal. Rotate the pot for straight stems.
- Water: After the first watering at planting, wait to water again until you see growth. Then water when the top 1 to 2 inches of mix are dry.
- Soil: Fast-draining potting mix. Never let the bulb sit in soggy soil.
- Planting depth: Top third of the bulb above the soil line.
- Temperature: 65 to 75°F for fastest bloom.
- Bloom timing: Typically 6 to 10 weeks after potting, depending on variety and warmth.
Choosing a bulb and pot that works
Pick a bulb like you are choosing a good onion
Go for a bulb that feels heavy and firm, with papery outer layers intact. Skip bulbs with soft spots, mold, or a sour smell. Bigger bulbs usually mean more flower stalks.
Pot size matters more than you think
Amaryllis blooms best when slightly snug. Choose a pot that is 1 to 2 inches wider than the bulb (measured across). Too much extra soil holds extra moisture, which is the fastest route to rot.
Non-negotiable: a drainage hole. If your decorative pot has no hole, use it as a decorative outer pot (cachepot) and keep the bulb in a nursery pot inside it.
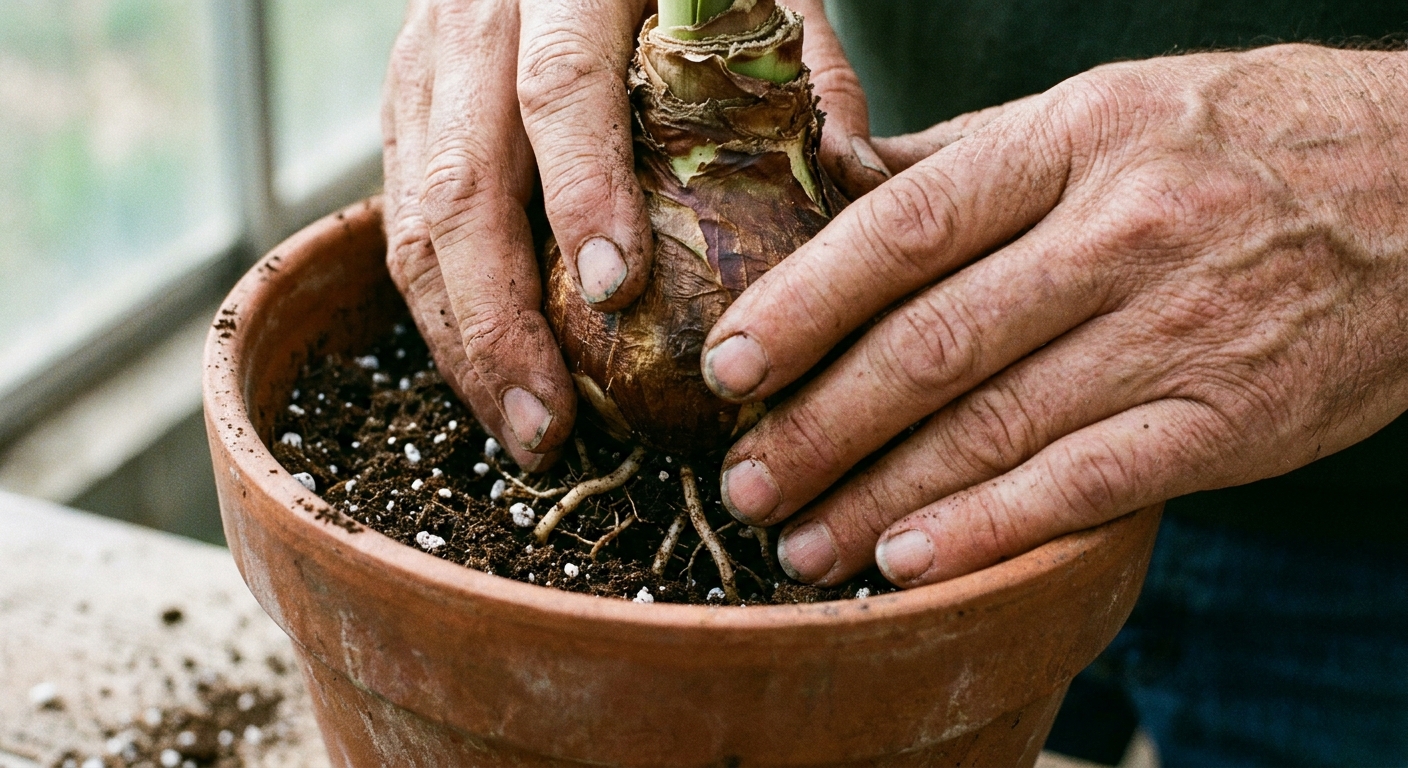
How to plant an amaryllis bulb
- Add mix: Fill the pot with a fast-draining potting mix, leaving room for the bulb and a bit of top-dressing.
- Set the bulb: Position it with the roots down. If roots are dry and shriveled, you can soak just the roots in lukewarm water for 1 to 2 hours first.
- Backfill: Cover only the bottom two-thirds of the bulb. The top third should stay above soil.
- Firm lightly: Press the soil gently to anchor the bulb, but do not compact it hard.
- Water once: Water lightly to settle the mix, then pause until you see growth.
If your bulb came pre-potted, check that the soil is not waterlogged and that the bulb is not buried too deep. Nurseries sometimes tuck them in too far.
Getting it to bloom indoors
Leaves or flower stalk first?
Some bulbs send up a flower stalk first, some send leaves first, and some do both. A flower stalk is usually thicker and blunter at the tip, like a little green thumb. A leaf looks narrower and pointier, like a spear. Either way, keep giving bright light and modest water and it will sort itself out.
Light: bright, steady, and rotated
Put your pot in your brightest window. South or west exposure is ideal in winter. If stems lean, rotate the pot a quarter turn every couple of days. (Amaryllis will absolutely try to moonwalk toward the light.)
Water: less at first, then consistent
After that first watering at planting, hold off until you see a green tip. Once growth begins, water whenever the top 1 to 2 inches of soil are dry. Water deeply until it drains out the bottom, then empty the saucer.
Tip: If you are unsure, wait one more day. Slightly dry is safer than slightly soggy.
Warmth controls speed
65 to 75°F encourages quicker bloom. Very warm rooms plus low light can produce softer, floppier growth, so if your stalk is stretching, prioritize brighter light (and consider a stake).
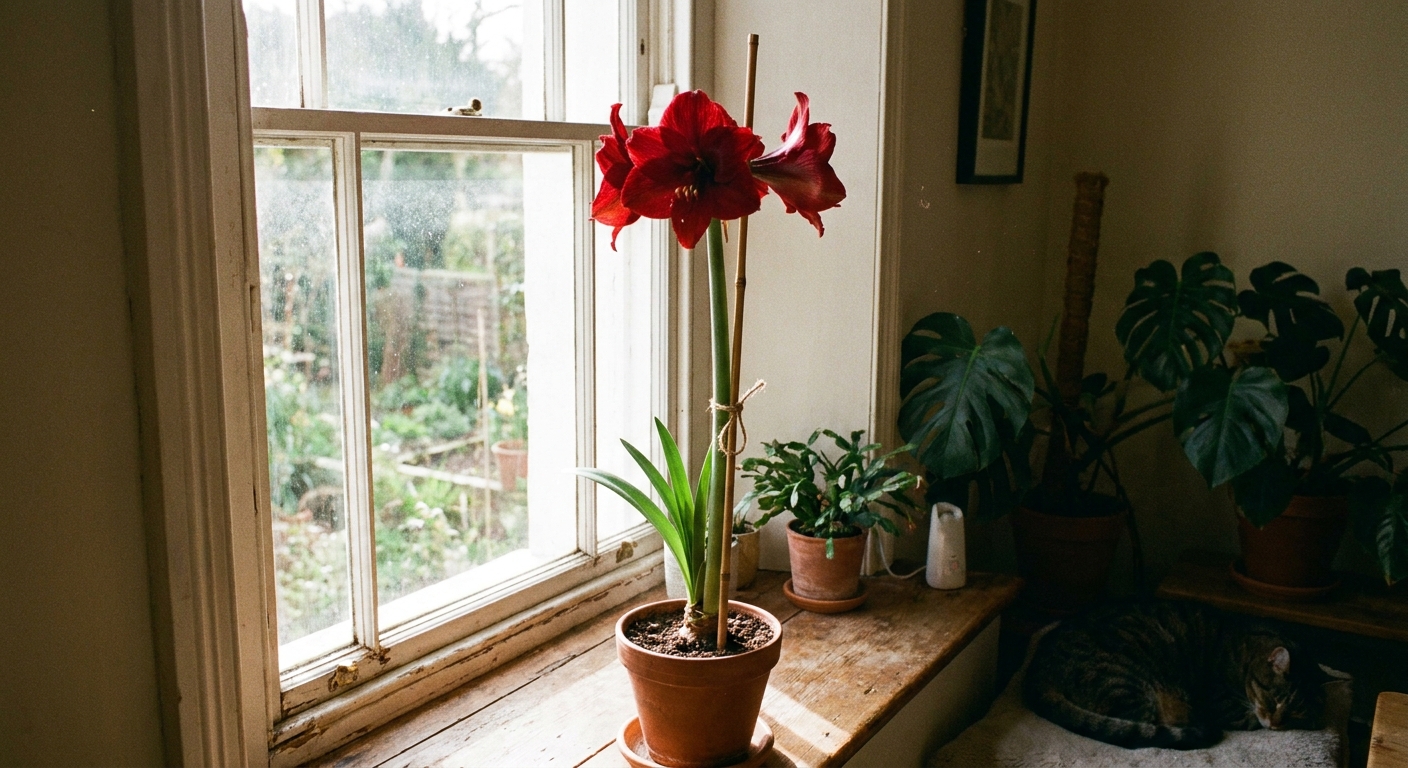
Support tall stalks
Some varieties get top-heavy. A simple stake or a ring support keeps the stalk from flopping, especially if the plant is in low winter light.
During bloom: make flowers last
- Keep it cool at night: If you can, move it to a slightly cooler spot overnight. Cooler temps can extend bloom life.
- Avoid hot blasts: Keep away from heaters, fireplaces, and forced-air vents.
- Deadhead spent blooms: Snip individual wilted flowers off the stalk to keep things tidy.
- Do not cut leaves: If leaves are present, they are feeding next year’s bloom.
When an entire flower stalk finishes, cut the stalk off 1 to 2 inches above the bulb. Leave any green leaves.
After bloom: rebloom next year
This is where most people get discouraged, so I will say it plainly: reblooming is mostly about rebuilding the bulb. The leaves are not an eyesore, they are your solar panels.
Step 1: keep it growing in bright light
After blooming, place the plant in the brightest spot you have. If you can move it outdoors after frost, even better.
Step 2: water and feed through spring and summer
Water when the top 1 to 2 inches dry. Feed every 2 to 4 weeks with a balanced fertilizer (something like 10-10-10 or 5-5-5). If you prefer gentle organic options, a diluted fish emulsion or seaweed blend works well, just do not overdo it.
Step 3: summer outdoors (optional but powerful)
Once nights are reliably above about 55°F, acclimate your amaryllis outdoors for a week in shade, then move to morning sun or bright dappled light. Protect it from harsh afternoon sun at first.
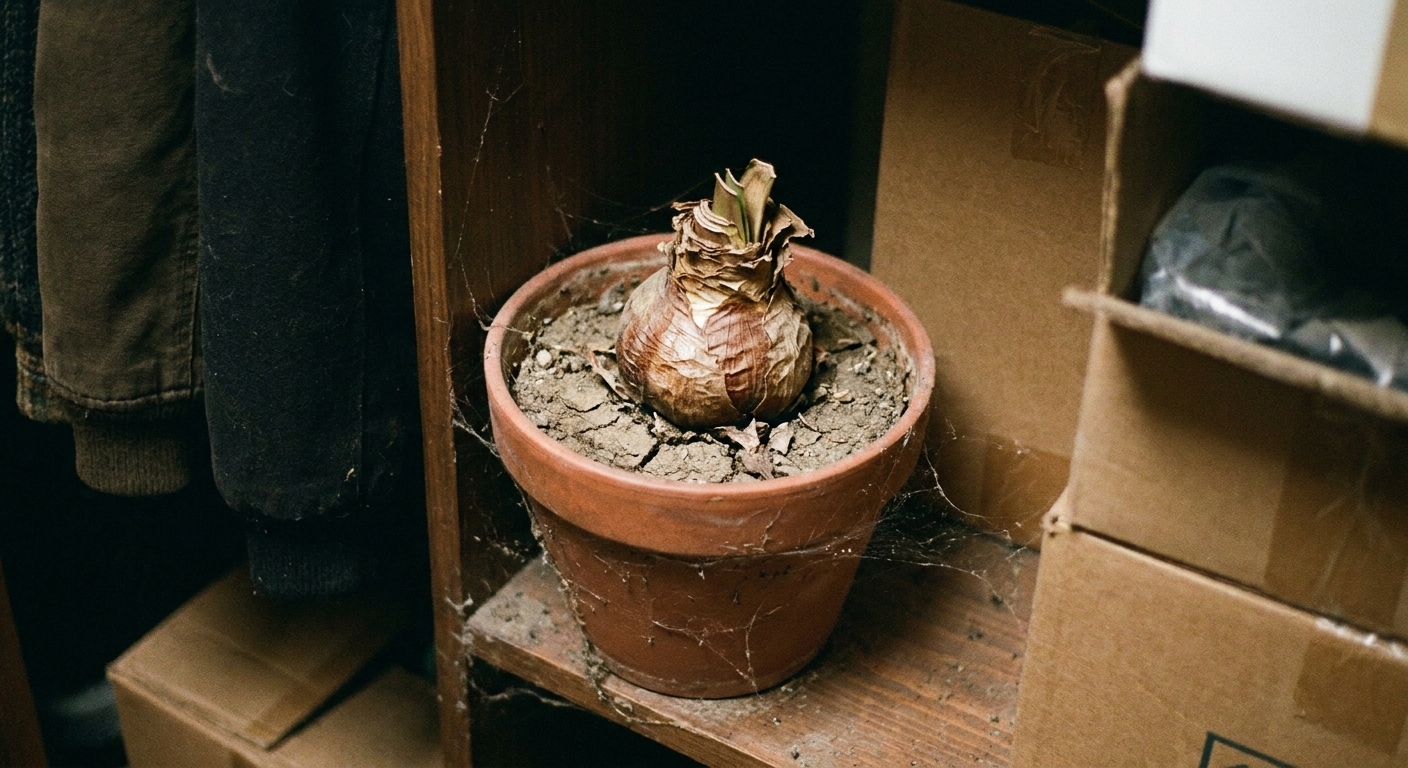
Step 4: rest period (most reliable)
Many Hippeastrum rebloom best after a rest. Some can flower again with strong light and consistent feeding without a strict dark dormancy, especially in warm climates, but a rest period is the most reliable method for indoor growers. In late summer to early fall:
- Stop fertilizing.
- Reduce watering gradually.
- Let leaves yellow naturally, then stop watering fully.
- Move the pot to a cool, dark place (about 50 to 60°F) for 8 to 12 weeks.
Step 5: wake the bulb
After the rest period, bring it back into warmth and light. Trim dead foliage, refresh the top few inches of potting mix (or repot if crowded), and water lightly. Once growth starts, resume normal watering.
Soil, repotting, and offsets
Best potting mix
A standard indoor potting mix is fine if it drains well. I like to add extra perlite or pine bark fines for airflow. The goal is a mix that drains quickly but does not become bone-dry immediately.
When to repot
Repot every 2 to 3 years, or when the bulb is pressed hard against the pot. The best time is right after the rest period, before active growth ramps up.
What about baby bulbs?
Offsets can be separated when they are a decent size and have their own roots. Know that small offsets can take a couple of years to bloom. Think of them as a long, sweet gardening relationship.
Waxed and waterless kits
You might see amaryllis sold as “waterless” bulbs, sometimes dipped in wax or set on a stand with no soil. They often bloom beautifully on stored energy alone, but they are usually hard to save for reblooming (waxed bulbs in particular often cannot be potted up successfully later). If your goal is a bulb you can keep for years, choose a standard bulb you can plant in a pot with drainage.
Common problems (and fixes)
No blooms, only leaves
- Cause: Not enough light or fertilizer after blooming, or the bulb did not rebuild enough to flower (often from skipping the rest period indoors).
- Fix: Give brighter light during leaf-growth season, feed regularly, and use an 8 to 12 week rest period for the most reliable rebloom.
Yellowing leaves
- Cause: Natural seasonal dieback (especially during the rest period), or overwatering.
- Fix: If it is post-bloom and you are still in active growth season, check drainage and let the soil dry more between waterings.
Floppy, leaning stalks
- Cause: Low light or warmth pushing fast growth.
- Fix: Move to brighter light, rotate the pot, and stake if needed.
Bulb rot (soft, smelly base)
- Cause: Too much water and poor drainage.
- Fix: Unpot the bulb and use a sterilized knife to cut away mushy tissue. Let the bulb dry for 24 hours, then repot in fresh, barely damp mix. Water sparingly. Optional: dust cut areas with sulfur or a fungicide labeled for bulbs/ornamentals to reduce the chance of further rot.
Red blotch (red streaks on leaves or bulb)
- Cause: A fungal issue often called red blotch or red fire.
- Fix: Remove badly affected tissue, improve airflow, avoid wetting the neck of the bulb, and consider a fungicide labeled for ornamentals if it persists.
Mealybugs or scale
- Signs: White cottony clusters (mealybugs) or brown bumps (scale), sticky residue.
- Fix: Wipe with cotton swabs dipped in isopropyl alcohol, repeat weekly, and isolate the plant until clear.
Safety note for pets and kids
Amaryllis (Hippeastrum) bulbs are toxic if eaten (to pets and people). Place pots out of reach, and store dormant bulbs where curious nibblers cannot access them.
The sap can also irritate sensitive skin. If you are trimming stalks or leaves and you tend to react to plant sap, wear gloves and wash up afterward.
Care checklist
- Plant with top third of bulb above soil.
- Use a pot only 1 to 2 inches wider than the bulb, with drainage.
- Water once at planting, then wait until growth begins.
- Provide bright light and rotate for straight stems.
- After bloom, keep leaves and feed through spring and summer.
- For the most reliable rebloom, give 8 to 12 weeks of cool, dry rest.
If you want, tell me whether your amaryllis is currently blooming, finished blooming, or sitting as a dormant bulb. I can help you time the next steps so it flowers when you want.