Alstroemeria Care for Beginners
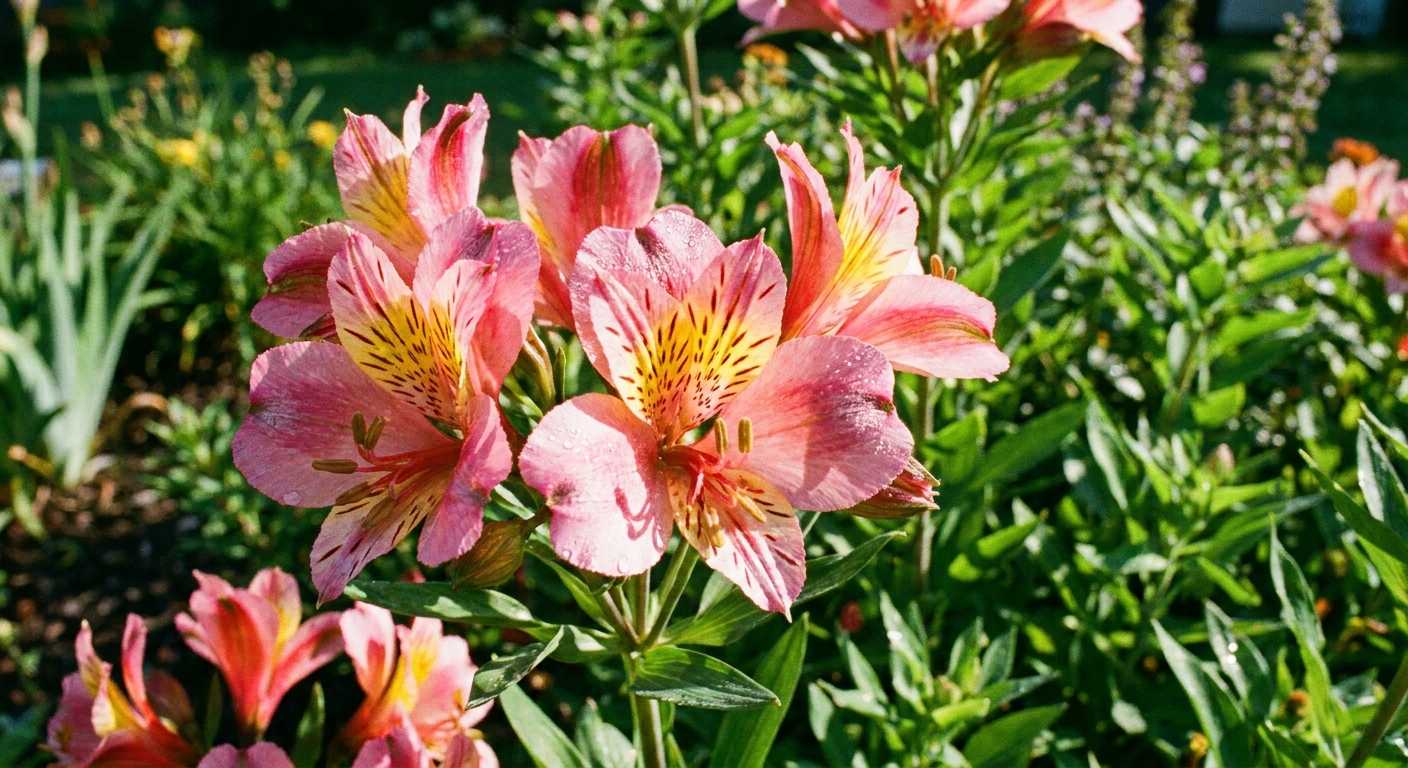
Alstroemeria, also called Peruvian lily, is one of those plants that looks fancy enough for a florist’s cooler but behaves like a generous garden perennial once it settles in. The blooms come in flushes, the stems make incredible cut flowers, and the foliage stays tidy and green for a long stretch of the season.
If you have ever felt intimidated by “tubers” or “dividing,” take a breath. Alstroemeria is not fragile. It is simply particular about two things: drainage and not being disturbed too often. Give it those, and it will reward you for years.

Meet alstroemeria
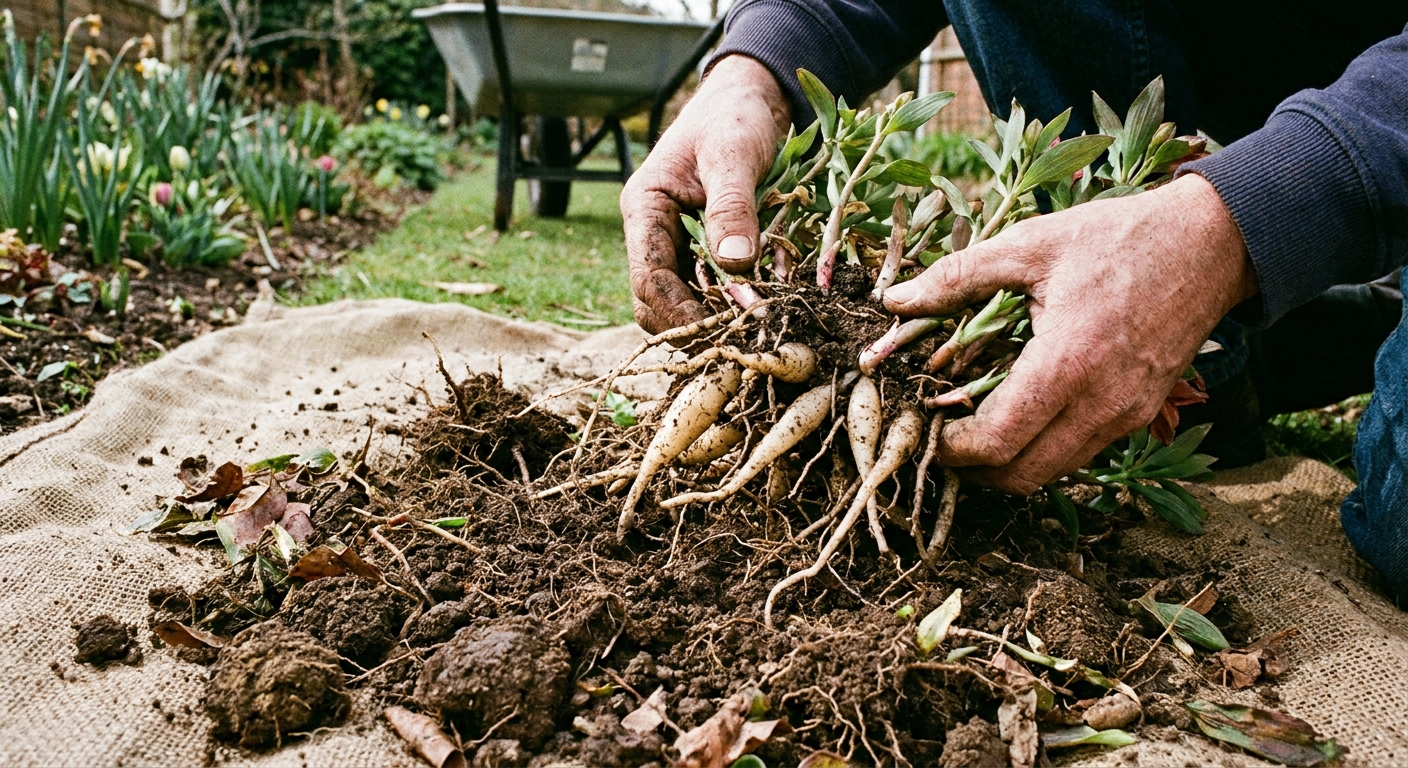
Alstroemeria grows from fleshy, finger-like tuberous roots (often sold and casually referred to as “tubers”). It forms a clump that slowly expands over time. Many garden types bloom heavily in late spring into summer, then rest and bloom again, especially when you keep up with watering and feeding. In mild climates, some varieties can flower more steadily.
- Common name: Peruvian lily
- Type: Perennial in mild climates, tender perennial in colder ones
- Best feature: Long-lasting cut flowers and repeat blooming
- Growth habit: Upright stems from a clumping base
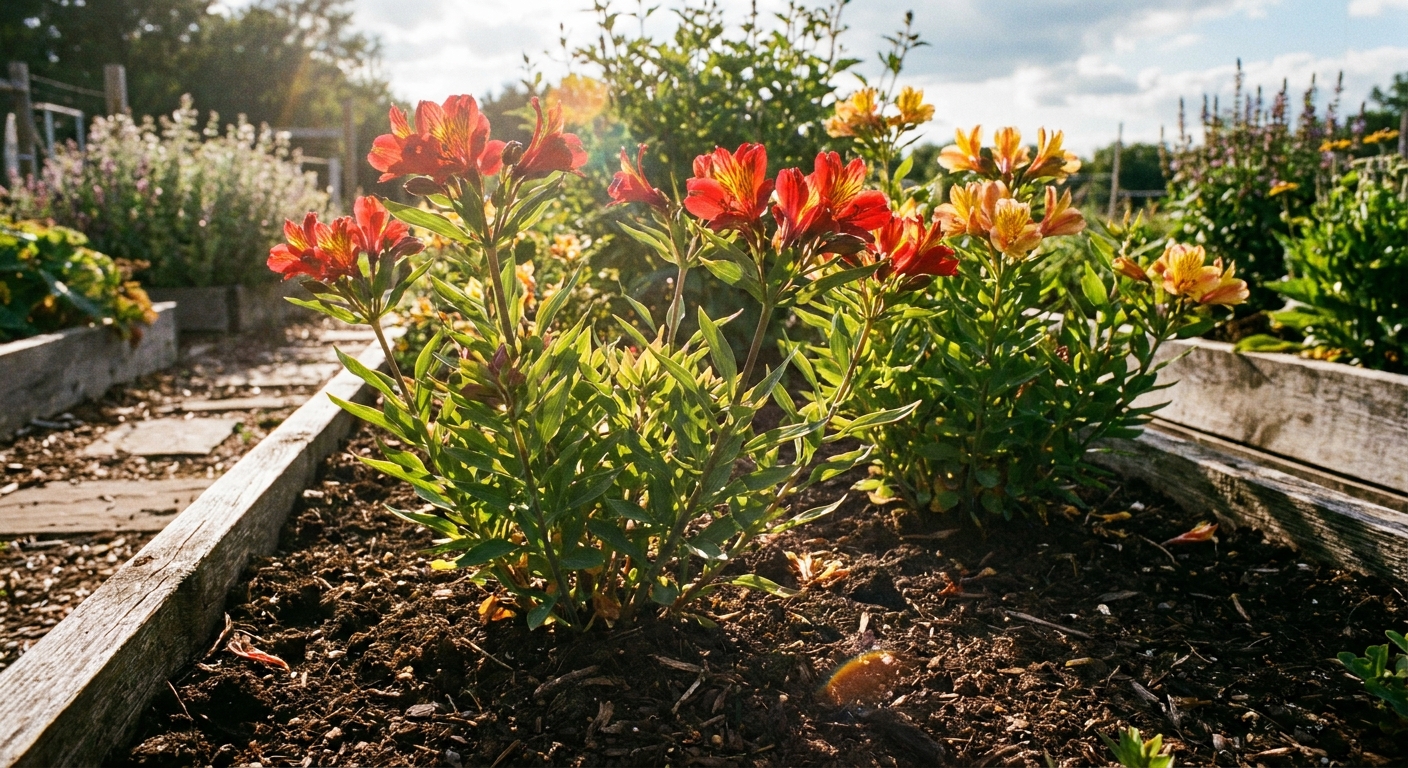
Choosing the right spot
Sunlight
Alstroemeria performs best with full sun to partial shade.
- Cooler climates: Aim for 6 to 8 hours of sun for the strongest stems and best bloom.
- Hotter climates: Morning sun with afternoon shade can prevent stress and keep blooms looking fresher.
Soil and drainage
Think “rich but never soggy.” Those tuberous roots can rot in heavy, waterlogged soil, especially in cool weather.
- Ideal soil: Loamy, compost-enriched, well-draining soil
- If you have clay: Plant on a slight mound or in a raised bed and work in compost plus a drainage booster like pine fines or coarse sand.
- Container growers: Use a high-quality potting mix and add extra perlite for airflow around the roots.
Choosing a variety
Hardiness, height, and vigor vary a lot by cultivar, so the plant label is your best friend here.
- For containers: Look for compact, container-friendly series (often sold as dwarf or patio types).
- For cutting gardens: Choose taller varieties with long stems and strong color.
- For mild climates: If you have a long growing season, pick a variety known for repeat blooming and strong clump growth.
If you garden where winters are wet, prioritize varieties marketed as hardy and give them excellent drainage. Cold is one thing. Cold plus soggy is the real problem.
Planting tubers
Most beginner heartbreak with alstroemeria comes from planting in soil that stays wet, or planting at an awkward depth. Here is the simple, repeatable method.
When to plant
- Spring: After the worst freezes have passed and soil is workable.
- Fall (mild climates): Fine where winters are gentle and soil does not sit cold and soggy.
Planting depth
In most gardens, plant tuberous roots about 4 to 6 inches deep. Use the deeper end of the range in hotter, lighter soils, and the shallower end in heavier or cooler soils. The goal is insulation without burying them into a cold, wet zone.
Spacing
Space plants 12 to 18 inches apart. They will fill in, and that airflow helps reduce leaf issues.
How to place them
Set the roots gently in the hole, spread as naturally as you can, and cover with soil. If you cannot tell which way is “up,” do not stress. They are pretty determined plants and will sort themselves out.
After planting
- Water thoroughly to settle soil around the roots.
- Mulch lightly (more on mulch in the next section).
- Be patient. Sprouting can take a few weeks, and first-year plants often focus on roots and may bloom modestly. Year two is where the magic usually starts.
Mulch
A 2 to 3 inch layer of mulch keeps moisture even, cools the root zone in summer, and protects the plant from temperature swings.
- Best mulch: Shredded leaves, fine bark, or compost
- Keep it back: Leave a small gap around the crown so the base is not constantly damp.
If slugs are common in your garden, keep mulch a little lighter right around the plant and water in the morning so the surface dries by nightfall.
Watering
Alstroemeria likes consistent moisture, especially while it is making stems and buds. It does not like swampy feet. Your goal is “evenly moist, then slightly dry on top.”
In garden beds
- New plantings: Water 2 to 3 times per week for the first few weeks, depending on heat and rainfall.
- Established clumps: Deep watering about once a week is often enough, more during heat waves.
- Quick check: Stick your finger in the soil. If it is dry 2 inches down, it is time to water.
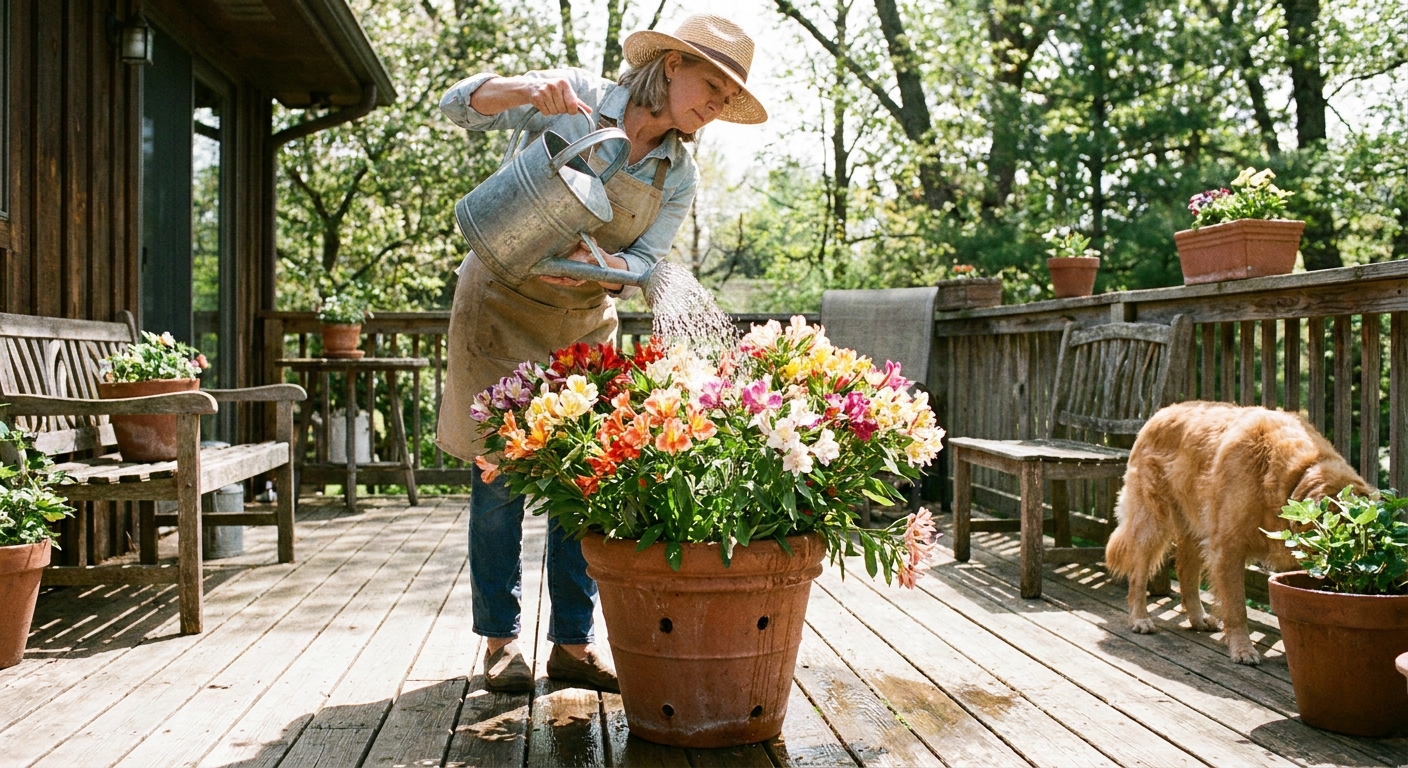
In containers
Pots dry out faster, and alstroemeria in a container will bloom best when it does not yo-yo between bone-dry and drenched.
- Water when the top 1 to 2 inches feel dry.
- Always use a pot with drainage holes.
- Empty saucers so roots never sit in water.
Feeding
If you want alstroemeria to keep sending up fresh stems, a light, regular feeding routine helps. You do not need anything fancy. You just need consistency.
Easy fertilizer schedule
- At planting: Mix compost into the planting area.
- Spring: Use a balanced, slow-release fertilizer (something like 5-5-5 or 10-10-10) when new growth is 4 to 6 inches tall.
- During bloom season: Every 3 to 4 weeks, use a diluted liquid feed for flowering plants, especially in containers.
What to avoid
- Too much nitrogen: This can mean lush leaves and fewer flowers.
- Heavy feeding in late summer: In colder zones, let the plant ease toward dormancy rather than pushing tender growth.
Deadheading
Instead of snipping spent stems at the top, alstroemeria often responds best when you pull the entire spent stem from the base. This encourages new shoots from the crown and keeps the clump productive.
How to do it
- Grab the finished stem low, near the soil line.
- Pull with a steady, firm motion. It should release with a little snap.
- Use good judgment: Skip pulling if the plant is very young, the soil is loose, or conditions are very wet. In those cases, cut the stem low instead.
I know pulling feels a bit like you are breaking a rule the first time. You are not. You are just using the method this plant tends to respond to best.
Winter protection
Cold tolerance depends on the variety, your soil drainage, and how wet your winters are. Many common garden hybrids are most reliably hardy in roughly USDA zones 7 to 10, with some succeeding in zone 6 given excellent drainage and winter protection. Always check your plant tag, because the range can vary.
General guidelines
- Zones 8 to 10: Usually overwinter outdoors with minimal fuss. Add mulch in late fall and keep soil from staying soggy.
- Zones 6 to 7: Often survives with serious mulching and good drainage. A sheltered spot near a wall helps.
- Zones 3 to 5: Typically treated as an annual or a container plant. You can try overwintering indoors, but results vary by cultivar and storage conditions.
How to mulch for winter
After a hard frost knocks foliage back:
- Cut stems down to a few inches.
- Add 4 to 6 inches of loose mulch like shredded leaves or straw.
- In very wet winter areas, consider a breathable cover that sheds excess rain while still allowing airflow.
Overwintering in containers
- Move pots to an unheated garage, shed, or sheltered porch where temperatures stay cool but not deeply freezing.
- Water sparingly, just enough to keep the roots from shriveling.
- Bring back into brighter conditions in spring when growth resumes.
Lifting and storing (optional)
If you want to experiment in cold zones, you can lift clumps after frost, let them dry slightly, and store them cool and barely damp. It can work, but it is not foolproof, so consider it a “bonus attempt,” not a guarantee.
Dividing clumps
Alstroemeria does not love being disturbed, but dividing every few years can rejuvenate an older planting and give you more plants for free. The signs are pretty clear: fewer flowers, thinner stems, and a clump that seems to be competing with itself.
When to divide
- Best time: Early spring as new shoots are just starting, or early fall in mild climates.
- Avoid: Dividing at peak summer heat or when the plant is in full bloom, unless you have to.
How to divide
- Water the day before so the soil is workable and roots are less brittle.
- Dig wide around the clump to avoid snapping roots.
- Lift gently and shake off loose soil so you can see what you are doing.
- Separate with hands first. If needed, use a clean knife or spade to cut sections.
- Replant immediately at the same depth, water well, and mulch lightly.
Expect a brief sulk. A week or two of slower growth is normal, then the plant usually rebounds with fresh energy.
Common problems
Lots of leaves, few flowers
- Possible causes: Too much shade, too much nitrogen, or not enough consistent water during bud formation.
- Fix: Move to brighter light if possible, switch to a bloom-friendly feed, and water deeply when soil dries a couple inches down.
Stems flopping
- Possible causes: Too much shade, overly rich nitrogen fertilizer, or crowded clumps.
- Fix: Give more sun, feed more gently, and divide if the clump is packed. Tall varieties may appreciate discreet support.
Roots rotting
- Possible causes: Poor drainage, heavy clay, or overwatering in cool weather.
- Fix: Improve drainage, plant on a mound, or switch to containers with airy mix.
Chewed leaves and buds
- Likely culprits: Slugs and snails
- Fix: Hand-pick at dusk, reduce hiding spots, and consider iron phosphate bait if pressure is high.
Sticky stems, curled leaves
- Likely culprit: Aphids
- Fix: Blast off with water, encourage beneficial insects, or use insecticidal soap if needed.
Fine webbing, speckled leaves
- Likely culprit: Spider mites (often in hot, dry spells)
- Fix: Rinse foliage, increase humidity around container plants, and avoid letting plants get chronically drought-stressed.
Gray fuzz, collapsing blooms
- Likely issue: Botrytis (common in damp, crowded conditions)
- Fix: Improve airflow, water at the base, remove affected material, and avoid overhead watering late in the day.
Managing spread
In mild climates with good soil, some alstroemerias can spread enthusiastically. If yours starts wandering beyond its welcome:
- Edge the clump with a sharp spade in spring to keep it contained.
- Lift and divide to reset the size (and share extras with friends).
- Choose compact cultivars if you want the look without the takeover energy.
Cut flowers
Alstroemeria is a cut-flower superstar. The key is to harvest at the right moment and keep stems clean.
- When to cut: When the first flower on a stem is open and the others are colored up but not fully open.
- How to harvest: Pull stems from the base if you can, or cut low with clean snips.
- Conditioning: Remove leaves that would sit below the water line, then place stems in fresh water right away.
- Vase life tip: Change water every couple days. Alstroemeria can last 10 to 14 days in a clean vase.
Quick safety note
Some people find alstroemeria sap irritating to skin. If you are sensitive, wear gloves when dividing or harvesting. Like many ornamentals, it can also cause mild stomach upset if pets chew it, so keep an eye on curious nibblers.
Quick care checklist
- Sun: Full sun to part shade, with afternoon shade in hot areas
- Soil: Rich and well-draining
- Planting depth: About 4 to 6 inches, adjusted for soil and climate
- Water: Consistent moisture, never waterlogged
- Feed: Compost plus light, regular fertilizer for repeat flushes
- Deadheading: Pull spent stems from the base when conditions allow, or cut low
- Winter: Hardiness varies by cultivar; many are best in zones 7 to 10, sometimes 6 with protection
- Divide: Every few years when flowering declines or the clump spreads
If you take nothing else with you, take this: alstroemeria is a long-game plant. Give it a comfy, well-drained home, and it will settle in like it owns the place, sending up armfuls of blooms that make you feel like you have your life together, even if you are still talking to your ferns in the kitchen window.