Air Plant Care for Beginners
Air plants (Tillandsia) are the little rebels of the plant world. No soil, no potting mix, no “when do I repot?” panic. Just a sculptural, living bundle of leaves that drinks through its surface and thrives when you get three things right: water, light, and airflow.
If you have ever felt personally judged by a houseplant, I want you to know this: air plants are forgiving once you understand their rhythm. I have kept them in tiny apartments, in sunny bathrooms, and even on my porch for summer vacations. Let’s make yours happy, too.
TL;DR: Soak (usually weekly), drain well, and give bright indirect light plus good airflow so it dries within about 4 hours ideally (and not left wet overnight). Adjust for your plant and your room.
What makes air plants different
Tillandsias are epiphytes, meaning they naturally grow attached to other things like tree branches or rocks, not in soil. They use specialized scales on their leaves (called trichomes) to capture moisture and nutrients.
- No soil needed: Soil stays wet against the base and can cause rot fast.
- They still need real watering: “Air plant” does not mean “never water.” It means they do not live in soil.
- Airflow is not optional: In nature, breezes dry them quickly after rain. Indoors, we have to mimic that.
Watering: soaking vs misting
Watering is where most beginners get tripped up, so I’m going to make it simple. Your goal is to thoroughly wet the plant, then let it dry out with good airflow. Most of the time, you want it dry within about 4 hours (ideally). In cooler or more humid homes, it may take a bit longer, but avoid leaving it wet in the crown overnight.
Also, a gentle reminder: species and environment change the schedule. A greener, thirstier Tillandsia in a dry home will not drink like a silver, trichome-heavy one in a humid bathroom.
Method 1: The soak
Soaking gives consistent hydration and is my go-to for most species, especially if your home air is dry.
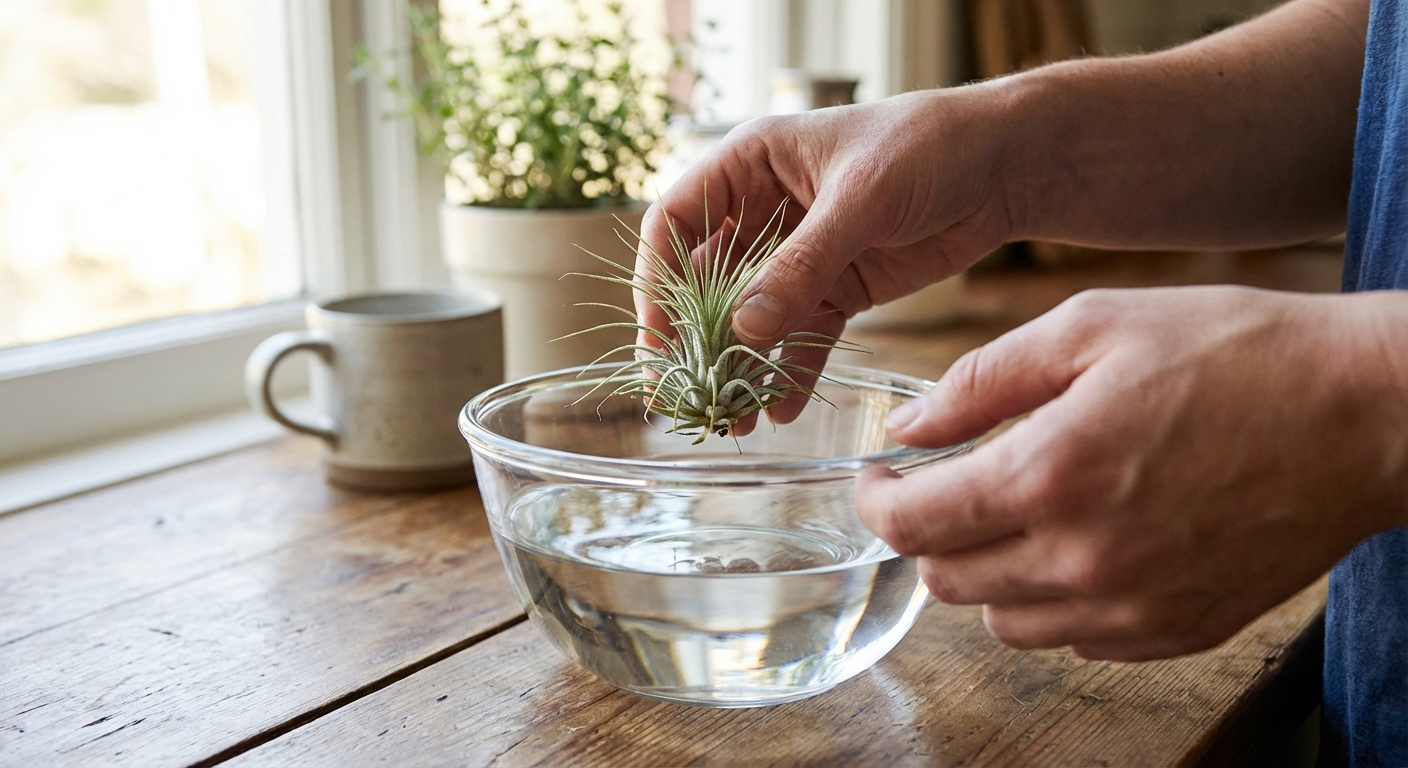
- How: Use a bowl large enough for full submersion. Soak the whole plant in room-temperature water.
- How long: 15 to 30 minutes for most Tillandsias. Up to 45 minutes for thirstier types. Very xeric, extra-silver, fuzzy plants sometimes prefer shorter soaks with great airflow afterward.
- How often: About once per week, then adjust based on your plant and your room.
- If it is blooming: Many growers avoid soaking the flower itself. You can keep blooms a bit drier by dunking the plant body and keeping the bloom above water.
After the soak: Shake gently, then set the plant upside down or on its side on a towel so water drains out of the leaf bases. Good drainage is the difference between thriving and rot.
Method 2: Misting
Misting works best for small plants, very fuzzy species, or as a humidity boost between soak days. The problem is that many people mist lightly, the leaves get damp, and the plant never truly drinks.
- How: Mist until the whole plant is evenly wet, not just a few spritzes.
- How often: 2 to 4 times per week depending on heat, airflow, and dryness.
- Pro tip: Mist in the morning so the plant dries before nightfall.
- Important: Fuzzy, xeric types can still rot if water sits. Airflow matters just as much as the mist.
Signs it needs more water
- Leaves are curling inward more than usual, especially near the tips.
- Plant feels lighter and looks dull or slightly “deflated.”
- Outer leaves crisping (not the normal aging of one or two bottom leaves, but widespread crispy tips).
Signs you are overdoing it
- Base feels soft or mushy or leaves pull out easily.
- Darkening at the center or a sour smell.
- Plant stays wet for too long after watering, often due to poor airflow or a closed container.
Light: bright and consistent
Air plants like bright, indirect light most of the time, similar to many houseplants that enjoy a sunny window without harsh midday burn.
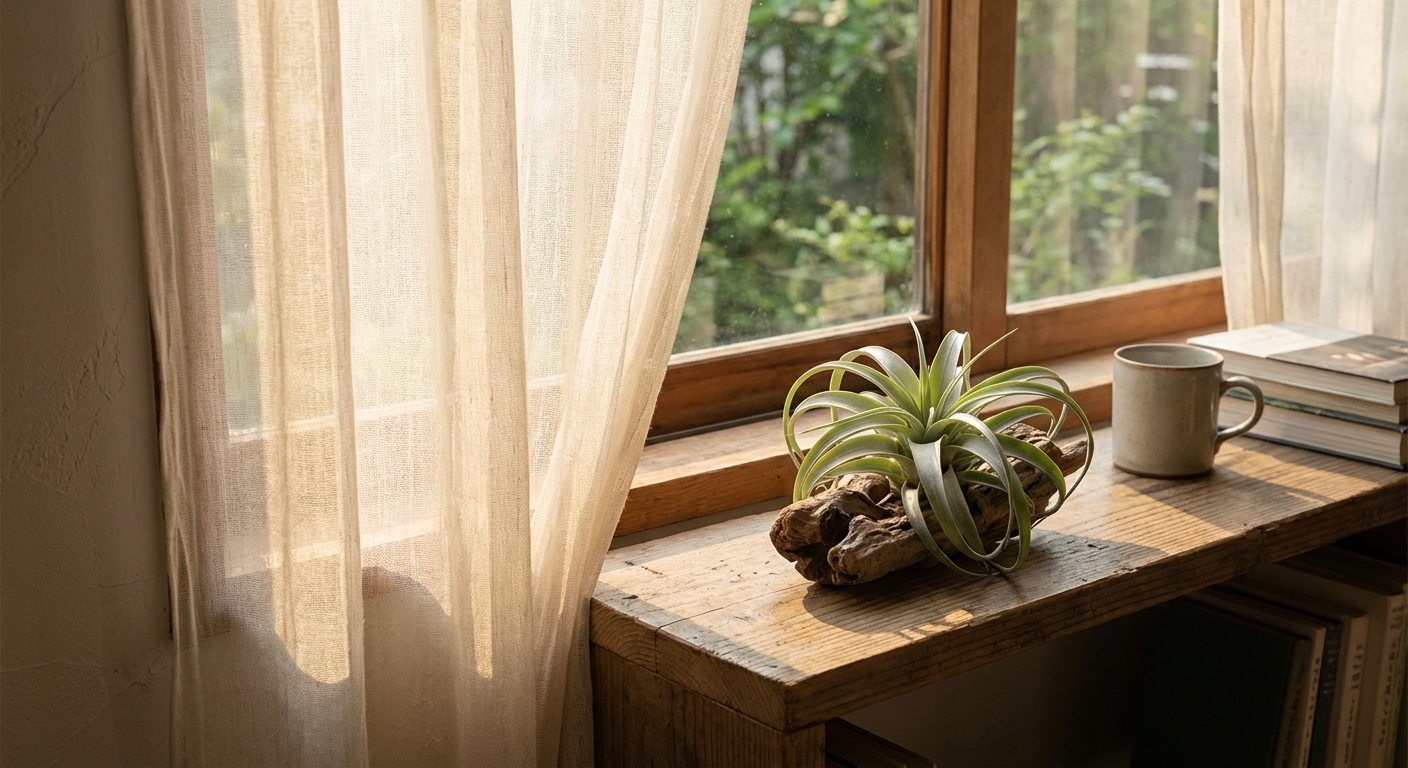
- Best windows: East-facing is a dream. South or west can work if filtered by a sheer curtain or set back from the glass.
- Low light signs: Slow growth, fewer pups (baby plants), dull color, and stretching.
- Too much sun signs: Bleached or scorched patches, crispy areas that look sunburned.
If you are using grow lights, aim for a bright setup and keep plants 6 to 18 inches away depending on the strength of the light.
Airflow: the secret ingredient
I know “airflow” sounds like a boring detail, but it is the magic that keeps air plants from rotting. After watering, the plant needs moving air so it can dry out, especially around the base and center.
- Where they struggle: Closed terrariums, tiny glass globes with narrow openings, and corners with stagnant air.
- Where they shine: Open shelves, mounted displays, wire baskets, and well-ventilated bathrooms with good light.
- Easy fix: If your home is still, run a small fan across the room for an hour after watering.
Temperature: keep it cozy
Tillandsias are tropical and do best in typical “comfortable human” temperatures.
- Avoid freezing: Keep them away from frosty windows, unheated porches, and winter drafts. Cold damage can be fast and irreversible.
- Watch vents: AC vents and heaters can dry them out quickly, and the constant blast of hot or cold air can stress them.
- Sweet spot: If you are comfortable, they usually are too. When in doubt, treat cold nights as a bigger risk than warm days.
Mounting and display
One of the joys of Tillandsia is that you can display them like living sculpture. Just remember: whatever you use should let the plant dry quickly.
Easy display options
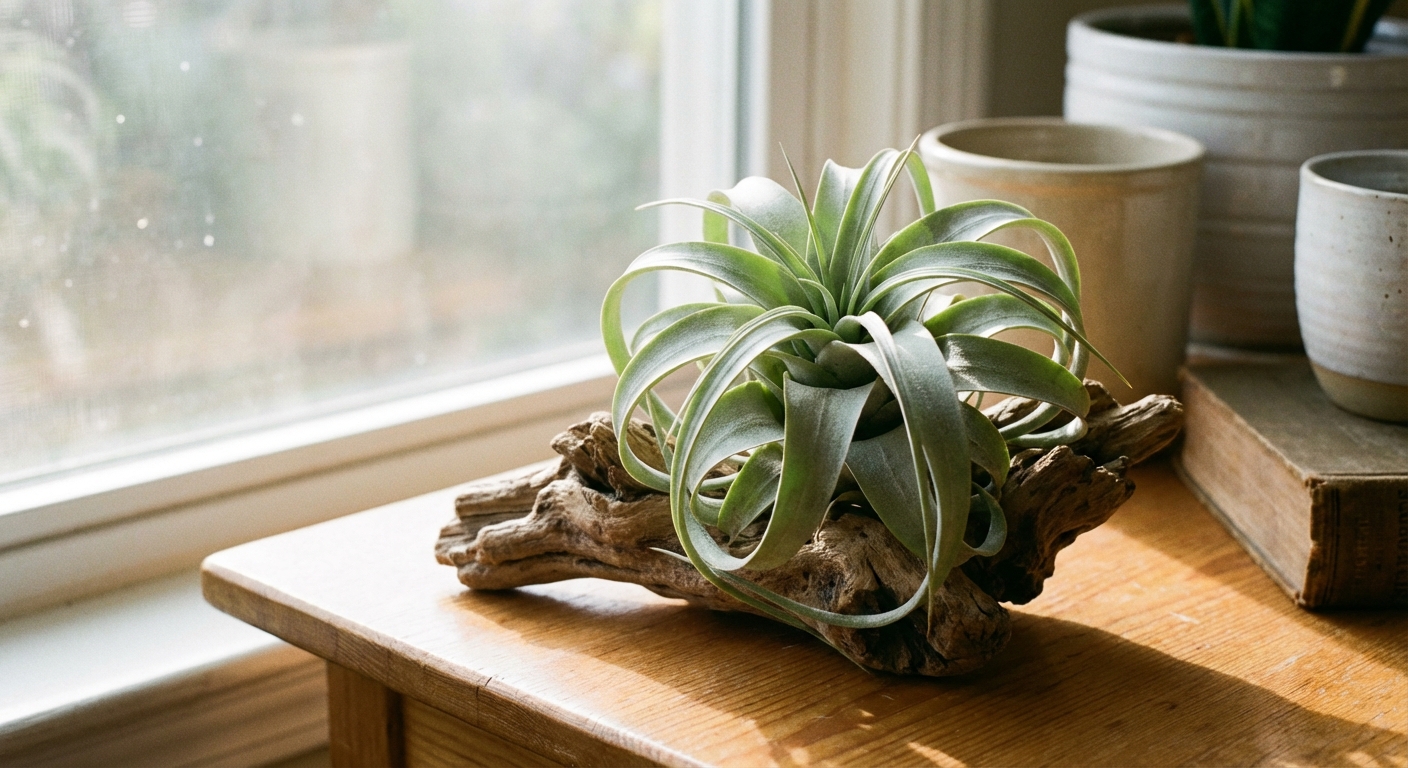
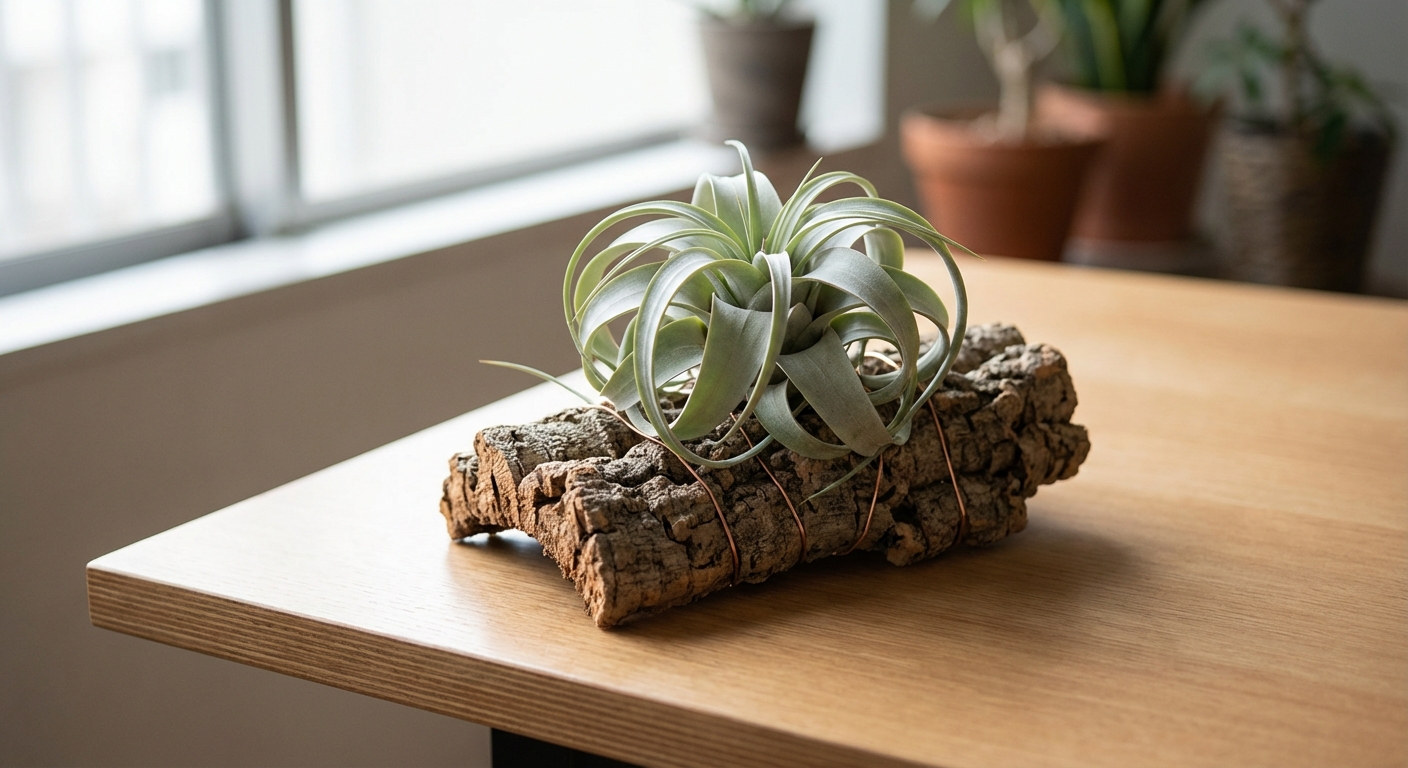
- On driftwood or cork bark: Natural look, excellent airflow.
- In a shallow dish with stones: Works if the plant is not sitting in water and you remove it to soak.
- In a wire holder or open globe: Great for drying, easy to move.
- Magnet mount: Glue a magnet to the mount, not the plant, then secure the plant with gentle ties.
How to attach safely
Skip anything that smothers the base. If you are mounting, use:
- Coated floral wire (loosely, so it does not cut into leaves). Avoid copper wire, which is highly toxic to Tillandsias.
- Plant-safe ties or fishing line
- Glue, used carefully: A small dab of non-toxic craft glue or cyanoacrylate (super glue gel) on the mount can work well. Keep glue off the base and center so water can drain.
- Avoid high-temp hot glue: It can burn plant tissue. If you must use hot glue, let it cool slightly and apply it to the mount, not directly on the plant.
My rule: if water cannot drain and air cannot reach the base, choose a different display.
Fertilizing: less, but thoughtfully
Air plants do not need heavy feeding, but a tiny bit of fertilizer can encourage growth and pup production.
- What to use: A bromeliad or air-plant fertilizer is ideal. If using a general houseplant fertilizer, choose one with non-urea nitrogen when possible.
- How much: About 1/8 to 1/4 strength (or follow the air-plant product label).
- How often: Once a month in spring and summer, or every 6 to 8 weeks year-round if your plant is actively growing indoors.
Easy method: Add diluted fertilizer to the soaking water, then do your usual drain and dry routine.
Popular types
Tillandsia ionantha
This is the classic beginner air plant: small, tough, and full of personality. When it blooms, it often blushes red or pink and produces a purple flower. It also pups readily, which is very satisfying.
- Water: Weekly soak, plus occasional misting if your home is dry.
- Light: Bright indirect light. A bit of gentle morning sun is fine.
- Tip: Because it is compact, be extra sure the base drains well after watering.
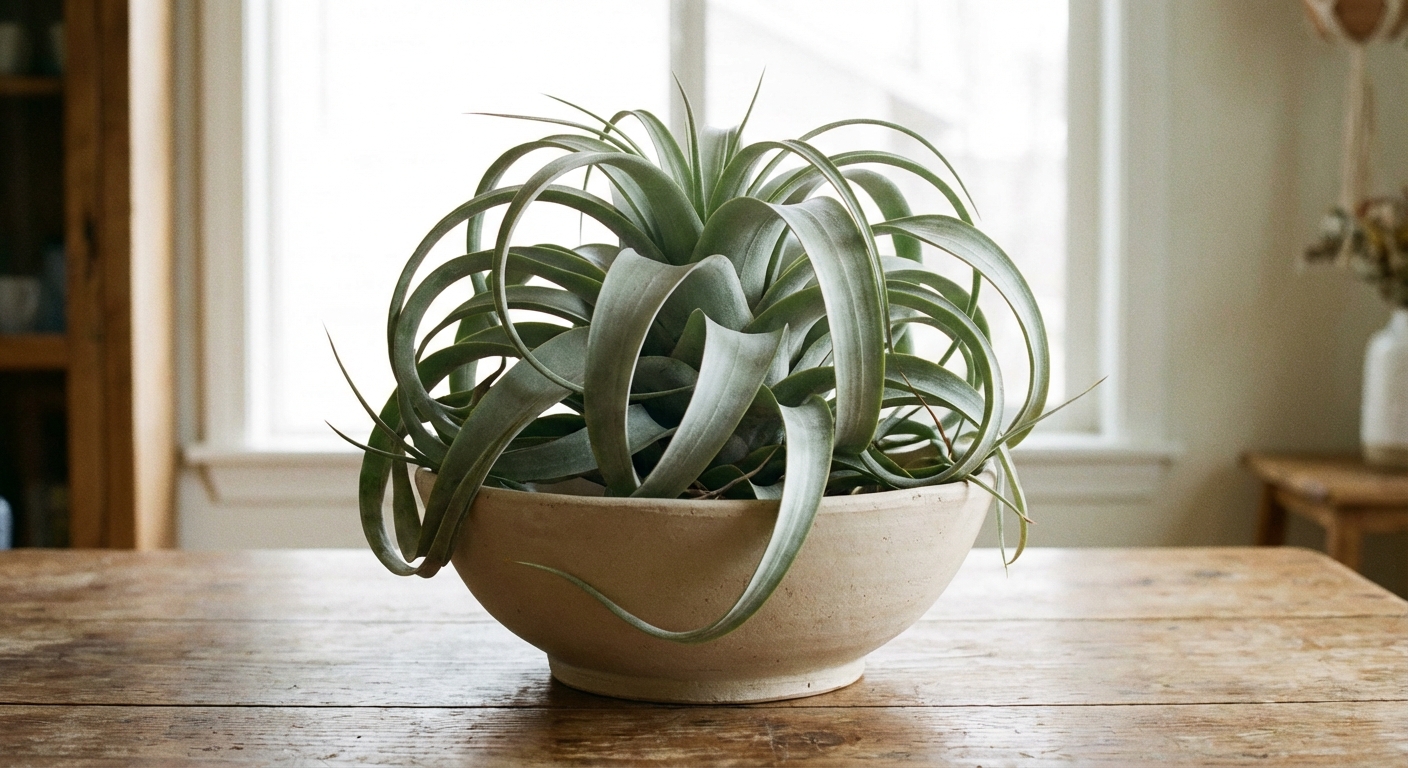
Tillandsia xerographica
The showstopper. Big, swirling, silver-green leaves that look like a botanical seashell. It is often more drought-tolerant than it looks, but it still needs thorough watering.
- Water: A soak of about 20 to 45 minutes every 7 to 10 days, depending on your climate. In humid homes it may want less soaking and more airflow.
- Light: Brighter light than many green Tillandsias. Filtered sun is often appreciated.
- Tip: Xerographica holds water in its curls, so shake it out well and dry it in a spot with excellent airflow.
Seasonal tweaks
Air plant care is not one setting forever. They respond to your seasons.
- Summer: More light and warmth usually means more frequent watering (or longer soaks), especially in dry air.
- Winter: Slower growth and cooler rooms often means less frequent watering. Keep the “dries in about 4 hours ideally” rule in mind and do not water late in the day.
Common mistakes
1) Keeping them in closed glass
Closed terrariums are beautiful, but many air plants rot in them. If you love glass, choose an open container with a wide opening and strong airflow.
2) Light misting only
A few spritzes rarely hydrate the plant. Either mist thoroughly or use soaking as your main method.
3) Not drying after watering
This is the biggest cause of rot. Always drain well, especially for tight, bulbous plants.
4) Using softened or harsh water
Softened water can contain salts that build up on leaves. If your tap water is harsh, use filtered water or rainwater. Letting water sit out overnight can help with chlorine, but it does not remove chloramine. If your city uses chloramine, filtered water is the easier fix.
5) Too little light
They survive, but they do not thrive. If your plant is alive but not growing or pupping, move it closer to brighter indirect light.
Pests
Air plants are not magnets for pests, but it can happen. Watch for:
- Mealybugs: White, cottony clusters tucked into leaf joints.
- Scale: Small brown bumps that cling to leaves.
What to do: Isolate the plant, rinse it thoroughly, then dab pests with isopropyl alcohol on a cotton swab. Increase airflow and keep an eye out for repeat visitors.
Quick routine
- Once a week: Soak 15 to 30 minutes (adjust for species and your home), then shake and dry upside down.
- After watering: Give it strong airflow so it dries in about 4 hours ideally.
- Daily glance: Bright spot, no standing water, no musty smell.
- Monthly: Add diluted fertilizer to the soak during the growing season.
If you want a simple mantra, here it is: Soak, drain, breathe, and glow. Plenty of water, then plenty of air, plus bright gentle light.
FAQ
Do air plants really live off the air?
Not exactly. They absorb moisture and nutrients through their leaves, but they still need regular watering and occasional nutrients.
Can I use ice cubes to water an air plant?
I do not recommend it. Cold shock can stress the plant, and ice tends to provide inconsistent hydration. A room-temperature soak is safer and more effective.
My air plant has brown tips. Should I cut them?
You can trim crispy tips with clean scissors if you dislike the look. Follow the natural leaf shape and do not cut into healthy tissue more than necessary. Then check your watering and light, since brown tips often mean dryness, vent-blast dehydration, or sun stress.
How do I handle pups?
Pups are baby plants that form around the base. Let them grow until they are about 1/3 to 1/2 the size of the mother plant. Then you can gently separate them or leave them to form a clump.