9 Essential Plant Maintenance Tools

There is a special kind of peace that happens when your tools are sharp, clean, and exactly where you left them. Plants respond to that care too. A crisp pruning cut lets a plant seal and callus over more efficiently, a clean trowel spreads fewer problems, and a quick soil check saves you from chasing mystery symptoms for weeks.
Below are the nine plant maintenance tools I reach for constantly, whether I am fussing over balcony herbs or knee-deep in the backyard beds. I’ll also show you how to sharpen, clean, and store each one so it lasts for years and stays kind to your plants.
The 9 essentials
These tools cover the three maintenance pillars: pruning, weeding, and knowing what is happening in your soil. If you are building your kit, start with these four: bypass hand pruners, loppers, a hori hori, and a strong hand trowel. Then add the rest as your garden grows.
1) Bypass hand pruners
If I could only keep one cutting tool, it would be bypass pruners. They work like scissors, with two blades passing each other, which makes a clean cut that is gentler on living stems than anvil-style pruners.
- Best for: Herbs, houseplants, roses, softwood and green stems up to about finger thickness (varies by model).
- Shopping tip: Choose pruners with replaceable blades and a comfortable grip. Your hands will thank you in spring.
- Use tip: Cut just above a node or bud. Some gardeners prefer a slight angle so water sheds off the cut, but the bigger win is a clean, non-crushing cut.
Clean and maintain: Wipe sap off with a rag dampened with rubbing alcohol. For disease prevention, disinfect blades between plants when pruning anything suspicious, especially bacterial diseases, cankers, or viruses (for powdery mildew, spread is mostly airborne, but clean tools still do not hurt). A simple routine is alcohol wipe, dry, then a drop of light tool oil at the pivot.
Light oil note: Use a non-food oil that will not go rancid or gum up joints, like 3-in-1 oil, mineral oil, or camellia oil. Skip cooking oils (olive, vegetable) because they can turn sticky and collect dirt.
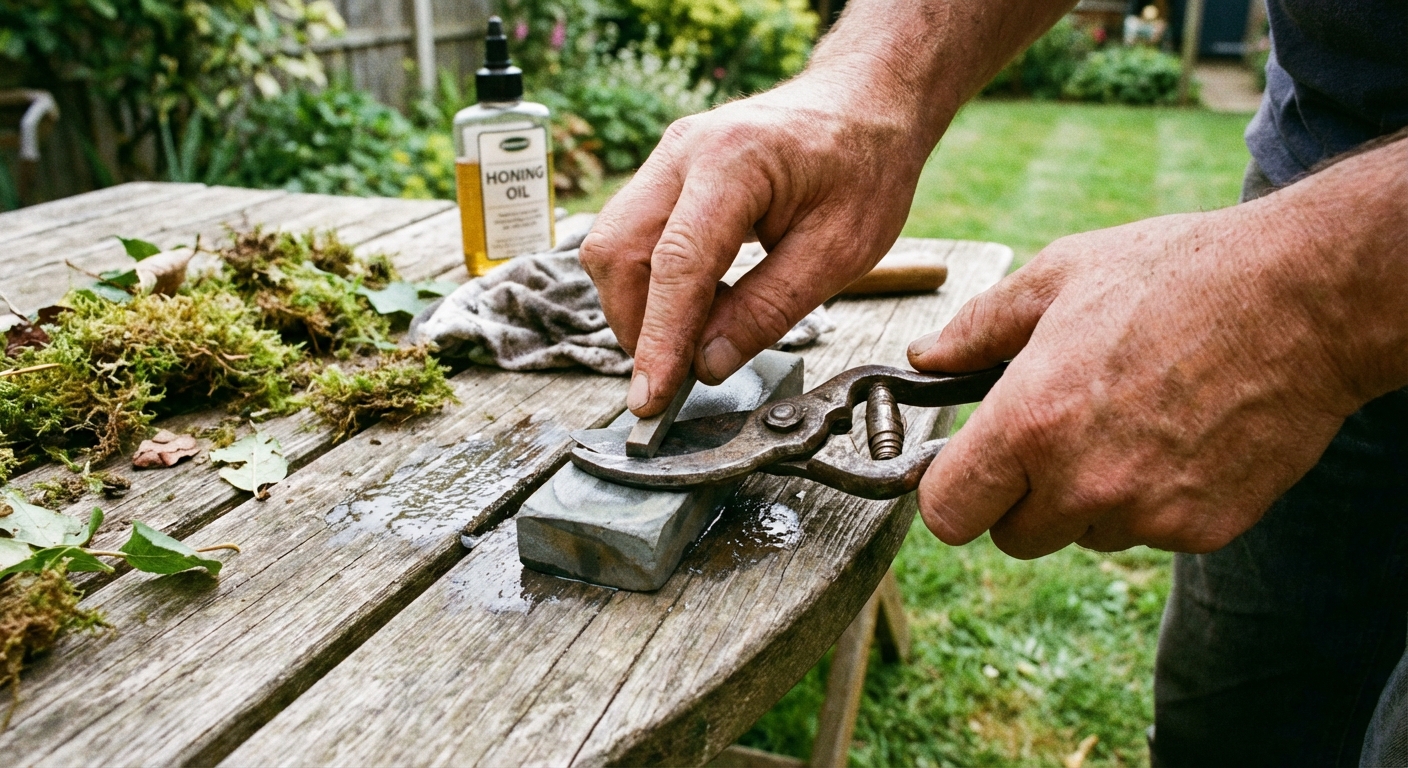
Sharpen: Use a hand pruner sharpener or fine file on the beveled cutting blade only. A few steady strokes following the existing angle beats frantic sawing every time.
2) Loppers
Loppers are pruners with long handles, which means leverage. They let you remove thicker stems without crushing tissue or straining your wrists. If you have shrubs, fruit trees, or anything that tries to become a small forest, loppers are hard to beat.
- Best for: Shrubs, canes, small branches, and cleanup pruning.
- Shopping tip: Look for bypass loppers and sturdy handles. Telescoping handles are wonderful for reach but should still feel rigid.
- Use tip: For branches, cut just outside the branch collar so the plant can seal the cut properly.
Clean and maintain: Same approach as pruners: alcohol wipe for blades, then dry thoroughly. Check the pivot bolt and tighten as needed so the blades meet cleanly.
Sharpen: A flat file works well. Maintain the bevel angle, then remove burrs with a light pass on the backside.
3) Hori hori garden knife
This is my most used tool, and yes, I talk to mine. A hori hori is a soil knife that can dig, slice, weed, and plant. It is especially handy in tight spaces where a full-size spade is clumsy.
- Best for: Cutting roots, dividing perennials, planting bulbs, prying stubborn weeds, harvesting root veggies.
- Shopping tip: Choose a full tang blade (the metal runs through the handle) and a sheath. You will use it more if it is easy to carry safely.
- Use tip: Use the blade to cut around dandelion crowns, then leverage gently. Pulling straight up often snaps the root.
Clean and maintain: Soil holds moisture, and moisture invites rust. Rinse, scrub, then dry fully. If you are storing it for more than a few days, wipe a thin coat of non-food oil (like mineral oil or camellia oil) on the metal.
Sharpen: A sharpening stone or diamond plate gives the best control. Keep the edge modestly sharp, not razor sharp. You want safe slicing, not kitchen knife vibes in a garden bed.
Safety note: Use the sheath, always. A loose hori hori in a tote bag is an unforgettable lesson.
4) Hand trowel
A strong hand trowel is the everyday workhorse for transplanting, potting up, and scooping compost. Cheap trowels bend right when you need them most, which is usually when you are trying to tuck a plant into stubborn soil before a rainstorm.
- Best for: Transplanting seedlings, mixing amendments into small areas, container gardening.
- Shopping tip: Look for a one-piece forged or solid steel trowel, or at least a reinforced neck where the blade meets the handle.
- Use tip: When transplanting, dig a hole wider than you think you need. Roots love room more than depth.
Clean and maintain: Knock soil off immediately after use. If you have been working in sticky clay, a quick rinse and a stiff brush will keep it from turning into concrete.
Quick fix: If the edge gets nicked after a run-in with rocks, a few light passes with a file can smooth it out so it digs cleaner (and snags fewer roots and gloves).
5) Hand fork or cultivator
For loosening the top layer of soil, teasing out small weeds, and working compost into beds without disturbing deep roots, a hand fork is pure magic. It is also the gentlest way to aerate around perennials that do not appreciate being stabbed by a spade.
- Best for: Breaking up crusted soil, mixing top dressings, weeding in tight spaces.
- Shopping tip: Choose thick tines that will not splay the first time they meet compacted ground.
- Use tip: Cultivate shallowly. Many common annual weed seeds germinate in the top inch or so, so you do not need to dig deep to be effective.
Clean and maintain: Soil between tines holds moisture. Scrub it out and dry. If rust starts, a quick rub with steel wool and a touch of non-food oil resets it.
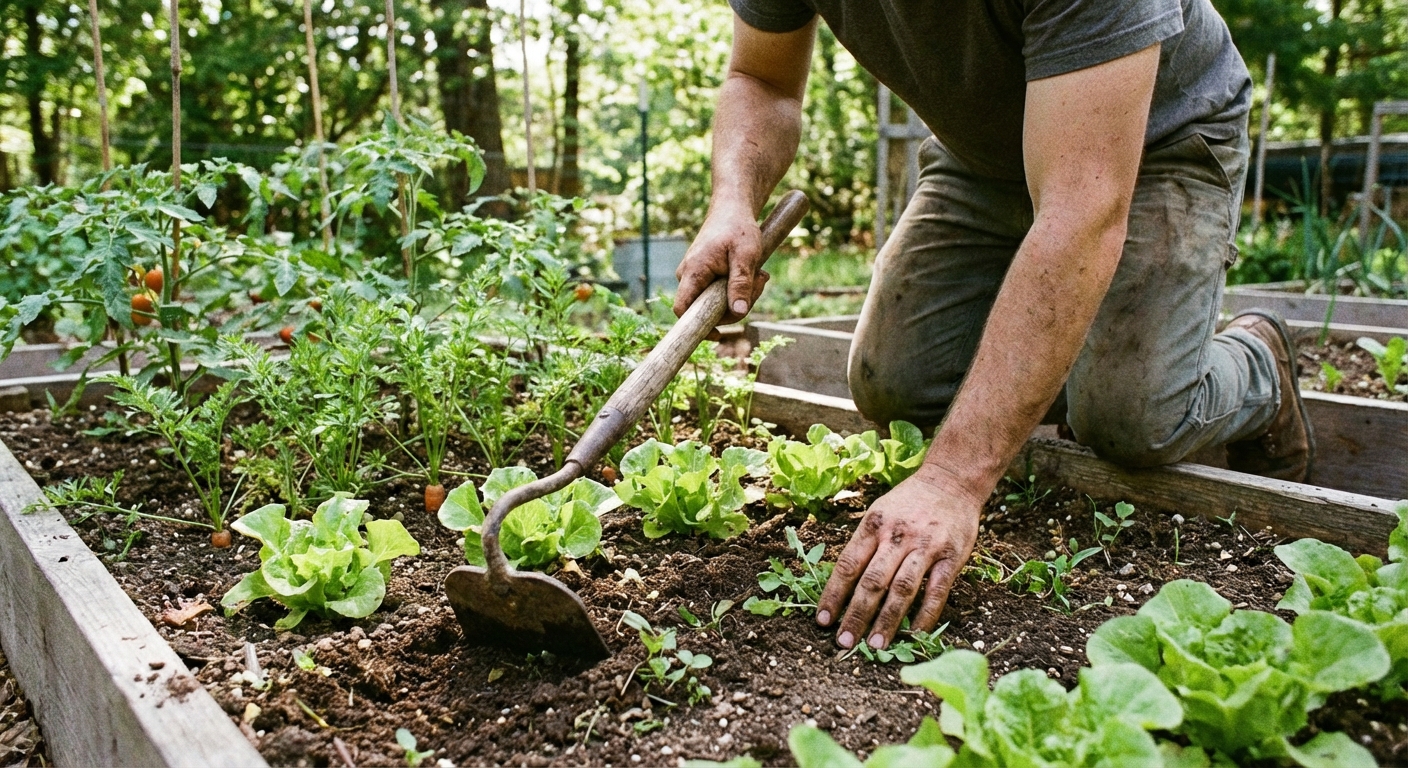
6) Stirrup hoe (oscillating hoe)
If you have rows, pathways, or any decent-sized bed, a stirrup hoe makes weeding feel almost unfair. You push and pull, and the blade slices weeds at the soil line with minimal disruption.
- Best for: Fast weeding of tiny seedlings and young weeds in open areas.
- Shopping tip: A replaceable blade is a plus. The tool will live a long time if you can swap wear parts.
- Use tip: Weed when the soil surface is slightly dry. The cut weeds desiccate quickly instead of re-rooting.
Clean and maintain: Knock off soil and plant bits. Keep the blade dry. If you work in damp conditions, wipe with an oily rag (mineral oil, camellia oil, or a light tool oil) before storage to prevent rust.
Sharpen: A mill file along the cutting edge once in a while makes the hoe glide. You do not need a razor edge, just a clean bevel.
7) Soil pH meter or pH test kit
So many garden problems are actually soil chemistry problems wearing a leaf costume. A soil pH test gives you a simple truth: are nutrients available, or are they locked up because the pH is off for what you are growing?
- Best for: Diagnosing yellowing leaves, planning amendments for blueberries, hydrangeas, lawns, and veggie beds.
- Shopping tip: For accuracy, a reputable pH test kit (color change) often beats the cheapest probe meters. If you use a probe, follow the instructions to the letter (many struggle in very dry soil or low-salt potting mixes).
- Use tip: Test multiple spots and mix a composite soil sample for a truer reading. One corner of the bed can differ from another.
Clean and maintain: If you use a probe meter, wipe the probe clean after each use and store it dry. Never leave a probe in soil. For kits, keep reagents sealed and out of heat and humidity so they do not degrade.
Worth knowing: If you are making big changes (like trying to seriously lower pH for blueberries), a lab soil test is the gold standard.
8) Soil moisture meter
Moisture meters are a confidence tool. They do not replace learning your garden, but they are wonderful for houseplants, deep containers, and anyone recovering from overwatering trauma.
- Best for: Indoor plants, patio containers, new transplants, and drought-sensitive crops.
- Shopping tip: A simple analog probe is fine. What matters is consistency and learning what the readings mean in your potting mix.
- Use tip: Check at root depth, not just the top inch. Many pots are dry on top and soggy below.
Clean and maintain: Wipe the probe after every use. Do not store it with damp soil residue on the metal, which can corrode sensors and skew readings.
Quick caution: Many inexpensive meters read electrical conductivity, not true volumetric water content, so treat the number as a trend, then confirm with the finger test and the weight of the pot.
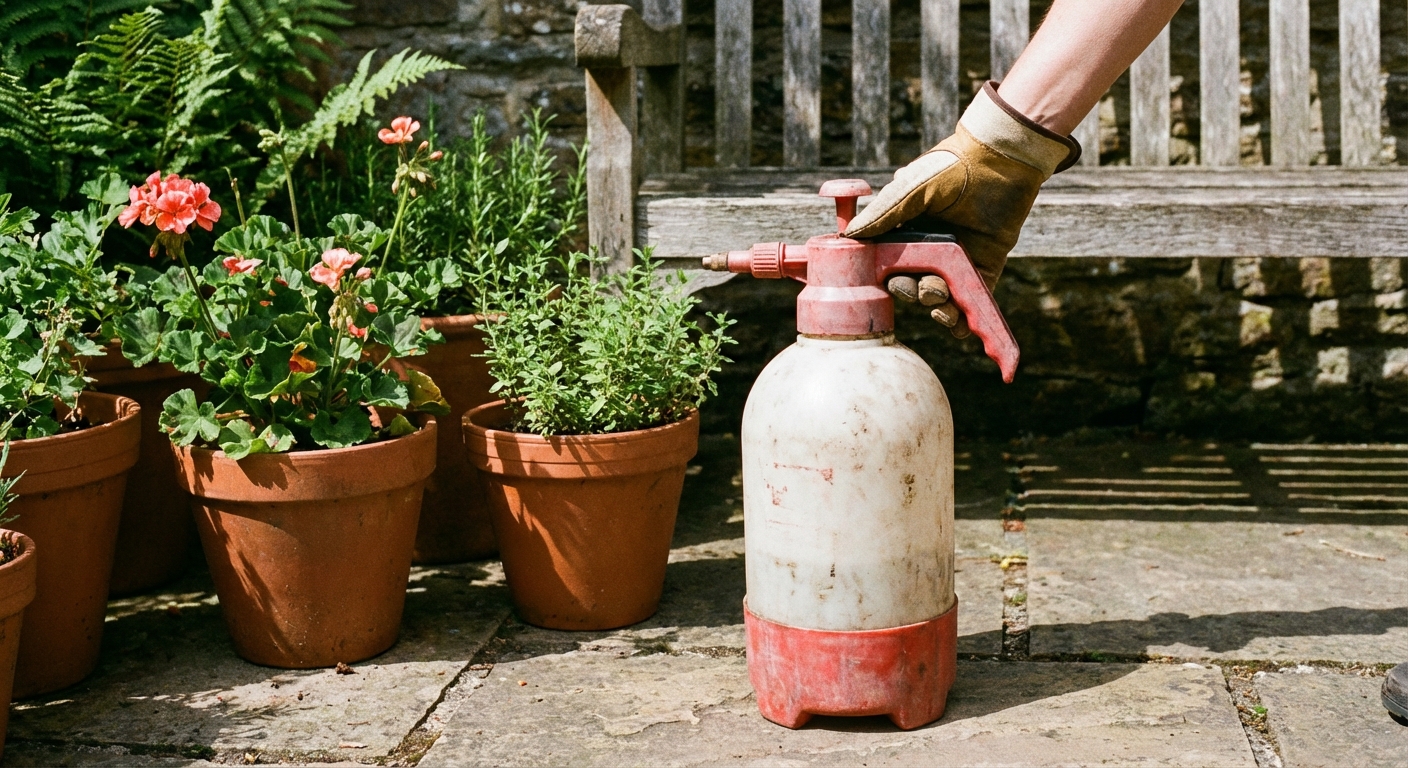
9) Spray bottle or pump sprayer (dedicated to plant care)
A good sprayer turns maintenance into a quick habit: rinsing dust off houseplant leaves, applying diluted soap sprays, misting cuttings, or spot treating pests. The key is having a sprayer you actually like using and keeping it clean so it does not become a science experiment.
- Best for: Neem or soap sprays, foliar feeding (when appropriate), leaf rinsing, cleaning greenhouse surfaces.
- Shopping tip: Choose one with adjustable nozzle settings. Keep one sprayer dedicated to herbicides only if you ever use them, and never cross-purpose it.
- Use tip: Spray early in the day so leaves dry. Avoid spraying in hot sun to reduce leaf scorch.
Clean and maintain: After spraying anything besides plain water, rinse the tank and run clean water through the nozzle. For sticky oils, a little mild dish soap in warm water helps, followed by a thorough rinse.
My simple between-use tool routine
You do not need a fancy workshop. You need a small rhythm. Here is the maintenance loop I teach new gardeners who want tools that last and plants that stay healthy.
Step 1: Knock off soil right away
Dry soil brushes off. Wet soil turns into a crust that holds moisture against metal. A stiff brush lives by my back door for this exact reason.
Step 2: Wash when needed
- For digging tools: Rinse and scrub with water and a brush.
- For sticky sap: Wipe blades with rubbing alcohol.
- For resin or heavy grime: Warm soapy water, then rinse and dry.
Try not to soak wooden handles for long periods. They swell, crack later, and shorten the life of a good tool.
Step 3: Disinfect when disease is a risk
If you are pruning anything that looks diseased, disinfect between plants. It feels fussy until the year you accidentally spread a problem down an entire row. For routine pruning of healthy plants, you can usually skip between-plant disinfecting and just clean tools at the end.
- Easiest method: Wipe blades with 70% isopropyl alcohol.
- Important: Let it air dry. Alcohol works fast and does not require rinsing.
Step 4: Dry completely
Drying is rust prevention. I keep an old towel specifically for tools, and I do not apologize for it.
Step 5: Oil lightly
A drop of light tool oil at the pivot of pruners and loppers keeps them smooth. A thin wipe of non-food oil on steel surfaces discourages rust, especially in humid climates or if you store tools in a shed that sweats.
My go-tos: 3-in-1 oil for pivots, and mineral oil or camellia oil for a quick wipe-down. Avoid cooking oils because they can go rancid and turn tacky.
Step 6: Basic safety
Wear gloves when cleaning blades, protect your eyes when sharpening, and keep cutting tools closed and latched when you carry them. Sharp is good. Unprotected sharp is chaos.
Sharpening basics
Sharp tools are not just satisfying. They are safer and better for plants. Dull blades force you to squeeze harder, slip more often, and crush stems rather than cut them cleanly.
- Match the angle: Follow the existing bevel. Do not invent a new one.
- Fewer strokes, more control: Gentle, consistent strokes beat aggressive grinding.
- Remove burrs: After filing, lightly smooth the backside to remove the tiny metal curl.
- Test the cut: Pruners should slice cleanly through a thin twig or a piece of paper without snagging.
Storage that prevents rust
Most tool damage happens when tools are put away dirty, wet, or tossed into a pile where blades bang into each other.
- Hang tools when possible: Hooks keep metal off damp floors.
- Store cutting tools closed and latched: Protects the edge and your fingers.
- Keep an oily rag nearby: A rag lightly dampened with mineral oil, camellia oil, or a light tool oil (stored in a sealed container) makes quick work of end-of-day care. Skip cooking oils.
- Do a seasonal check: Tighten bolts, replace worn blades, and lightly sand and oil wooden handles if they feel rough.
If rust shows up: For non-moving parts, a quick scrub with steel wool often does it. For stubborn spots, a short vinegar soak (then rinse and dry thoroughly) or a rust eraser can bring tools back from the dead.
A gentle reminder
You do not need a shed full of gadgets to be a serious gardener. You need a small set of reliable tools and the habit of caring for them the way you care for your plants. Start with one upgrade, practice the clean-and-dry routine, and let your confidence grow right alongside your garden.