Rubber Plant Care
Rubber plants are the kind of houseplant that makes you feel like you have your life together. Big, glossy leaves. Upright growth. Quietly dramatic in the corner of a room. And the best part is that Ficus elastica is genuinely beginner-friendly once you learn its two favorite words: consistency and light.
If your rubber plant is droopy, dropping leaves, or refusing to grow, you are not “bad at plants.” It is almost always a simple mismatch between light, water, and pot setup. Let’s get you back to shiny, perky leaves.
Quick care snapshot
- Light: Bright, indirect light is best. Tolerates medium light, grows slower.
- Water: Water when the top layer dries. Aim for the top 1 to 2 inches in smaller pots, or 2 to 3 inches in larger pots.
- Soil: Chunky, fast-draining mix in a pot with a drainage hole.
- Temp: Ideally 65 to 85°F (18 to 29°C). Avoid below 60°F (16°C) and keep away from cold drafts.
- Humidity: Average home humidity is fine, higher can help leaf quality.
- Fertilizer: Monthly in spring and summer, lightly.
- Pet safety: Toxic if chewed (milky sap contains latex and can irritate skin and mouths).
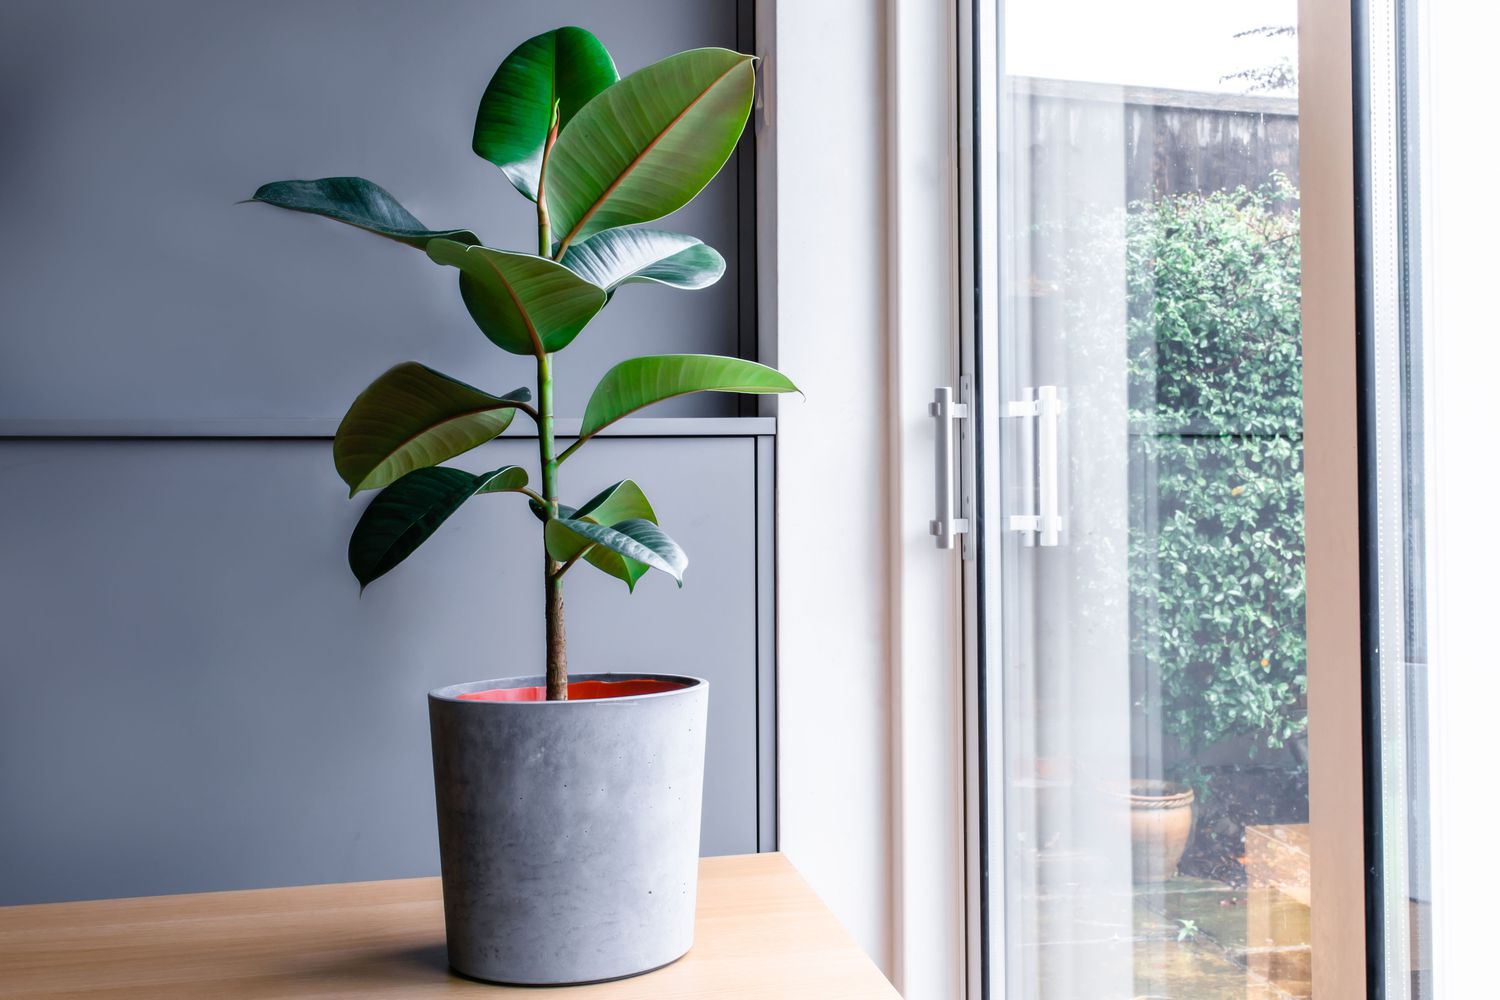
Meet the rubber plant
Ficus elastica is a tropical tree relative that adapts beautifully to indoor life. It stores some moisture in its thick leaves and stems, which is why it forgives the occasional missed watering, but it is less forgiving of soggy roots.
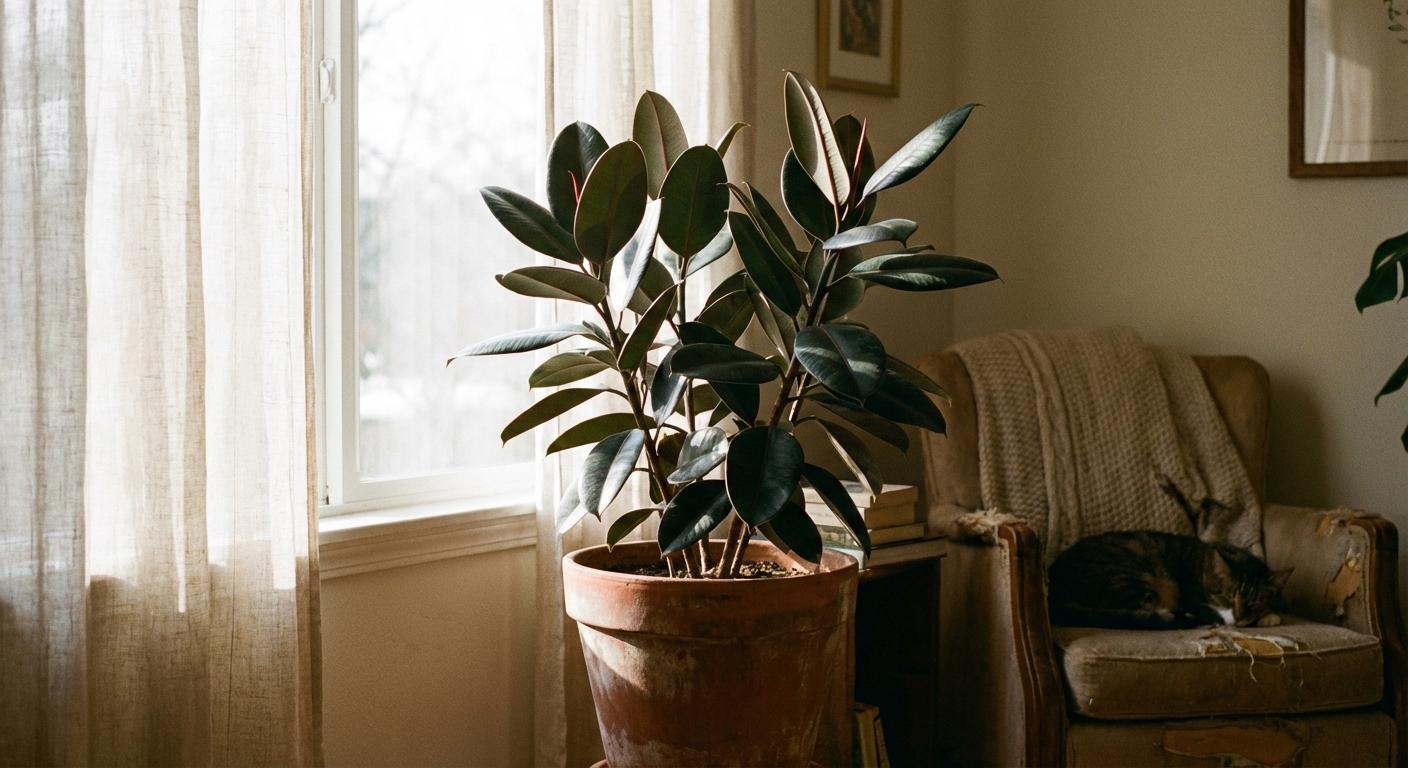
You will see it sold as classic green, burgundy varieties like ‘Burgundy’, and variegated types like ‘Tineke’ or ‘Ruby’. Variegated rubber plants need more light to hold their pattern, tend to grow a bit slower, and can scorch more easily in strong direct sun.
Light preferences
If I could pick one “make or break” factor for rubber plant happiness, it is light. These plants will survive in medium light, but they will thrive in bright, indirect light.
Best indoor placement
- Near an east window: Gentle morning sun is usually perfect.
- Near a south or west window: Place a few feet back, or filter the sun with a sheer curtain.
- Medium light spots: Expect slower growth and wider spacing between leaves.
Direct sun
Some direct sun is fine, especially morning sun. Harsh afternoon sun through glass can scorch leaves, especially on variegated varieties. If you see pale, crispy patches, back it up from the window or add a sheer curtain.
Tip: Rotate your plant a quarter turn every week or two. Rubber plants lean toward light like they are telling a secret.
Watering
Rubber plant roots want oxygen as much as they want moisture. The goal is a steady rhythm: water thoroughly, then let the soil partially dry before watering again.
When to water
Use the simple finger test:
- Stick your finger into the soil.
- Smaller pots: check 1 to 2 inches deep.
- Larger pots: check 2 to 3 inches deep.
- If it feels dry: water.
- If it feels cool and damp: wait a few days and check again.
How to water correctly
- Water slowly until you see water drain from the bottom.
- Empty the saucer so the pot never sits in water.
- Do not “sip” water in tiny amounts. That leaves dry pockets and encourages weak roots.
How often is normal?
It depends on light, temperature, and pot size, but here is a realistic baseline:
- Spring and summer: roughly every 7 to 14 days
- Fall and winter: roughly every 14 to 21 days
Always trust the soil dryness more than the calendar. A rubber plant in bright light might drink twice as fast as one across the room.
Overwatering vs underwatering
- Likely overwatering: yellowing leaves (especially lower ones), soft or mushy stems near the soil line, soil stays wet for days, a musty smell.
- Likely underwatering: soil pulls away from the pot, leaves droop then feel a bit limp, leaf edges get crispy, pot feels unusually light.
One common trouble combo is low light plus cool temps plus frequent watering. The plant slows down, the soil stays wet longer, and roots get stressed.
Soil and potting
The most common rubber plant issue I see is not pests or disease. It is a pot with no drainage or a soil mix that stays wet for too long. Rubber plants want a mix that drains quickly while still holding a little moisture.
Ideal soil mix
Look for or mix something that feels chunky and airy. A great DIY blend:
- 2 parts high-quality indoor potting mix
- 1 part perlite or pumice
- 1 part orchid bark or coco chips
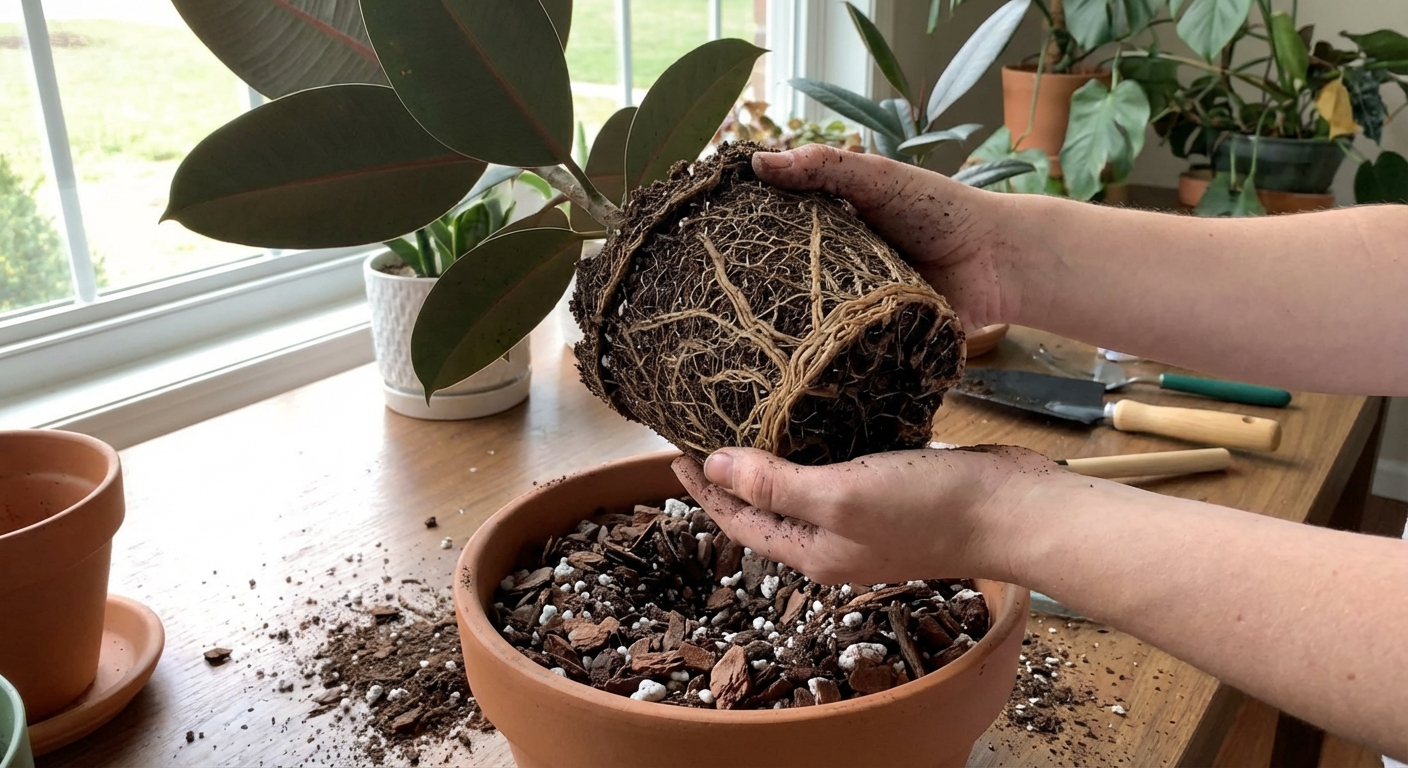
Pot choice
- Drainage hole required: this is what keeps your roots from sitting in trouble.
- Material: terracotta helps soil dry faster, plastic holds moisture longer.
- Size: go up only 1 to 2 inches wider when repotting. Oversized pots dry slowly and raise root rot risk.
Temp, humidity, airflow
Rubber plants like the same conditions most humans enjoy, with one big exception: they hate sudden cold.
- Temperature: ideally 65 to 85°F (18 to 29°C). Avoid below 60°F (16°C) and keep away from drafty windows in winter.
- Humidity: average household humidity is fine, but around 40 to 60% can help leaves unfurl smoothly.
- Airflow: gentle airflow helps prevent fungal issues, but avoid blasting HVAC vents.
If new leaves are sticking while unfurling, a small humidifier nearby can make a surprisingly big difference.
Feeding
Rubber plants are not heavy feeders, but they do appreciate a little nutrition during active growth.
Fertilizing routine
- When: spring through early fall
- How often: every 4 weeks
- What: a balanced houseplant fertilizer, diluted to half strength
Skip fertilizer in winter when growth slows. Feeding a sleepy plant can lead to salt buildup and stressed roots.
Pruning
Rubber plants naturally want to grow up like a small tree. If you want a fuller, bushier look, pruning is your best tool.
When to prune
Late spring through summer is ideal. The plant is actively growing and will branch more readily.
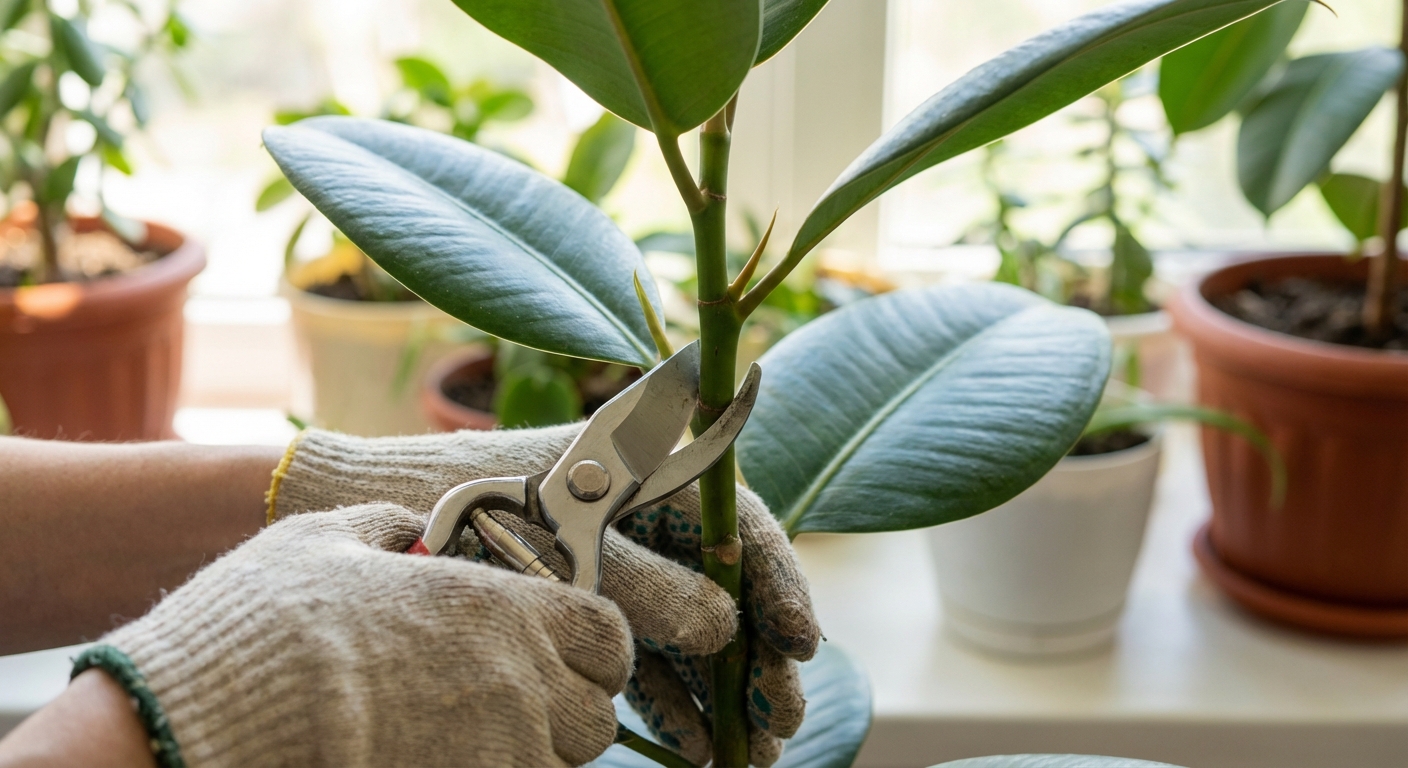
How to prune
- Use clean, sharp pruners. Wipe blades with rubbing alcohol.
- Decide where you want branching. New growth usually pops from nodes below the cut.
- Make a cut just above a node (where a leaf meets the stem).
- Expect milky sap. Dab with a paper towel and let it dry.
Sap safety
The milky sap contains latex and can irritate skin. It is also toxic if ingested. Wear gloves if you are sensitive, and keep cuttings away from kids and pets. If you have a latex allergy, use extra caution and avoid skin contact.
Propagation
Propagating a rubber plant is deeply satisfying. You are basically making a new tree from a little piece of stem. Two reliable methods are stem cuttings and air layering. Air layering is my favorite for bigger plants because it has a higher success rate and gives you a larger baby plant right away.
Stem cuttings
Best for: smaller plants or pruning leftovers.
- Cut a healthy stem section with 1 to 3 leaves and at least one node.
- If the cutting has large leaves, you can trim each leaf in half to reduce moisture loss.
- Let the cut end dry for 30 to 60 minutes to reduce excess sap flow.
- Root in water or in a moist, airy mix (potting mix + perlite).
- Place in bright, indirect light. Keep warm.
- Pot up once roots are a few inches long (water rooting) or once you feel resistance when you gently tug (soil rooting).
Tip: Warmth matters. A cutting on a chilly windowsill often stalls.
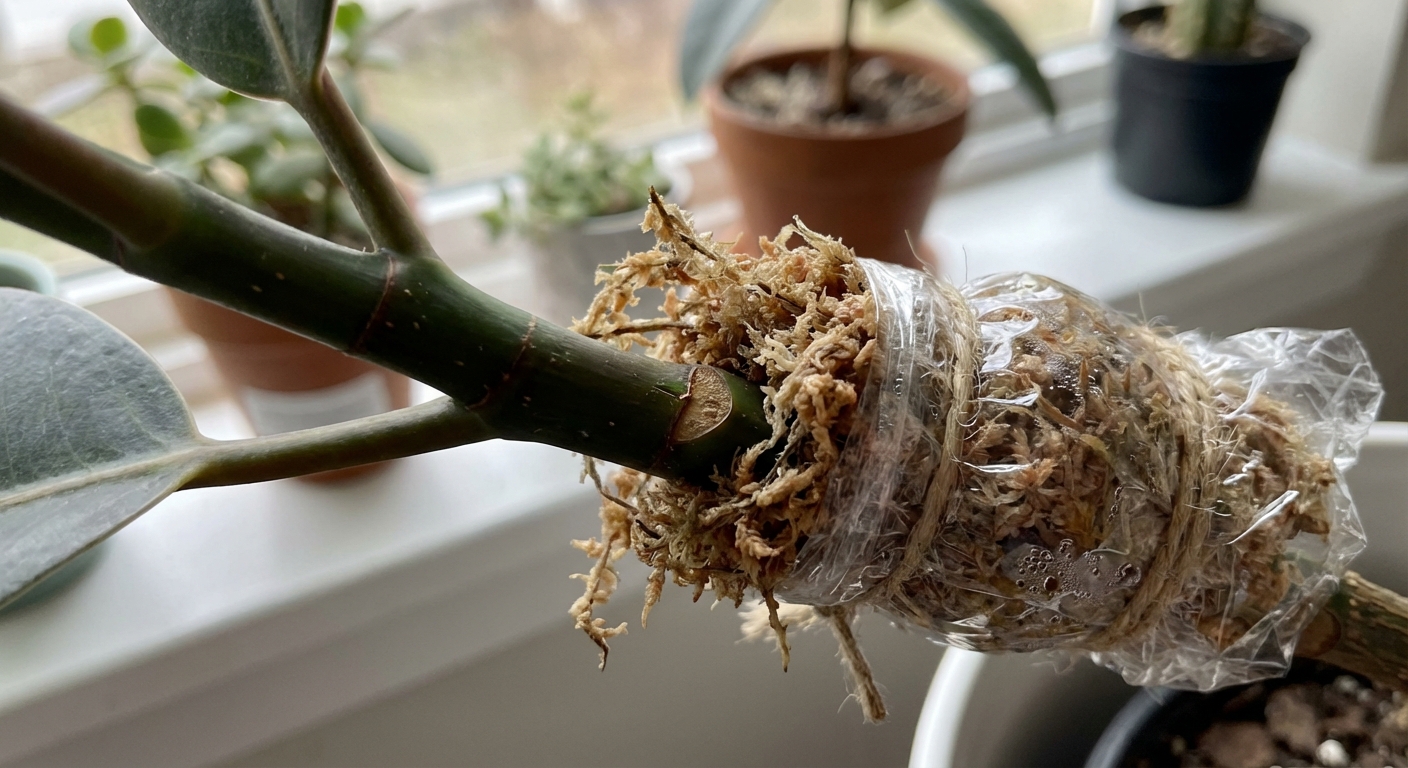
Air layering
Best for: tall, leggy rubber plants you want to shorten.
- Choose a spot on a healthy stem, ideally below a leaf node.
- Using a clean blade, make a small upward cut about one-third of the way through the stem. Optional: remove a thin ring of bark instead for a more classic air-layering approach.
- Keep the cut open with a tiny piece of plastic or a toothpick.
- Wrap damp sphagnum moss around the cut.
- Cover the moss with plastic wrap and secure both ends so it stays humid.
- Check weekly and re-moisten the moss if needed.
- When you see a healthy mass of roots (often 4 to 8 weeks), cut below the rooted area and pot it up.
Troubleshooting
Rubber plants are expressive. A droop or a leaf drop is their way of saying, “Something changed.” Use the patterns below to diagnose quickly.
Droopy leaves
- Likely cause: underwatering or overwatering.
- Check: soil moisture at the right depth for your pot size.
- Fix:
- If dry: water thoroughly and let excess drain.
- If wet: pause watering, increase light, and make sure the pot drains freely.
Lower leaves yellow and fall
- Likely cause: overwatering, low light, recent repotting stress, or natural aging (one leaf here and there).
- Fix: let the soil dry more between waterings and move closer to brighter light.
Sudden leaf drop
- Likely cause: shock from a change in light, temperature, airflow, or a recent move or repot.
- Fix: pick a stable spot and stop fussing. Keep watering consistent. New growth usually resumes in a few weeks.
Brown, crispy edges
- Likely cause: underwatering, low humidity, or fertilizer salt buildup.
- Fix: water more evenly, consider a humidifier, and flush the pot with plain water every couple of months.
Brown spots or scorched patches
- Likely cause: sunburn from strong direct light.
- Fix: move the plant back from the window or filter light with a sheer curtain.
Leaves curl
- Likely cause: thirst, cold drafts, or pests.
- Fix: check soil moisture, keep away from cold windows, and inspect undersides of leaves for pests.
Common pests
Rubber plants are fairly pest-resistant, but they can still pick up hitchhikers. Check leaf undersides and along stems.
What to look for
- Spider mites: tiny specks, fine webbing, dull stippled leaves
- Mealybugs: white cottony clusters in leaf joints
- Scale: small brown bumps on stems and leaf veins
Simple treatment plan
- Isolate the plant.
- Wipe leaves with a damp cloth (this alone helps a lot).
- Use insecticidal soap or neem oil, following label directions.
- Repeat weekly for 3 to 4 weeks to catch new hatchlings.

Cleaning leaves
Those glossy leaves are basically solar panels. Dust blocks light and can slow growth.
- Wipe leaves with a soft, damp cloth every few weeks.
- Support the leaf with your other hand so you do not crease it.
- Avoid leaf shine products. They can leave residue that interferes with gas exchange and attracts dust.
I like to call this “plant spa day.” My ferns get pep talks. The rubber plant gets a gentle wipe-down and silently pretends it does not enjoy the attention.
Repotting and staking
When to repot
- Roots circling the pot or poking out the drainage hole
- Water rushing straight through with little absorption
- Plant feels top-heavy and unstable
Most rubber plants need repotting every 1 to 2 years when young, and less often as they mature.
Staking
If your rubber plant is tall and leaning, a stake can help while the stem thickens. Use a soft tie and avoid cinching it tight. You want support, not a plant corset.
FAQ
Why is my rubber plant not growing?
Usually light is too low. Move it closer to a bright window, fertilize lightly in the growing season, and make sure it is not sitting in compacted, wet soil.
Should I mist my rubber plant?
Misting is temporary and often not worth the effort. If humidity is truly low, a small humidifier or grouping plants together works better.
Is it normal for a rubber plant to drop a leaf?
Occasional lower-leaf drop can be normal as the plant grows, especially if it is also making new leaves. Multiple leaves dropping quickly is a sign to check light, watering, drafts, recent repotting, or a sudden temperature change.
Is rubber plant toxic to cats and dogs?
Yes. The milky latex sap can cause mouth irritation, drooling, and vomiting if chewed. If you suspect your pet has eaten any part of the plant, contact your veterinarian for advice.
Your care routine
If you want the calm, steady version of rubber plant care, here is the rhythm I use at home:
- Weekly: check soil dryness, rotate the pot, quick pest glance under leaves
- Every 2 to 4 weeks: wipe leaves
- Monthly in spring and summer: fertilize at half strength
- Seasonally: water slower in winter, move to brighter placement if possible
Give it good light, let the soil breathe between waterings, and your rubber plant will reward you with big, glossy leaves that make your whole room feel more alive.