Raised Beds and Soil Prep for Your First Veggie Garden
If you are dreaming about your first tomato, basil, or crunchy carrot harvest, raised beds are a wonderfully forgiving way to start. They warm up earlier in spring, can drain better after heavy rain, and let you build great soil even if your yard soil is more “construction rubble” than “garden loam.” (Tiny caveat: drainage depends on your soil mix and what is under the bed, so we will set you up for success on both.)
This page walks you through two big wins: building a simple wooden raised bed that will not wobble or bow out, and filling it with a soil mix that is fluffy, nutrient-dense, and easy to keep healthy for years.
Choose the right spot
I know it is tempting to place your bed where it looks cutest. Vegetables are less sentimental. Give them what they want and they will feed you back.
- Sun: Aim for 6 to 8+ hours of direct sun for fruiting crops like tomatoes, peppers, cucumbers, and squash. Leafy greens can tolerate a bit less.
- Water access: Keep it close to a spigot or rain barrel. A bed you cannot easily water becomes a guilt project fast.
- Flat ground: Level is your friend. A slight slope is workable, but you will need to level the bed or terrace the site.
- Airflow: A little breeze reduces fungal issues, especially for tomatoes and squash.
- Avoid: Tree roots (they will invade), low spots that stay soggy, and areas treated with persistent herbicides.
Quick sunlight test: On a day you are home, check the spot at 9 am, noon, 3 pm, and 6 pm. If it is sunny in at least three of those windows, you are in good shape.
Quick drainage reality check: If the ground is hard-packed clay or a compacted “pan,” loosen the soil under the bed with a garden fork (even 3 to 6 inches helps). Raised beds drain best when water has somewhere to go.
Best bed size for beginners
The perfect bed is the one you can reach into without stepping on the soil. Compacted soil is the quiet yield killer.
- Width: 4 feet wide is the classic because most people can reach the center from either side. If the bed is against a fence or wall, keep it 2 to 2.5 feet wide.
- Length: 6 to 8 feet is beginner-friendly. Longer beds often benefit from a mid-span brace, especially if the boards are thinner or the bed is tall.
- Height: 10 to 12 inches works for many vegetables and herbs. If you want happier carrots and parsnips, easier potatoes, or more rooting room for big summer crops, 18+ inches is a real upgrade.
My sweet spot: 4 x 8 feet, 12 inches tall. It is roomy, efficient, and easy to fill without taking out a small loan for soil.
Materials
Wood choices
For vegetable gardens, you want wood that holds up outdoors without leaching anything sketchy into your soil.
- Cedar or redwood: Naturally rot-resistant, long-lasting, and the gold standard if your budget allows. (Cedar often lasts 10 to 15+ years depending on climate.)
- Hemlock, Douglas fir, or pine: Cheaper, usually easier to find, and will last several seasons. If you plan to replace boards later, this is totally fine. (Pine is often more like 3 to 7 years depending on moisture and contact with soil.)
- Heat-treated lumber: Often sold as “HT.” It is dried with heat, not chemicals. Suitable for beds.
What to avoid: Old railroad ties, unknown reclaimed wood, and anything treated with creosote. Modern pressure-treated lumber is generally considered safe for garden use, but if you want a worry-free, super simple yes, pick cedar.
Hardware and extras
- Exterior-grade deck screws (3 inch for most builds)
- Corner supports or 4x4 posts (optional but very helpful for long beds)
- Hardware cloth (metal mesh) if you have gophers or voles
- Cardboard (plain, tape-free) for weed suppression
- Skip: Plastic or landscape fabric on the bottom. It can trap water and roots. (Hardware cloth for rodents is the exception I love.)
- Wood sealer (optional): If you seal, choose a plant-safe product rated for garden beds and cure it fully before filling.
About lining beds: You will sometimes see people line the inside with plastic to slow rot. It can extend wood life, but it can also trap moisture against the boards. If you line, leave drainage paths and do not block the bottom. In most veggie beds, I keep it simple and skip it.
Build the bed
This is the straightforward “box” style bed. If you can operate a drill and you can tolerate measuring twice, you have this.
Tools
- Drill or impact driver
- Measuring tape and pencil
- Carpenter’s square (helpful)
- Level
- Saw (or get boards cut at the store)
Safety note: Wear eye protection when cutting and drilling. If you are cutting a lot, add ear protection too.
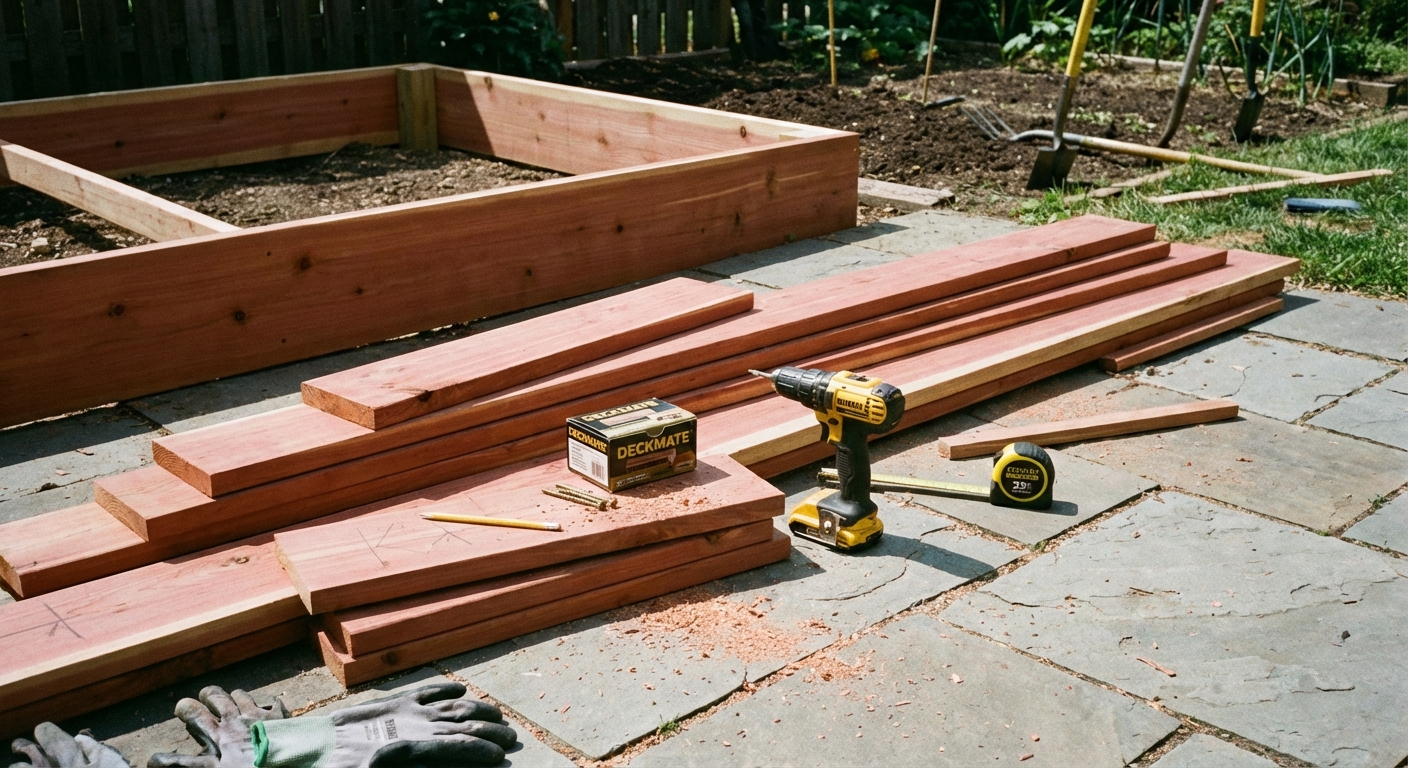
Step 1: Cut the boards
For a 4 x 8 foot bed that is about 11 inches tall, a common approach is using 2x12 boards:
- Two boards cut to 8 feet (the long sides)
- Two boards cut to 4 feet (the short sides)
If you cannot source true 2x12, use what is available. Two stacked 2x6 boards can also make a sturdy 11 inch bed.
Step 2: Prep and level
Set the frame where it will live. Use a level to check across the length and width. Scrape away high spots, fill low spots, and keep checking. Level beds water evenly, which means your carrots do not get soggy on one end and thirsty on the other.
If the soil under the bed is compacted, stab down with a garden fork and wiggle to loosen it. You are not “digging,” just giving water and roots a fighting chance.
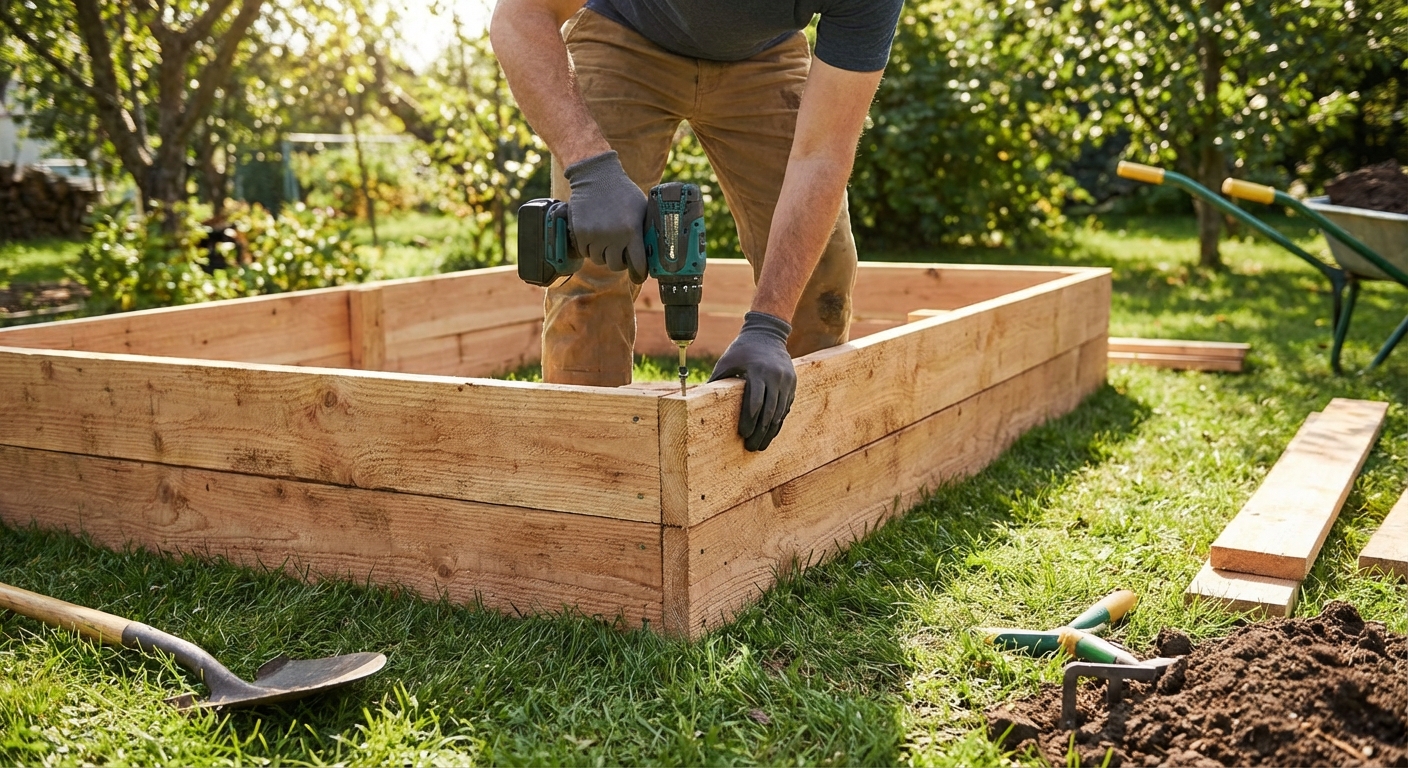
Step 3: Assemble
Stand the boards on edge and screw the corners together. Pre-drilling prevents splitting, especially near board ends.
- Use at least 3 screws per corner, staggered
- Check squareness by measuring diagonally corner to corner. If both diagonals match, you are square.
Step 4: Add bracing
If your bed is long, tall, or built with thinner boards, add a simple brace so soil pressure does not slowly push the boards outward. This is especially helpful on 8-foot beds.
- Add a 2x2 or 2x4 brace across the middle, or
- Stake a 4x4 post at the inside of each corner, or
- Use metal corner brackets and one mid-span brace
Step 5: Critter protection
If burrowing pests are a thing in your area, staple hardware cloth to the bottom of the frame before you set it down. Overlap seams by a couple inches and staple generously.
Step 6: Cardboard for weeds
Lay plain cardboard right on the ground inside the bed, overlapping seams like shingles. Remove tape and plastic labels. Wet it thoroughly. It blocks weeds, can encourage earthworms (if you already have them nearby), and breaks down over time.
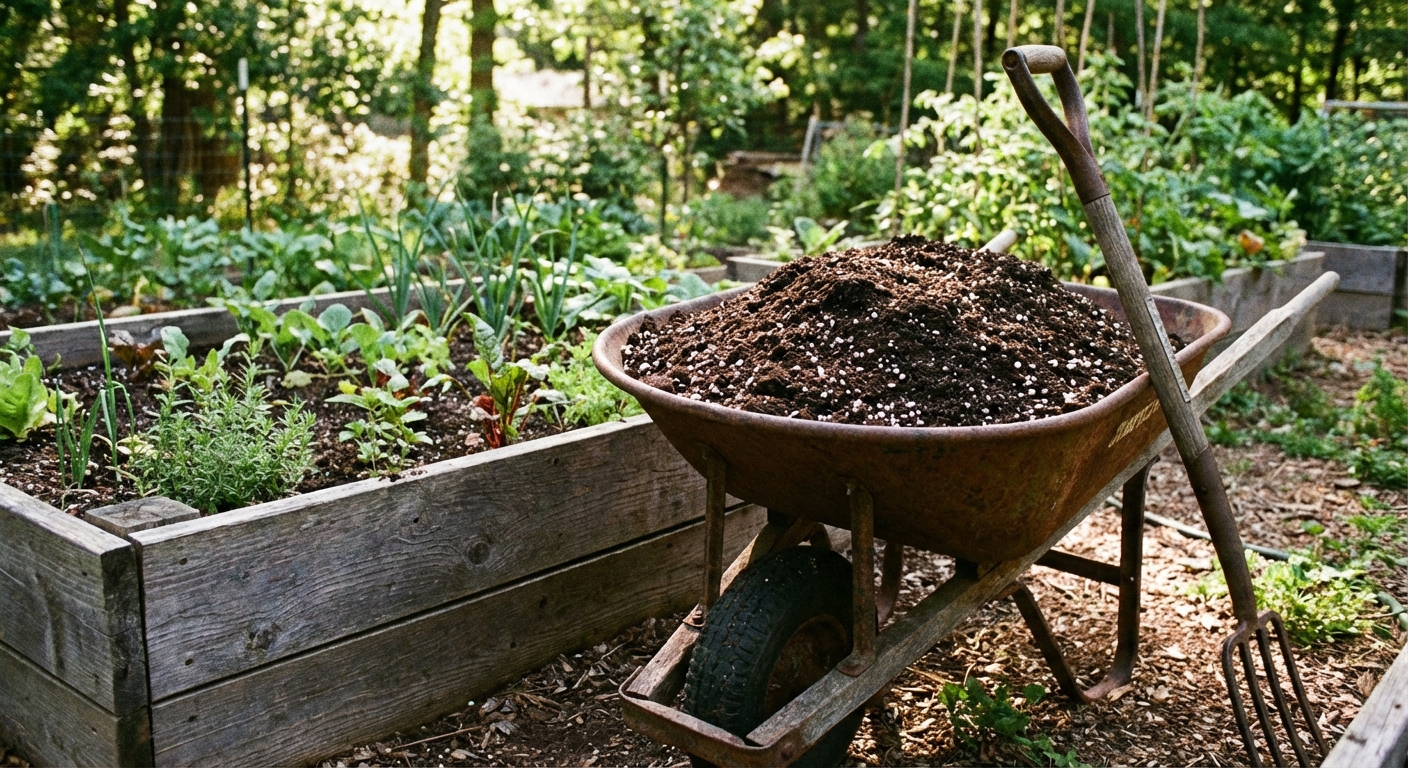
Soil prep
Raised beds are only as good as what you fill them with. Your goal is a mix that holds moisture but drains well, stays airy for roots, and contains enough organic matter to feed soil life.
The rule: blend
If you can, buy ingredients in bulk and mix them in a wheelbarrow or on a tarp. Avoid filling a bed with only “topsoil” or only “compost.” Topsoil alone can compact, and compost alone can shrink and stay too rich or too water-holding depending on the source.
My beginner recipe
- 40% screened topsoil (or a high-quality garden soil)
- 40% compost (ideally a blend: plant-based compost plus a little manure compost if you use it)
- 20% aeration (pumice, perlite, or rice hulls)
This mix is productive, forgiving, and easy to refresh each season. One important note: “topsoil” varies wildly by region. If local topsoil is heavy clay, full of rocks, or questionable, buy a screened, low-clay topsoil, or choose a reputable “raised bed mix” as your base ingredient instead.
Soil sourcing tips
- Compost: Look for finished compost that smells earthy, not sour or like ammonia, and is screened if possible.
- Manure: Only use composted manure. Fresh manure can burn plants and may carry pathogens.
- Herbicide warning: Ask about persistent herbicides in compost, manure, and bulk soil. If suppliers cannot answer, consider a different source, especially if you grow beans, peas, tomatoes, or peppers (they can show damage clearly).
Optional amendments
These are not mandatory on day one, but they can help if your compost is mild or you want a little extra resilience:
- Worm castings: 1 to 5% of the total mix, or a few handfuls per planting hole or as a topdress
- Composted chicken manure: Use sparingly and only composted. It is strong.
- Rock dust or basalt: May help with trace minerals over time. Use lightly and follow the label.
- Kelp meal: Great for micronutrients and plant vigor (follow the label)
How much soil?
You can estimate volume like this: Length x Width x Height (in feet) = cubic feet. Divide by 27 to get cubic yards.
- Example: A 4 x 8 bed that is 1 foot tall is 32 cubic feet, which is about 1.2 cubic yards.
Soil settles after watering. I usually order or mix about 10 to 15% extra so I can top off after the first deep soak.
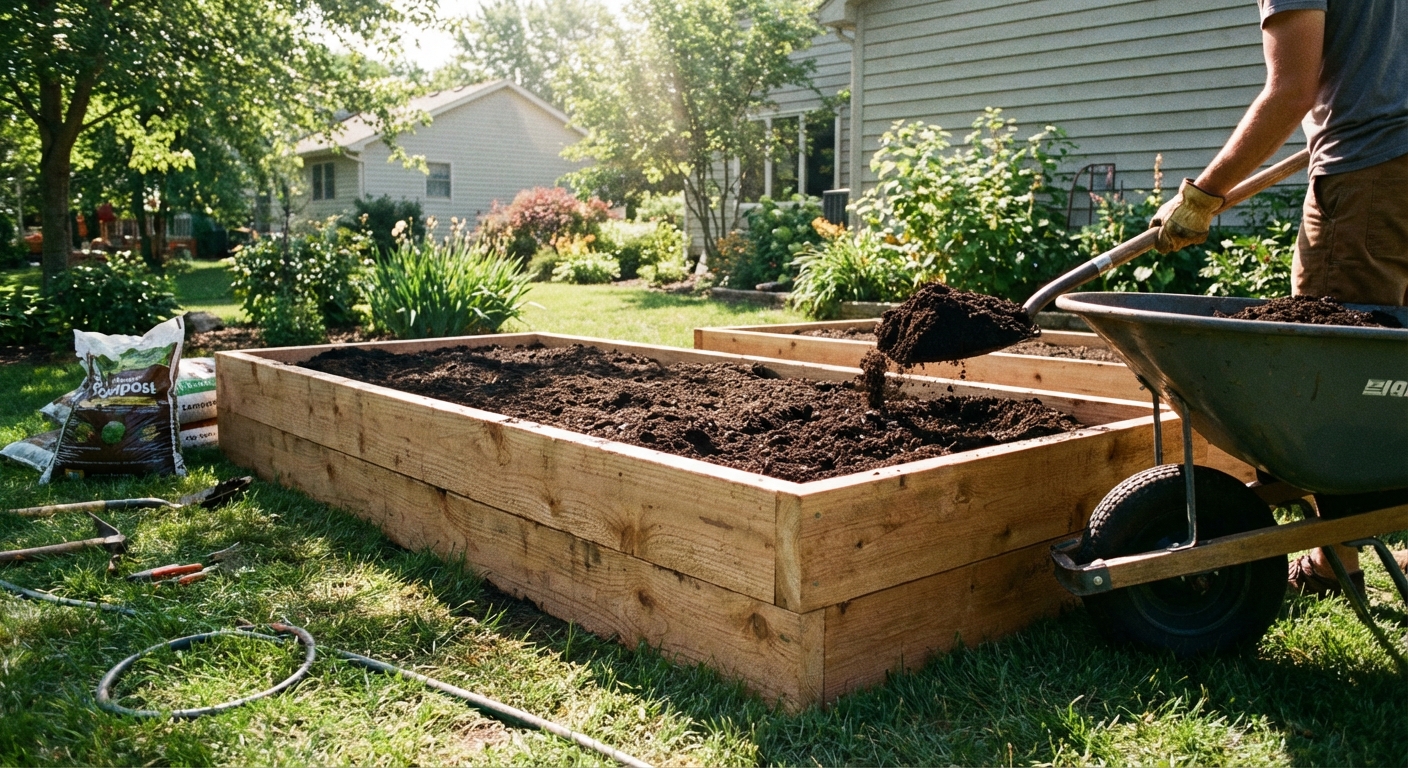
Fill the bed
Step 1: Moisten as you go
Dry soil mix can be dusty and hard to blend. Lightly water each layer as you fill, like you are making a very earthy lasagna.
Another safety note: Compost and perlite can be dusty. If you are sensitive to dust, wear a mask while mixing and pouring.
Step 2: Mix gently
If you are filling from multiple bags or piles, add a little of each ingredient in repeating layers, then fluff and combine with a shovel. You are aiming for even distribution without pulverizing the structure.
Step 3: Do not stomp
Raised bed soil should feel springy. Firm it lightly with your hands if needed, then let watering do the settling.
Step 4: Water and rest
After filling, water the bed thoroughly. If you have time, let it sit for a few days before planting. Microbes wake up, moisture evens out, and you will see where it settles so you can top it off.
Soil health basics
Should you test?
If you can, yes. A basic lab test once every couple of years can prevent a lot of head scratching. Many vegetables like a slightly acidic to neutral range, roughly pH 6.0 to 7.0. But the bigger day-to-day driver of success in raised beds is usually consistent moisture and steady organic matter.
Texture check
Grab a handful of damp soil mix and squeeze it.
- If it forms a tight mud ball that stays stuck, add more aeration material and a bit of coarse compost.
- If it will not hold together at all and feels gritty, add a bit more compost and topsoil.
- If it holds loosely but crumbles with a poke, that is the sweet spot.
Mulch and paths
Mulch is not just for looks. It keeps soil moisture steady, protects soil life from temperature swings, and reduces weeds dramatically.
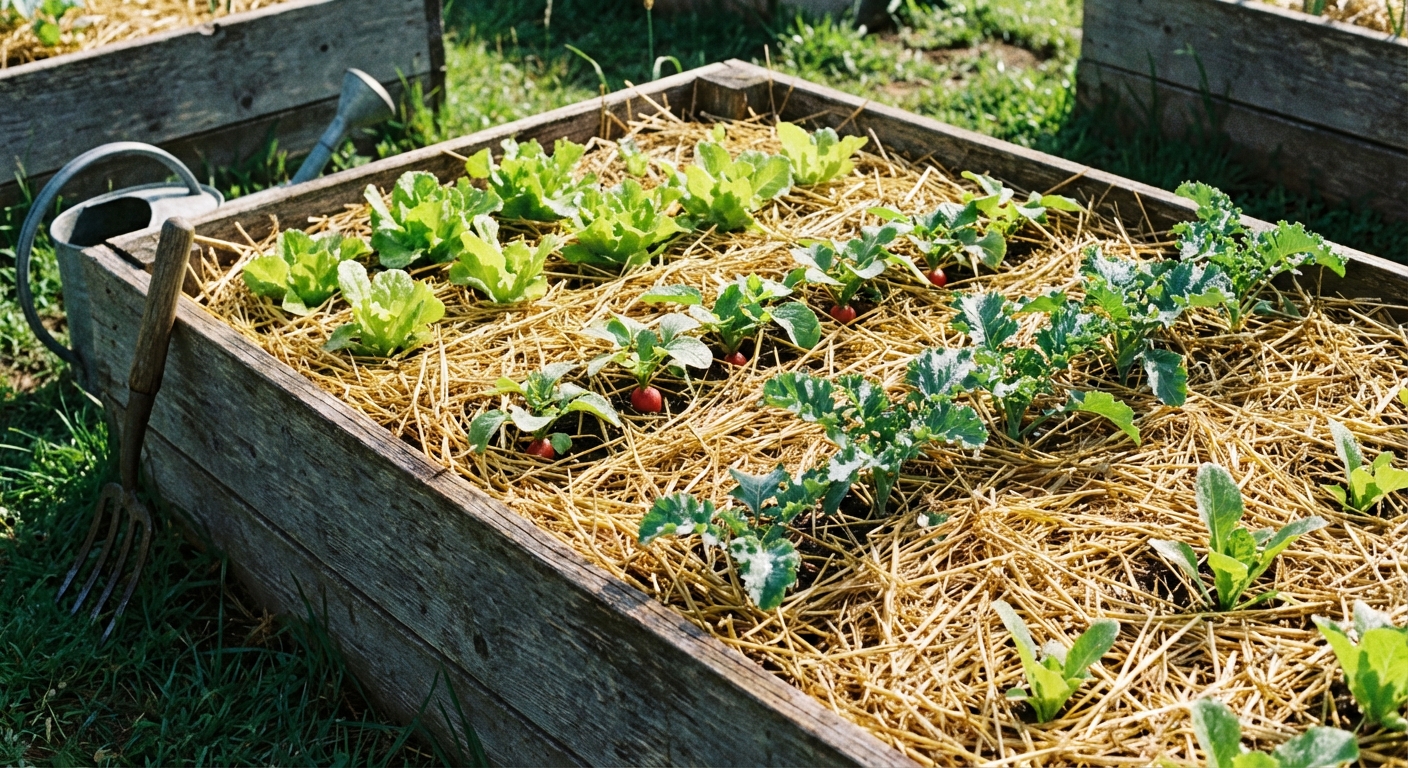
- Best beginner mulches: Straw (seed-free if possible), shredded leaves, or untreated grass clippings in thin layers.
- Mulch depth: 2 to 3 inches around established seedlings. Keep mulch pulled back an inch from stems.
- Pathways: Cardboard plus wood chips makes a clean, mud-free walkway and suppresses weeds between beds.
Watering setup
Raised beds can dry out faster than in-ground gardens, especially in summer. If you want the easiest “set it and forget it” upgrade, run a soaker hose or drip line through the bed and cover it with mulch. Your future self will write you a thank-you note.
Planting tips
Once your bed is built and filled, keep the first season simple. A few easy crops will teach you more than a dozen fussy ones.
Great first crops
- Leaf lettuce, kale, and Swiss chard
- Radishes and bush beans
- Cherry tomatoes (with a trellis or sturdy stake)
- Basil, parsley, and chives
When to plant
A quick beginner rule: cool-season crops (lettuce, peas, radishes) like it chilly. Warm-season crops (tomatoes, peppers, basil) hate cold nights. If you are not sure, wait to plant warm-season favorites until nights are reliably above about 50°F, or follow your local frost dates.
Spacing
Seed packets are not trying to ruin your fun, even if it feels like it. Overcrowding leads to mildew, pests, and small harvests. If you are using square-foot style spacing, follow a reputable guide and resist the urge to double everything “just in case.”
Seasonal care
This is the part that makes raised beds feel like magic. You do not have to replace all the soil. You just keep feeding it.
- Each spring: Add 1 to 2 inches of compost on top and gently rake it in.
- Mid-season: Side-dress heavy feeders (tomatoes, squash) with compost or an organic fertilizer per label.
- End of season: Remove diseased plant material, chop and drop healthy plants, and cover the bed with leaves or straw.
- Cover crops (optional): In mild climates, a winter cover crop like crimson clover can protect and enrich soil.
If you remember only one thing, let it be this: soil is a living community. The more you protect it (mulch, gentle handling, organic matter), the more it will protect your plants.
Troubleshooting
Soil sank a lot
Normal. Compost breaks down and air pockets settle. Top off with compost and a little garden soil, then mulch.
Water runs straight through
You likely have too much aeration material, very coarse ingredients, or very dry media that is initially repelling water. Mix in more compost and a bit more topsoil, then water slowly and mulch heavily to slow evaporation.
Soil stays soggy
Too much fine material, a compacted layer under the bed, or a low spot. Add more aeration (pumice or perlite), loosen the soil under the bed if you can, and avoid overwatering. If the surrounding area is a swamp, raise the bed height next season.
Boards are bowing
Add an interior brace across the width, or drive stakes along the outside of long sides and screw boards to them. (If you are building a tall bed, add bracing from the start and you will sleep better.)
Before you start
Your first raised bed does not need to be perfect. It needs to be planted. Build a sturdy box, fill it with a balanced mix, water it well, and then learn as you grow. Soil improves. Skills stack. And if a seedling flops over, you have just joined the club.
Now go pick a sunny spot. I will be over here, telling my ferns they are doing great.