How to Grow Garlic at Home
Garlic is the kind of crop that makes you feel like a kitchen wizard and a garden witch at the same time. You tuck one clove into the soil, wait through winter, and then pull up a whole bulb like magic. If you have ever wanted an easy, high-reward plant that basically grows itself for months, garlic is it.
Below is exactly how I grow garlic at home, with organic soil-first habits, realistic timing, and the little details that keep your harvest big and your bulbs long-storing.
Hardneck vs. softneck
Choosing the right type is half the battle, because garlic behaves differently depending on your winter and your storage goals.
Hardneck (best for cold winters)
- Cold-hardy: Usually the best choice for zones 1 to 6, and often successful in zone 7 too.
- Big flavor: Many people find hardnecks richer and more complex.
- Produces scapes: Those curly flower stalks you can harvest and eat.
- Storage: Typically 3 to 6 months, depending on the variety and your curing setup.
Softneck (best for mild winters and long storage)
- Flexible in warmer climates: Often the easiest in zones 7 to 10.
- No scapes (usually): Energy goes straight into bulb production.
- Long storage: Commonly 6 to 10+ months when properly cured.
- Great for braiding: Those classic garlic braids are typically softneck.
Clara’s shortcut: If your ground freezes solid in winter, lean hardneck. If your winters are mild and you want pantry garlic deep into spring, lean softneck.
When to plant garlic
Garlic is usually planted in fall, then it rests through winter and grows like crazy in spring. Your goal is to plant early enough to grow roots, but not so early that it throws up a bunch of green growth that gets clobbered by hard freezes.
- Zones 1 to 3 (very cold): Plant 2 to 4 weeks before the ground typically freezes (often late September to early October).
- Zones 4 to 6: Plant after the first light frosts but 3 to 6 weeks before deep freeze (often October).
- Zones 7 to 8: Plant as nights cool down (often late October through November).
- Zones 9 to 10: Plant in late fall to early winter (often November through January). Consider softneck, or chill hardneck seed garlic in the fridge if your supplier recommends it for your climate.
If you are not sure, aim for this simple cue: plant when soil temperatures are roughly 45 to 55°F and cooling.
Warm-zone note: Some hardneck varieties need a longer cold period than warm winters provide. If you are in a mild-winter area and want to try hardneck anyway, pre-chilling can help. A common range is 4 to 8 weeks in the refrigerator, but follow your seed garlic supplier’s guidance for your cultivar.
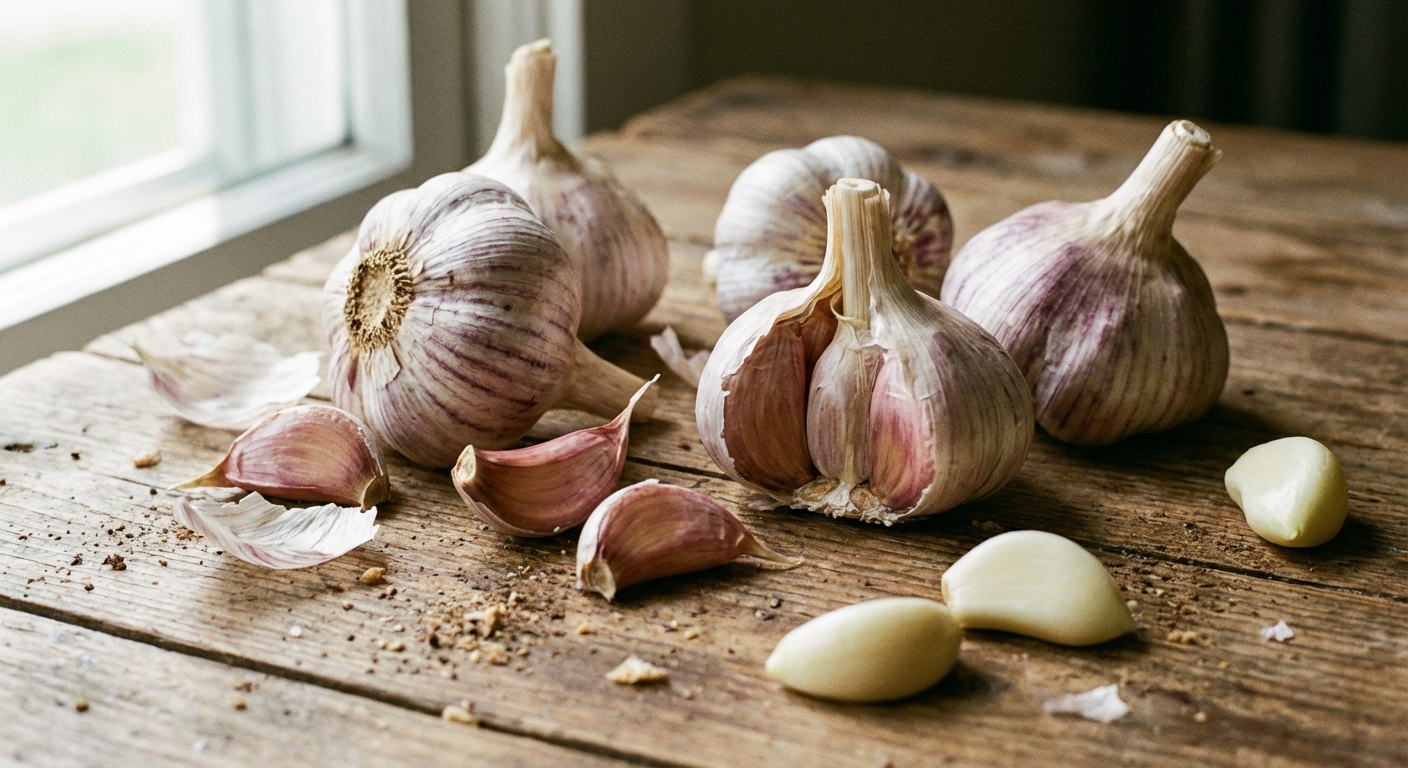
Start with good seed garlic
Please do your future self a favor and buy seed garlic from a nursery, farm, or reputable supplier. Grocery store garlic may be treated (or simply handled and stored) in ways that reduce sprouting, and it can also carry diseases that linger in your soil.
- Pick bulbs that are large, firm, and unblemished.
- Choose varieties that match your region (suppliers usually note this).
- Plan on planting the largest cloves for the biggest bulbs.
Soil prep
Garlic is a bulb crop, which means it is picky about two things: drainage and fertility. Soggy soil leads to rot. Hungry soil leads to tiny bulbs.
Ideal conditions
- Sun: Full sun is best, at least 6 hours a day.
- Soil: Loose, crumbly, well-draining soil.
- pH: Around 6.0 to 7.0 is a happy range for garlic.
How I prep a garlic bed
- Loosen the top 8 to 10 inches with a garden fork.
- Mix in 2 to 3 inches of finished compost.
- If your soil is heavy clay, add extra compost and consider a raised bed.
- Avoid high-nitrogen fresh manures right before planting. They can encourage too much leafy growth and increase disease risk.
Optional but helpful: If you have time, do a simple soil test. Garlic loves steady fertility, and a soil test keeps you from guessing.
Rotation tip: Garlic is an allium, like onions, leeks, and shallots. For fewer pest and disease headaches, try not to plant it where other alliums grew in the last 3 to 4 years.
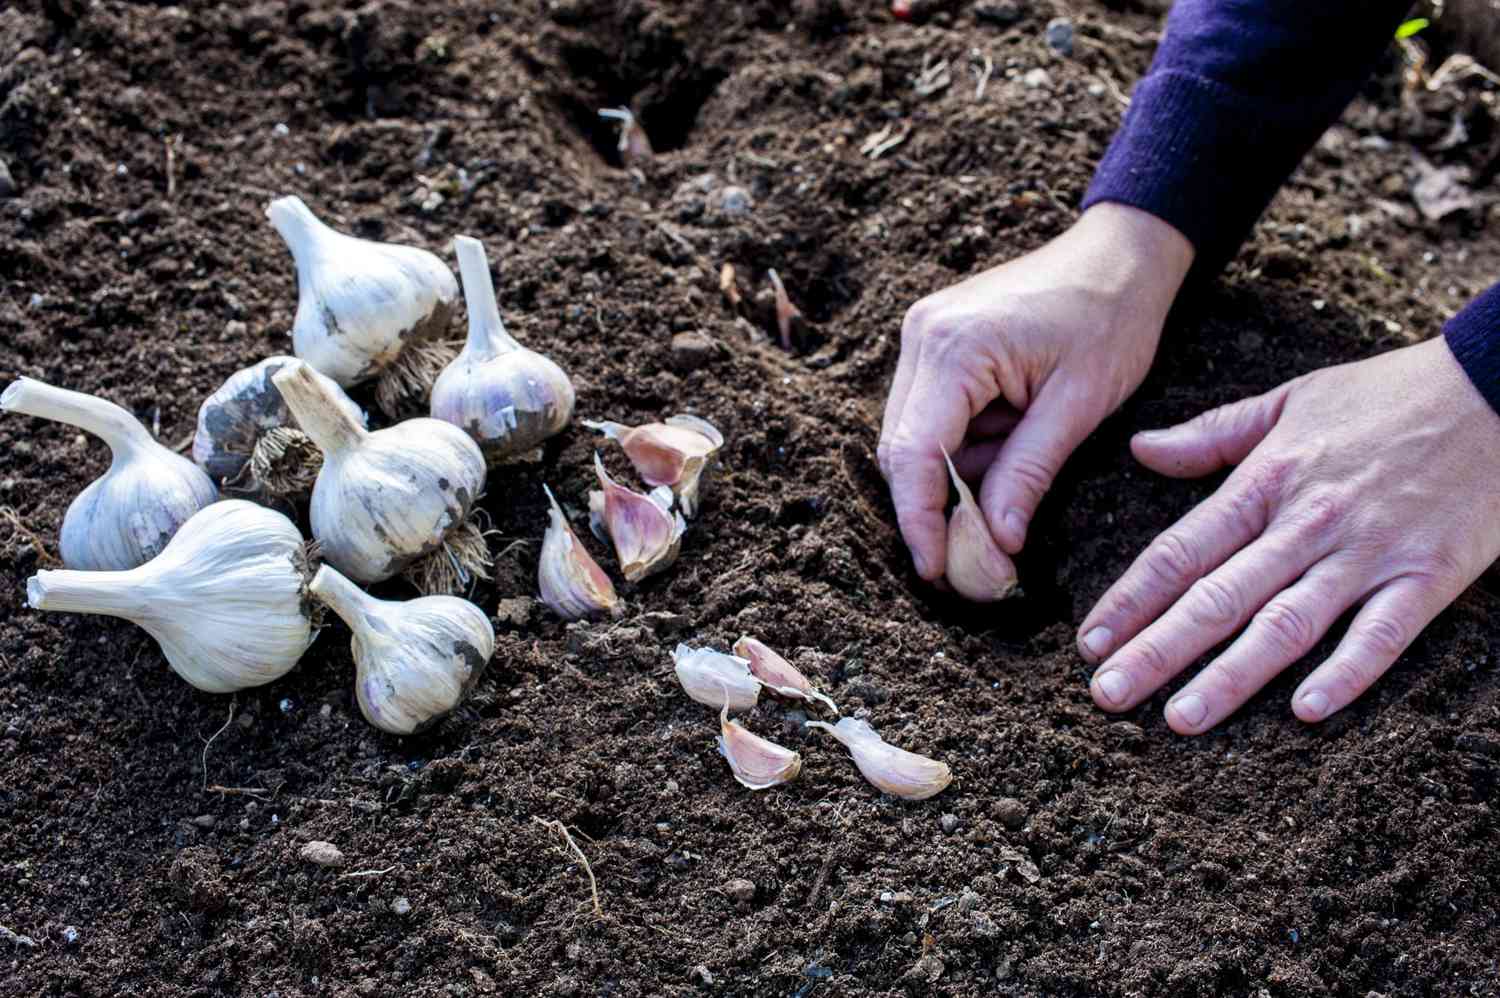
Planting depth and spacing
Garlic gets planted as individual cloves. Each clove becomes one bulb, so spacing is your “bulb size dial”. Crowding equals smaller bulbs.
Step-by-step planting
- Separate bulbs into cloves right before planting. Keep the papery skins on.
- Choose your cloves: plant big outer cloves; use tiny inner cloves in the kitchen.
- Plant pointy side up and the flat basal plate down (the root end).
- Depth: 2 inches deep in mild climates, 3 inches deep in colder climates.
- Spacing: 4 to 6 inches between cloves, 8 to 12 inches between rows.
- Water in after planting to settle soil around the cloves.
Little trick: If you forget which end is up, plant it sideways. Garlic is persistent and will usually sort itself out, but you may get slightly smaller bulbs.
Mulch and winter care
Mulch is garlic’s cozy blanket. It moderates soil temperature swings, protects roots, and blocks spring weeds that compete with bulb growth.
How to mulch garlic
- After planting, cover the bed with 3 to 6 inches of clean straw or shredded leaves.
- In very cold, windy areas, go heavier, up to 8 inches.
- If your mulch mats down and stays soggy, fluff it a bit so air can move through.
- About grass clippings: I only use them if they are untreated and fully dry, and I apply them in very thin layers so they do not mat, heat up, or dump too much nitrogen at once. Straw and leaves are usually easier and safer.
In most climates, you can basically leave garlic alone all winter. If you get a dry winter with no snow cover, water during warm spells if the soil is bone dry.
Spring care and feeding
In early spring, garlic wakes up hungry. This is when leafy growth matters, because those leaves power the bulb that forms later.
When green shoots appear
- Pull mulch back slightly if shoots are struggling to push through. Leave some mulch to suppress weeds.
- Weed gently and often. Garlic roots are shallow and do not love disturbance.
- Water: Aim for about 1 inch per week from rain or irrigation in spring and early summer. Consistent moisture matters during bulb formation.
Organic fertilizing schedule
- Early spring: top-dress with compost and/or a nitrogen-forward organic fertilizer (like blood meal, alfalfa meal, or a balanced organic blend) following label rates.
- Mid-spring: a second light feeding can help, especially in sandy soils.
- Stop high nitrogen once bulbs start sizing up (usually late spring). Too much nitrogen late can delay curing and reduce storage quality.
Container growers: use a diluted organic liquid feed every 2 to 3 weeks in spring, then taper off as bulbs swell.
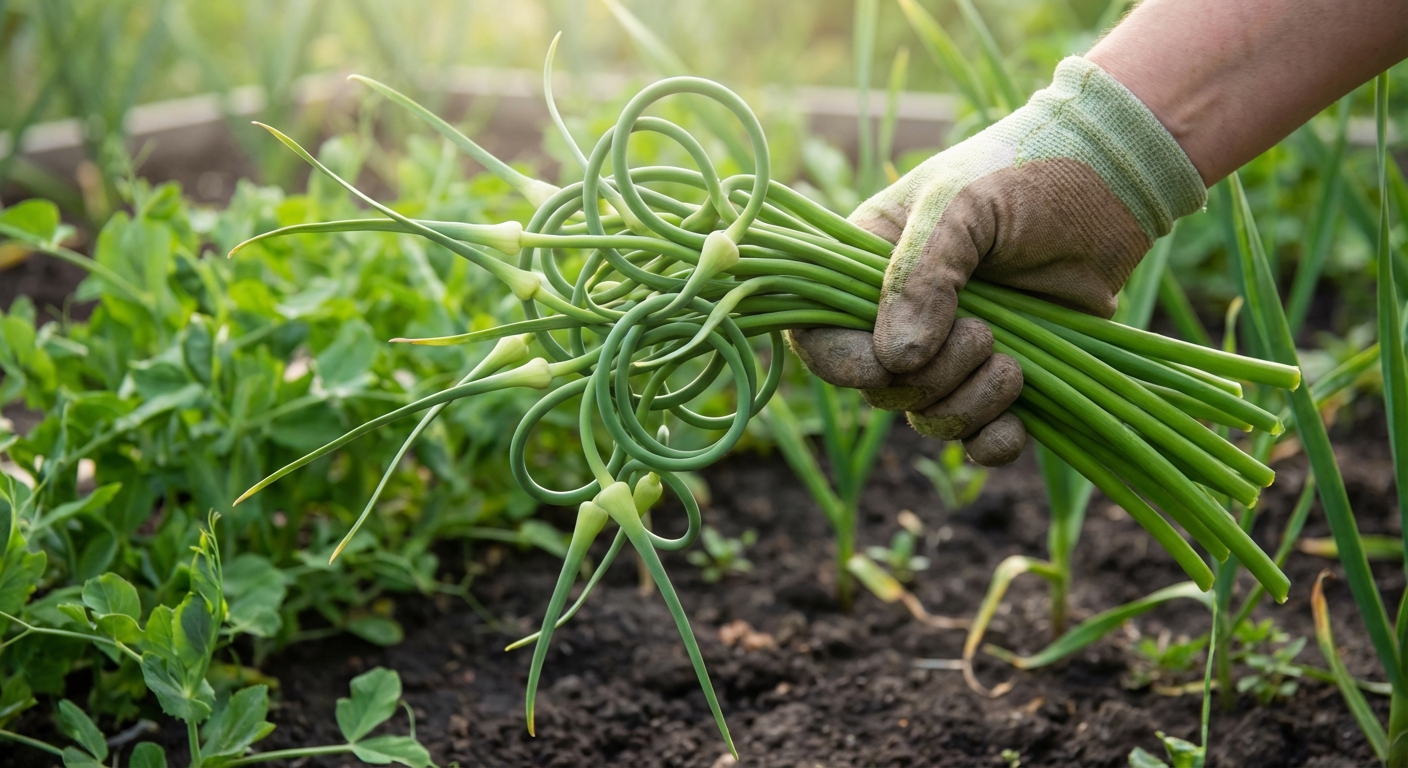
Scapes
If you planted hardneck garlic, you will get scapes in late spring or early summer. They are curly flower stalks, and they are delicious. More importantly, removing them helps the plant send energy into the bulb instead of flowers.
When to cut scapes
- Cut scapes when they make one full curl and before they straighten out.
- Use clean snips and cut as low as you comfortably can without slicing leaves.
Eat them like green beans with attitude: sautéed, grilled, chopped into pesto, or stirred into scrambled eggs.
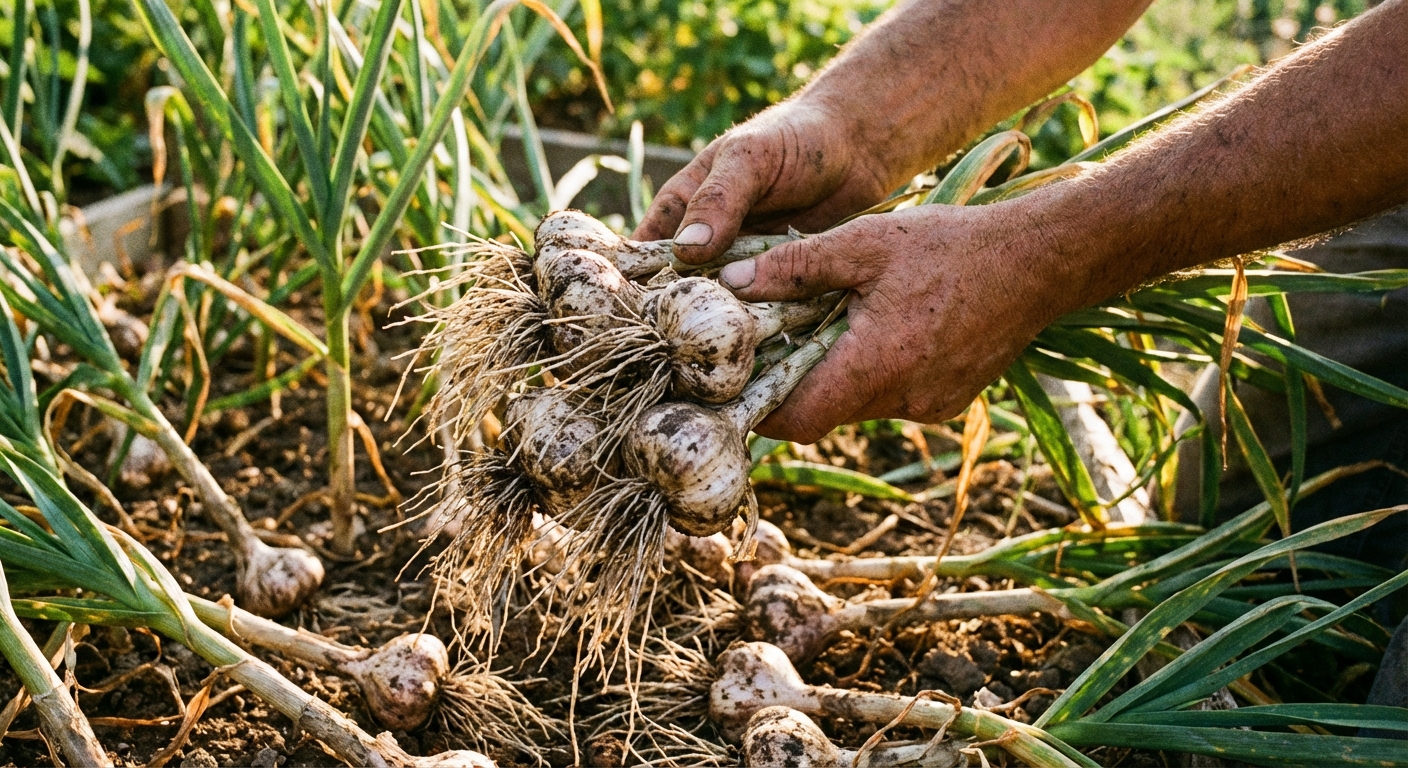
Harvest timing
Garlic harvest is all about leaf count. If you harvest too early, bulbs are small and wrappers are thin. Too late, wrappers split and storage life drops.
When garlic is ready
- Harvest when the bottom 3 to 5 leaves have turned brown but the top leaves are still green.
- That usually means you have several healthy wrapper layers left for good storage.
- In many gardens, harvest falls between late June and late July, depending on climate and variety.
How to harvest
- Start tapering off watering as harvest approaches. In dry weather, many growers stop watering 1 to 2 weeks before harvest (a bit less time if your soil is very sandy).
- Use a garden fork to loosen soil 4 to 6 inches away from the row.
- Lift gently. Do not yank garlic by the leaves.
- Brush off loose soil. Do not wash the bulbs.
If you are unsure, dig one “test bulb”. If it looks nicely segmented into cloves and feels solid, you are in the right window.
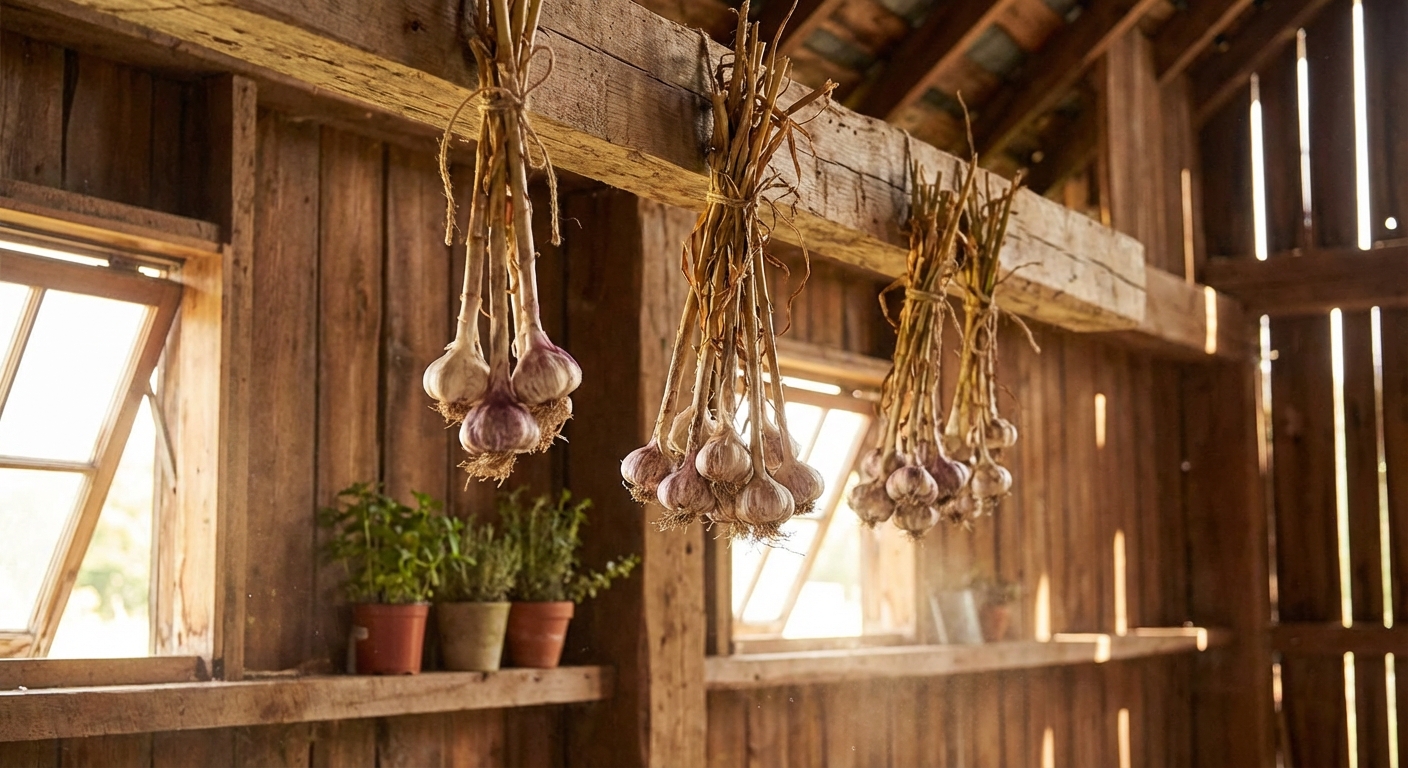
Curing and storage
Curing is where good garlic becomes great garlic. It dries the neck and outer wrappers so bulbs store without molding or sprouting.
How to cure garlic
- Keep bulbs intact with leaves and roots attached.
- Bundle 5 to 10 plants or lay them in a single layer.
- Cure in a shady, warm, well-ventilated place. Think garage, shed, covered porch, or airy basement.
- Avoid direct sun, which can “cook” bulbs and reduce storage quality.
- Cure for 2 to 4 weeks, until wrappers feel papery and the neck is dry.
Trim and store
- After curing, trim roots to about 1/4 inch.
- Cut hardneck stems to 1 inch above the bulb. For softneck, you can leave longer for braiding.
- Store in a mesh bag, basket, or open crate with airflow.
- Ideal storage is cool, dry, and dark. I generally avoid the refrigerator for long-term storage because cold followed by room temperatures can trigger sprouting. If you do refrigerate, treat it as short-term and plan to use that garlic first.
If garlic sprouts in storage: It is still usable. Use sprouted bulbs first, roast them, toss into soups, or chop and dehydrate for garlic powder. (The green sprout can taste bitter in some dishes, so remove it if it bugs you.)
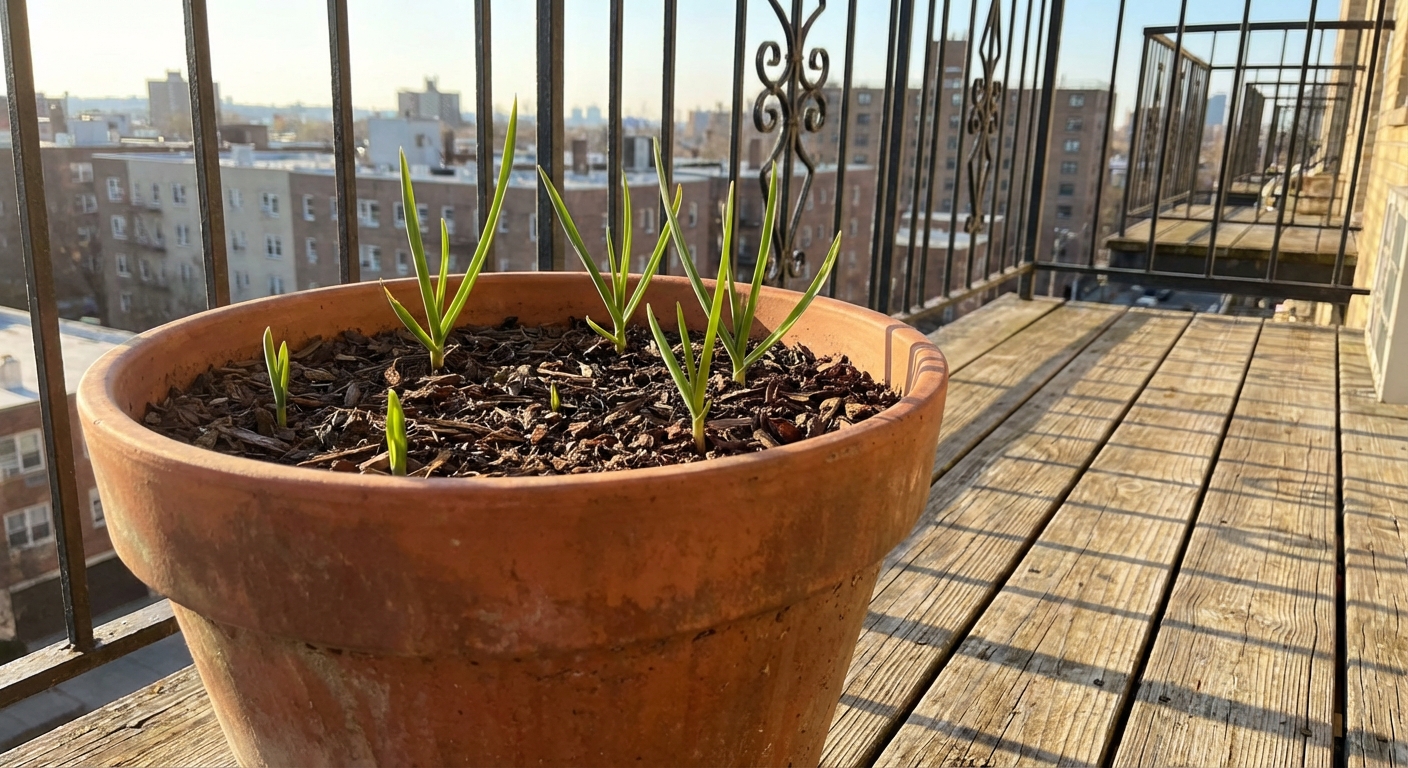
Garlic in containers
Yes, you can absolutely grow garlic on a patio or balcony. It is one of my favorite “set it and forget it” container crops, as long as you give it depth and drainage.
Container requirements
- Size: At least 10 to 12 inches deep. Deeper is better.
- Drainage: Non-negotiable. Multiple drainage holes.
- Soil: A high-quality potting mix plus compost. Avoid heavy garden soil in pots.
How many cloves per pot?
- Use the same spacing rule: 4 to 6 inches between cloves.
- A typical 12-inch round pot fits about 3 to 4 cloves comfortably. You can squeeze in 5 to 6 only if the pot is wider than 12 inches at the top, you are spacing closer to 4 inches, and you are okay with slightly smaller bulbs.
Winter protection
Containers freeze faster than the ground. In zones with hard freezes, insulate the pot by moving it against a sheltered wall, wrapping the container, or tucking it into an unheated garage once it is fully dormant. Keep the soil barely moist, not wet.
Watering in pots
In spring and early summer, container garlic often needs more frequent watering than in-ground garlic. Water deeply, then wait until the top inch of soil is dry before watering again.
Common problems
Small bulbs
- Likely causes: cloves planted too close, too little sun, poor soil fertility, not enough spring moisture, planting tiny cloves.
- Fix: plant larger cloves, increase spacing, top-dress compost in fall and spring, keep weeds down.
Rotting cloves or bulbs
- Likely causes: waterlogged soil, heavy clay, poor drainage, overwatering in containers.
- Fix: raise the bed, add compost for structure, use a lighter potting mix, water less frequently but deeply.
Rust (orange spots)
- Likely causes: humid conditions and poor airflow.
- Fix: space plants well, avoid overhead watering, remove heavily infected leaves, rotate crops and clean up debris.
Digging animals
- Likely culprits: squirrels and curious neighborhood “garden inspectors”.
- Fix: lay lightweight wire mesh over the bed after planting until the ground freezes, then remove in spring.
Allium pests
- What to watch for: onion maggots and nematodes can be trouble in some areas, especially if alliums are grown in the same spot year after year.
- Prevention: rotate crops (that 3 to 4 year allium break is gold), keep beds weeded, avoid moving soil from infected areas, and use clean seed garlic. If pests are common where you live, ask a local extension office for the best timing and controls for your region.
Quick timeline
- Fall: Plant cloves, mulch well.
- Winter: Mostly hands-off.
- Early spring: Shoots emerge, top-dress compost, weed lightly, water steadily.
- Late spring: Hardneck scapes appear, cut and eat them.
- Early summer: Bulbs size up, reduce nitrogen, keep moisture consistent.
- Summer: Harvest when lower leaves brown, cure 2 to 4 weeks, then store.
If you want the most satisfying garden moment of the year, it is this: brushing soil from a bulb you grew yourself, then cooking with it the same day. Welcome to the garlic club. We are very fragrant and very happy.