Harvest, Dry, and Store Herbs for Winter
There is a very specific kind of comfort in opening a jar of home-dried basil in January and catching that first little cloud of summer. Preserving herbs is one of the easiest ways to stretch your garden into winter, and it is also one of the quickest confidence builders for anyone who thinks they have a black thumb.
We are going to walk through three reliable methods: air-drying, dehydrating, and freezing. Each one shines for different herbs and different kitchens. I will help you pick the right method, then show you exactly how to do it without turning your harvest into flavorless confetti.
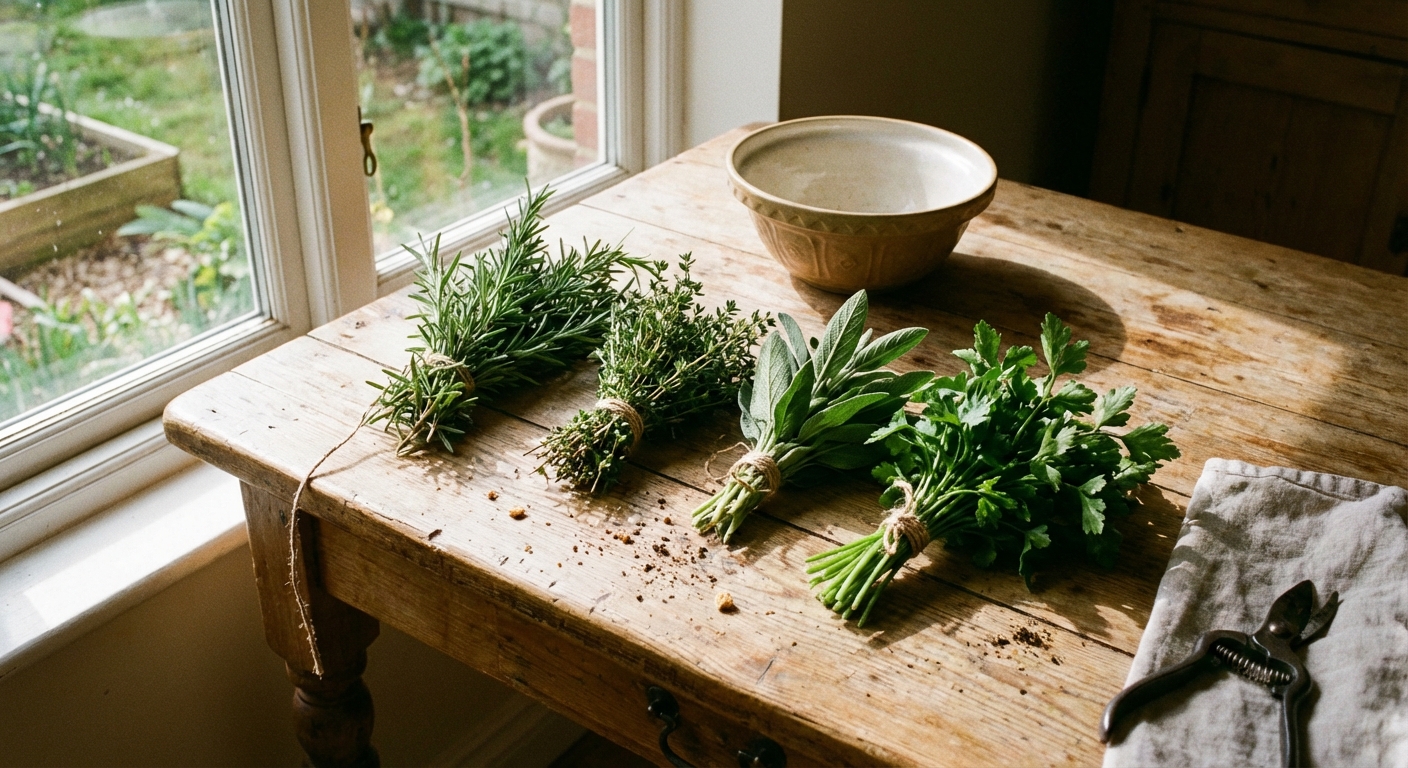
Before you start: harvest for flavor
Drying and freezing do not create flavor. They lock in what you harvested. So timing and handling matter more than fancy equipment.
When to harvest
- Late morning is often best, after the dew dries but before peak heat. Essential oils are often strong around this window, though it can vary by herb and weather.
- Harvest before flowering for many leafy herbs (basil, mint, oregano). As plants shift into bloom mode, leaf flavor can change and leaf production may slow.
- Cilantro is the sprinter. It bolts quickly in heat. Once it starts flowering, you typically get fewer tender leaves and the flavor can turn sharper. Harvest early and often if you want leafy stems.
- Do not take more than about one-third at a time as a safe general rule. Some herbs (like basil) can handle heavier harvesting if you leave growth nodes, and some perennials prefer a lighter touch. When in doubt, follow species-specific guidance.
Wash or do not wash?
If your herbs are visibly clean and grown without chemical sprays, I prefer not washing for drying because extra moisture invites mold. If you must wash (mud splash, aphid honeydew, city dust, or anything that makes you hesitate), rinse quickly in cool water, then dry thoroughly.
- Shake off water.
- Roll gently in a clean towel.
- Let herbs air-dry on a rack until they are dry to the touch with no surface moisture left.
Trim now
Remove yellow leaves, damaged tips, and any insect hitchhikers. Preserving is a little like canning: quality in, quality out.
Pick a method
Here is the simple rule I follow in my own kitchen:
- Air-drying is best for sturdy, lower-moisture herbs with woody stems.
- Dehydrating is best when you want speed, consistency, and bright flavor without guesswork.
- Freezing is best for tender, higher-moisture herbs that turn dusty when dried.
Best herbs for each
- Air-dry: rosemary, thyme, oregano, marjoram, sage, savory, lavender
- Dehydrate: everything above plus basil, mint, tarragon, chives (chives are usually best frozen, but dehydration can work if you keep the heat low)
- Freeze: basil, parsley, cilantro, dill, chives, mint, lemon balm
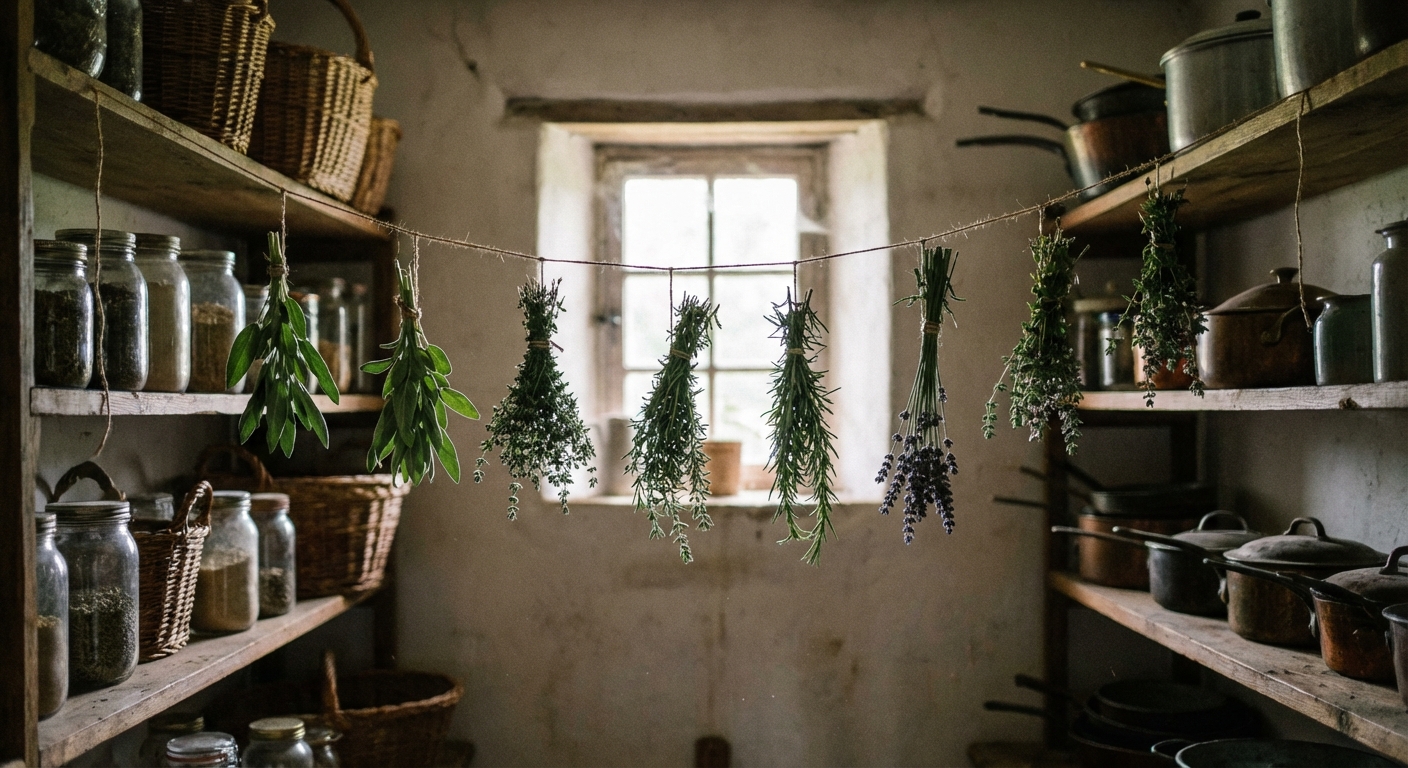
How to air-dry herbs
Air-drying is wonderfully low-tech. The key is darkness, airflow, and patience.
What you need
- Clean scissors or pruners
- Twine, rubber bands, or string
- Paper bags (optional but helpful)
- A warm, dry spot out of direct sun
Step-by-step
- Make small bundles. Aim for 6 to 12 stems. Smaller bundles dry faster and mold less.
- Tie tightly. Herbs shrink as they dry, so use a knot that will not loosen or add a rubber band that can tighten as stems shrink.
- Hang upside down. Choose a spot with good airflow and no direct sunlight (a pantry, a well-ventilated closet, or a dry basement area).
- Optional: add a paper bag. Slip a paper bag over the bundle and poke a few holes. This keeps dust off and catches leaves that fall.
- Wait 1 to 3 weeks. Timing depends on humidity and leaf thickness.
- Test for dryness. Leaves should crumble easily between your fingers. Stems should snap, not bend.
Tip for small leaves and loose bits: If you are drying tiny-leaf herbs (like thyme) or lots of individual leaves, a mesh screen or cooling rack can be easier than bundling. Spread them in a single layer in a shady, airy spot.
Tip for flowers and seed heads: For lavender and other flowering herbs, you can dry the stems in small bundles, then strip buds into a jar once fully crisp. Keep seed heads (like coriander seed from cilantro) separate from leaves so you can label and use them correctly later.
Common air-drying mistakes
- Sun-drying on a windowsill: direct sun fades color and drives off essential oils.
- Big bundles: they dry unevenly and invite mold in the center.
- Storing too soon: slightly damp herbs will fog up a jar and spoil.
How to dehydrate herbs
If you live somewhere humid or you simply want reliable results, a dehydrator is a beautiful little workhorse. It also helps herbs keep better color than slow air-drying in some climates.
Dehydrator steps
- Prep the herbs. Pat dry if needed. Remove damaged leaves.
- Arrange in a single layer. Leaves should not overlap much.
- Set a low temperature. Many herbs do best around 95 to 115°F (35 to 46°C). Depending on your machine and the herb, up to 125°F (52°C) can be fine, but lower is safer for delicate leaves.
- Dry until crisp. Typical time is 1 to 4 hours, depending on leaf size, moisture, and humidity. Start checking every 30 to 60 minutes once they seem close.
- Cool completely. Let herbs sit at room temp for 10 to 20 minutes before jarring to prevent condensation.
Oven method
You can use an oven, but ovens often run hotter than you think and can cook away aroma. Keep it gentle and keep an eye on it.
- Set the oven to the lowest possible temperature (many ovens bottom out around 170°F).
- Spread herbs on a parchment-lined baking sheet.
- For airflow, you can crack the door slightly with a wooden spoon only if it is safe in your home (keep children and pets away, and do not leave it unattended). If that is not a good option, try running the oven fan (if you have one) and stir or flip herbs occasionally.
- Check often and pull herbs as soon as they crumble.

How to freeze herbs
Freezing is my secret weapon for herbs that refuse to dry nicely. Basil is the most dramatic example. In my experience, freezing keeps it tasting far closer to fresh than drying does.
Option 1: Whole or chopped
- Rinse and dry thoroughly if needed. Herbs should be dry to the touch before freezing to reduce ice crystals.
- Strip leaves from stems (for parsley, cilantro, dill) or keep tender sprigs.
- Chop if you prefer cooking-ready portions.
- Spread on a parchment-lined tray and freeze for 1 to 2 hours.
- Transfer to a freezer bag or container, press out air, and label.
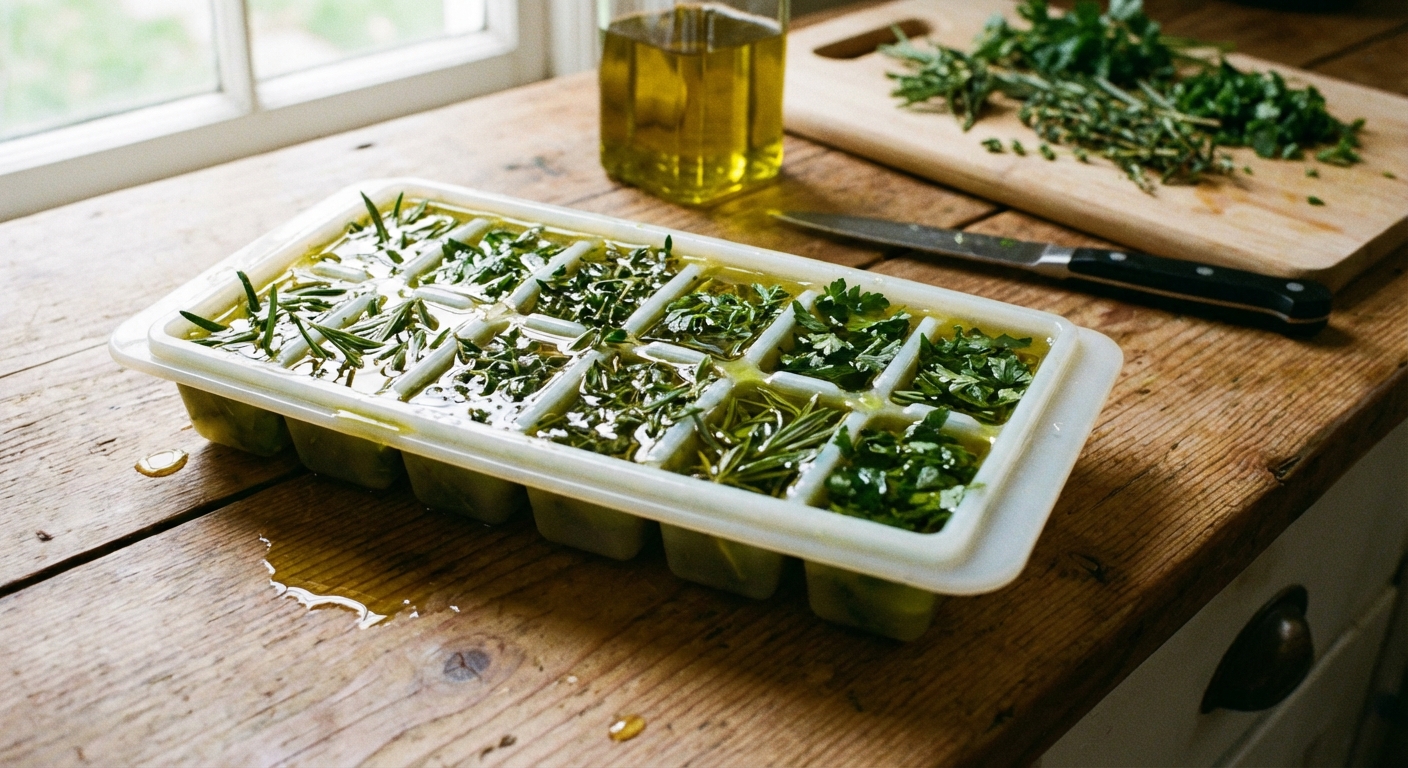
Option 2: Herb cubes
These are perfect for soups, sauces, beans, and skillet dinners.
- Chop herbs and pack them into an ice cube tray.
- Top with olive oil (best for sautés) or water or broth (best for soups).
- Freeze until solid, then pop cubes into a labeled freezer bag.
Option 3: Basil base
If your basil is going wild, make a simple pesto base and freeze it in small portions. You can add cheese and nuts later if you want.
- Blend basil with olive oil and a pinch of salt.
- Freeze in small containers or silicone molds.
- To prevent browning, press a thin layer of oil on top before freezing.
How to store herbs
This is where a lot of good garden work quietly goes wrong. Light, heat, oxygen, and moisture are the four horsemen of bland herbs.
Strip, then store
- Strip leaves from stems once fully dry. Woody stems take up jar space and do not add much.
- Store leaves whole when you can, then crush right before cooking. Do not crumble everything before storage unless you want it to fade faster.
- Use airtight containers, ideally glass jars with tight lids.
Where to keep jars
- A cool cabinet away from the stove or dishwasher
- Out of direct sunlight
- Away from humidity (skip the shelf over the kettle)
Label clearly
Write the herb name and the month and year. In a year, “mystery green flakes” are not as charming as they sound.
How long they last
- Dried herbs: best within 6 to 12 months for strongest flavor (they are usually still safe longer if kept dry, they are just less potent)
- Frozen herbs: best within 6 to 9 months, often fine up to a year (quality slowly declines over time)
Trust your senses. If you crush a pinch and it smells like cardboard, it will taste like cardboard.
How much to use
Dried herbs are usually more concentrated than fresh. A common kitchen rule is 1 teaspoon dried equals about 1 tablespoon fresh, but potency varies. Start small and adjust.
Troubleshooting
My herbs turned brown
- Likely too much heat or direct sun. Next time, dry in shade or use a lower dehydrator setting.
- Some darkening is normal (especially basil), but strong browning usually means flavor loss.
They molded in the jar
- They were not fully dry. Leaves must crumble and stems must snap.
- Let herbs cool fully before sealing, and store in a dry cupboard.
They smell weak
- Over-dried or dried too hot. Lower the temperature and shorten the time.
- Try freezing tender herbs instead of drying them.
My simple system
If you want an easy plan that covers most gardens without overthinking it, here is what I do:
- Air-dry: rosemary, thyme, oregano, sage
- Freeze in cubes: parsley, cilantro, dill, chives
- Freeze as a basil base: basil
- Dehydrate: anything I harvested during a humid week when air-drying feels risky
Then, all winter, I crumble dried herbs into roasted veggies and toss frozen cubes into soups like little green time capsules. It is one of the sweetest payoffs a garden can give you.