Growing Tomatoes in Containers
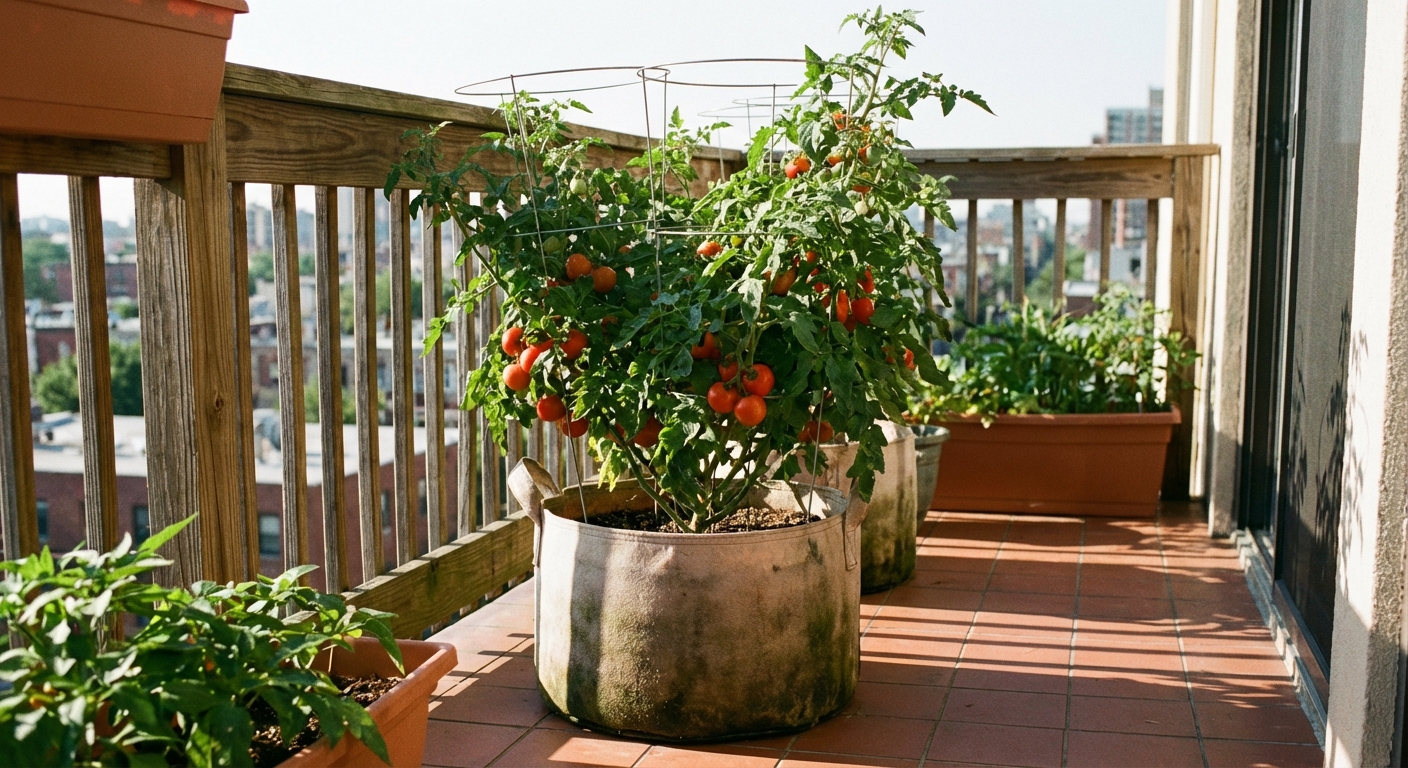
If you have sun, a container, and a little patience, you can grow tomatoes almost anywhere. I have raised tomatoes on a fire escape, a postage-stamp patio, and a proper backyard bed, and I still think container tomatoes are some of the most satisfying. They are close at hand, easy to monitor, and when you get the watering rhythm right, they can be wildly productive.
This page is for patio and balcony growers who want a clear setup: what pot to buy, which varieties behave in containers, how to support them without chaos, and how to avoid the most common container heartbreaks (hello, blossom end rot).
Start with the right container
Container tomatoes are only as happy as their root space. In-ground plants can explore for water and nutrients. Container plants are politely stuck with whatever you give them, so the pot choice matters more than most people think.
How big should the pot be?
- Strong all-around minimum for most tomatoes: 10 gallons (about 16 to 18 inches wide and deep).
- Compact determinate and dwarf types: 5 to 7 gallons can work well, especially in mild weather and with consistent watering.
- Better for heavy producers: 15 to 20 gallons.
- True micro “balcony” types: 3 to 5 gallons can work if the variety is bred for it (see examples below).
If you only remember one rule: bigger pots buffer mistakes. They dry out slower, stay cooler in summer heat, and give roots room to keep up with fruit production.
Material: what works best on balconies?
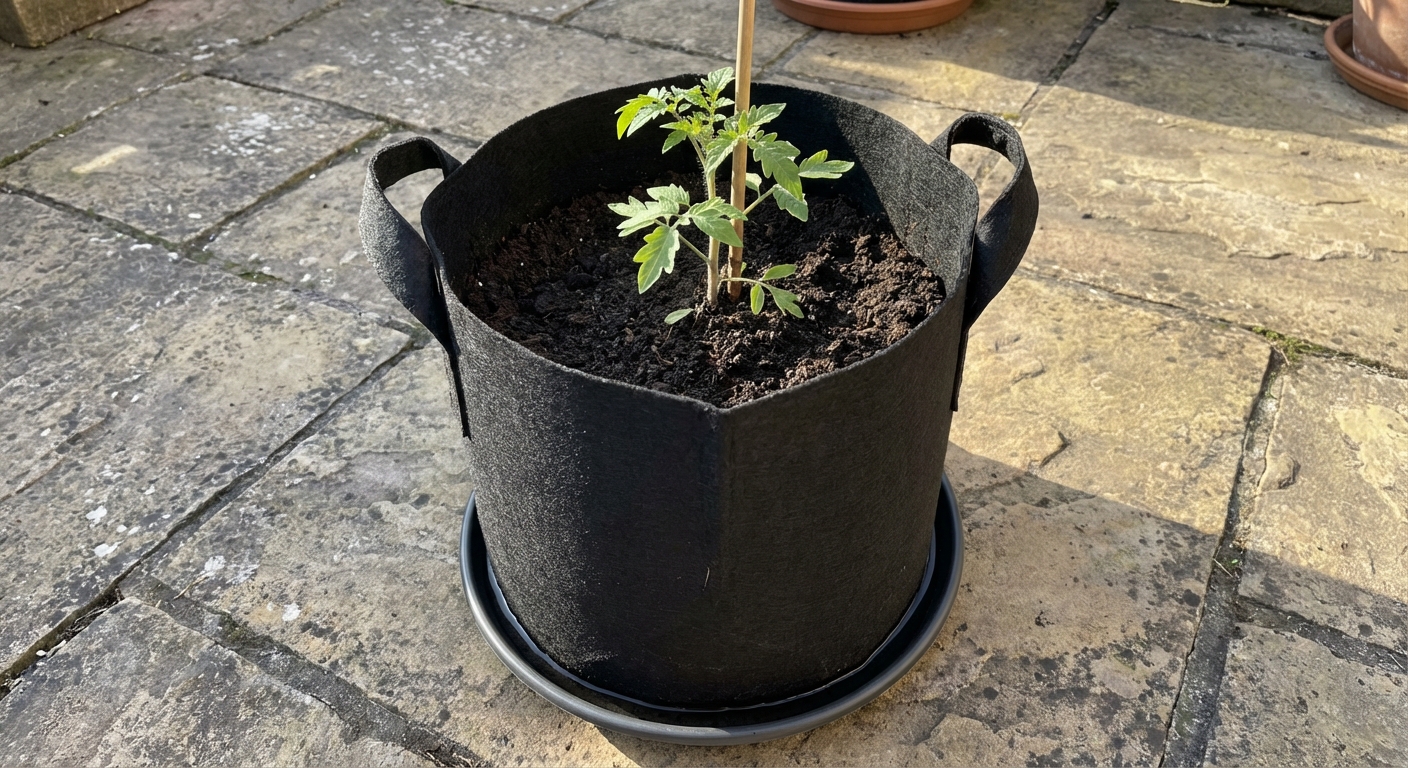
- Fabric grow bags: Great drainage and air pruning, usually lightweight. They do dry out faster, so plan to water more often in heat.
- Plastic resin pots: Light, inexpensive, and hold moisture well. Choose thicker ones if your balcony gets blazing hot sun.
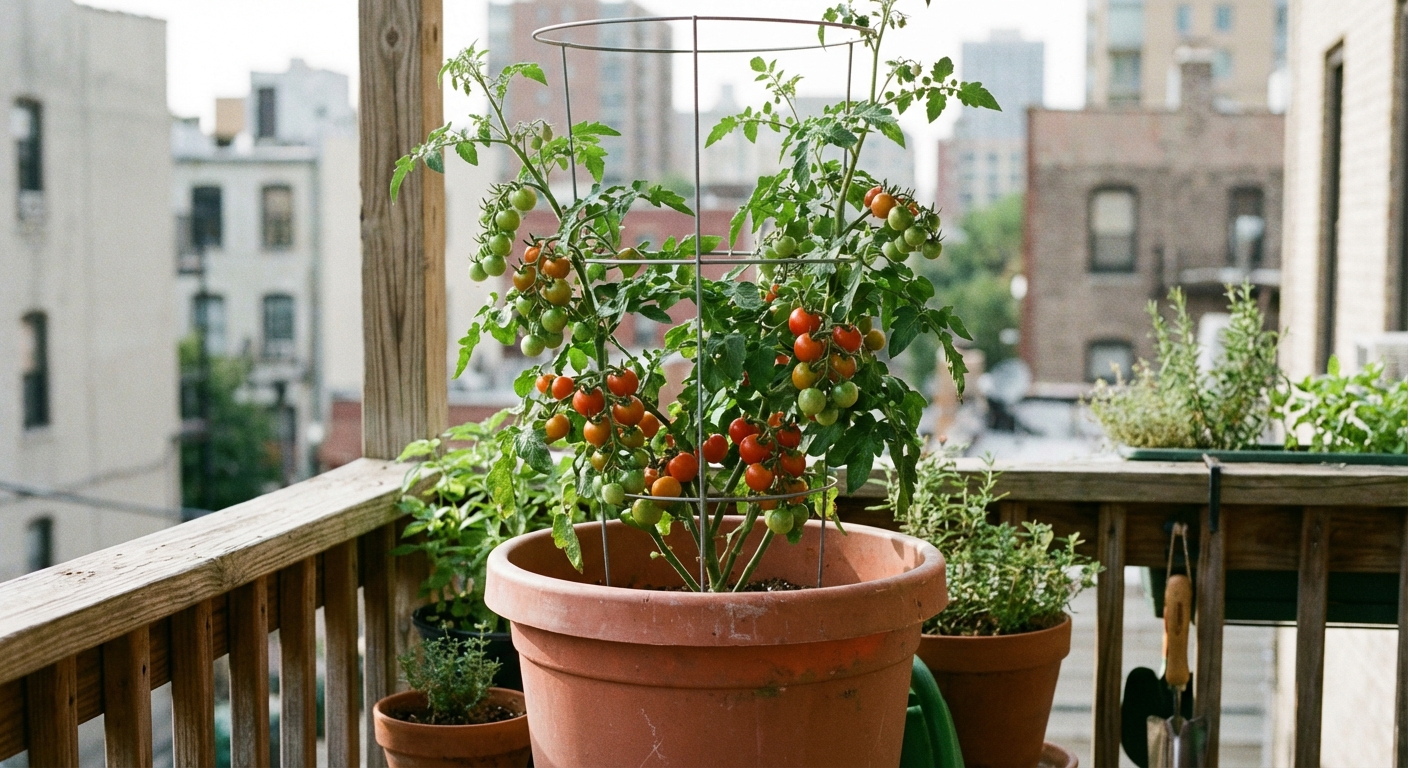
- Terracotta: Beautiful and breathable, but heavy and quick-drying. On windy balconies, terracotta can turn watering into a twice-a-day situation.
- Glazed ceramic: Holds moisture better than terracotta and looks lovely, but can be heavy. Make sure your balcony can handle the weight when fully watered.
- Self-watering containers: A nice low-fuss option for consistency, especially if you travel or forget a day.
Drainage is non-negotiable
Your pot must have drainage holes. Tomatoes hate wet feet, and soggy soil invites root rot and fungus gnats.
- Skip rocks in the bottom. They do not improve drainage and can reduce root space.
- Do use a saucer thoughtfully. On balconies, you often need one to avoid dripping on neighbors. Empty standing water after deep watering so roots are not constantly soaking.
Heat and weight reality checks
- Hot roots are a sneaky yield-killer. Dark pots in full sun can overheat. If your balcony bakes, choose a light-colored container, shade the pot itself (not the leaves), or slip a dark nursery pot into a lighter outer pot.
- Wet pots are heavy. A 15 to 20 gallon container can be very heavy once watered. If you are on a balcony, check your building guidance and place big pots where they will not tip in wind.
Pick varieties that actually like pots
Tomatoes come in two main growth habits: determinate (reach a set size and tend to produce in a big flush) and indeterminate (keep growing and producing until frost). You can grow either in containers, but balconies usually reward plants that stay compact.
Best container choices: compact and determinate
Look for words like patio, bush, compact, dwarf, or container on the tag.
- Patio: Classic compact slicer type made for containers.
- Tiny Tim: Very small plant with small cherry tomatoes, great for tight spaces.
- Tumbling Tom (Red or Yellow): Trailing habit, perfect for railing planters or hanging baskets (with enough volume).
- Celebrity (semi-determinate): Reliable, manageable size with good yields in larger pots.
- Roma (often determinate): A solid paste tomato option for big containers.
True micro tomatoes (small pots, big smiles)
If you are working with a 3 to 5 gallon pot, choose a tomato that was bred to stay tiny.
- Micro Tom: One of the smallest, great for 3 to 5 gallons.
- Orange Hat: Compact plant with cheerful little fruit, a good small-container pick.
- Red Robin: A classic mini plant, happy on sunny patios and balconies.
Indeterminate in containers: doable, but plan ahead
If you want long-season cherry tomatoes and do not mind a taller support system, indeterminate cherries can shine in large pots (15 to 20 gallons). Great options include:
- Sungold: Very sweet orange cherry, vigorous growth.
- Sweet 100 or Sweet Million: Heavy-producing red cherries, needs sturdy support.
- Juliet: Grape-shaped fruits, productive and versatile.
Balcony reality check: indeterminates can become huge. If you cannot anchor a tall cage or trellis safely (wind matters!), go determinate or dwarf.
Soil mix that stays fluffy and feeds the plant
Please do not use garden soil in pots. It compacts, drains poorly, and often brings pests along for the ride. For container tomatoes, you want a mix that holds moisture but still breathes.
An easy, dependable container mix
- 60 to 70% quality potting mix (not topsoil)
- 20 to 30% compost for biology and gentle nutrients
- 10% aeration such as perlite or pumice for drainage and oxygen
If your potting mix already contains compost and perlite, you can keep it simple: potting mix plus a few handfuls of compost, then mix thoroughly.
Optional organic add-ins (pick 1 to 2)
- Worm castings: A little goes a long way for steady nutrition.
- Crushed eggshells: Fine to add, but think of them as long-term calcium, not a quick fix for blossom end rot.
- Slow-release organic fertilizer: Great insurance for long container seasons.
Planting depth: bury the stem
Tomatoes can grow roots along buried stems. When transplanting, remove the lowest leaves and plant deep so only the top cluster of leaves is above the soil line. More roots means a sturdier plant and better water uptake.
Timing and hardening off
Balcony gardeners are an optimistic bunch. I say that with love. Tomatoes are warm-weather plants, and setting them out too early is a classic way to stall them for weeks.
- Wait for warm nights. Hold off until night temperatures are reliably above about 50 to 55°F (10 to 13°C).
- Harden off seedlings. If your tomato is coming from indoors or a sheltered nursery bench, ease it into real sun and balcony wind over 5 to 7 days. Start with a couple hours of morning sun and protection from wind, then increase time and intensity. Sudden full sun plus gusty wind can scorch leaves and snap tender stems.
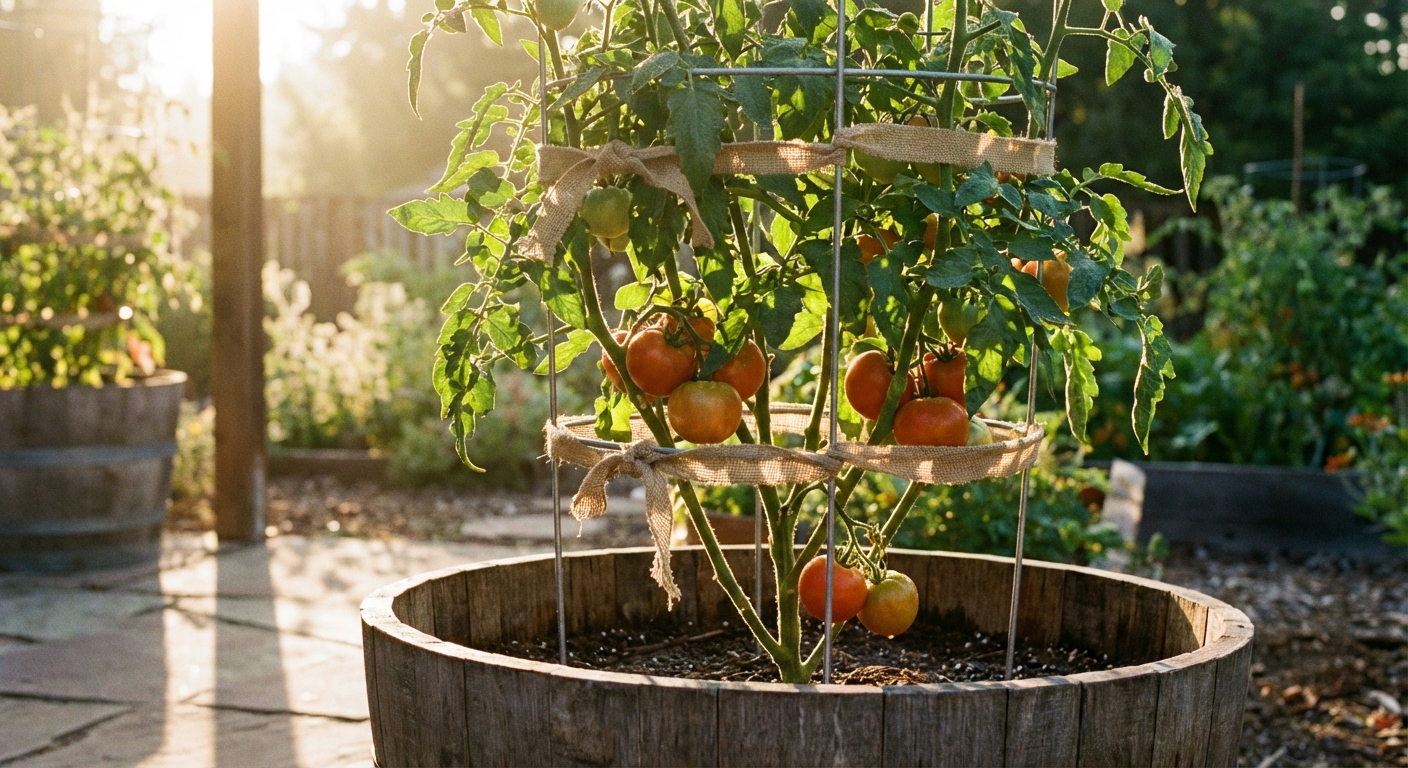
Support and staking in containers
Tomatoes in pots still need support. Because the root zone is smaller, potted tomatoes often need support earlier. The best time to add support is at planting, before you accidentally spear roots later.
Choose a support that matches your tomato
- Determinate and bush types: A standard tomato cage or 2 to 3 sturdy stakes is usually enough.
- Dwarf compact types: Often just 1 stake or a small cage.
- Indeterminate types: Tall cage, trellis, or a stake-and-string system anchored securely.
Pruning: less is usually more
- Determinate tomatoes: Do not heavily prune suckers. On many determinates, those side shoots are future fruiting branches, and removing them can cut your harvest.
- Indeterminate tomatoes: You can pinch some suckers to keep a plant manageable in a container, but do it lightly and consistently. Think airflow and access, not a haircut.
Wind tips for balconies
- Anchor the pot. A heavy pot is safer, or place containers where they cannot tip.
- Use soft ties. Old t-shirts cut into strips, silicone garden ties, or Velcro ties prevent stem damage.
- Rotate if needed. Balconies can create wind tunnels and uneven light. A quarter turn every few days can keep growth balanced.
Watering: the make-or-break habit
Container tomatoes fail for one main reason: inconsistent watering. Pots dry out faster than garden beds, especially in sun, wind, and heat reflected off walls and railings.
How often to water
There is no perfect schedule, but there is a reliable method: check daily and water when the top 1 to 2 inches of mix feels dry.
- Cool spring weather: every 2 to 4 days is common.
- Summer heat: daily, and sometimes twice daily on windy, hot balconies.
How to water correctly
- Water slowly until you see water coming out of the drainage holes.
- Wait a minute, then water again. This helps fully rehydrate dry potting mix.
- Try to water the soil, not the leaves, to reduce disease pressure.
Mulch helps more than you think
A 1 to 2 inch layer of straw, shredded leaves, or fine bark chips reduces evaporation and smooths out moisture swings. On a balcony, it also keeps potting mix from splashing out during watering.
Feeding container tomatoes (without overdoing it)
Tomatoes are hungry plants, and containers have a limited pantry. You want steady nutrition, not big spikes.
A simple fertilizing schedule
- At planting: mix in a slow-release organic fertilizer per label directions.
- After 2 to 3 weeks: start a weekly or every-other-week liquid feed.
- When flowering and fruiting: continue regular feeding with a fertilizer formulated for tomatoes or fruiting plants (generally more balanced for fruiting, not just high nitrogen).
If your plant is lush and leafy but not flowering well, ease up on nitrogen-heavy fertilizers. Too much nitrogen makes gorgeous foliage and fewer tomatoes.
Organic options that work well in containers
- Fish emulsion: Fast, effective, can be smelly on close balconies.
- Seaweed or kelp: Gentle, good for micronutrients and stress tolerance.
- Compost tea: Mild feeding, helpful as part of a routine, not a stand-alone solution for heavy fruiting.
Common container problems (and what to do)
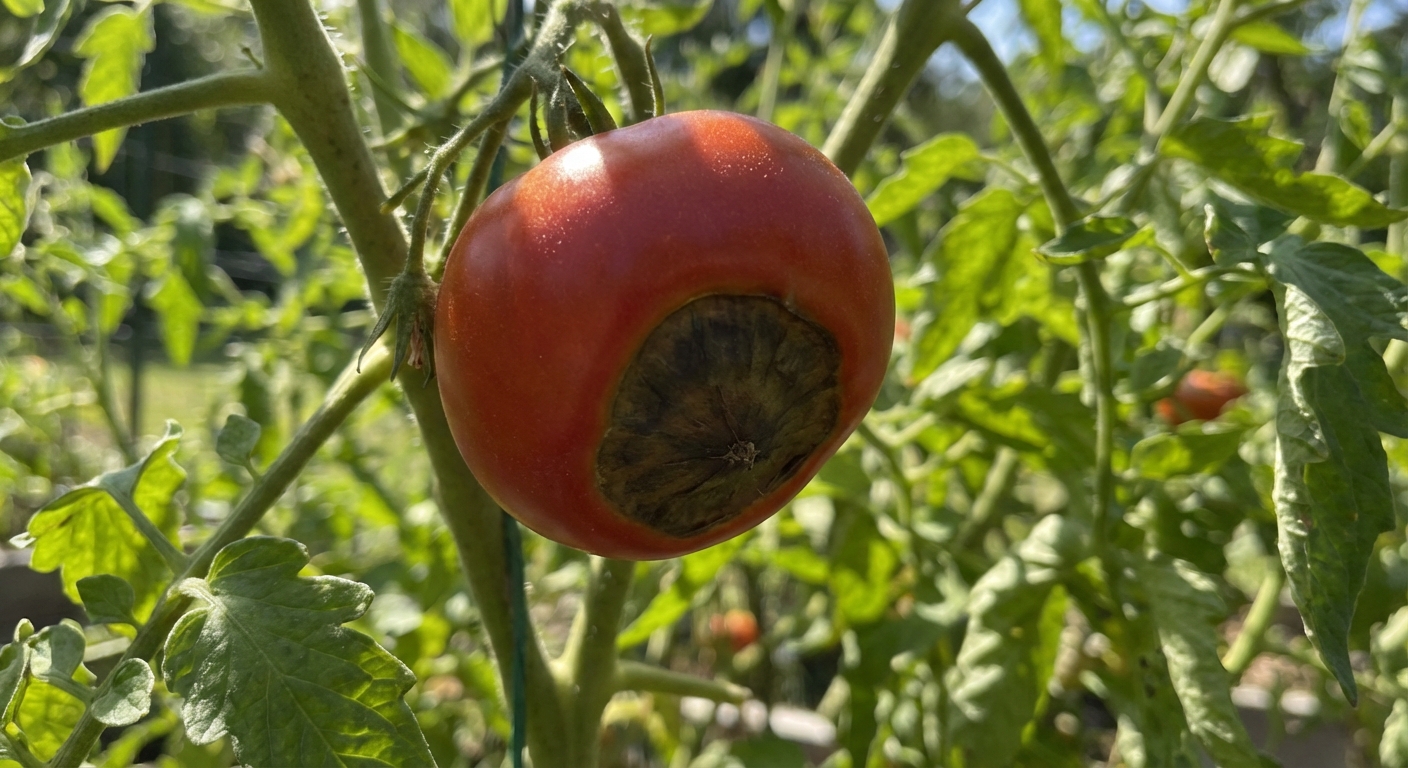
Blossom end rot
This is the classic: the bottom of the tomato turns dark, leathery, and sunken. Most of the time, it is a water uptake problem caused by inconsistent moisture, not a simple “add calcium” situation. That said, low calcium availability, high salt buildup, and excess nitrogen can make it more likely, especially in containers.
- Fix: water consistently, mulch the surface, and avoid letting the pot swing from bone-dry to soaked.
- Also check: pot size (too small dries too fast), and whether the plant is root-bound.
- Go easy on fertilizer. If you have been pushing lots of nitrogen, back off and switch to a fruiting-friendly feed.
- Remove affected fruits so the plant can redirect energy to healthy tomatoes.
Cracked fruit
Cracks happen when a very dry plant suddenly gets a lot of water, and fruit swells faster than the skin can stretch.
- Fix: keep moisture even. Harvest near-ripe tomatoes before a big rain if your balcony pots are exposed.
Wilting in afternoon sun
A little afternoon droop can be normal in heat. If the plant perks up in the evening, it is stress, not necessarily thirst. If it stays wilted, check moisture immediately.
- Fix: water early in the day, increase pot size next season, and consider light afternoon shade during extreme heat waves.
Yellowing leaves
- Bottom leaves yellowing slowly: common as plants mature, especially if leaves are shaded.
- Widespread yellowing: often underfeeding or waterlogged roots.
- Fix: confirm drainage, then adjust fertilizer routine and watering frequency.
Pests on balconies
Even high up, pests find tomatoes.
- Aphids: blast with water, then use insecticidal soap if needed.
- Spider mites: more common in hot, dry, windy spots. Increase humidity around the plant (a simple rinse of leaves helps) and treat early.
- Hornworms: less common on balconies but not impossible. Hand-pick if you see missing foliage and big bite marks.
Fruit set on balconies
Sometimes the plant looks perfect, but flowers drop and you get fewer fruits than expected. On still balconies, pollination can be a little sluggish.
- Give the plant a gentle shake midday a few times a week when it is flowering.
- Encourage airflow with a bit of spacing and light pruning on indeterminates.
- Watch temperatures. Very hot days and warm nights can reduce fruit set even when everything else is right.
Balcony and patio setup tips I swear by
- Sun first: aim for 6 to 8+ hours of direct sun. If you have less, choose cherry or patio types and expect a lighter harvest.
- Give them room: airflow reduces disease and helps leaves dry after watering.
- Keep a watering can nearby: the easier it is, the more consistent you will be.
- Use a moisture meter if you are anxious: it is not cheating. It is a confidence-builder.
- Harvest often: picking ripe fruit encourages more production and prevents splitting and pests.
Quick container tomato checklist
- Pot: 10 to 20 gallons with drainage holes (5 to 7 gallons for compact dwarfs, 3 to 5 for true micro types)
- Variety: determinate, compact, dwarf, or patio type (or indeterminate in a big pot with tall support)
- Soil: potting mix + compost + perlite or pumice
- Support: install at planting time
- Water: check daily, water deeply when top 1 to 2 inches are dry
- Feed: slow-release at planting plus regular liquid feed after a few weeks
- Prevent blossom end rot: consistency, mulch, enough pot volume, and not overdoing nitrogen
Want a setup that feels easy, not fussy? Match your variety to your sun and container size, then focus on steady watering. That is the whole game.