Croton Plant Care Indoors
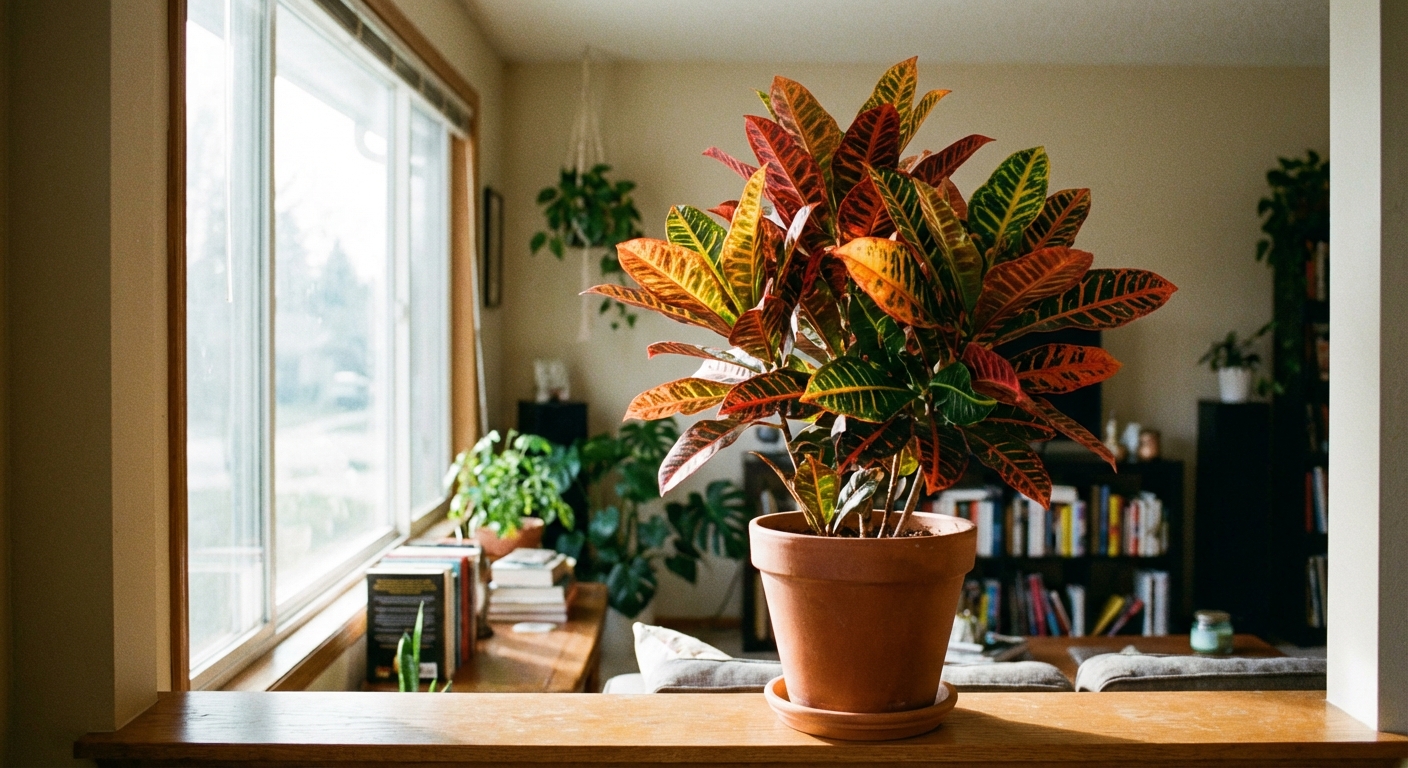
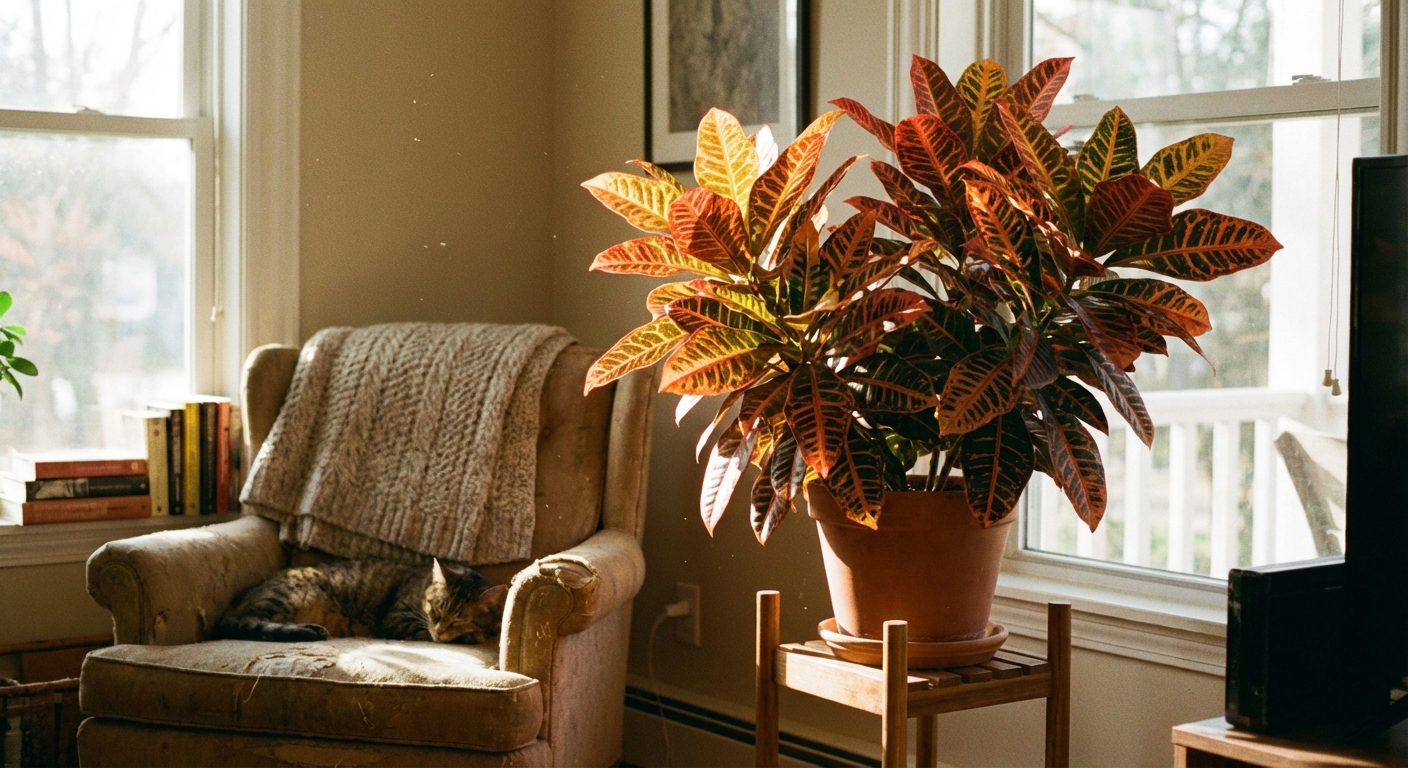
Crotons (Codiaeum variegatum) are the drama queens of the houseplant world, and I mean that affectionately. Those fiery reds, sunny yellows, and deep greens are not shy. But they also do not love change, dry air, or dim corners. If your croton is dropping leaves right after you brought it home, you are in very good company. The good news is that most crotons recover beautifully once you give them steady conditions.
Quick safety note: Crotons are toxic if ingested and the sap can irritate. Keep them out of reach of curious kids, cats, and dogs, and wash hands after handling.
What crotons need indoors
- Light: Very bright light, with a few hours of gentle sun if possible
- Water: Evenly moist, never soggy, never bone dry
- Humidity: Prefers 40 to 60%+, happiest around 50%+
- Temperature: Warm and steady, about 60 to 85°F (16 to 29°C). Avoid sustained temps below 60°F.
- Soil: Airy, fast-draining potting mix in a pot with a drainage hole
Think of croton care as consistency plus brightness. If you can give those two things, everything else gets easier.
Why crotons drop leaves
Leaf drop is croton’s most common indoor complaint, especially after purchase. In big box stores, crotons are often grown in greenhouse conditions with strong light, warmth, and humidity. Then they get shipped, handled, chilled by drafts near automatic doors, and placed under indoor retail lighting. Finally they come home with you, to another new environment. That is a lot of change for one plant.
Acclimation shock
When crotons move from one environment to another, they often shed leaves to rebalance water loss and light use. You will often see this called acclimation shock, which is simply stress from sudden changes in light, temperature, humidity, and watering routine.
Other common triggers
- Not enough light: Low light is a fast track to leaf drop and dull color.
- Cold drafts or temperature swings: A vent blast, a chilly windowsill at night, or a door draft can trigger shedding.
- Overwatering: Roots that stay wet lose oxygen, then leaves drop.
- Underwatering: If the root ball gets too dry, crotons drop leaves to conserve moisture.
- Low humidity: Dry air encourages crispy edges and sometimes leaf drop.
- Pests: Spider mites, scale, and mealybugs can cause leaf loss over time.
Stop leaf drop: a reset
If your croton is actively dropping leaves, resist the urge to move it around the house looking for the perfect spot. Pick the best available location and let it settle.
Step 0: Inspect and isolate
Before you tuck it in with your other plants, do a quick check. Look under leaves and along stems for webbing, bumps, or cottony clusters. If you can, keep it a little separate for 1 to 2 weeks. A quick rinse in the shower (lukewarm water, gentle pressure) can also help remove dust and hitchhiking pests.
Step 1: Give it your brightest spot
A croton indoors should be within a couple feet of a bright window. East, south, or west windows are usually best. If you only have north light, plan on adding a grow light.
Step 2: Keep it warm and draft-free
Move it away from heater vents, AC vents, and frequently opened exterior doors. If the leaves are brushing a cold window at night in winter, pull it back a few inches. Crotons really do sulk if they get chilled, especially below 60°F.
Step 3: Check moisture the right way
Use your finger or a moisture meter. Water when the top 1 to 2 inches of soil feel dry, then water thoroughly until excess drains out. Do not let the pot sit in a saucer of water.
If you are not sure whether the issue is overwatering or underwatering, use a few clues together: check the soil moisture, lift the pot (very light can mean dry), and notice any musty smell from the pot (often points to staying too wet).
Step 4: Boost humidity without fuss
- Run a small humidifier nearby.
- Group plants together.
- Use a pebble tray with water under the pot (the pot should sit on pebbles, not in the water).
Pebble trays can provide a modest local boost, but in very dry homes they are often not enough on their own. A humidifier is the most reliable upgrade.
Step 5: Pause fertilizer
Do not feed a croton that is actively dropping leaves from shock. Wait until you see new growth and stability, then resume light feeding during spring and summer.
Repotting: wait unless you must
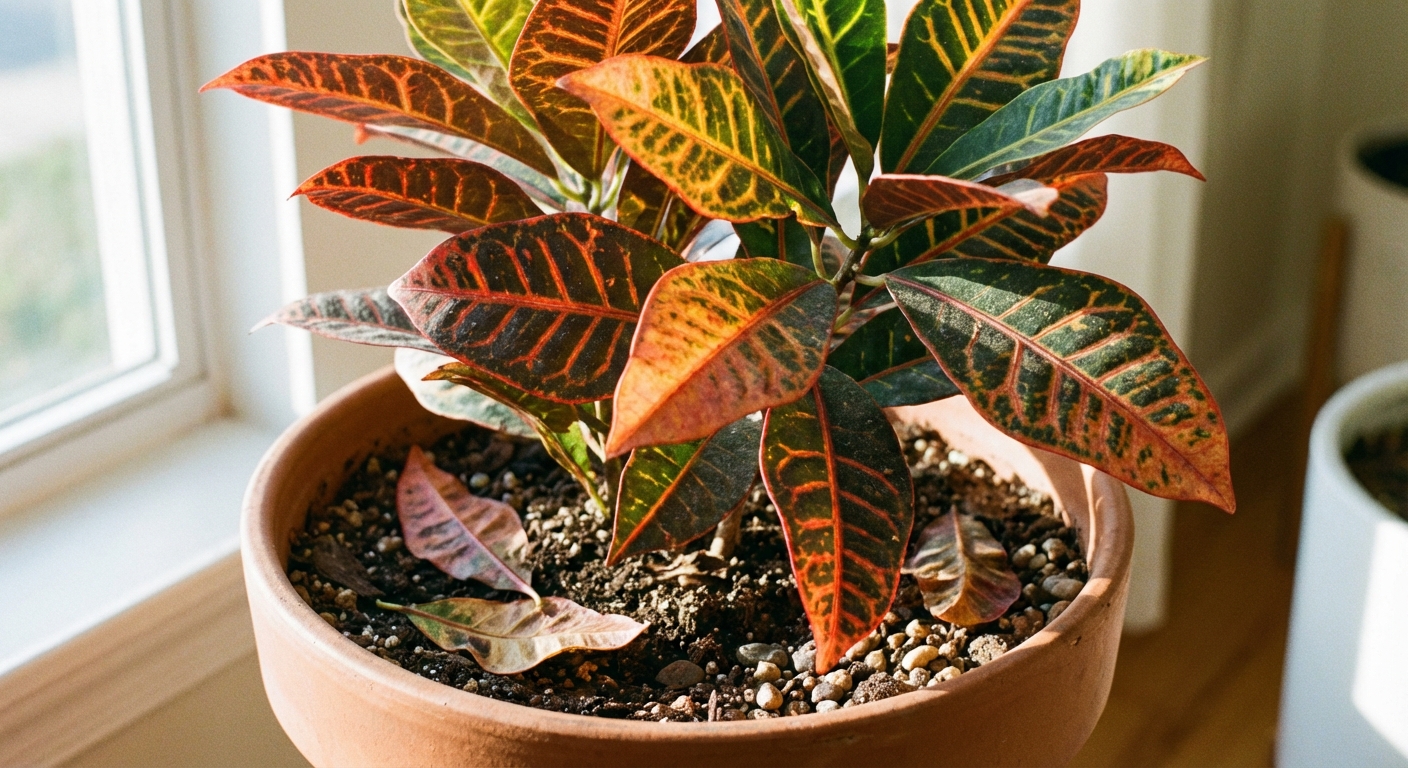
Repotting can add to the shock, so if your croton is newly home and the soil is behaving, give it a few weeks to settle first. The exceptions are cases like waterlogged, heavy soil that never dries, a sour smell, or clear signs of root rot. In those situations, repotting into a fast-draining mix can be the rescue move.
What recovery looks like
Some leaf drop can continue for 2 to 6 weeks after a move. Look for new leaves at the tips. That is your sign the plant is adapting. The dropped leaves usually will not grow back on bare stems, but the plant can fill in through fresh growth, new shoots from nodes, and pruning over time.
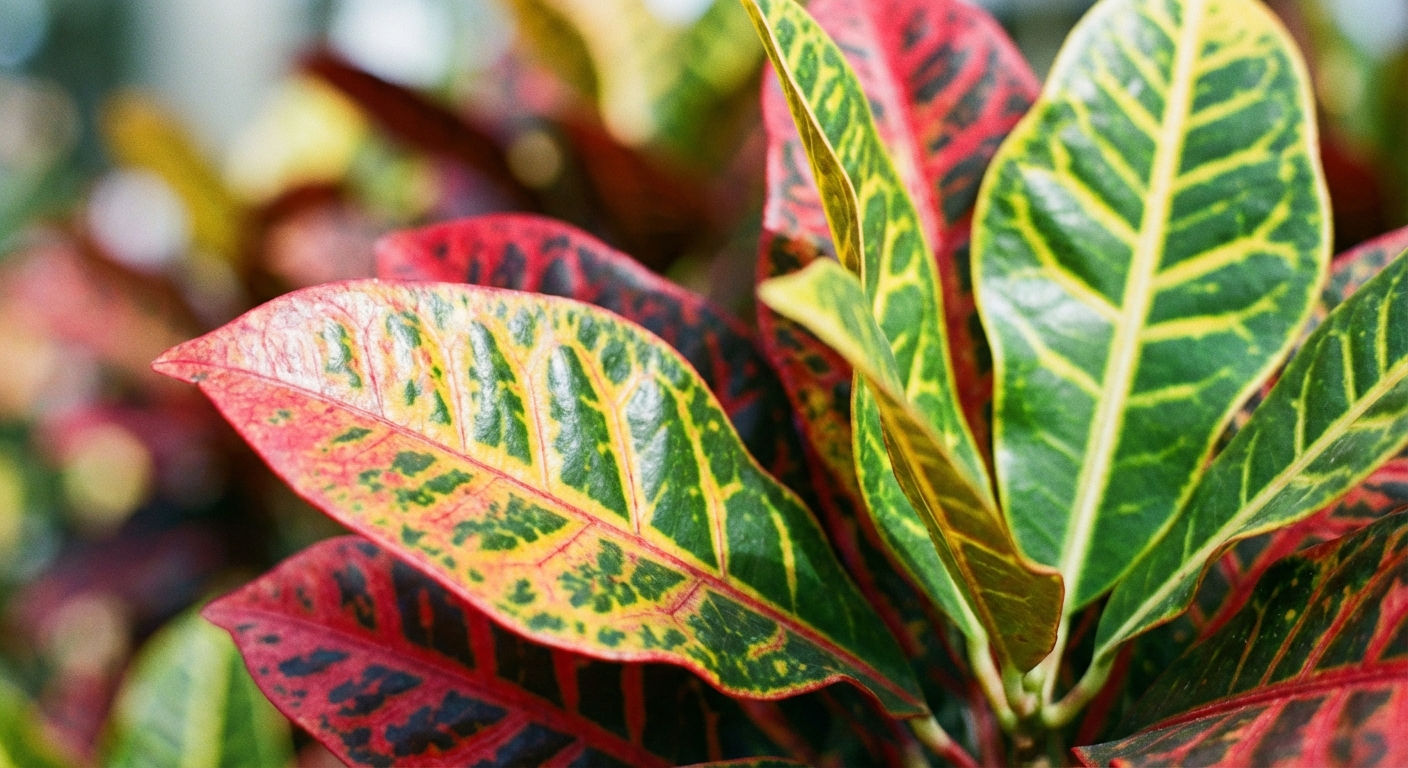
Light and color
Crotons are grown for color, and color is directly tied to light. In lower light, many varieties turn greener. That is not a moral failing on your part. It is the plant doing what plants do to capture more energy.
Best indoor setup
- Bright indirect light all day plus
- 2 to 4 hours of gentle sun (morning sun is easiest) if your home can provide it
If you move a croton into stronger sun, do it gradually over 7 to 14 days to avoid sun scorch.
Grow light tips
- Choose a full-spectrum LED grow light.
- Start with 10 to 12 hours per day.
- Place the light close enough to be effective, often 10 to 18 inches above the foliage, adjusted to the fixture’s guidance and your plant’s response.
Watering
Crotons like a steady rhythm. The goal is soil that dries slightly at the top, but never fully dries through the pot.
How to water
- Check the top 1 to 2 inches of soil.
- If dry, water slowly and deeply until water drains from the bottom.
- Empty the saucer after 10 minutes.
- Recheck in a few days, especially in bright light or heated winter air.
Signs of overwatering
- Leaves dropping while still soft (not crisp)
- Soil staying wet for many days
- A musty smell from the pot
- Blackened, mushy roots if you unpot and check
Signs of underwatering
- Crispy leaf edges
- Wilting followed by leaf drop
- Soil pulling away from the pot edge
If your croton dried out completely, soak the pot thoroughly once, let it drain, and then return to a more consistent schedule.
Water quality tip: If you deal with hard tap water or you see white crust on the soil, using filtered water, distilled water, or rainwater (when available) can help reduce salt buildup over time.
Humidity
Many homes sit at 25 to 35% humidity in winter, which can be rough on crotons. Aim for a comfortable middle zone, roughly 40 to 60%+, and know that many crotons look their best around 50%+.
Easy upgrades
- Humidifier: The most reliable fix.
- Plant clustering: Creates a small humid pocket.
- Bathroom placement: Works if the bathroom is bright enough.
Misting can offer a brief boost, but it is not a long-term solution on its own, especially in very dry homes.
Soil and potting
Crotons do best in a chunky, fast-draining mix that still holds a little moisture. If the plant came in dense, peaty soil that stays wet, consider repotting after it has settled for a few weeks (unless the soil is actively causing problems, as noted above).
A simple mix
- 2 parts quality indoor potting mix
- 1 part perlite or pumice
- 1 part orchid bark or coco chips
When to repot
- Roots circling the pot or growing out drainage holes
- Soil drying out extremely fast (root-bound)
- Soil staying wet too long (too dense)
Choose a pot only 1 to 2 inches wider than the current one. Oversized pots stay wet longer and can invite root problems.
Keep leaves glossy
Vibrant croton color is a mix of light, nutrition, and a clean leaf surface that can actually photosynthesize.
Color checklist
- Increase light: First and most important.
- Feed lightly in the growing season: Use a balanced houseplant fertilizer at half strength every 4 to 6 weeks in spring and summer.
- Wipe leaves: Dust blocks light. Use a damp cloth to gently clean both sides of the leaves.
- Rotate the pot: Quarter turn weekly so growth stays even.
If your croton is turning greener, do not panic. Move it brighter and give it a month or two. New leaves are often the first to show improved color.
Common pests
Crotons can attract sap-suckers, especially when indoor air is dry. The earlier you catch them, the easier they are to manage.
Spider mites
- Clues: Fine webbing, stippled or dusty-looking leaves, tiny specks moving under leaves
- Fix: Rinse the plant in the shower, then treat with insecticidal soap or horticultural oil. Repeat every 7 to 10 days for 3 to 4 rounds.
Scale
- Clues: Small brown or tan bumps on stems and leaf veins, sticky residue
- Fix: Scrape off gently with a cotton swab dipped in isopropyl alcohol, then follow with oil or soap treatments.
Mealybugs
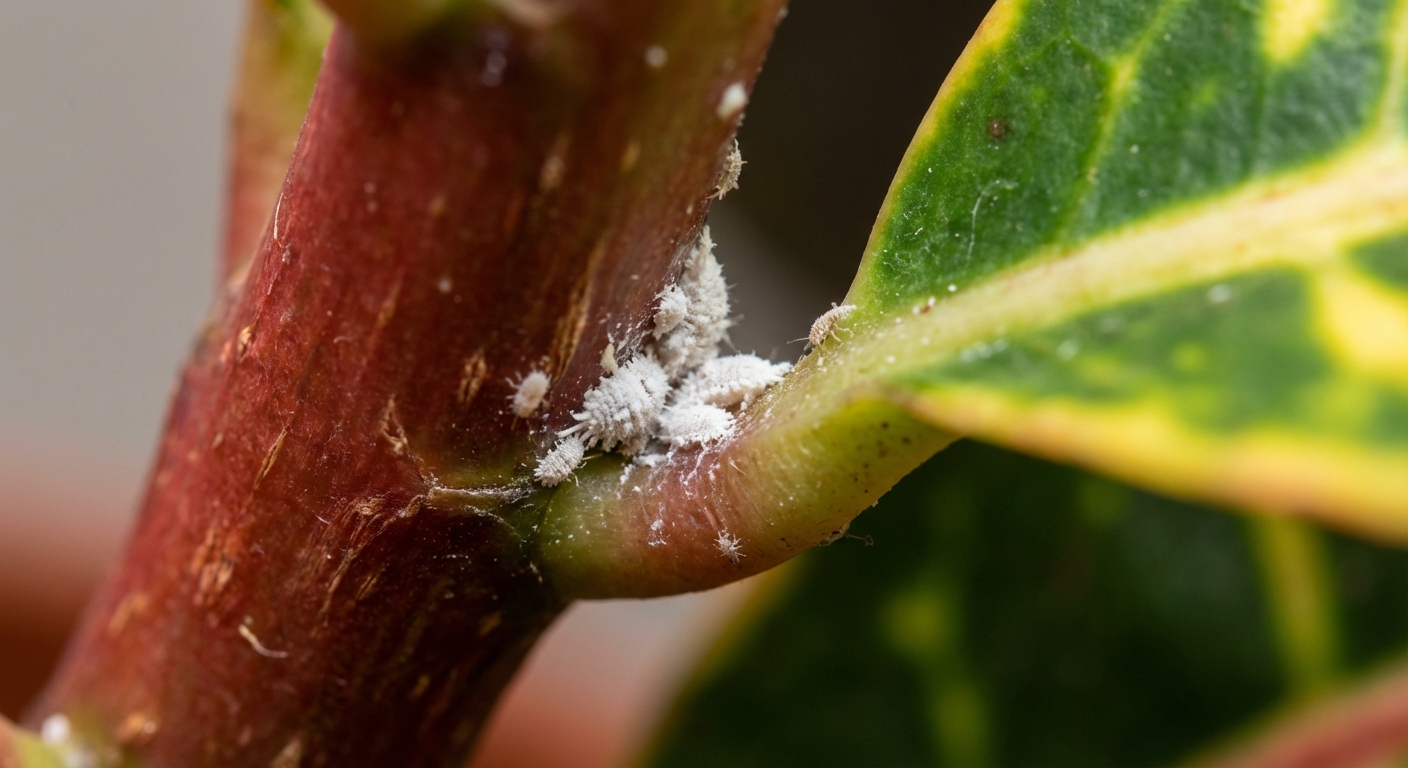
- Clues: White cottony clusters in leaf joints, sticky honeydew
- Fix: Dab with alcohol on a cotton swab, isolate the plant, then treat weekly until gone.
Tip: Always follow the product label directions for oils and soaps, especially for dilution and how often to apply. Isolate any infested croton from other houseplants while you treat it. Pests love to spread when we are not looking.
Pruning and shaping
Indoors, crotons sometimes stretch toward light and drop lower leaves, leaving a bare stem. Pruning encourages branching.
- Prune in spring or early summer when the plant is actively growing.
- Use clean, sharp snips and cut just above a leaf node.
- Wear gloves. Crotons have a milky sap that can irritate skin.
You can often root stem cuttings in warm, humid conditions, but even if you do not propagate, pruning alone can make the plant fuller over time.
Troubleshooting
Leaves are dropping but still green
Most often acclimation stress, inconsistent watering, or drafts. Stabilize light, warmth, and moisture. Stop moving the plant around and check the soil and pot weight before you adjust your watering.
Leaves are turning mostly green
Not enough light. Move closer to a bright window or add a grow light.
Brown crispy edges
Low humidity, underwatering, or salt buildup from fertilizer or hard water. Increase humidity, water more evenly, and flush the pot with plain water every couple of months.
Yellow leaves
Often overwatering or poor drainage. Let the top layer dry before watering again and make sure the pot drains freely.
First month plan
If you just brought your croton home, here is the routine I use to help it settle with minimal tantrums.
- Day 1: Place in your brightest draft-free spot. Do a quick pest check. Do not repot yet.
- Week 1: Water only when the top 1 to 2 inches are dry. Increase humidity. Keep it away from vents and chilly windows.
- Weeks 2 to 4: Keep conditions steady. Expect some leaf drop, but watch for new growth.
- After week 4: If it is stable and root-bound or the soil is heavy, repot into a better fast-draining mix.
- Spring and summer: Start light fertilizer once you see active growth.
Crotons reward patience. Once they decide your home is safe and sunny enough, they stop sulking and start showing off.