Aloe Vera Plant Care
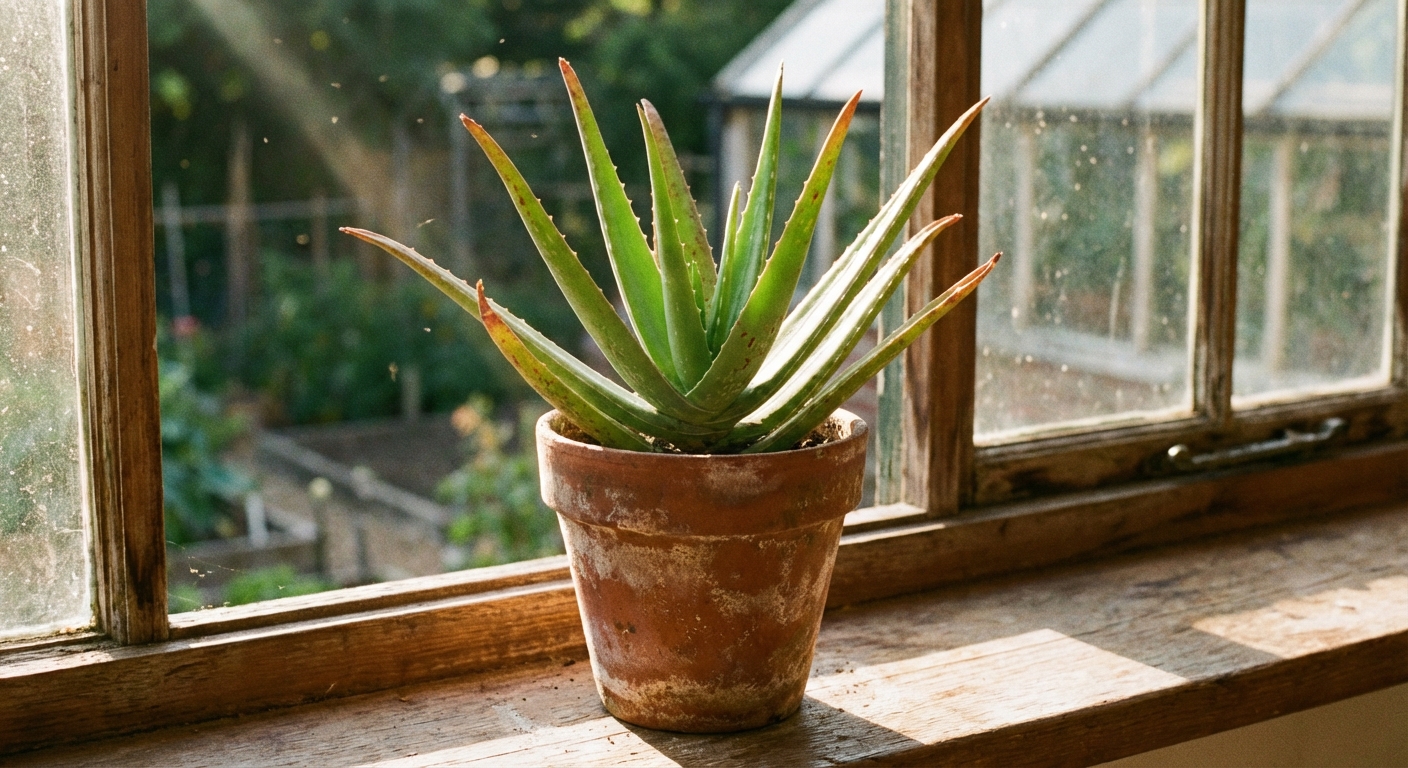
Aloe vera is the plant I recommend to almost everyone who swears they have a black thumb. It is sculptural, forgiving, and quietly useful. Give it bright light, a pot that drains like a dream, and water only when it is truly thirsty, and it will settle in like a low-maintenance roommate that also happens to be a handy plant to have around.
Let’s get your aloe growing happily indoors or outdoors, and then I will show you how to harvest gel and make more plants from those adorable little pups.
Quick aloe vera care snapshot
- Light: Bright light, including a few hours of direct sun if introduced gradually
- Water: Deeply, then let soil dry out completely before watering again
- Soil: Gritty, fast-draining cactus or succulent mix
- Pot: Drainage holes required, terracotta is a helpful bonus
- Temp: Best growth around 55 to 80°F, protect from below 40°F and all frost
- Growth: Produces pups that can be separated and potted up
Light needs (indoors and outdoors)
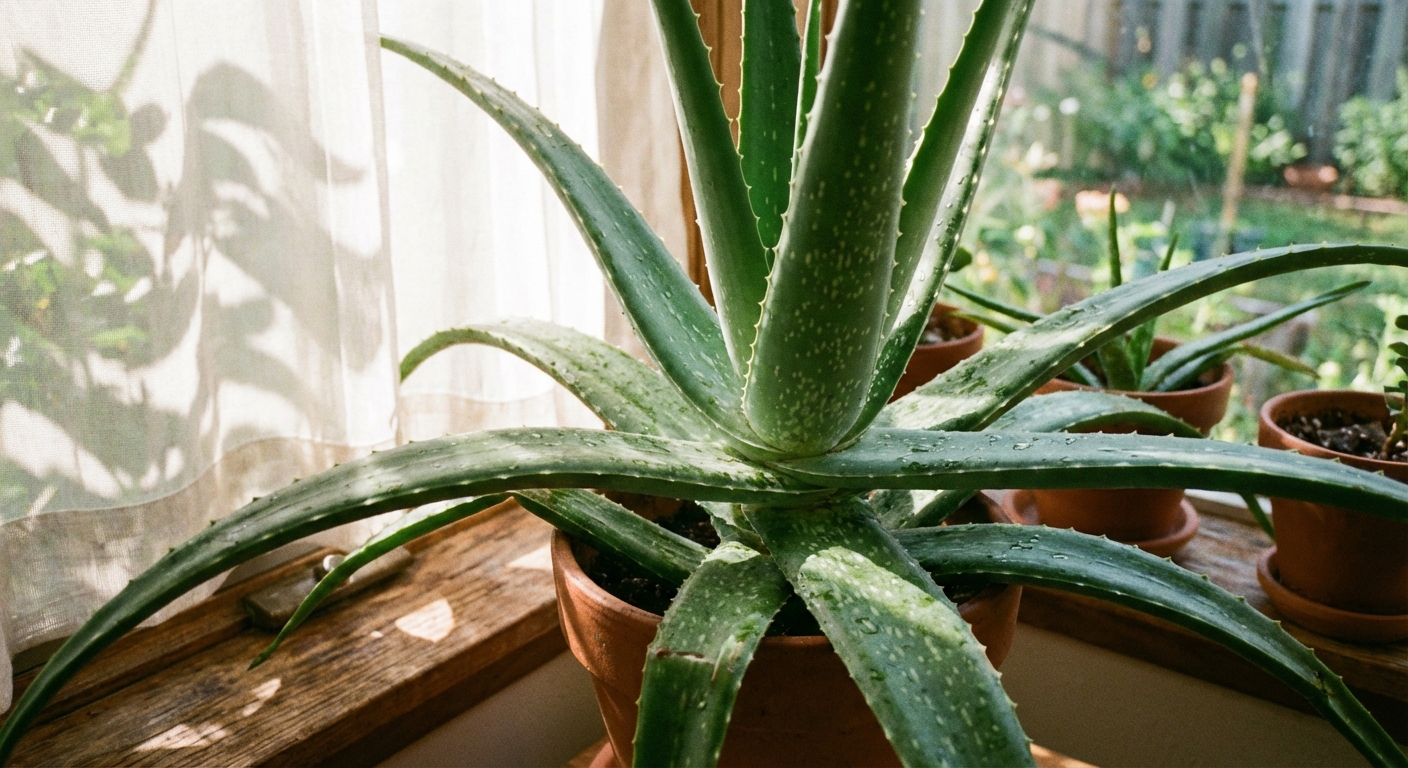
Aloe vera is a sun-loving succulent, but it still has feelings about sudden change. The goal is bright light most of the day and, if possible, some gentle direct sun.
Indoors
- Best spot: A bright south or west window.
- If it is stretching: Long, narrow, leaning leaves usually mean it wants more light. Move it closer to the window or add a grow light.
- Rotate the pot: A quarter turn every week or two keeps it from leaning like it is trying to eavesdrop on your neighbors.
- Decorative pots: If you use a cachepot (no drainage), keep aloe in a nursery pot inside it and always empty any water that collects.
Outdoors
- Best spot: Sun to partial sun. Morning sun with afternoon shade is ideal in very hot climates.
- Acclimate slowly: If you move an indoor aloe outside, start with bright shade for a few days, then morning sun, then increase sun exposure gradually to avoid sunburn.
- Rain matters: If your aloe is in a pot, tuck it under an eave or covered patio during long rainy stretches. Soggy soil plus cool weather is trouble.
- Frost warning: Aloe vera is not frost-hardy. Bring it inside before nights dip near 40°F.
Watering aloe vera (drought tolerance done right)
If aloe care had one golden rule, it would be this: water less often than you think, but water well when you do. Aloe stores water in its thick leaves, so frequent sips can backfire and lead to rot.
How to water
- Check dryness: Stick a finger into the soil. About 2 inches is great for medium to large pots. For small pots, 1 inch is enough. If it is dry all the way down, you can water.
- Soak thoroughly: Water until it runs freely from the drainage holes.
- Drain completely: Never leave the pot sitting in a saucer of water.
How often is “often”?
It depends on light, temperature, pot material, and soil, but here are realistic guidelines:
- Spring and summer: Every 2 to 4 weeks indoors. Outdoors in hot, dry weather, it might be as often as weekly only if it is in a very fast-draining mix and drying fully within a few days (and not getting surprise rain).
- Fall and winter: Every 4 to 8 weeks indoors, sometimes even less
Trust the soil, not the calendar. Aloe that is slightly underwatered is easier to rescue than aloe that stays wet.
Signs your aloe is thirsty
- Leaves look thinner, less plump, or slightly curled inward
- Lower leaves may feel a bit softer, but not mushy
- Pot feels very light when lifted
Signs you are overwatering
- Leaves turn translucent, soft, and squishy
- Base of the plant looks waterlogged
- Soil smells sour or stays damp for many days
Soil and drainage (the real secret)
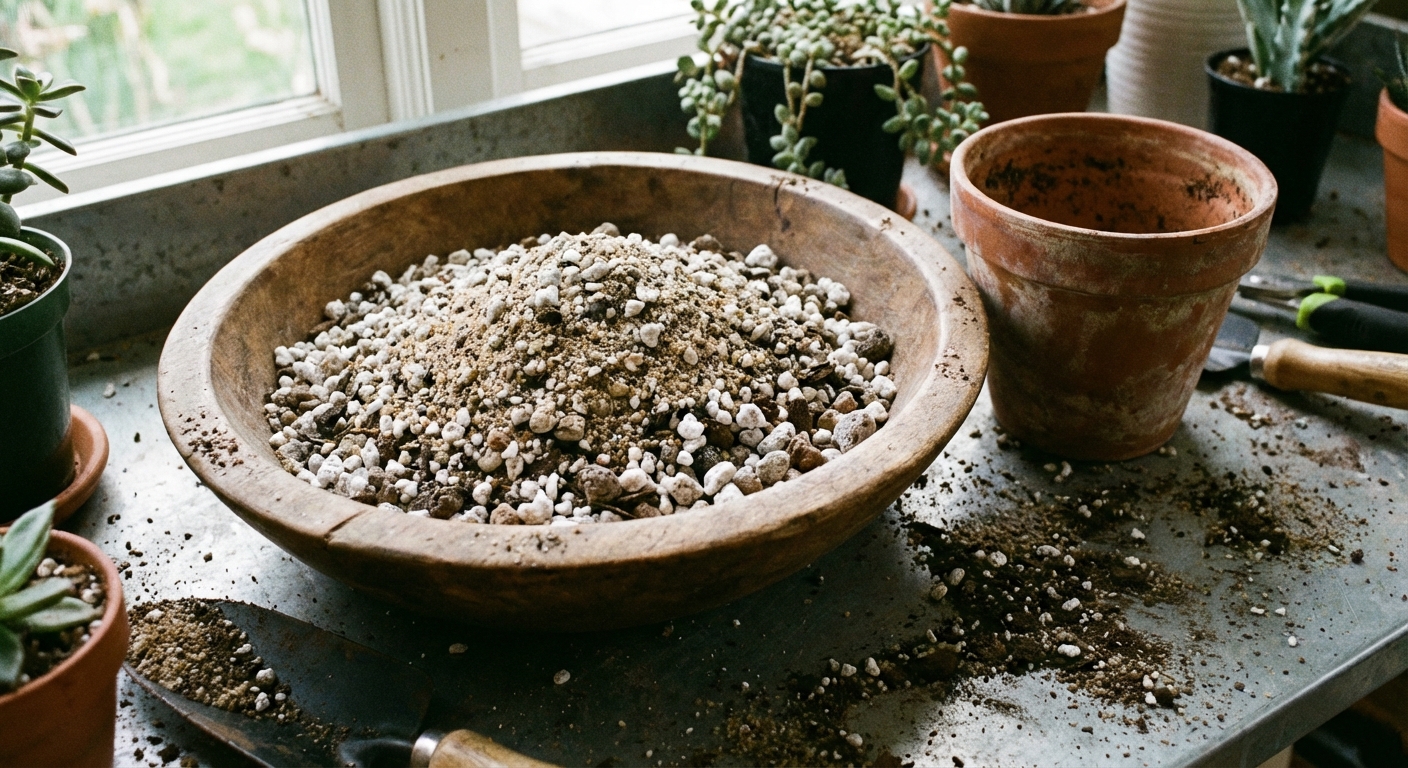
Aloe vera wants oxygen around its roots. Standard potting mix holds too much moisture, especially indoors. The fix is simple: use a gritty blend and a pot with a drainage hole.
Best soil mix
- Easy option: Pre-made cactus or succulent mix
- DIY option: 2 parts potting mix + 1 part perlite or pumice + 1 part coarse sand (or extra pumice)
Skip “water-retentive” additives like moisture crystals. Aloe does not need them, and it will not thank you for them.
Pot choice
- Terracotta: Breathable, helps soil dry faster, great for chronic overwaterers
- Plastic or glazed ceramic: Fine if your soil is gritty and you water carefully
- Size: Just a little wider than the root ball. Oversized pots stay wet longer.
Indoor vs outdoor aloe vera
Summer outdoors
If you summer your aloe outside, it often grows faster and looks sturdier. Just remember to acclimate it gradually and watch for heavy rain. Prolonged soggy soil is the fastest way to a sad, collapsing plant.
Winter indoors
Indoors in winter, aloe goes into a semi-rest mode. Growth slows, water needs drop, and low light can become the limiting factor. Move it to your brightest window and water sparingly.
Fertilizing aloe vera
Aloe is not a heavy feeder. Too much fertilizer can cause weak growth and leaf stress.
- When: Once in spring, optionally once more in midsummer
- What: A diluted organic liquid fertilizer or a balanced houseplant fertilizer at 1/4 strength
- When to skip: Fall and winter, or anytime the plant seems stressed
How to harvest aloe gel safely
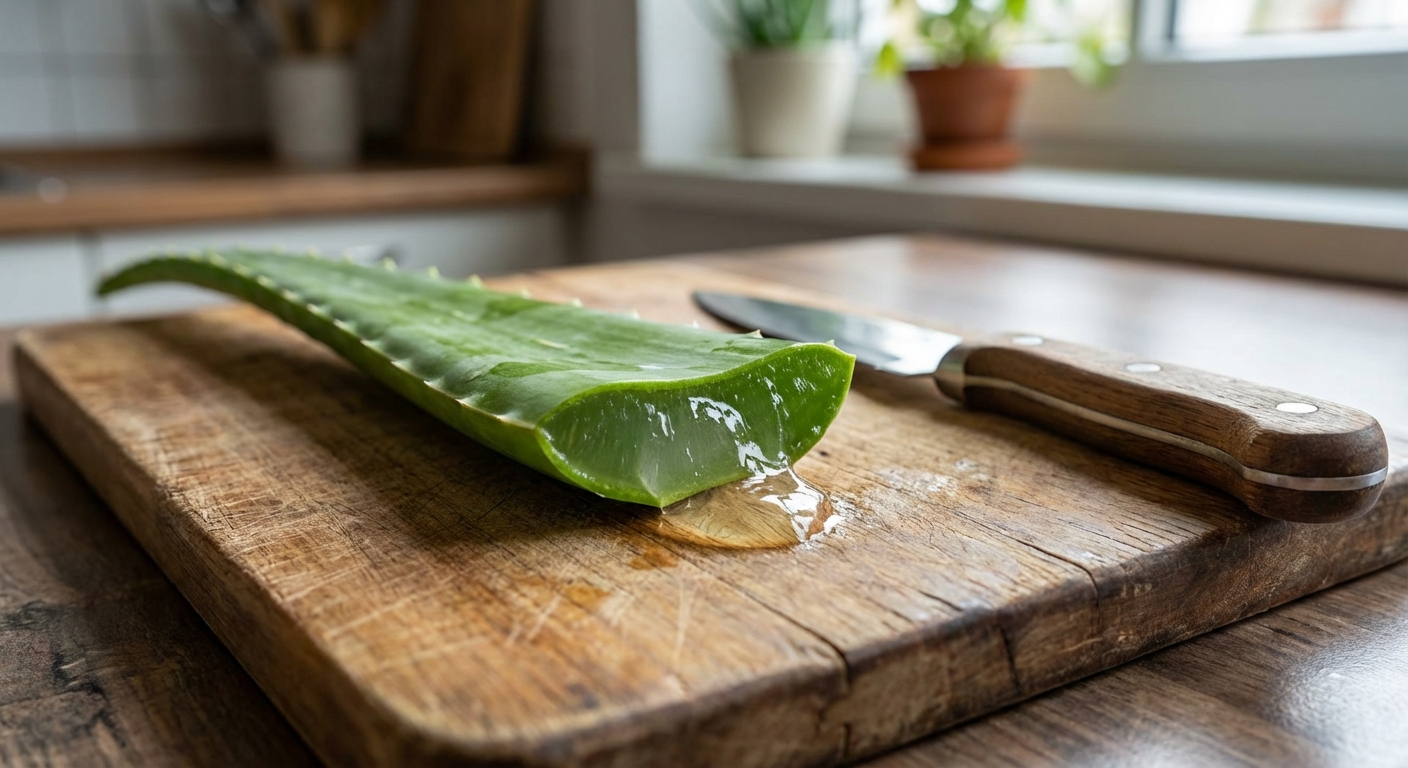
Harvesting aloe gel feels a little magical, like you are snipping a tiny piece of living spa treatment. For the healthiest plant, take a mature outer leaf and let the aloe keep its younger center leaves to grow on.
Before you cut
- Choose the right plant: Use a well-established aloe with multiple thick outer leaves.
- Pick the right leaf: Select an outer, lower leaf that is plump and at least 6 to 8 inches long.
- Know what you are using: The clear inner gel is what most people want for simple topical soothing. The yellow latex (aloin) just under the skin can be irritating and is not typically used on sensitive skin.
- Quick ID note: Many plants are sold as “aloe.” If you are harvesting, make sure you are growing true Aloe vera (often listed as Aloe barbadensis).
Step-by-step gel harvest
- Cut cleanly: Use a clean, sharp knife to cut the leaf at the base, close to the stem.
- Let latex drain: Stand the leaf upright in a cup for 10 to 20 minutes so the yellow sap can drain out.
- Rinse: Rinse the leaf under cool water.
- Fillet the leaf: Lay it flat, trim the spiky edges, then slice the top skin off lengthwise.
- Scoop the gel: Use a clean spoon to lift out the clear gel.
Storage
- Sanitation first: Use clean tools and a clean container. Fresh gel spoils quickly if it gets contaminated.
- Refrigerator: Store gel in a sealed container for up to about a week. If it smells “off,” changes color, or looks watery, toss it.
- Freezer: Freeze in small portions (like an ice cube tray) for longer storage.
Note: Patch test first and avoid using aloe on deep wounds or serious burns. If you are using aloe for anything beyond simple topical home use, check with a healthcare professional first. I keep Leafy Zen focused on growing and handling the plant, not medical advice.
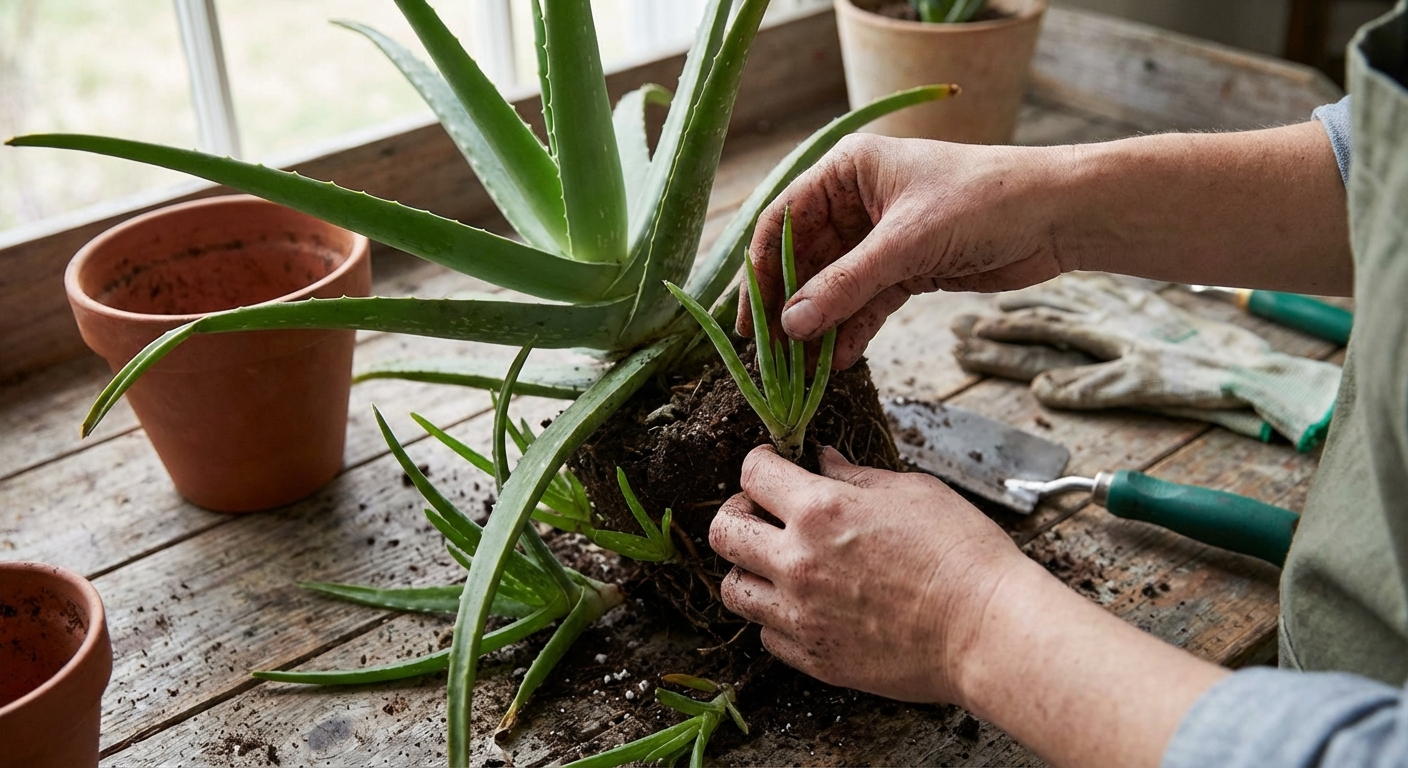
Propagating aloe pups
Aloe vera likes to make little offsets called pups. This is the easiest, most reliable way to propagate aloe. If your plant looks crowded, it is basically begging you to give the babies their own pots.
When to separate pups
- Wait until a pup is at least 3 to 4 inches tall and has a few leaves.
- Even better, wait until it has its own roots.
How to do it
- Remove the plant: Slide the aloe out of its pot and gently brush away soil.
- Find the connection: Locate where the pup attaches to the mother plant.
- Separate: Use clean hands or a sterile knife to separate the pup, keeping as many roots as possible.
- Let cuts callus: If you made any cuts, let the pup sit in a dry, shaded spot for 24 hours so the wound can dry.
- Pot up: Plant in dry succulent soil in a small pot with drainage.
- Wait to water: Give it 3 to 7 days before the first watering, then water lightly.
Common aloe problems
Soft, mushy leaves
This is the classic overwatering symptom, sometimes paired with low light. Leaves may look translucent, feel squishy, and collapse near the base.
- What to do now: Stop watering. Move to brighter light.
- Check the roots: Unpot the aloe and look for black, slimy, or foul-smelling roots.
- Trim rot: Cut away rotted roots with a sterile tool.
- Repot: Use fresh, dry, gritty soil in a pot with drainage.
- Hold off on water: Wait about a week after repotting before watering.
Brown tips
Brown tips are usually a mild stress signal, not a crisis.
- Most common causes: Inconsistent watering, salt buildup from fertilizer, or hard water. Very dry indoor air can contribute, too.
- Fix: Water deeply when the soil is fully dry, and consider using filtered or rain water occasionally.
- Soil flush: Every few months, flush with plain water until a lot drains out to rinse excess salts, but skip this in winter when soil dries slowly.
- Cosmetic trim: You can snip brown tips with clean scissors, following the natural leaf shape.
Leaves turning brown or pale in patches (sunburn)
- Cause: Too much direct sun too quickly, especially after moving outdoors.
- Fix: Move to bright shade and reintroduce sun gradually.
- Will it heal? Damaged spots usually do not turn green again, but new growth will be healthy.
Droopy, leaning aloe
- Cause: Low light, or a top-heavy plant in a lightweight pot.
- Fix: Increase light, rotate the pot, and consider repotting into a slightly wider terracotta pot for stability.
Pests (mealybugs and scale)
Aloe is fairly pest-resistant, but mealybugs can show up as little white cottony clusters in leaf crevices.
- Remove: Dab pests with a cotton swab dipped in 70% isopropyl alcohol.
- Repeat: Check weekly for a few weeks.
- Avoid: Oily sprays in hot sun, which can stress succulent leaves.
Repotting aloe vera
Aloe does not need frequent repotting. It actually likes being a little snug. Repot when roots circle the bottom, the plant becomes top-heavy, or pups are crowding the pot.
- Best time: Spring or early summer
- Go up one size: Choose a pot 1 to 2 inches wider
- After repotting: Wait several days before watering to let any root disturbance settle
Aloe vera care FAQs
Can aloe vera live in low light?
It can survive for a while, but it usually becomes stretched, floppy, and more prone to rot because the soil dries slowly. Brighter light equals a sturdier plant.
Should I mist my aloe?
No. Aloe does not need misting, and consistently wet leaf bases can invite problems. Focus on bright light and correct watering.
Is aloe vera safe for pets?
No. Aloe is considered toxic to cats and dogs if chewed or ingested, and it can cause vomiting, diarrhea, and lethargy. If you have curious pets, place aloe out of reach or choose a pet-safe plant instead.
Can aloe live outdoors year-round?
Only in frost-free climates. As a rough guide, aloe vera can live outside year-round in USDA zones 10 to 12. Everywhere else, treat it like a warm-weather patio plant and bring it in before cold nights.
Why is my aloe leaf splitting?
Leaf splits can happen after irregular watering, physical damage, or sudden growth spurts. Keep watering consistent (dry out fully, then soak) and handle leaves gently.
My favorite aloe habit
If you remember nothing else: let your aloe dry out completely, then water deeply. That rhythm mimics its natural life and keeps roots healthy. Once you get it, aloe becomes one of those plants that makes you feel like a calm, competent plant person. And you are.