African Violet Care for Beginners
African violets are the cozy, flowering houseplants that make people swear they have a green thumb. The secret is not luck. It is giving them steady, gentle conditions, and being mindful about how water interacts with those velvety leaves. Many growers top-water successfully, but cold water and leaf wetness that lingers can cause spotting. Once you dial in a few basics, they will reward you with blooms that pop up again and again, like they are saying thank you.
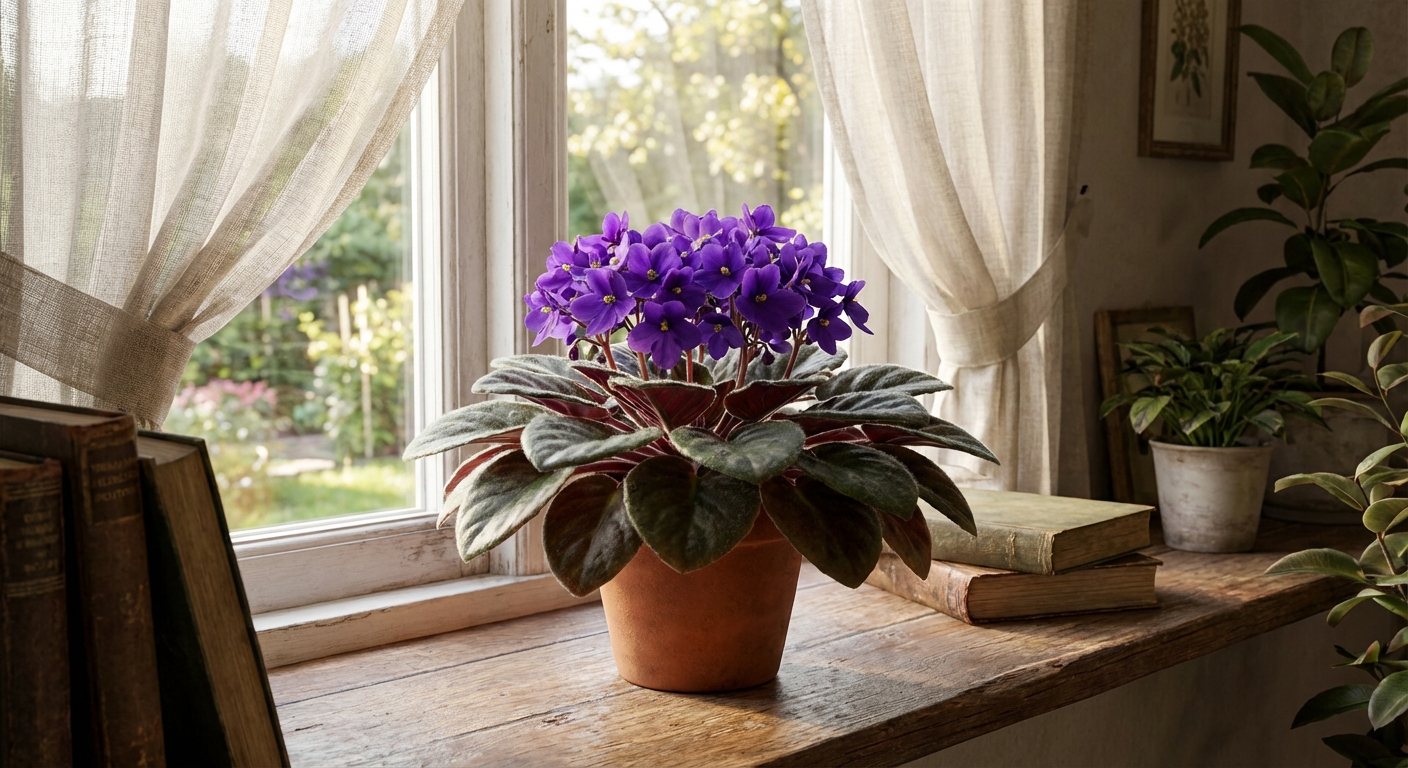
Light: bright and indirect
If there is one thing African violets are picky about, it is light. They want plenty of brightness, but they do not want hot sunbeams hitting their leaves.
Best window placements
- East-facing windows: usually perfect. Gentle morning light, then bright shade.
- North-facing windows: can work well, especially in bright rooms, but growth may slow in winter.
- South or west-facing windows: only if the plant is pulled back from the glass or filtered with a sheer curtain. Direct sun can scorch leaves and fade blooms.
Quick “bright indirect” check
- If you can comfortably read nearby during the day without turning on a lamp, you are in the right neighborhood.
- A soft shadow is fine. Hard, sharp shadows usually mean direct sun.
How to tell if the light is right
- Too little light: long, stretched leaf stems; fewer blooms; plant looks like it is reaching.
- Too much light: pale or yellowing leaves; crispy edges; tight, stunted rosette; scorched patches.
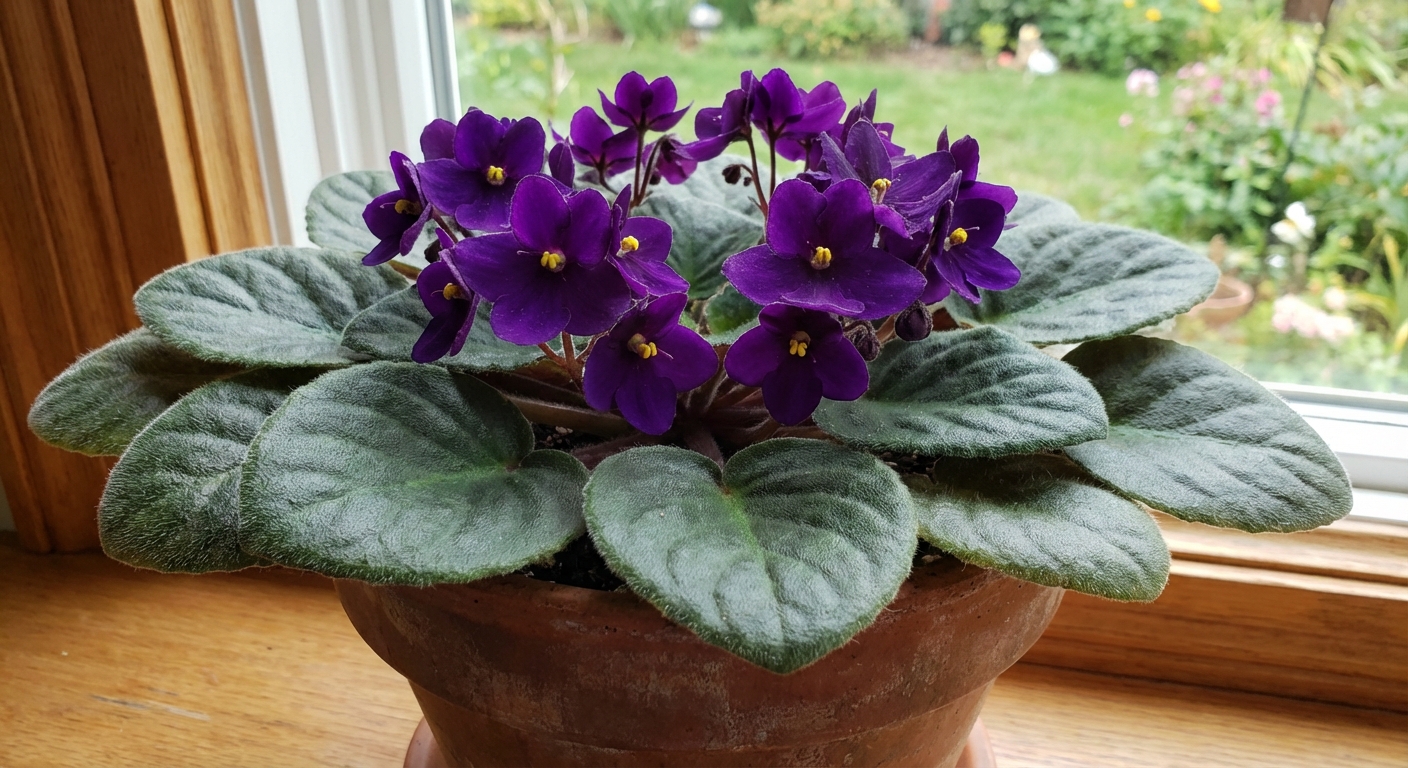
- Just right: leaves form a tidy, flat rosette and the plant blooms steadily.
Grow lights work beautifully for African violets. Start with the light about 10 to 14 inches above the plant and aim for roughly 10 to 12 hours per day. Then adjust based on your fixture and what the leaves tell you. If leaves look bleached or the rosette tightens up, raise the light or shorten the duration. If the plant stretches and stops blooming, lower the light or add time.
Watering: keep it even
African violet leaves are like little velvet quilts, and they hate staying wet, especially with cool water or cool indoor temps. Water sitting on the leaves can lead to spotting and rot. Bottom-watering is a beginner-friendly method because it helps keep foliage dry, but careful top-watering can work too.
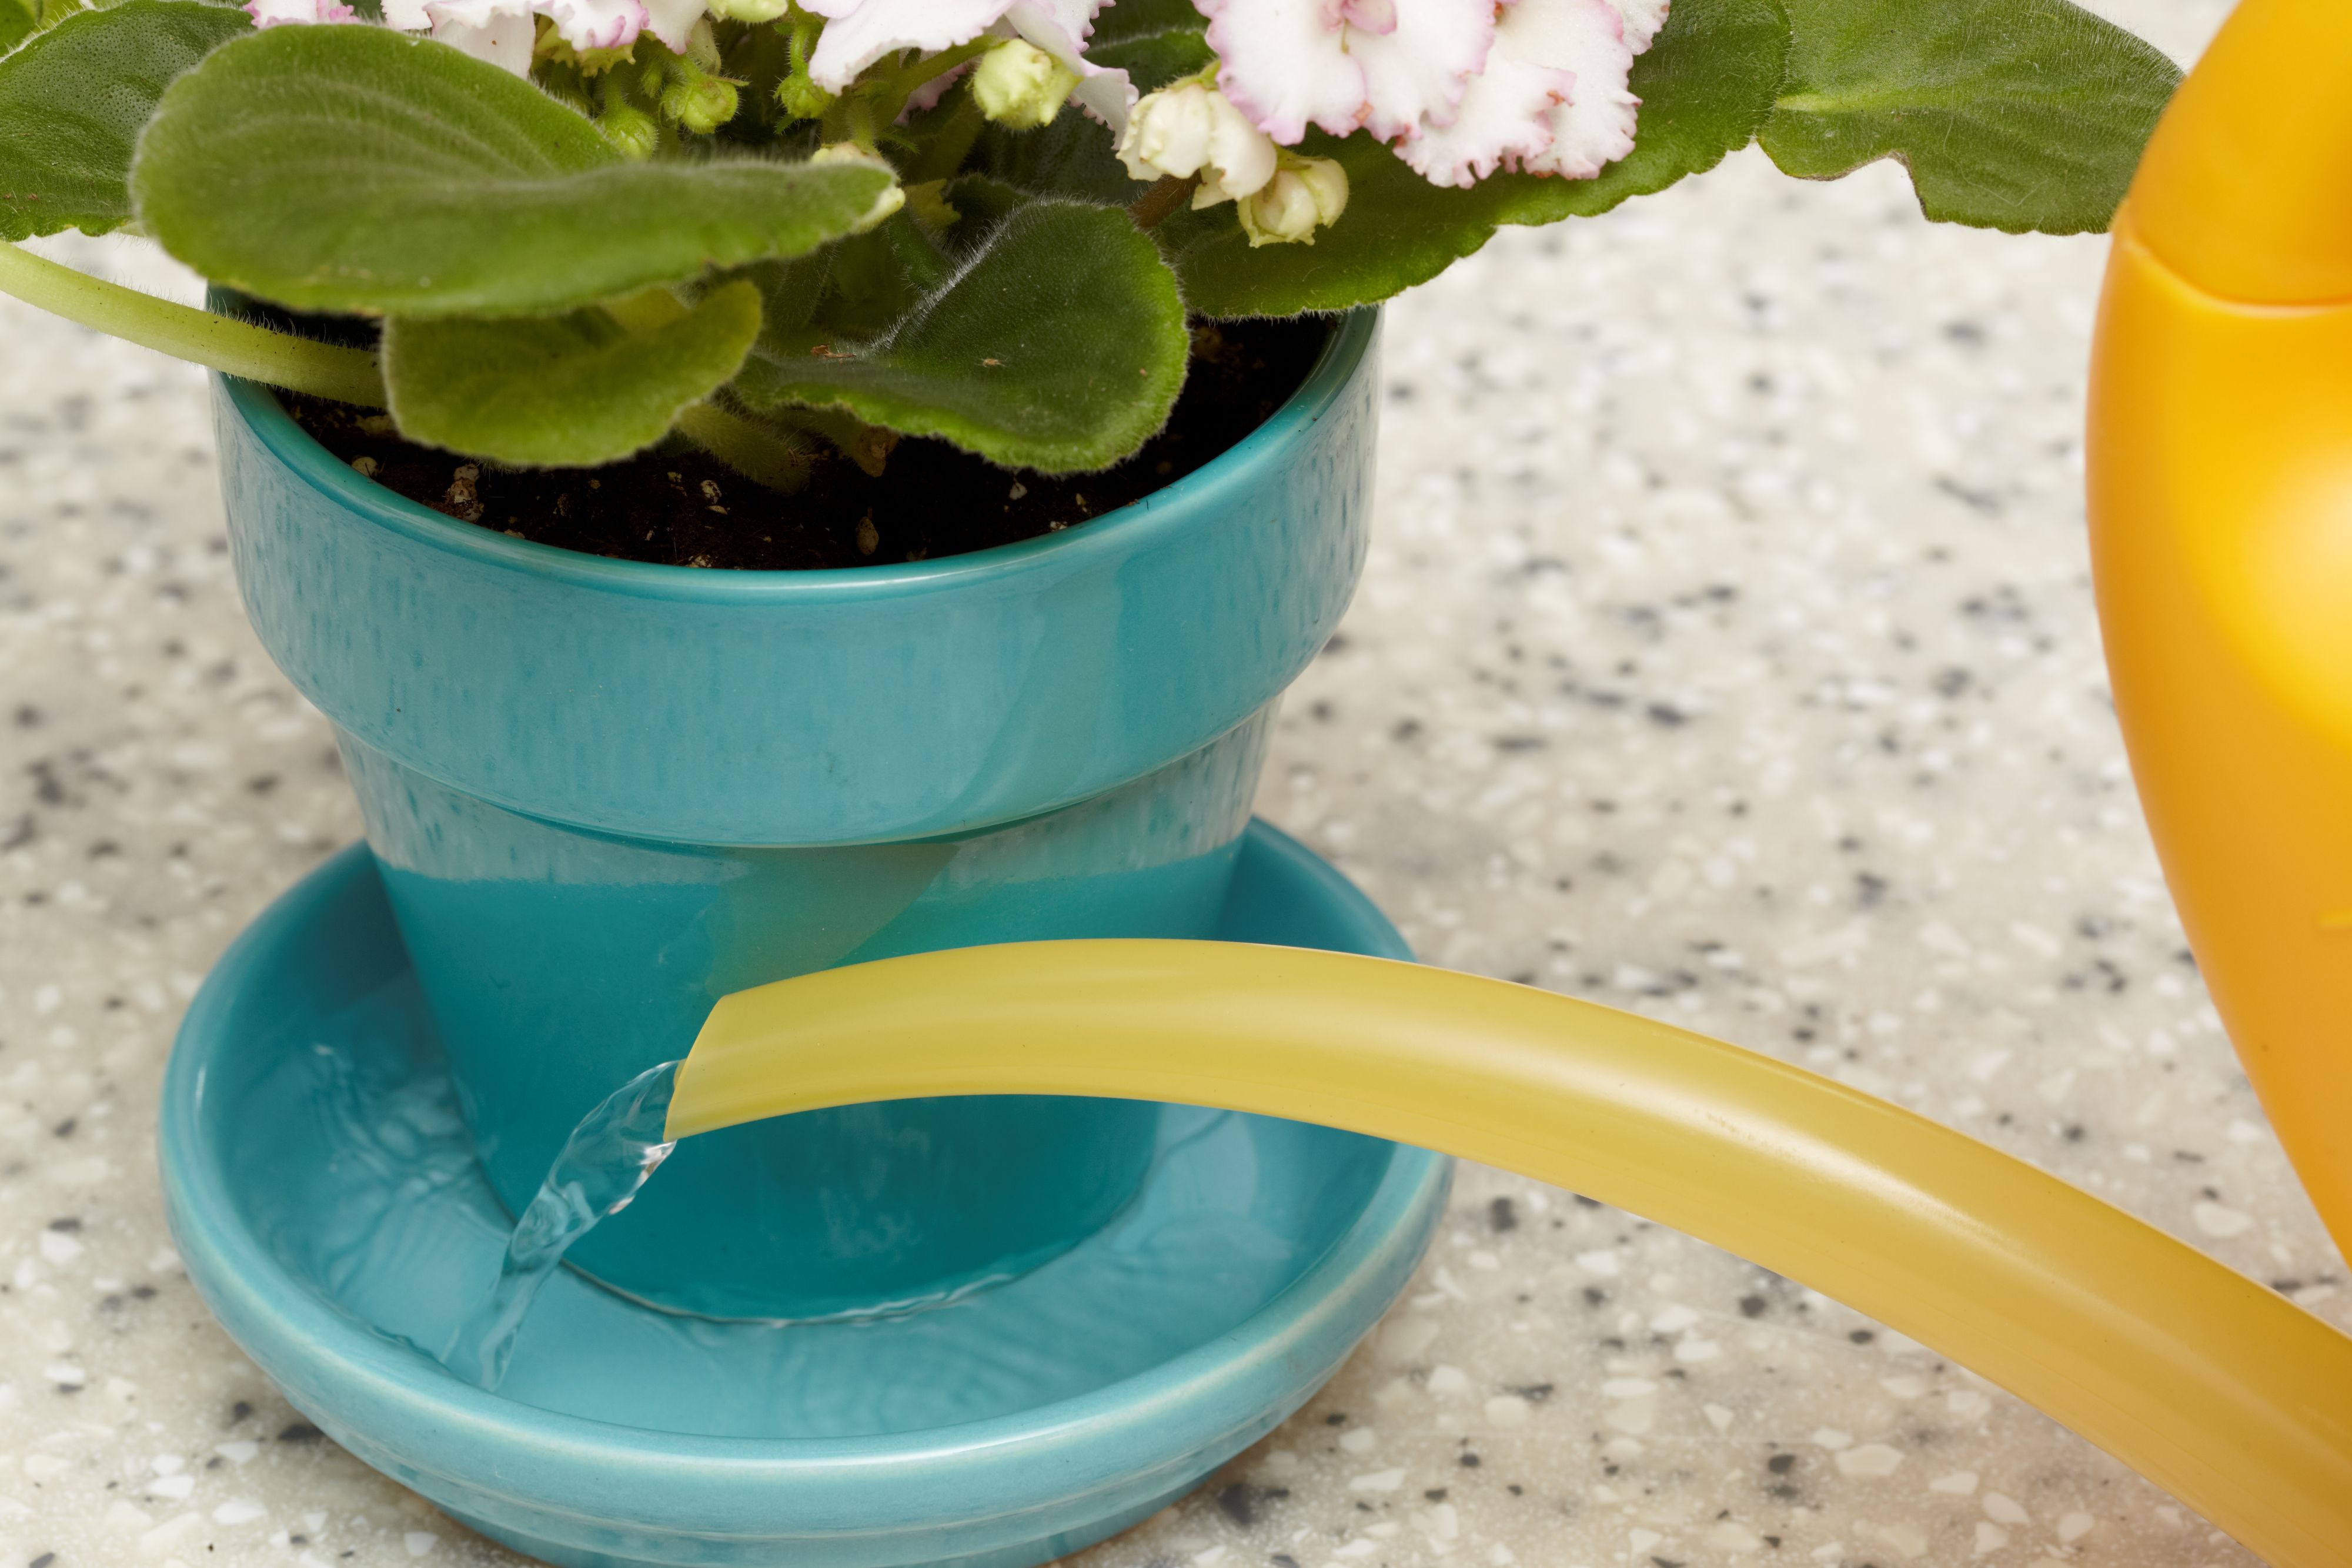
Bottom-watering, step by step
- Fill a saucer or shallow bowl with lukewarm to room-temperature water.
- Set the pot in the water and let it drink for 10 to 30 minutes, depending on pot size and how dry the mix is.
- Remove the pot and let it drain thoroughly. Never leave it sitting in water.
- Water again when the surface feels dry and the pot feels lighter, not after the mix has dried deeply.
Why cold water causes leaf spots
Cold water can shock leaf tissue. On fuzzy African violet leaves, that shock often shows up as pale rings or blotches that do not go away. Use lukewarm to room-temperature water and avoid splashing the leaves, and you will skip most of that heartbreak.
If you top-water
Top-watering is fine if you are gentle. Pour water onto the soil surface, keep it away from the crown, and do not leave water sitting on leaves. If a leaf gets splashed, blot it dry. Top-watering is also useful for occasional flushing.
Water quality matters
If you battle stubborn spots, slow growth, or crusty white buildup on the soil, your water may be part of the story. Very hard water and softened water can contribute to salt issues. If problems persist, try filtered, distilled, or rain water for a few weeks and see if the plant perks up.
Humidity and temperature
African violets like the same general comfort level most humans do.
- Temperature: aim for 65 to 75°F. Avoid cold drafts and blasting heat vents.
- Humidity: moderate humidity is ideal, around 40 to 60%.
Easy humidity boosts
- Pebble tray: set the pot on pebbles above a little water. The pot bottom should not sit in the water.
- Group plants: they naturally create a slightly more humid pocket together.
- Small humidifier: especially helpful in winter when indoor air turns crispy.
Avoid misting. It sounds helpful, but it can leave water on leaves and encourage spotting.
Soil and pots
African violets prefer an airy, fast-draining mix that stays lightly moist without becoming soggy.
Use African violet soil (or tweak it)
A bag labeled “African violet potting mix” is a great start because it is typically lighter than standard houseplant soil. If your mix feels dense, blend in extra aeration.
- Simple DIY blend: 2 parts African violet mix + 1 part perlite (or pumice).
Pick a small pot
African violets often bloom best when they are slightly snug in their pots. A common rule of thumb is a pot that is about one-third the width of the plant’s leaf span. Too large a pot can lead to excess wet soil and fewer blooms.
Pot notes
- Drainage holes are non-negotiable.
- Plastic pots hold moisture longer and are forgiving if your home runs dry.
- Terra cotta dries faster and can be great if you tend to overwater, but it may mean more frequent watering.
- Self-watering pots can work well, but avoid constant saturation and plan to flush periodically to prevent salt buildup.
Fertilizer: gentle and steady
If you want continuous blooming, fertilizing is the lever you pull after light is handled. African violets respond best to small, regular meals instead of occasional heavy feeding.
What to use
- African violet fertilizer or a balanced houseplant fertilizer that includes micronutrients.
- Formulas designed for blooming houseplants are a good fit. Consistency matters more than chasing a perfect ratio.
How to feed
- Option 1: fertilize every 2 to 4 weeks at about one-quarter to one-half strength, depending on the product and your plant’s response.
- Option 2 (popular with violet growers): “weakly, weekly,” meaning a very dilute dose more often.
- In low light seasons: reduce feeding if growth slows noticeably.
Prevent fertilizer salt buildup
Over time, salts can accumulate and cause leaf edge burn or stubborn non-blooming. Every 1 to 2 months, flush the soil by top-watering with lukewarm water until it runs freely out the drainage holes, then let the pot drain completely. If your home is cool in winter, flush less often and only when the plant will dry at a reasonable pace.
Keep blooms coming
When an African violet stops blooming, it is usually asking for better light, steadier watering, or a little food. Sometimes the culprit is less obvious, like pests, temperature swings, or simply a variety that blooms in waves.
Bloom checklist
- Light: bright indirect light for most of the day. Move it closer to the window or add a grow light if blooms are scarce.
- Rotate weekly: turn the pot a quarter turn so the rosette grows evenly and buds form all around.
- Deadhead: pinch off spent blooms and their stems close to the base.
- Keep leaves clean: dust reduces light. Use a soft, dry brush (or clean fingertips) to gently whisk dust off the fuzz.
- Protect the crown: always water the soil, not the center.
- Right pot size: if the pot is much larger than one-third of the plant’s width, consider downsizing at the next repot.
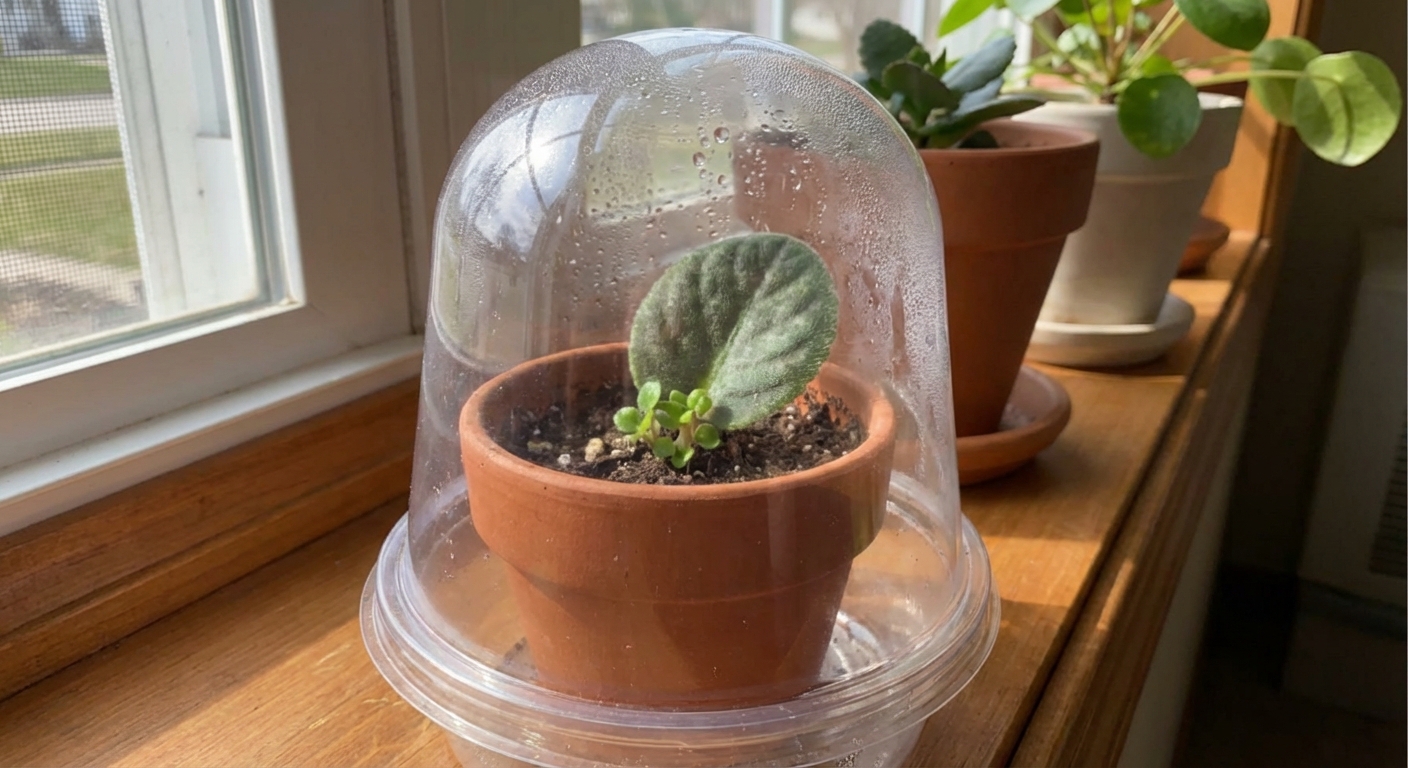
Propagation: one leaf, new plant
This is the part where African violets feel like magic. You can turn one healthy leaf into an entire new plant. It is also a lovely way to share plants with friends without sacrificing the mother plant’s shape.
Leaf cutting steps
- Choose a leaf: pick a healthy, mature leaf from the middle ring of the plant. Avoid very old outer leaves and tiny center leaves.
- Cut the stem: use clean scissors or a blade and cut the leaf stem to about 1 to 2 inches long. A slight angled cut can help it root.
- Root it: you have two easy options.
- In water: place the stem in a small container so only the stem end sits in water. Keep the leaf blade above water. Change water weekly.
- In soil: insert the stem about 1/2 inch into lightly moist African violet mix with extra perlite.
- Give it humidity: cover loosely with a clear plastic bag or dome with a little air space so it does not touch the leaf. Vent occasionally.
- Provide bright indirect light: warmth and steady light speed things up.
- Wait for plantlets: tiny baby violets usually form at the base of the leaf stem in 6 to 12 weeks, sometimes longer.
- Separate and pot up: when plantlets have several leaves and look sturdy, gently separate them and pot each into a small pot.
Repotting and the “neck”
Over time, many African violets develop a bare “neck,” a little stem between the soil line and the lowest leaves. This is normal, but it can make the plant wobble and reduce vigor.
How to fix it
- Repot every 6 to 12 months, or when the mix compacts and water starts behaving oddly.
- Remove a ring of older outer leaves if needed.
- During repotting, you can set the plant slightly deeper so the neck is covered by fresh mix. Keep the crown above the soil line.
- Use fresh, airy mix and a small pot with good drainage.
Common problems
Leaf spots or rings
- Cause: cold water, or leaf wetness that lingers.
- Fix: use lukewarm water, keep foliage dry, and avoid drafts. Existing spots usually stay, so focus on new growth.
Droopy leaves, soggy soil
- Cause: overwatering, poor drainage, or a mix that is too heavy.
- Fix: let the mix dry slightly, repot into an airy blend if needed, and always empty saucers after watering.
No blooms
- Cause: not enough light is most common, followed by a too-large pot, inconsistent feeding, or big temperature swings. Pests can also stall blooming.
- Fix: brighten the location or add a grow light, keep the pot appropriately small, and feed lightly but regularly.
Crown rot
- Cause: water sitting in the crown, cold drafts, or constantly wet soil.
- Fix: improve watering and warmth quickly. If the crown is soft and collapsing, propagate healthy leaves as backup.
Pests
- Mealybugs: look for white, cottony clusters in leaf joints and under leaves. Treat with repeated wipe-downs using cotton swabs and isopropyl alcohol (spot test first), and consider insecticidal soap labeled for houseplants.
- Thrips: damaged, streaky petals and deformed blooms can be a clue. Remove flowers, isolate the plant, and treat with an appropriate product for thrips.
- Cyclamen mites: twisted, tight new growth and a struggling crown, often with no obvious insects visible. Isolate immediately. Treatment can be difficult, so many growers propagate clean leaves and discard the worst plants.
Tip: isolate new plants for a couple of weeks and inspect the crown and undersides of leaves before they join your collection.
A simple weekly routine
If you want a simple rhythm to follow, here is my low-stress routine that keeps most African violets content.
- Weekly: check moisture, water as needed, rotate the pot a quarter turn, remove spent blooms.
- Every 2 to 4 weeks: fertilize at reduced strength during active growth (or use a weaker weekly approach).
- Monthly: brush dust off leaves and flush the soil occasionally if you fertilize regularly.
- Every 6 to 12 months: refresh soil, check roots, and repot if the mix is compacted or the neck is getting tall.
And if you make a mistake, welcome to the club. African violets are forgiving when you correct course. Give them steady light, even moisture, and an airy soil, and they will keep blooming in the background like a little indoor celebration.